


That quiet chime or beep from your parking sensors is one of those features you don't realize you rely on until it's gone. When your parking sensor is not working, the good news is that the cause is often something you can fix yourself, like a bit of dirt or ice blocking the sensor's view.
Other common culprits include minor physical damage from a small bump, a simple blown fuse, or even an internal wiring issue that's interrupting the signal.
Common Reasons Your Parking Sensor Stopped Working
That sudden silence when you shift into reverse can be jarring, but it doesn't always point to an expensive repair. Most parking sensors are ultrasonic; they send out high-frequency sound waves that bounce off nearby objects to gauge distance. If anything gets in the way of those waves, the whole system can go on strike.
Before you book a slot at the garage, it helps to understand the typical points of failure. These sensors live on your bumpers, where they're constantly exposed to the elements, road hazards, and the occasional parking mishap, making them pretty vulnerable.
Physical Obstructions and Damage
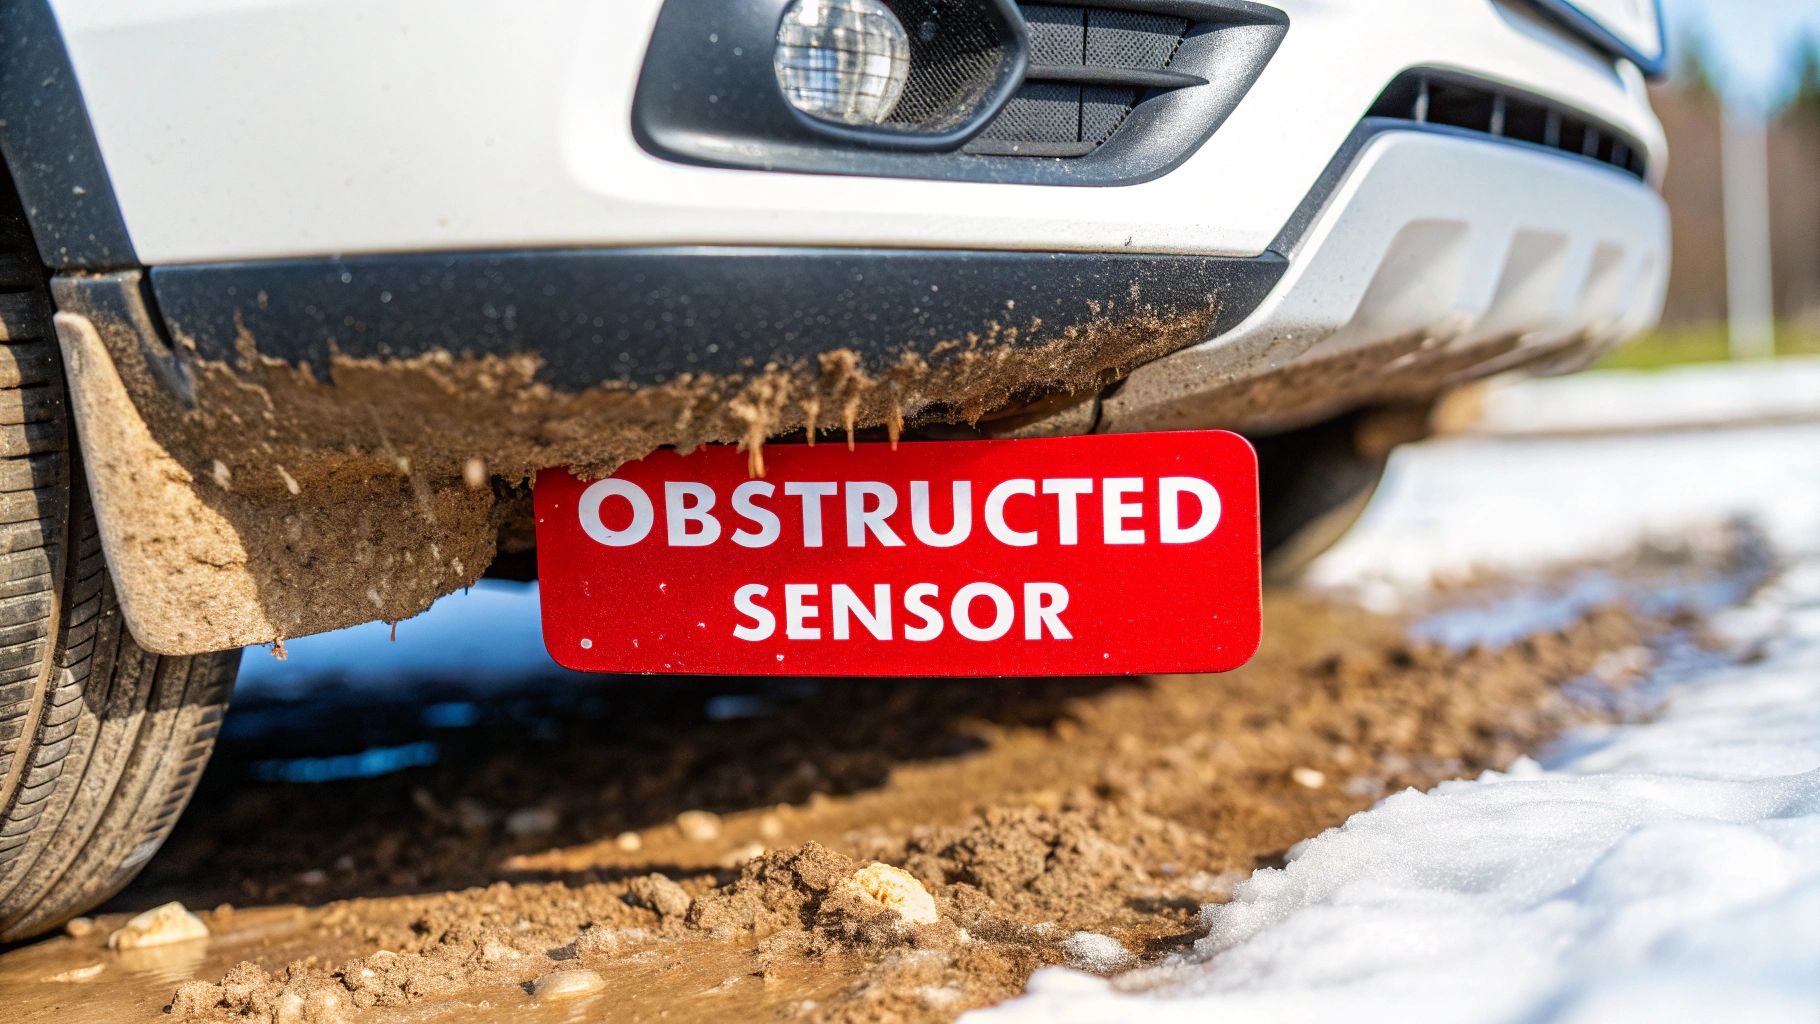
Nine times out of ten, the reason a parking sensor isn't working is a simple physical blockage. Think about it—road grime, thick layers of wax from a car wash, snow, or a sheet of ice can easily cover the sensor's face. This effectively blinds it, preventing it from sending or receiving signals properly.
Even a minor tap in a parking lot can spell trouble. A sensor might look perfectly fine from the outside, but the impact could have cracked it, pushed it slightly into the bumper, or damaged the delicate components inside. This kind of physical trauma is a leading cause of sudden sensor failure.
Electrical and System Faults
If the sensors look clean and undamaged, it's time to consider the electrical side of things. A simple blown fuse connected to the park assist system is a common issue that will disable all the sensors at once. Likewise, the wiring harness connecting the sensors to the main computer can get corroded from moisture or frayed from road debris kicking up.
A single faulty sensor can sometimes cause the entire system to report an error, making it seem like a much bigger problem than it actually is.
To help you narrow down the issue quickly, here’s a table that matches common symptoms to their likely causes.
Quick Guide to Parking Sensor Symptoms
Use this table to quickly match what you're seeing and hearing with the most likely cause.
| Symptom | Potential Cause | What to Check First |
|---|---|---|
| System is completely dead (no lights, no beeps) | Blown fuse or main power issue | Check the fuse box for the park assist system fuse. |
| Constant, long beep when in reverse | A sensor is dirty or has failed | Clean all sensors thoroughly. If it persists, one sensor is likely bad. |
| System works intermittently or gives false alerts | Wiring issue or a sensor is loose | Inspect the wiring behind the bumper for damage. Check sensor mounts. |
| One specific area isn't detected | Single sensor failure or obstruction | Focus on cleaning and inspecting the sensor in that specific zone. |
This gives you a clear starting point for your diagnosis.
It's a fact of modern car ownership: a significant number of vehicles will face sensor-related faults. These issues range from simple obstructions to deeper electrical malfunctions. If you're interested in the tech, you can find more insights into parking sensor market trends and the most common faults. Having this foundational knowledge is your first step toward a successful DIY fix.
The First Fix: A Thorough Sensor Cleaning
Before you start tearing apart your bumper or digging into wiring diagrams, let's start with the simplest and most common culprit: a dirty sensor. I’ve seen it countless times—a car comes in with a "faulty" parking sensor, and the fix takes about five minutes with a cloth and some soapy water.
These sensors live a tough life, constantly getting bombarded with road grime, mud, ice, and even thick layers of wax from the car wash. Anything that covers the face of the sensor can block its signal, making it think there's an obstacle right in front of it.
Gentle Cleaning for Optimal Performance
This isn't just a quick wipe-down. You need to be gentle to avoid scratching the sensor's surface or, worse, pushing it back into the bumper. The goal here is finesse, not force.
Grab a clean microfiber cloth and some mild car wash soap mixed with water. Steer clear of harsh chemicals like Windex or aggressive degreasers; they can eat away at the sensor's protective coating over time and cause more problems down the road.
- Spray your cleaning solution onto the cloth, not directly onto the bumper. This prevents liquid from seeping behind the sensor.
- Gently wipe away all the dirt and grime.
- Pay special attention to the tiny gap between the sensor and the bumper—crud loves to build up right there.
Pro Tip: While you're cleaning, look for anything else that could be blocking the signal. I've seen peeling paint, flaking clear coat, and even residue from poorly placed bumper stickers interfere with the sensor's ultrasonic waves.
This simple cleaning is your first and most important diagnostic step. This infographic breaks down the process into three easy-to-follow actions.
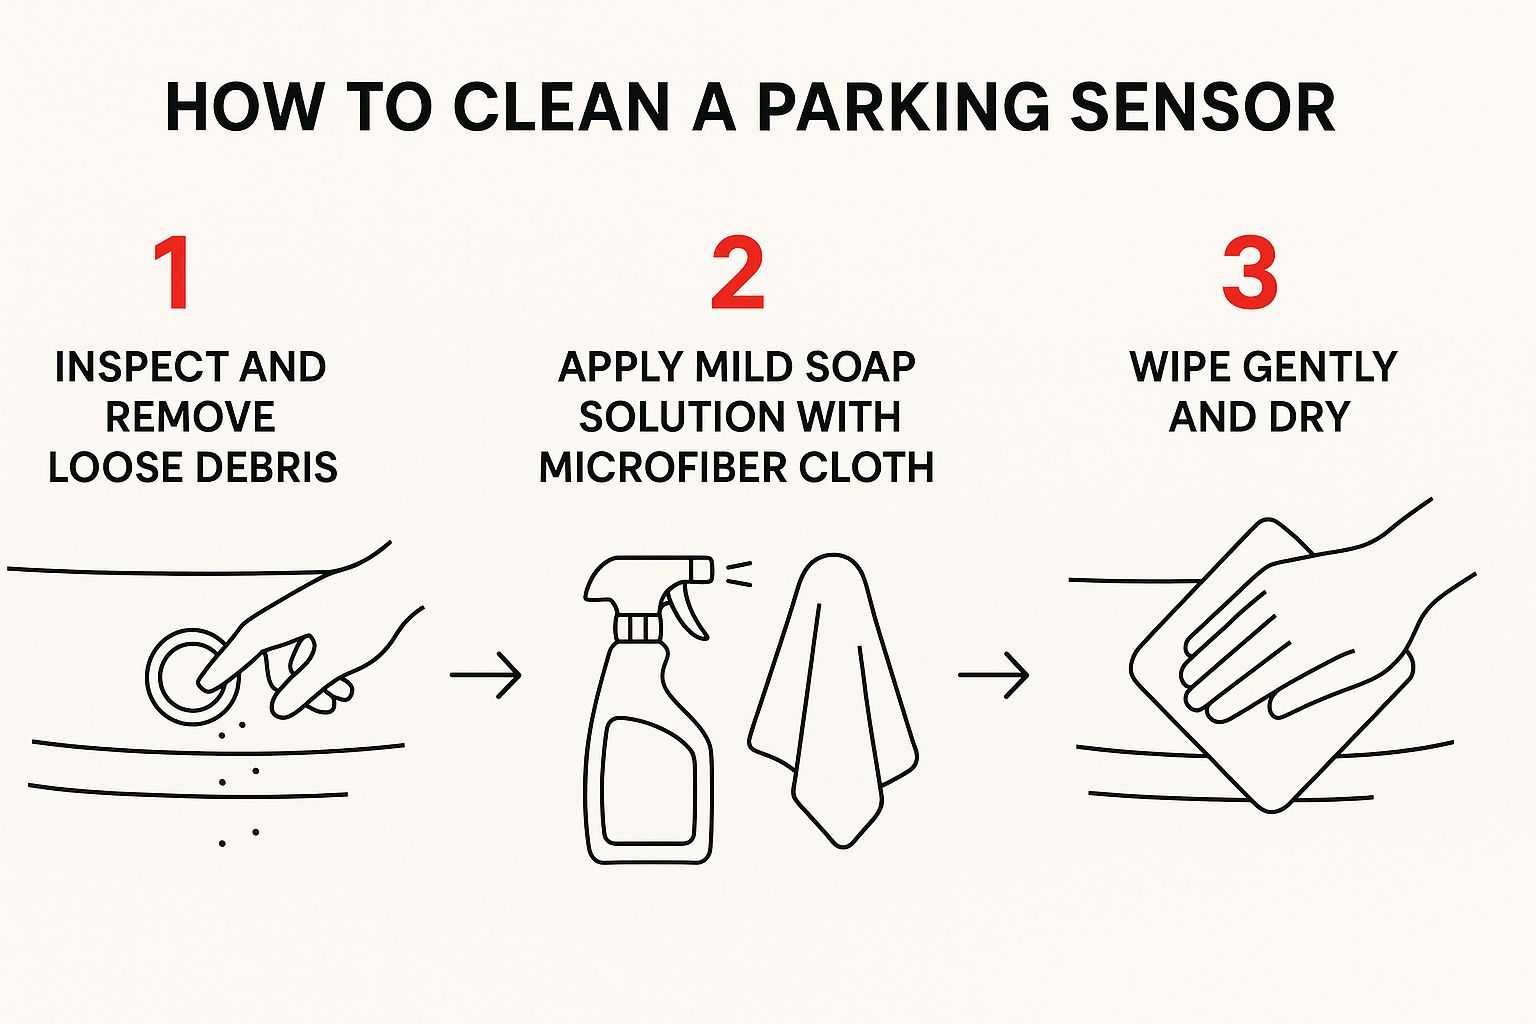
Follow these steps, and you'll safely clear away any potential blockages. If your sensors are still acting up after a good cleaning, you can confidently move on to the next troubleshooting steps, knowing you've already ruled out the most frequent cause.
So, a good cleaning didn't get your parking sensors working again? Don't worry, it's time to roll up our sleeves and do a little detective work. The good news is the next diagnostic trick is surprisingly simple and just requires a keen ear. This will help us narrow down the culprit without any special tools.
First, put your car in accessory mode—that means the electronics are on, but the engine is off. Make sure the parking brake is engaged, then shift the car into reverse. This simple action powers up the entire parking sensor system.
Now for the fun part. Hop out of the car and get close to the bumper. Lean in and listen carefully to each individual sensor.

A healthy, working sensor will be making a very faint, high-pitched clicking or buzzing noise. That's the sound of it actively sending out its ultrasonic waves. If you hear that, it means the sensor has power and is trying to do its job. A sensor that's completely silent? That's our prime suspect.
Interpreting Your Diagnostic Test Results
After you've listened to every sensor, you'll have a much clearer picture of what's going on. This simple test helps you understand what your findings mean and what your next move should be.
| Your Finding | What It Likely Means | Recommended Next Action |
|---|---|---|
| One Sensor is Silent | This is the most common scenario. The specific sensor has likely failed internally and needs to be replaced. | Focus your replacement efforts on this single sensor. |
| All Sensors are Silent | The issue is probably system-wide. Think bigger: a blown fuse, a damaged wiring harness, or a faulty control module. | Check the fuse box first, then move on to inspecting the main wiring harness. |
| All Sensors are Clicking | The sensors are getting power, but something is preventing the system from working. This often points to a control module fault or a software glitch. | This may require a more advanced diagnostic tool to read system error codes. |
This table should help you figure out where to look next based on what you heard (or didn't hear).
A single failed sensor can often cause the entire system to shut down and display an error message. Don't be surprised if replacing just one silent sensor fixes the whole problem.
Checking Fuses and Looking for Damage
If you found that all of your sensors were silent, the easiest thing to check next is the fuse box. Grab your owner’s manual and find the diagram for the fuse panel. It will show you exactly which fuse is tied to the "park assist" or "parking sensor" system.
Pull that fuse out and hold it up to the light. If the thin metal wire inside is broken, you've found your culprit! A 10-minute fix with a new fuse might be all you need.
While you're still outside, take a moment to give each sensor a good visual once-over. Are there any obvious cracks, deep scrapes, or signs that one has been pushed into the bumper from a minor bump? These things can easily knock a sensor out of commission.
Sometimes, a sensor just fails from exposure to the elements over time. When that happens, you'll see a spike in near-misses or even minor damage during parking maneuvers. The technology is always improving to combat this—for instance, Tesla's 'Tesla Vision Park Assist' introduced in 2023 uses camera data to enhance distance estimates in tight spots.
For tricky problems that aren't as obvious as a dead fuse or a cracked sensor, you might need a professional with the right tools. Learning about understanding car computer diagnostics can give you some great insight into how mechanics use OBD-II scanners to read fault codes directly from the car's brain, which can pinpoint an electrical issue in minutes.
So You've Found a Bad Sensor. Here's How to Replace It.
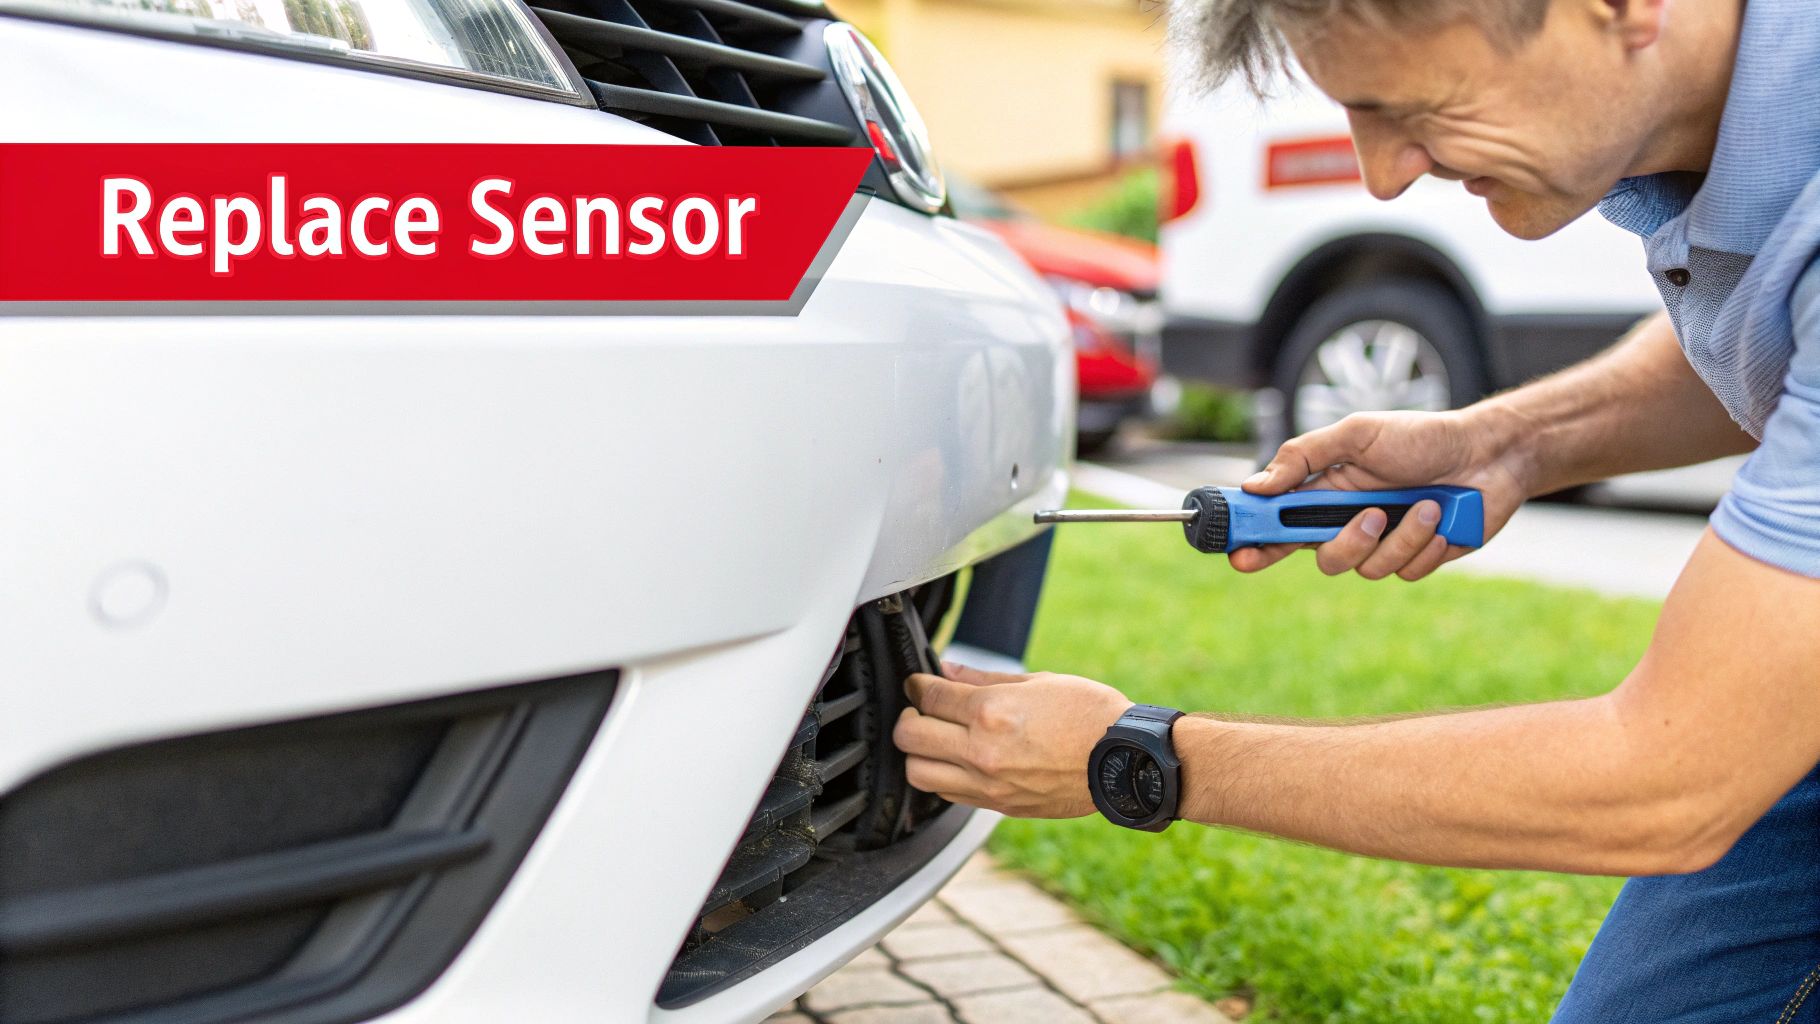
Now that you’ve pinpointed the silent culprit, it’s time for the fix. Don't be intimidated; replacing a parking sensor is a surprisingly manageable DIY job. With some patience and a few common tools, you can skip the expensive trip to the dealership and get your park-assist system working again in just an afternoon.
The biggest hurdle for most folks is simply getting behind the bumper. It sounds like a big deal, but you usually don't have to remove the entire thing. On many cars, you just need to pop a few plastic clips and remove some screws in the wheel well. This gives you enough wiggle room to pull back the corner of the bumper cover and reach the sensor.
Getting Your Tools and Parts in Order
A little prep work now will save you a massive headache later. Having everything you need on hand means you won't be scrambling mid-job or accidentally scratching your paint.
- Trim Removal Tool Kit: These plastic pry bars are a must-have. They let you pop off plastic clips without snapping them in half, which is way too easy to do with a screwdriver.
- Socket Wrench Set: You'll probably run into a few bolts holding the bumper cover on.
- Needle-Nose Pliers: Perfect for convincing a stubborn electrical connector to let go or releasing a tricky retaining clip.
- A New Sensor: This is the star of the show. You can find a wide variety of replacement parking and bumper sensors online that are guaranteed to fit your make and model.
Pro Tip: Look for a pre-painted sensor using your vehicle's paint code. It costs a little more, but it saves you a trip to the body shop and ensures the new sensor blends in perfectly right out of the box.
Swapping Out the Old Sensor
With your new part and tools ready, it's go-time. Start by gently prying away the clips holding the bumper liner or cover. Create just enough of an opening to get your hand and arm behind the bumper.
Once you have a visual, you’ll see the sensor is held in place by a couple of small plastic tabs and plugged into a wiring harness.
First, unplug it. There’s a small release tab on the electrical connector; press it down firmly and pull the plug straight off. Next, squeeze the retaining tabs on the sensor housing. As you squeeze them, you can push the old sensor out from the back of the bumper. It should pop right out the front.
Installing the new one is just as easy—just do everything in reverse. Push the new sensor into the hole from the outside of the bumper until you hear its retaining clips click into place. Plug the wiring harness back in (listen for that satisfying click!), and then put all the bumper clips and screws back where they belong. It's a simple, gratifying repair that brings back your car's functionality and your confidence when backing up.
Digging Deeper: When It's Not the Sensor
So, you've cleaned the sensors and they all passed the "click test" with flying colors, but that pesky park assist error is still glaring at you from the dashboard. What now? When a parking sensor is not working but seems perfectly healthy, it’s time to suspect the supporting cast—the wiring and the control module.
This is where things can get a bit more involved. The wiring loom for these sensors is usually strung along the inside of the bumper, leaving it vulnerable to all the road grime, salt, and moisture your car kicks up. A good visual inspection is your next move. Get underneath and look for anything that seems out of place—wires that are chafed, pinched, or have insulation that’s cracked and brittle. It only takes one small break in a single wire to knock out the whole system.
Checking the Connectors and Control Module
While you're under there, zero in on the main connectors where the bumper harness meets the vehicle's main body. These junctions are prime real estate for water to sneak in, which leads to that ugly green, crusty corrosion on the connection pins. If you can get to them, carefully disconnect them and inspect for any hint of moisture or damage.
The brain behind the whole parking sensor system is the Parking Aid Module (PAM). You'll usually find it tucked away behind a trim panel, often in the trunk or somewhere near the rear of the car. A quick look at the module itself can sometimes reveal the problem right away, like a connector that's worked its way loose or even signs of water damage.
If you spot significant corrosion or find wires that are frayed and damaged, you're likely looking at a more complex fix than just swapping a sensor. There's no shame in knowing when to call in a professional.
When the problem goes beyond simple components and into the vehicle's electrical nervous system, getting help for professional electrical system repairs is often the smartest and safest path. While diagnosing these deeper faults often requires a multimeter, wiring diagrams, and a bit of know-how, having the right tools can help you narrow down the issue. Even if you don't fix it yourself, knowing where the problem might be makes for a much more efficient chat with your mechanic.
Answering Your Top Parking Sensor Questions
Even after you've pinpointed the problem, you might still have a few questions about how these systems work and what to do next. Let's tackle some of the most common things we hear from fellow DIYers when they're staring down a faulty parking sensor.
Can a Car Wash Damage My Parking Sensors?
A quick trip through your local car wash is usually fine, but it’s not completely risk-free. The real culprit is the high-pressure water jet.
If a sensor already has a tiny, hairline crack or its seal is starting to wear out, that powerful spray can easily force water inside. That's a surefire way to short out the sensitive electronics and cause a failure.
Also, watch out for heavy waxes or sealants. Some car washes lay it on thick, and that residue can build up a film over the sensor. This can block the sensor's ultrasonic waves, tricking it into thinking something is there when it's not. A simple wipe with a microfiber cloth usually clears this right up.
Why Is My Sensor Beeping When Nothing Is There?
That constant, annoying beep in an empty space is what we call a "false positive." It’s one of the classic signs of a sensor going bad. A few things could be causing the phantom alert:
- Internal Failure: Sometimes, the sensor's internal components just give up the ghost and send a continuous, faulty signal.
- Physical Damage: A minor bump can push a sensor slightly into the bumper. When this happens, it starts reading the inside of the bumper itself as an obstacle.
- Water Intrusion: As we mentioned, any moisture that gets inside the housing will wreak havoc on the signals.
First, give every sensor a good, thorough cleaning. If the beeping doesn't stop, go back to the "listening test" we talked about earlier. The sensor that's buzzing or clicking erratically is your problem child.
Do I Have to Use Expensive Dealer Parts?
Definitely not. The dealership will always push for OEM (Original Equipment Manufacturer) parts, but high-quality aftermarket sensors are a fantastic, budget-friendly alternative. The aftermarket is full of reputable brands that engineer their parts to meet—and often exceed—the original factory specs.
The trick is to buy from a trusted supplier who can guarantee the part will fit your specific make, model, and year. Many even offer sensors pre-painted to match your car’s factory color code, which saves you a trip to the body shop.
For more detailed info on parts and making sure you get the right fit, you can find a lot more answers in our comprehensive FAQ section.
Is It Safe to Drive with a Faulty Sensor?
Yes, from a mechanical standpoint, your car is safe to drive. A bad parking sensor won't affect your engine, brakes, or steering.
However, you're driving without a key safety feature that's designed to prevent those frustrating low-speed bumps and scrapes. You'll need to go back to basics: rely completely on your mirrors, backup camera, and physically turning your head to check your blind spots. We always recommend getting the system fixed as soon as you can to get that layer of protection back.
When you need a reliable, guaranteed-fit replacement sensor to get your park-assist system back online, T1A Auto has you covered. Shop our extensive collection of high-quality, pre-painted parking sensors and get the job done right the first time.
