


Swapping out a car door handle is a classic Saturday morning DIY project. It's a fix most people can tackle in about an hour with some basic tools. Usually, the job involves popping off the interior door panel to get to the bolts and rods holding everything together.
So, when do you know it's time for a replacement? The most obvious clue is a handle that's physically snapped off or cracked. But often, the signs are more subtle—a handle that feels loose in your hand or just doesn't open the door anymore.
Is Your Car Door Handle Actually Broken?
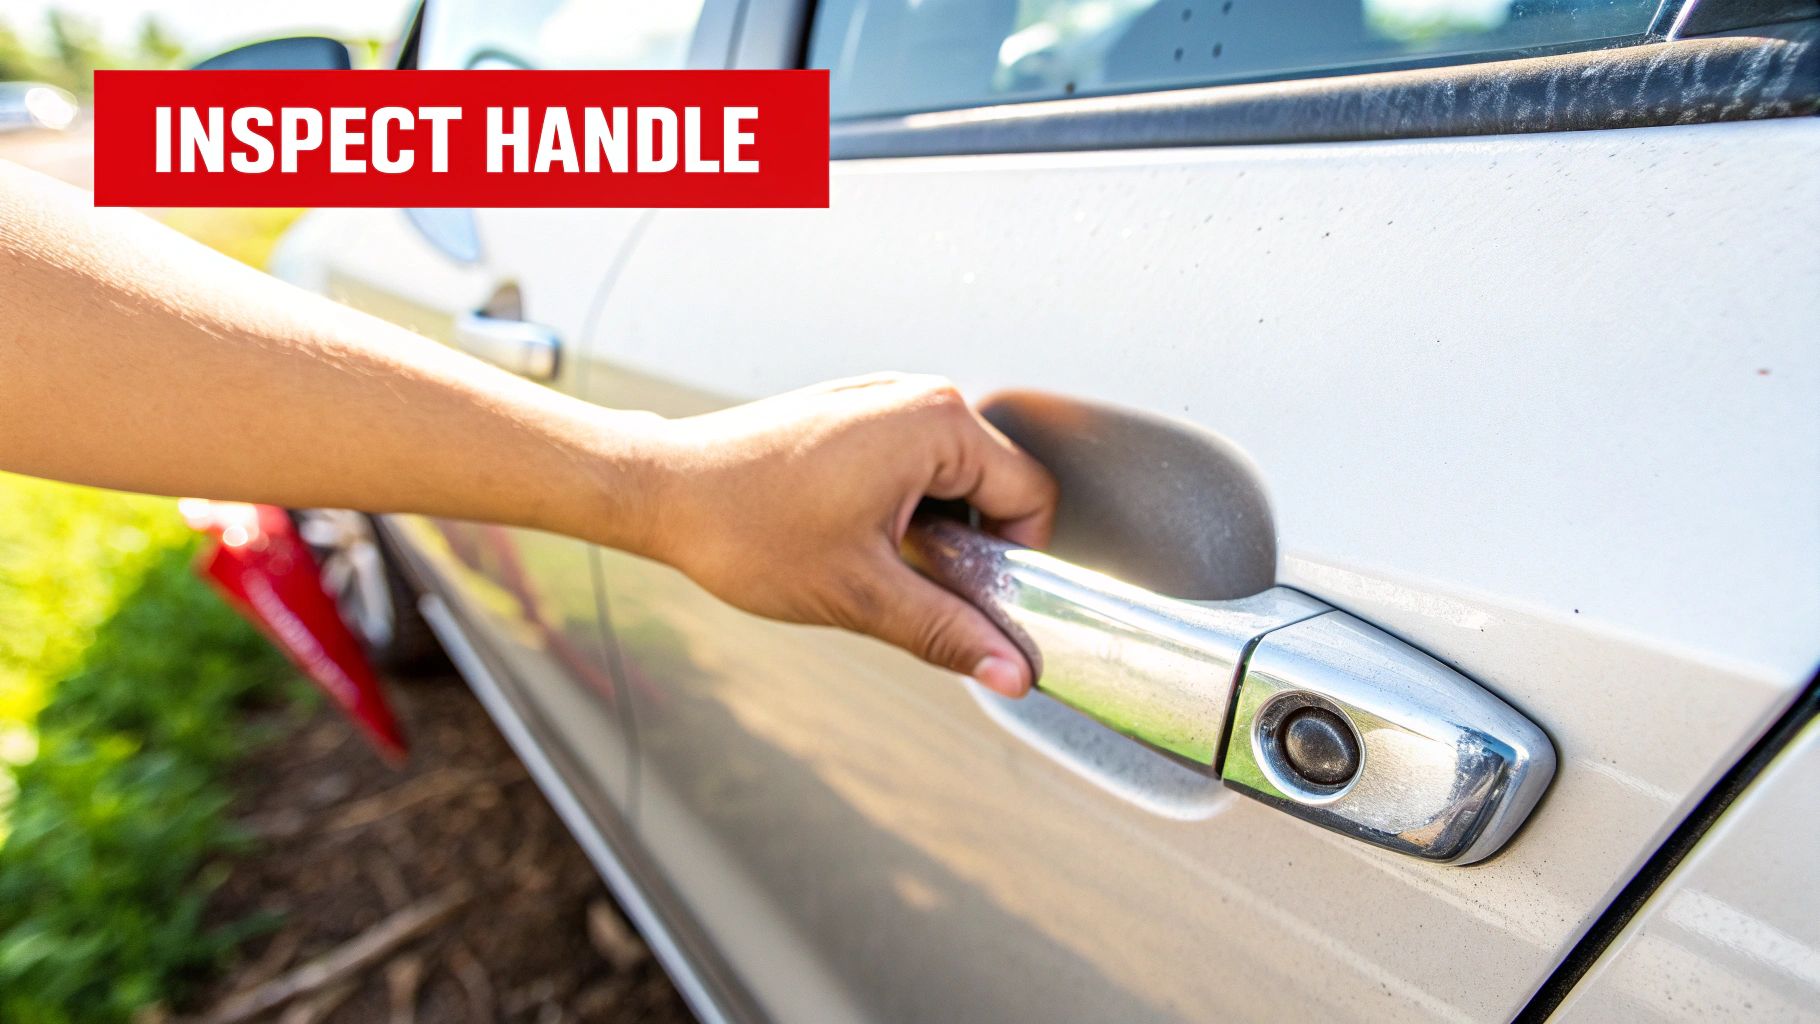
Before you start ordering parts and tearing into your door panel, let's make sure the handle is really the problem. A door that refuses to open can also point to a faulty latch or a jammed lock assembly. A few minutes of diagnosis now can save you a lot of headache later.
Sometimes, the problem is right there in plain sight—a big crack or a chunk of plastic missing. More often than not, though, the failure is hidden inside the door. After years of yanking and exposure to sun and rain, those little plastic and metal bits inside just get tired and give up.
Telltale Signs of a Failing Handle
Pay close attention to what you feel and hear when you use the handle. A healthy one is smooth, firm, and snaps back into place. If you're noticing any of the symptoms below, you're probably looking at a replacement soon.
- It feels sloppy. If the handle jiggles or has a lot of play before it does anything, the internal parts are likely worn out, or the mounting bolts have worked themselves loose.
- There’s no resistance. You pull the handle, and it’s just… nothing. It feels completely disconnected. This is a classic sign that a linkage rod has popped off or a plastic clip has broken.
- It sticks or returns slowly. The handle doesn't spring back into its resting position after you let go. That usually means a weak or broken return spring is to blame.
- You have to pull it all the way. The door only unlatches when you pull the handle much further than you used to.
Before you go all-in on a new handle, consider the lock. If the handle feels solid but the door won't budge, the lock mechanism itself could be the culprit. We have a separate guide on what to do if your car door lock is stuck that can help you figure that out.
Key Takeaway: The feel of the handle is your best diagnostic tool. Any change from its original firm and responsive action is a strong indicator that an internal component is failing.
Thinking about the sheer number of times we use our car doors, it's no wonder handles wear out. The automotive door handle market was valued at around USD 4.84 billion in 2024 for a reason! These parts take a constant beating, making them one of the most commonly replaced components on any vehicle. You can see just how big this market is over at imarcgroup.com.
Diagnosing Your Broken Door Handle
Not sure what your handle's behavior means? This quick table should help you narrow down the issue and decide on your next move.
| Symptom | Likely Cause | Recommended Action |
|---|---|---|
| Loose or Jiggling Handle | Worn internal parts or loose mounting bolts. | Tighten bolts first. If it's still loose, a replacement is needed. |
| No Resistance When Pulled | Disconnected linkage rod or broken internal clip. | Access the internal mechanism to reattach the rod or replace the handle. |
| Handle Doesn't Spring Back | Broken or weak return spring inside the handle assembly. | This almost always requires a full handle replacement. |
| Handle Feels Normal, Door Won't Open | Potential issue with the door latch or lock mechanism. | Investigate the latch and lock first before replacing the handle. |
| Visible Crack or Break | Physical damage from impact or material fatigue. | A full replacement is the only safe and reliable solution. |
By matching what you're experiencing with the likely causes, you can confidently decide whether to grab your tools for a replacement or investigate another part of the door assembly.
Choosing the Right Handle and Tools for the Job
Nothing’s more frustrating than getting halfway through a repair only to realize you’re missing the right tool. Before you even touch a single screw on that door, let’s get everything you need lined up and ready to go. A little prep work is what turns a potential weekend-long headache into a smooth, one-hour job.
First up, the tools. You don't need to roll out a professional mechanic's entire toolbox, but a few specific items are non-negotiable. The one thing I absolutely insist on is a non-marring trim removal kit. Trust me, trying to use a flathead screwdriver is the fastest way to scratch your paint and snap the plastic clips holding your door panel on. These simple plastic pry tools are worth their weight in gold.
Essential Gear for the Task
Beyond those pry tools, the rest of your kit is pretty straightforward. These basics will get you through about 90% of the cars you'll ever work on.
- Socket Set with Extension: The bolts holding the handle are often tucked away deep inside the door frame. You’ll never reach them without an extension.
- Screwdriver Set: You'll almost always need a Phillips head and a flathead for the various screws on the panel and handle assembly.
- Needle-Nose Pliers: Perfect for getting a grip on those small, fiddly linkage rods and clips that connect the handle to the door latch. These can be a real pain without the right tool.
Once your tools are laid out, it’s time to pick the replacement handle. This is where you run into the classic OEM vs. aftermarket debate.
Pro Tip: Before you disconnect a single thing, grab your phone and take a clear picture of how the linkage rods and clips are connected. Having that visual reference when you're putting it all back together is an absolute lifesaver.
OEM vs Aftermarket Handles
OEM stands for Original Equipment Manufacturer, meaning the part is identical to the one your car rolled off the factory floor with. You're guaranteed a perfect fit and finish, but that guarantee usually comes with a much higher price tag.
Aftermarket parts, on the other hand, are made by third-party companies. The quality used to be hit-or-miss, but today's aftermarket is a different story. Reputable brands often make parts that meet or even exceed OEM specs, sometimes even improving on known design flaws—like replacing a plastic piece that’s known to fail with a sturdier metal one. If you want to go deeper, we have a whole guide covering the key differences between OEM and aftermarket parts.
The market for these parts is booming, thanks to cars staying on the road longer and people needing reliable, affordable fixes. This has pushed aftermarket companies to innovate, creating high-quality options for nearly every vehicle out there. You can get more details about the automotive door handle market on arizton.com.
To make sure you get the right handle the first time, always double-check with your vehicle's year, make, and model. For a foolproof match, look up the specific part number online or call a dealership's parts department. This little bit of research ensures the handle you buy will fit perfectly, saving you the hassle of a return.
Removing the Old Car Door Handle
Alright, with your new handle and tools laid out, it's time to get down to business. Taking off the old handle is more about finesse than force. If you rush this part, you're going to hear the dreaded snap of a broken plastic clip or, worse, damage a wiring harness. So, take a deep breath and work methodically.
First thing's first, and this is non-negotiable: disconnect the negative terminal of your car battery. Seriously, don't skip this. Your door is a hub of electronics—power locks, window switches, speakers, maybe even airbags. Shorting something out is an expensive, frustrating mistake you can easily avoid.
Getting Inside the Door Panel
To get to the handle, you first have to get past the interior door panel. It's the big plastic piece that covers everything up. This panel is held on by a sneaky combination of hidden screws and plastic clips. The trick is finding all the screws, as they often hide behind little covers in the armrest or under the switch bezels.
Your trim removal tool is the hero here. Slide it between the panel and the door frame and gently pry. You’ll feel the clips pop loose one by one. Don't be alarmed if one or two break; it happens to even the most experienced mechanics. They're cheap and easy to replace. If you want a more detailed look at this step, our guide on how to remove a car door panel has some great model-specific pointers.
Once the clips are free, lift the panel up and away from the door. Don't yank it off completely—it’s still connected by a web of wires and cables.
This infographic breaks down the prep work before you start turning wrenches.
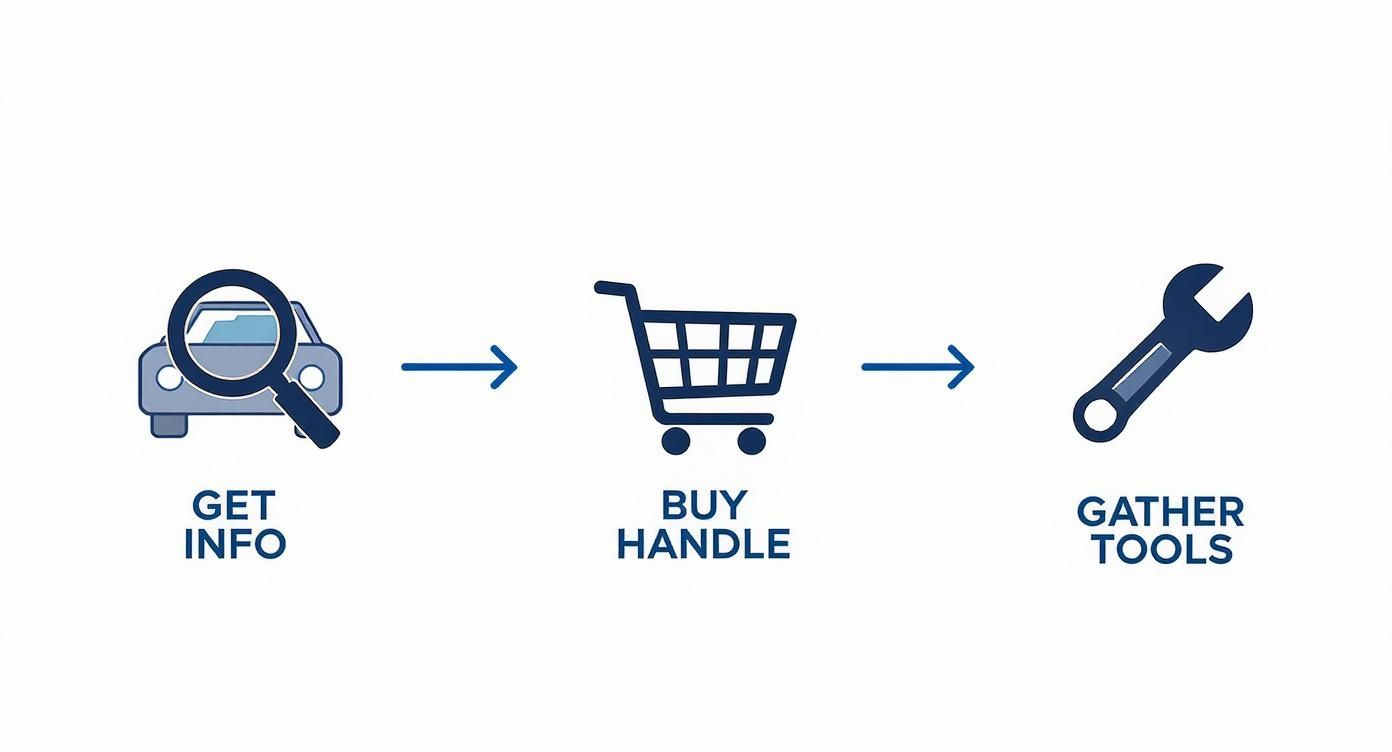
Following this order helps make sure you’ve got everything you need before your car is in pieces.
Disconnecting Rods and Wires
With the panel hanging free, you'll see the guts of the door. This is where that photo you took earlier comes in clutch. You need to unhook the electrical connectors for the windows and locks. They usually have a small tab you press to release them.
Next up are the lock and latch rods. These thin metal rods are the physical links between your interior handle and the actual latching mechanism. They’re secured by small plastic swivel clips.
- Releasing the Clips: You'll need to carefully rotate the plastic clip away from the rod.
- Freeing the Rod: Once the clip is swung open, the rod just lifts right out of its little hole.
Go easy on these clips, as they can get brittle with age. A small pair of needle-nose pliers can give you the leverage you need without putting too much stress on the plastic.
A Real-World Example: On many Ford F-150s, the clip for the lock rod is a different color than the handle rod's clip, which helps keep things straight. But on a Honda Civic, they might look identical. That's a perfect example of why a quick 'before' picture can save you a huge headache during reassembly.
Unbolting the Old Handle
You can finally see it—the mounting points for the exterior handle. Most handles are held on by two or three bolts, which are usually 10mm. You'll almost certainly need a socket with an extension to reach them properly.
Check the side of the door jamb for a rubber plug; sometimes one of the bolts is hiding behind it. Pop that out, and you should have access. Loosen and remove all the bolts holding the handle to the door skin.
Even with the bolts out, the handle might feel a bit stuck. It’s likely held on by a foam gasket that creates a weather-tight seal. Just give the handle a gentle wiggle from the outside to break it free. Now you can carefully maneuver it out, keeping an eye out for any last rods or linkages. With the broken handle in your hand, you're officially halfway there.
Installing the New Door Handle Like a Pro
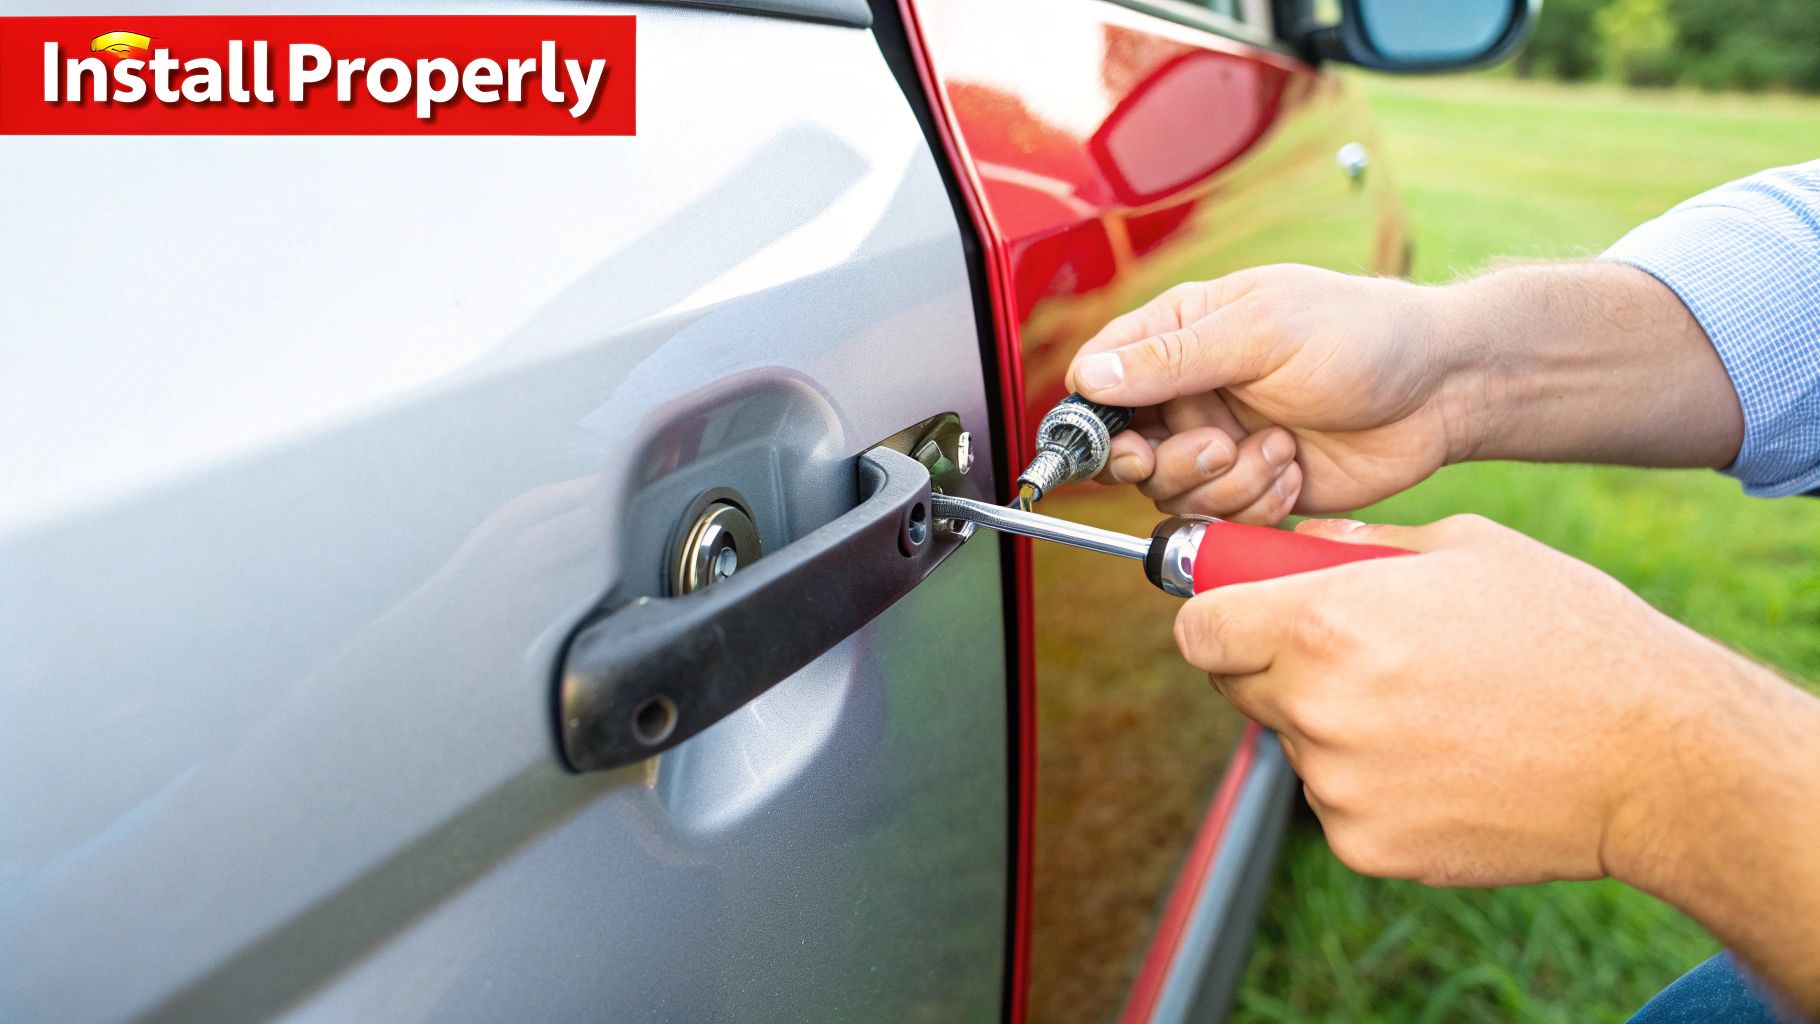
Alright, with the old handle gone, you're on the home stretch. This is the satisfying part where everything starts coming back together. The key here is all about careful alignment and putting things back methodically.
Before sliding that shiny new handle in, take a moment to clean the area on the door skin where it will mount. A quick wipe-down to get rid of any grime ensures the new gasket creates a perfect, watertight seal. Trust me, this little step can save you from finding surprise water leaks later.
Positioning and Securing the New Handle
Gently guide the new handle into the opening from the outside of the door. You might need to angle it just right to coax the internal bits through the hole. Double-check that the gasket is sitting flat against the door, not pinched or folded.
Now, from inside the door, hand-thread the mounting bolts. Starting them by hand is a must to prevent cross-threading, which is a headache you definitely don't need. Once they're all started, you can switch to your socket wrench.
Tighten the bolts in an alternating, star-like pattern, just like you would with lug nuts on a wheel. This pulls the handle down evenly against the door. Get them snug, but do not overtighten. Cranking down too hard can strip the threads or, even worse, crack the plastic housing on your brand-new handle.
Reconnecting the Mechanical and Electrical Systems
Time to hook everything back up. This is where that photo you snapped earlier becomes your best friend. You're basically just doing the disassembly in reverse.
First, tackle the mechanical linkage rods. Guide each rod back into its correct hole on the new handle’s mechanism. Then, swing the little plastic retaining clip back into place until you feel a solid click.
Pro Tip: If one of those plastic clips felt brittle or gave you a hard time coming off, I'd strongly suggest replacing it. A new clip is dirt cheap and provides real peace of mind that your lock rod won't just pop off randomly next week. Most auto parts stores have assortment packs.
With the rods secure, move on to the electrical connectors. These are usually keyed to fit only one way, so it’s pretty foolproof. Push the connector in firmly until its locking tab engages. That little click confirms you've got a secure connection for your power locks or keyless entry sensors.
Once everything is reconnected, you’ve reached the single most important step of this whole job.
The Critical Pre-Flight Check
Whatever you do, don't put that door panel back on yet. You absolutely must test everything first. Skipping this can lead to the massive frustration of having to tear it all apart again.
Run through this quick checklist:
- Exterior Handle: Pull it a few times. Does the latch release smoothly? Does the handle snap back into place?
- Interior Handle: Do the same test from the inside.
- Locks: Check them all. Use the manual lock, the power lock button, and your key fob. Lock and unlock the door repeatedly to ensure the rods are moving freely and the latch engages correctly.
- Window: If you unplugged the window switch, plug it back in for a moment and run the window up and down to make sure it's working.
If it all checks out, fantastic—you're clear to reassemble. But if anything feels stiff, clunky, or just doesn't work, now is the time to fix it while you still have full access. This final check is what separates a frustrating job from a professional, rattle-free repair.
Troubleshooting Common Installation Problems
So, you've got the new handle in and everything's reconnected, but something’s off. Don’t worry. Even pros hit a snag now and then. The good news is that most of these post-install hiccups are simple fixes, especially while you still have the door panel off.
The most frequent issue I see is a handle that just feels loose or sloppy. If it has a bit of wiggle in its housing, go back and double-check those mounting bolts. It's surprisingly easy for a bolt to feel tight before the handle is truly flush against the door. Give each one a final quarter-turn just to be certain.
When the Lock or Latch Misbehaves
Okay, a trickier problem is a lock that won't turn or a door that flat-out refuses to open. Nine times out of ten, this points directly back to the linkage rods you disconnected earlier.
- Rod Isn't Fully Seated: The rod can look like it's in place, but if that little plastic clip didn't snap shut, the first pull will pop it right back out.
- Rods in the Wrong Spot: It happens. You might have accidentally swapped the lock and latch rods. This is where that photo you took at the beginning becomes a lifesaver.
- Binding or Bending: Make sure the rods have a clear path. They shouldn't be bent, pinched, or rubbing against the window track or any wiring inside the door.
A similar headache is when your power locks suddenly go on strike. Before you panic, check the electrical connector. It probably just wasn't pushed in all the way. Unplug it and reconnect it, listening for that satisfying click to know it’s secure.
Expert Insight: Before you decide the new handle is a dud, always circle back to the basics. I've lost count of how many times a DIYer was certain they had a faulty part, only for us to find a linkage rod was just routed on the wrong side of a wiring loom.
Navigating More Stubborn Issues
The market for these parts is huge. Exterior handles, in particular, held the biggest market share in 2024 because they take a beating from the elements. With so many brands out there, you'll find slight design variations. If a rod seems a little too short to connect, take a closer look at the new handle—it might have multiple connection points, and you just need to use a different one for your specific model.
If you've triple-checked every connection, wiggled every rod, and the problem is still there, you might be looking at an issue with the door latch assembly itself, not the handle. When you’ve hit a wall and don't feel comfortable digging any deeper, there's no shame in calling a pro. For those situations, it’s worth looking into trusted auto repair services. A good mechanic has the diagnostic tools to figure out complex latch and electronic problems in a fraction of the time.
Got Questions? We've Got Answers
Even after you've tightened the last bolt and snapped the door panel back into place, you might still have a few things on your mind. Let's run through some of the most common questions that come up after a door handle replacement. Getting these sorted will give you total confidence in the job you just did.
How Much Did I Just Save?
This is usually the first thing people wonder. Taking your car to a mechanic for this job can easily set you back anywhere from $100 to $250 just for labor. The cost of the handle itself is all over the map—a simple aftermarket part might be $20, but an official OEM handle with all the modern keyless entry electronics can push past $300. By tackling this yourself, your only real expense was the part.
Is It Possible to Replace the Handle Without Taking Off the Door Panel?
I get this question all the time, and I wish the answer were different, but for just about any car built in the last 30 years, it’s a hard no. The handle is bolted to the door from the inside. There's absolutely no way to get to the mounting bolts or the linkage rods without getting that interior panel off first.
Seriously, don't even think about prying the handle from the outside. You'll just end up with a dented door, scratched paint, and a broken handle you still can't remove. The whole assembly is designed to be accessed from inside the door shell.
So, What's the Trickiest Part of the Whole Job?
If you ask ten people who've done this repair, nine of them will give you the same answer: fiddling with the tiny plastic clips that connect the lock and latch rods. These things are always buried in the most awkward, hard-to-reach spots where you can barely see, let alone fit your hands.
Pro Tip: Remember that photo you took before you disconnected everything? It’s about to become your best friend. Referencing how those rods and clips were originally oriented can be the difference between a 20-minute struggle and a 2-minute fix. A good pair of needle-nose pliers and a deep breath will get you through it.
Does the New Handle Need a Paint Job?
That all depends on what you bought and what your car originally came with. A lot of aftermarket handles come in a standard textured black or a basic chrome finish, which is often a perfect match for the trim on many vehicles.
But if your original handles were color-matched to your car's body, you’ve got a couple of routes you can take:
- Go with a "Paint-to-Match" Handle: These come in a neutral primer, all prepped and ready for paint. A local body shop can spray it for you for a perfect, professional finish.
- DIY with Color-Matched Spray Paint: You can find automotive spray paint that perfectly matches your car's factory color code. With a little prep work, the results can be fantastic.
- Order a Pre-Painted Part: Some online suppliers will actually paint the handle to your car's color code before they even ship it out, which is a great time-saver.
Picking the right option here is key to making sure your repair is invisible, keeping your car looking sharp and factory-fresh.
For parts that are guaranteed to fit and are often engineered to be better than the original, take a look at the premium selection from T1A Auto. Find the exact door handle for your car or truck and get your repair done right. Head over to https://t1aauto.com to find your perfect match.
