


It's easy to think a cracked mirror is the only reason to swap out your side view glass, but that’s just scratching the surface. The real question is whether the mirror is fully functional. Sometimes, the glass looks fine, but hidden failures in the heating element or auto-dimming feature are putting your safety at risk.
Figuring this out early can be the difference between a quick, cheap glass replacement and a much pricier full assembly swap.
Identifying Problems Beyond Just a Crack
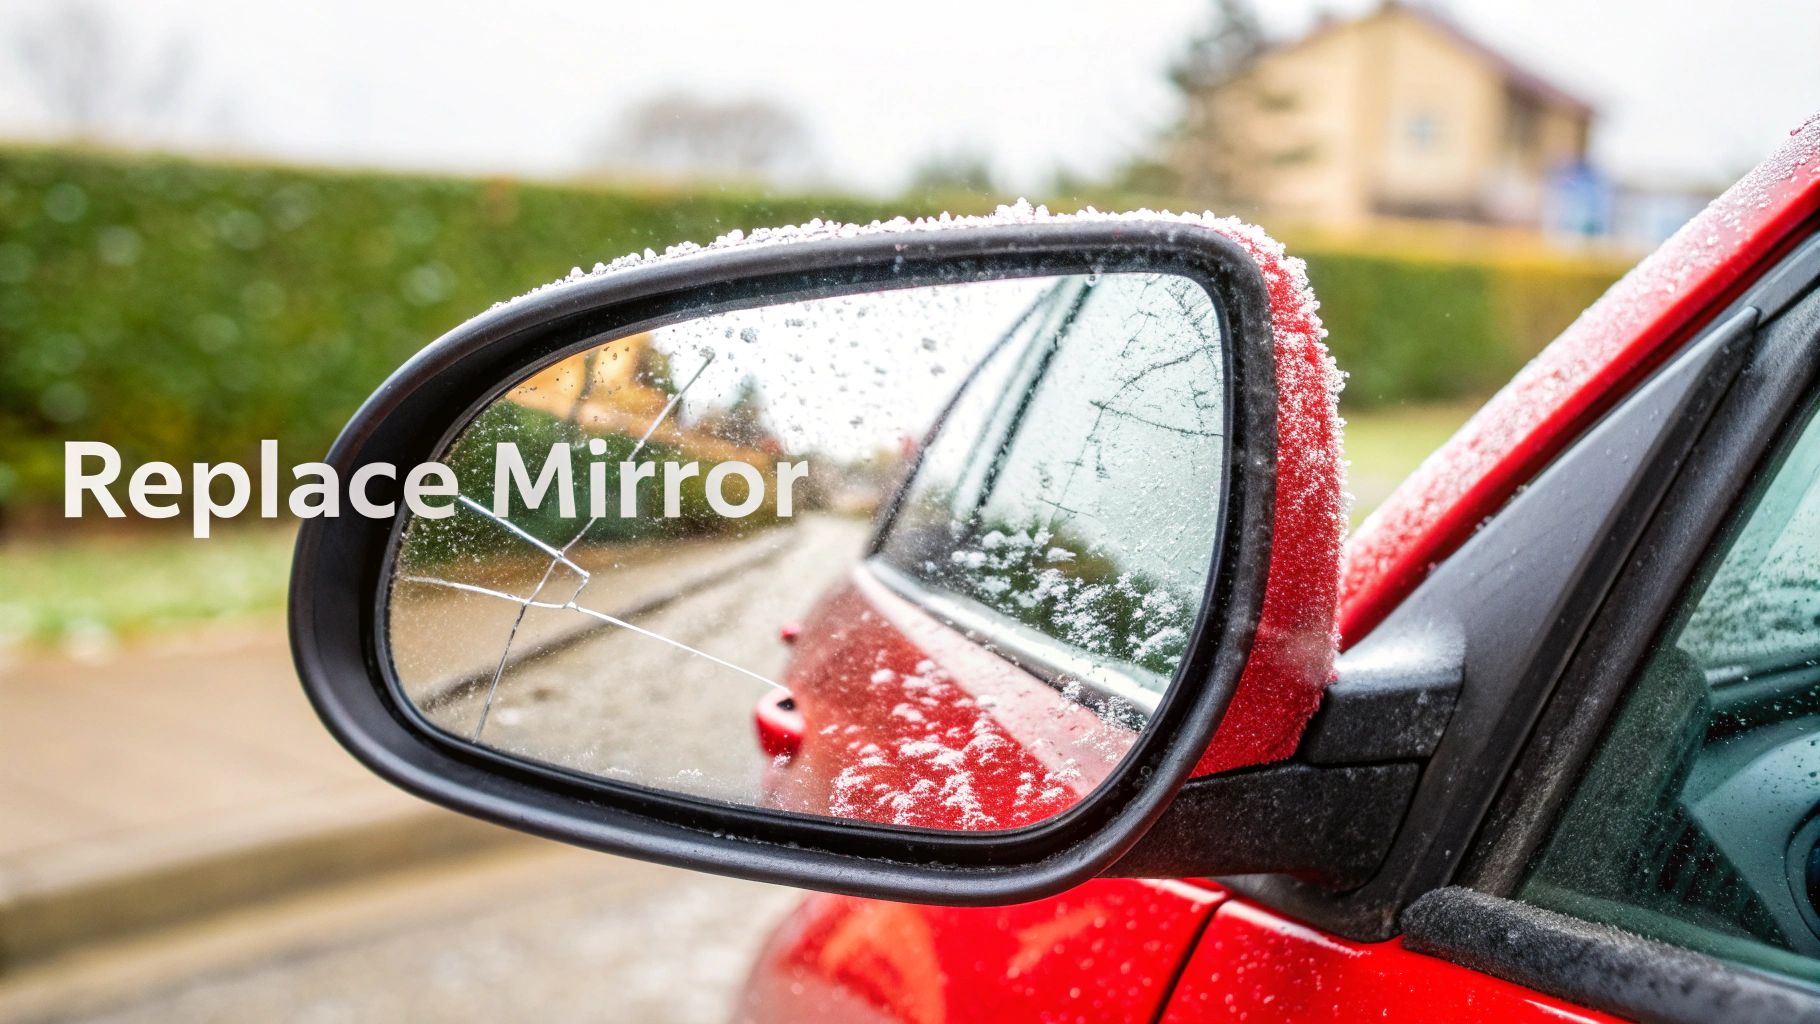
A shattered mirror is a no-brainer—it’s a major safety hazard that needs immediate attention. But what about the less obvious problems? Knowing these subtle signs will tell you if just replacing the side view mirror glass is the right move.
Common Signs of Mirror Glass Failure
Often, the glass itself is perfectly intact, but the tech embedded within it has given up. You'll want to keep an eye out for these specific malfunctions that signal it's time for a new piece of glass.
Here are the big ones I see all the time:
- Heating Element Failure: It's a frosty morning, and one of your side mirrors clears up nicely while the other stays completely iced over. That's a classic sign the heating grid inside has failed. This is a common weak point on older cars and a real pain for winter visibility.
- Auto-Dimming Malfunction: Getting blinded by every car behind you at night? Your auto-dimming feature has probably called it quits. You might even see a weird yellow-brown discoloration or what looks like a bubble spreading across the glass.
- Degraded Reflective Coating: Over the years, the reflective backing on the mirror can start to break down. This creates blurry, dark, or distorted spots that make it nearly impossible to accurately judge the distance of other cars.
A compromised side view mirror isn't just an ugly blemish on your car; it's a critical safety failure. Driving with poor side and rear visibility seriously increases your risk of a lane-change collision.
In the end, as long as the mirror's main housing is intact and the power adjustment motor still works, replacing just the glass is almost always the smartest, most budget-friendly fix. It's a straightforward DIY job that gets you back to full safety and functionality without the headache and cost of a whole new mirror assembly.
Getting the Right Replacement Glass and Tools on Deck
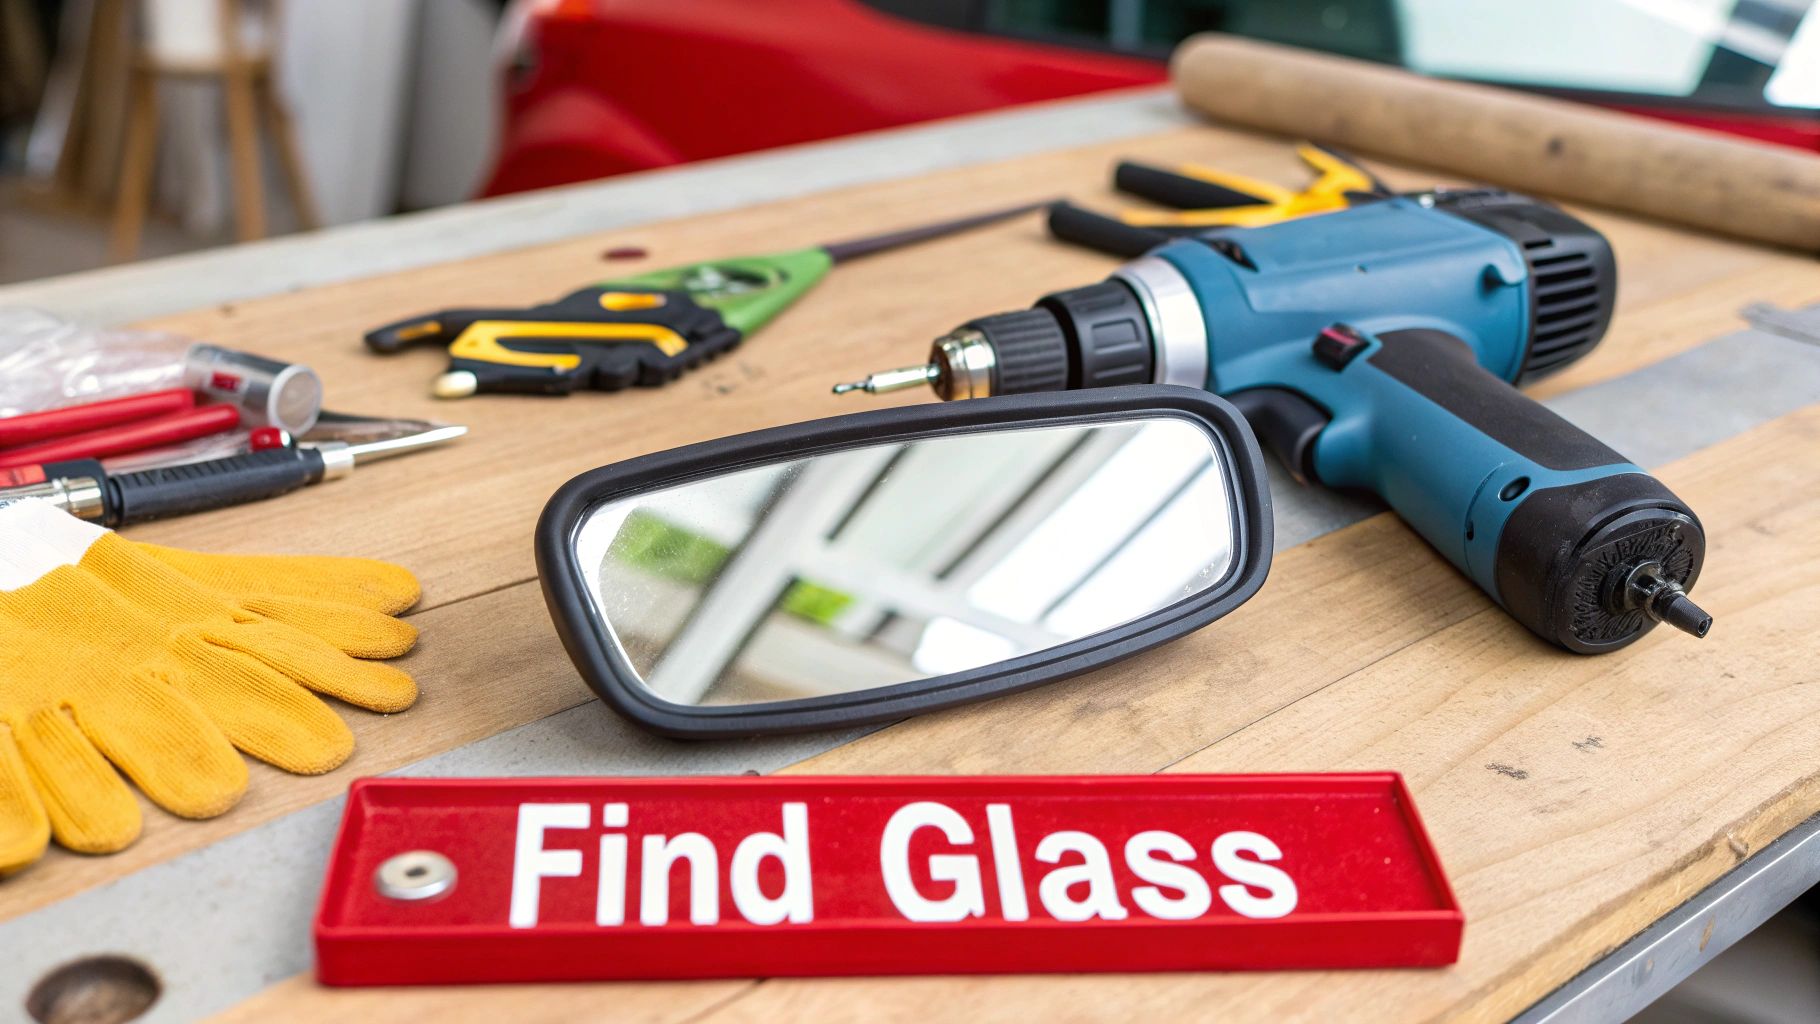
Good prep work is what separates a frustrating afternoon from a smooth, 20-minute fix. It all starts before you even touch the car. Having the correct replacement glass and a few specific tools ready to go makes all the difference. I’ve seen it a hundred times—rushing this part almost always ends in buying the wrong part or, even worse, damaging the mirror housing trying to improvise with the wrong tools.
Once you know for sure the glass has to go, the next mission is tracking down the perfect replacement. A good first step is to explore various replacement parts online to get a feel for what’s out there for your specific ride.
Sourcing the Perfect Mirror Glass
Getting an exact match for your vehicle is non-negotiable. Your car's year, make, and model will get you in the ballpark, but modern mirrors are packed with features that have to line up perfectly if you want everything to work correctly.
Before you click "buy," double-check which of these features your current mirror has:
- Heated Glass: Is there a little defrost symbol etched onto the glass? Or a mirror defrost button on your dash? The back of the glass itself will have a couple of small electrical terminals for the heating element.
- Auto-Dimming: Also known as electrochromic glass, this feature cuts down on glare from headlights behind you. This usually involves a more complex multi-pin connector.
- Blind-Spot Monitoring (BSM): If a little light pops on to warn you about cars in your blind spot, your replacement glass absolutely must have this capability.
Here's a pro tip: A common mistake is grabbing a standard, non-heated mirror for a car that came with a heated one. Sure, it might snap into place, but you'll lose a key safety feature, and those unplugged wires can rattle around inside the housing, driving you nuts.
To help you decide, let's break down the common options you'll encounter.
Side View Mirror Glass Replacement Options
This table compares the most common types of replacement mirror glass, so you can pick the right one for your car and budget.
| Glass Type | Key Features | Average Cost | Best For |
|---|---|---|---|
| Standard (Non-Heated) | Basic reflective glass with no extra functions. | $15 - $30 | Older vehicles, base models, or temperate climates where ice isn't a concern. |
| Heated | Contains a heating element to quickly defrost or defog the mirror surface. | $30 - $70 | Drivers in cold or humid climates who need clear visibility year-round. |
| Auto-Dimming | Automatically darkens to reduce glare from headlights behind you. | $70 - $150+ | Frequent nighttime drivers or those sensitive to bright lights. |
| With Blind-Spot Alert | Includes an integrated indicator light for the vehicle's BSM system. | $80 - $200+ | Vehicles originally equipped with this crucial safety feature. |
Choosing the right glass ensures your car's safety and convenience features keep working just as the manufacturer intended.
Assembling Your DIY Tool Kit
You don't need a professional-grade garage, but a few key items will make this job much safer and a whole lot easier. For example, reaching for a metal screwdriver is a surefire way to crack your brand-new glass or gouge the plastic housing.
Get these essentials together before you start:
- Plastic Pry Tools: These are your best friend for safely popping the old, broken glass off its backing plate without leaving a mark. They're a must-have.
- Heat Gun or Hair Dryer: The secret to getting the old glass off without a fight is gently warming up the adhesive behind it.
- Safety Gloves and Eyewear: Broken glass is unpredictable and sharp. Don't even think about starting without protecting your hands and eyes.
Having the right equipment is everything. You can find affordable automotive tool kits that will have everything you need for this job and plenty of other small repairs down the road.
Getting the Old Mirror Glass Out Safely
Alright, let's get our hands dirty. The key to removing the old mirror glass is finesse, not force. I’ve seen too many people try to just yank the glass off cold, and they almost always end up with a cracked housing or busted clips. We're going to avoid that.
First things first, use your power mirror controls to tilt the mirror all the way up and in toward the car. This little trick opens up a gap at the bottom-outer corner, giving you the perfect spot to start working. Before you go any further, slap some painter's tape along the painted edge of the mirror housing. Trust me, it’s cheap insurance against an accidental slip of your tool.
A Little Heat Goes a Long Way
Here's the secret sauce: heat. That glass is stuck on there with some seriously stubborn adhesive, and a little warmth makes it much more cooperative. Grab a heat gun on its lowest setting or even just a hairdryer on high.
You’ll want to keep the heat moving across the mirror's surface for about a minute. The goal is to get it warm to the touch, not blistering hot. This is just enough to soften up that adhesive and make the next step a whole lot smoother.
Pro Tip: Whatever you do, don't hold the heat in one spot for too long. You can easily melt the plastic backing plate or fry the internal wiring, turning a quick fix into a much bigger headache.
Once the adhesive is nice and soft, you're ready to start prying.
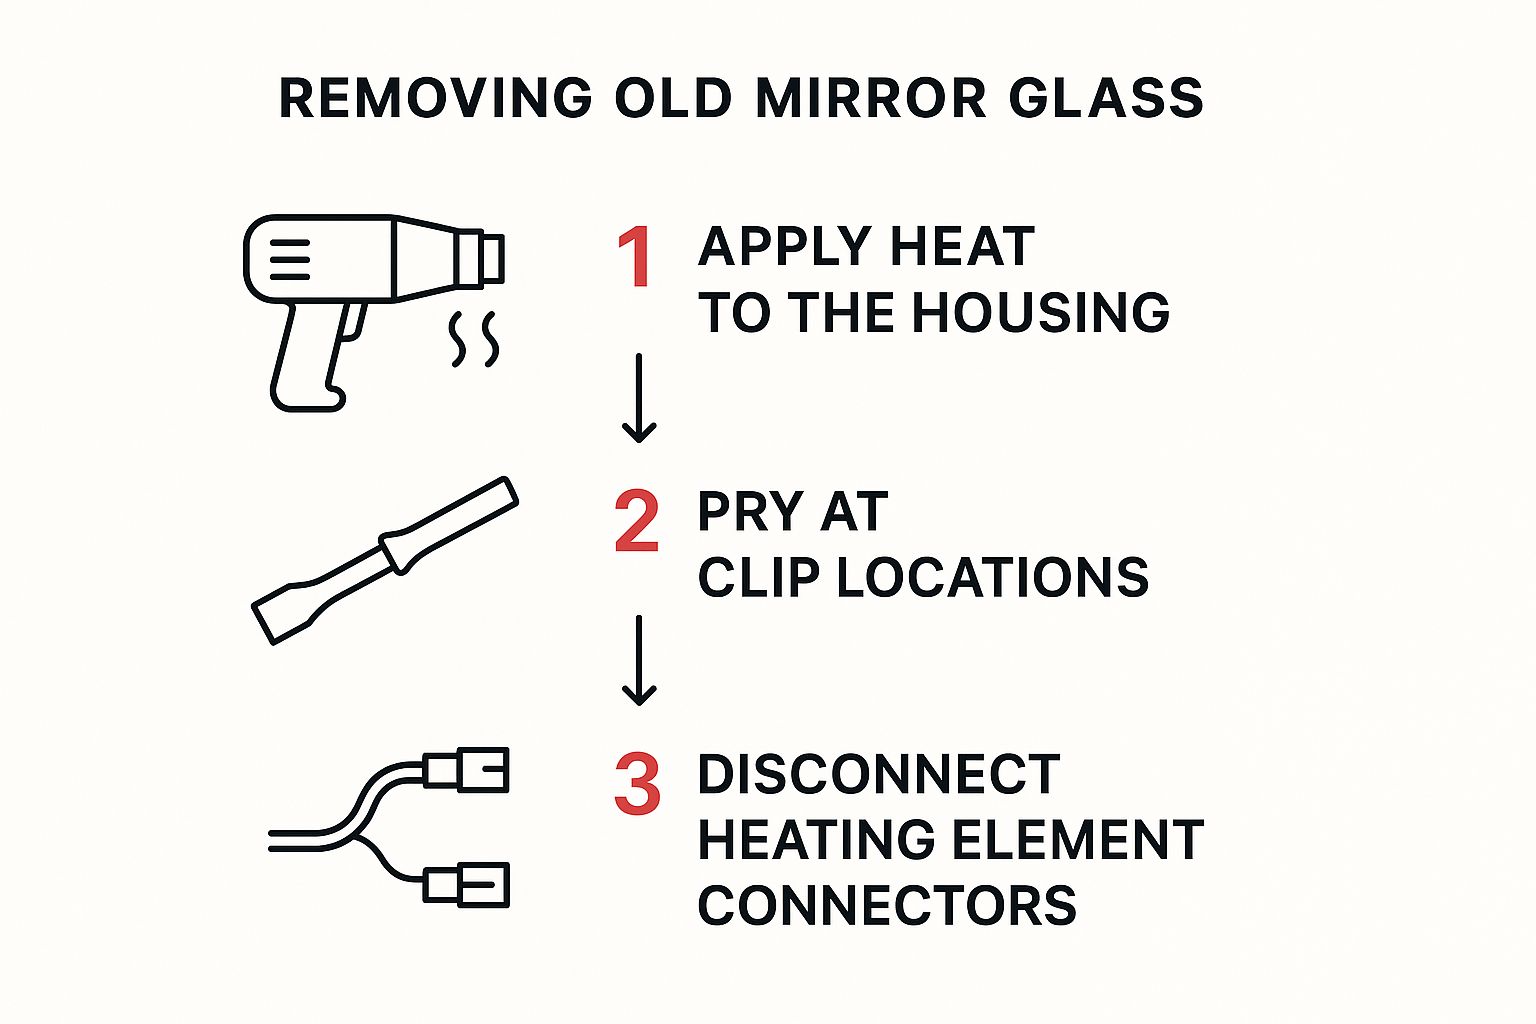
This process really boils down to those three simple actions: warm it up, pop the clips, and unplug the wires. Don't rush it.
Popping the Clips and Unplugging Wires
Gently slide your plastic pry tool into that gap you created. Don't try to rip the whole thing off in one go. Instead, work the tool around the perimeter until you feel the little plastic clips that hold the glass to the motor. Depending on your vehicle, you'll find somewhere between four and eight of them.
When you find a clip, apply slow, steady pressure until you hear a satisfying little pop. That's the clip letting go. Move on to the next one and repeat the process until the glass feels loose.
Now, if your mirror has features like a heater or blind-spot monitoring, hold on! Don't just pull the glass off. You'll see a couple of wires attached to the back.
- Heated Mirror Wires: These are usually simple spade connectors. A gentle wiggle with your fingers or a pair of needle-nose pliers should be enough to slide them off.
- Blind Spot/Dimming Wires: These features often use a small plastic plug. Look for a tiny tab you need to press down to release the connector.
Be gentle here; these little plastic parts can get brittle over time. Once the wires are disconnected, the old mirror is officially out. Set it aside and get ready to put the new one in.
Installing the New Mirror Glass Like a Pro
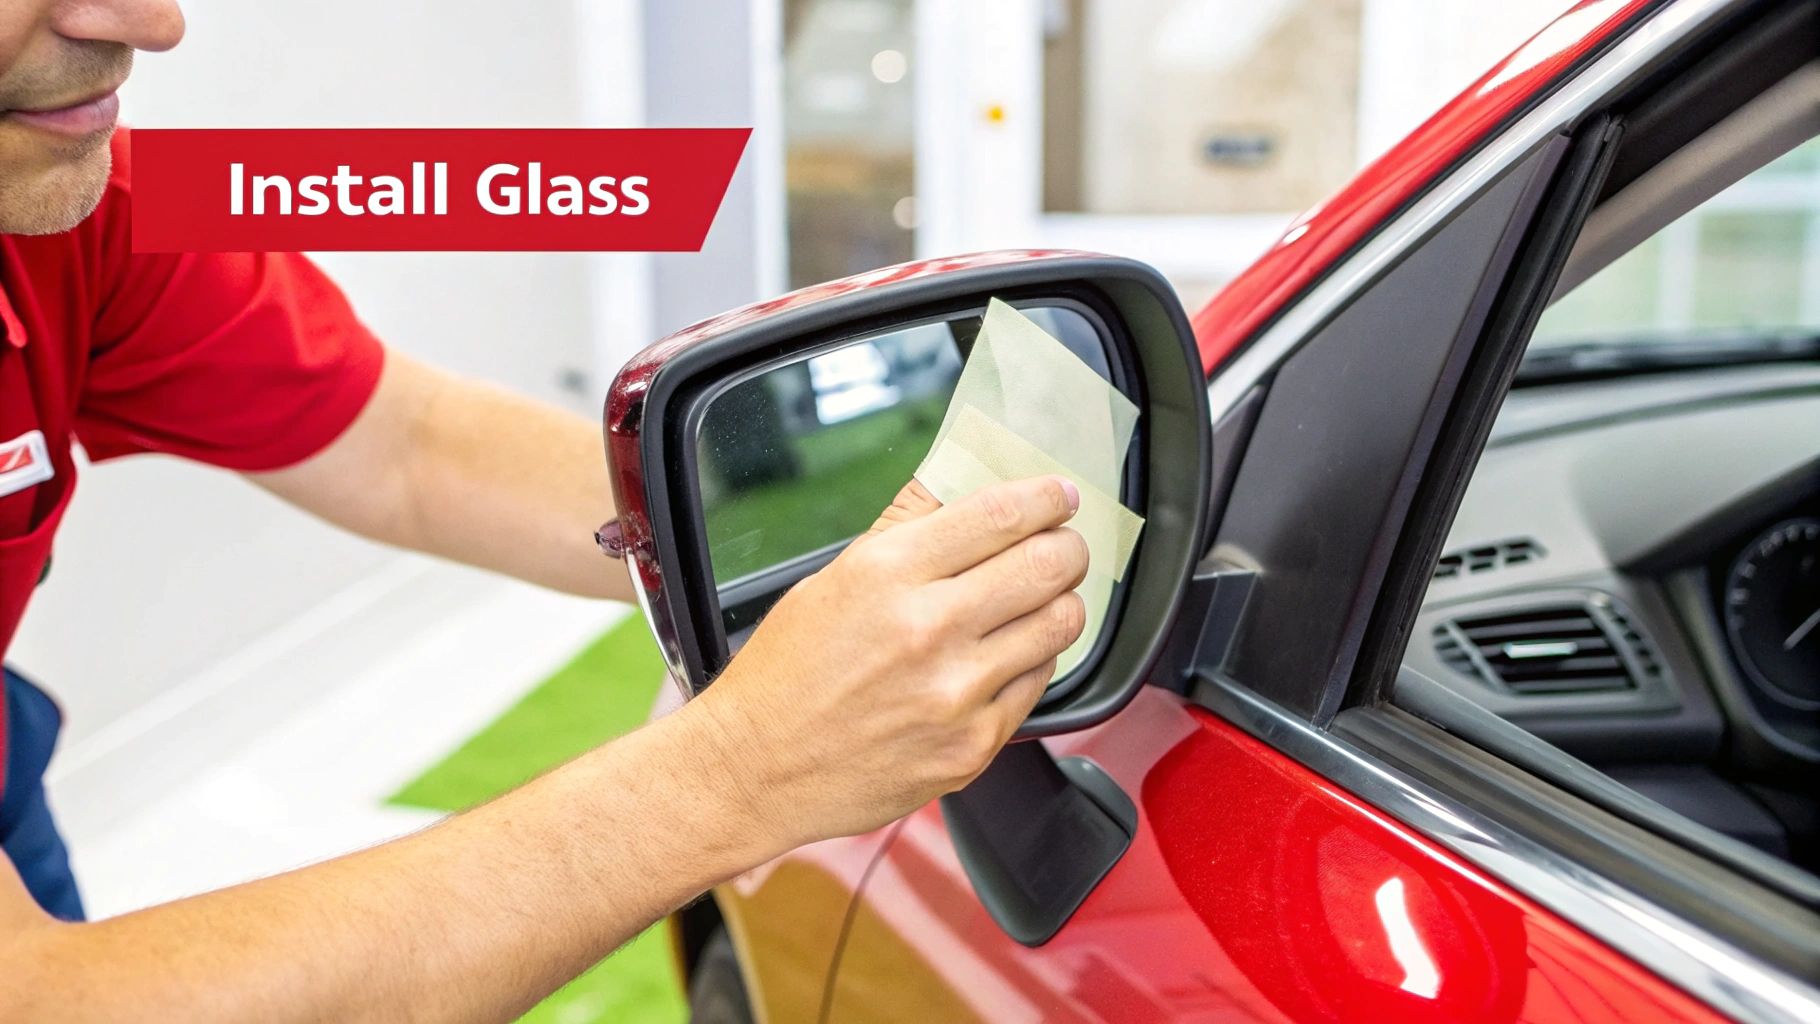
Alright, with the old glass out, you're on the home stretch. Getting this next part right is all about patience and a gentle touch. Trust me, rushing this final stage is the number one reason I see these DIY jobs go wrong, either because the new glass doesn't stick properly or—even worse—it cracks right in your hand.
First things first, you have to get that backing plate perfectly clean. Grab a plastic scraper and some isopropyl alcohol and get to work removing every last bit of that old, gummy adhesive. If you leave any of that gunk behind, the new adhesive won't get the clean grip it needs to form a permanent bond.
Connecting Wires and Applying Adhesives
Before you even think about peeling off any adhesive backing, do a quick dry fit. If your mirror has heating elements or a blind-spot monitor, now's the time to reconnect those electrical terminals. The spade connectors should slide on firmly, and any plastic clips should give you a satisfying click as they lock in.
Don't ever force a connection. The pins and connectors on the back of the glass are incredibly delicate. If something isn't lining up, take a breath and double-check your alignment.
With everything connected, let the mirror hang for a moment while you get the adhesive ready. Most replacement kits include double-sided adhesive pads. Peel the backing from just one side and apply them directly to the plastic backing plate inside the housing.
For the best results, keep these tips in mind:
- Space them out: Place the pads evenly around the plate. This distributes the pressure and provides solid support across the entire mirror.
- Watch the wires: Be careful not to stick a pad over any of the wiring you just reconnected. You don't want to pinch anything.
- Press them on: Give each pad a firm press to make sure it’s fully seated on the backing plate before you peel off that final layer.
A quick heads-up: if you use a cheap, low-quality replacement, you might get a warning light on your dash like "BSM Malfunction." It happens. That’s why it’s always a good idea to source quality powered mirrors to avoid compatibility headaches.
Setting the New Glass Perfectly
This is it—the final and most satisfying part of the job. Carefully peel the remaining backing from your adhesive pads, line up the new mirror glass with the housing, and gently press it into place.
The trick here is to use slow, even pressure. Start from the center and work your way out to the edges using the palm of your hand. You should feel the clips on the back of the mirror snap securely into the backing plate. Once it’s fully seated, keep firm pressure on it for at least 30 seconds to help that adhesive create a solid bond. Whatever you do, don't use your fingertips—that creates pressure points and is a great way to crack brand-new glass.
Wrapping Up: Final Checks and Sidestepping Common Mistakes
https://www.youtube.com/embed/mK9mr0LhrAI
Alright, the new mirror glass is in place. You're on the home stretch, but don't close up shop just yet. A few quick final checks will ensure you don't have to do this all over again.
Hop into the driver's seat and power up the car. Use the electronic controls to move the mirror all the way up, down, left, and right. You're looking for smooth, immediate movement. If it seems jerky or sluggish, a clip might not be fully seated or a wire could be pinched behind the glass.
Making Sure All Your Features Work
Now, let's test the bells and whistles. If your mirror has a heating element, flip on the rear defroster (it's usually the same button). After a minute or two, the glass should feel warm to the touch. This simple check confirms your electrical connections are solid.
For mirrors with blind-spot monitoring, the indicator light should flash briefly when you start the car as part of its self-test. This tells you the system recognizes the new component. Getting this right is a big deal, as more cars on the road today have these advanced features, driving growth in the automotive aftermarket glass industry.
A word of advice from experience: The single easiest mistake is forgetting to reconnect the wires before snapping the glass on. It happens. But it means your heated mirror and blind-spot sensor are dead, forcing you to pry off the new glass and start over.
Pitfalls Every DIYer Should Know
Even a job this straightforward has a few classic traps. Knowing what they are ahead of time is half the battle.
Here are the most common blunders I’ve seen:
- A Weak Bond: This almost always comes down to one thing: not cleaning the old adhesive off the backing plate thoroughly. Even a little residue can prevent the new adhesive pads from getting a permanent grip.
- Installing It Upside-Down: It sounds impossible, but it happens more than you'd think. Convex mirrors have a very specific "this side up" orientation. Getting it wrong will seriously distort your view of the road.
- Using a Low-Quality Replacement: Going for the cheapest glass you can find can be a false economy. Poorly made aftermarket glass can sometimes trigger system errors, like a "BSM Malfunction" warning, because its internal wiring isn't a perfect match for your car's computer.
With your new mirror working perfectly, make a habit of including a quick look at it in your routine maintenance. It’s a simple addition to an ultimate car maintenance checklist that helps keep you safe on the road.
Answering Your Top Mirror Replacement Questions
Before you roll up your sleeves, you’re probably wondering two things: how much is this going to cost, and how much of my weekend will it eat up? Good news on both fronts.
Replacing just the side view mirror glass is surprisingly affordable. You're typically looking at a cost between $30 and $70, especially for a heated version. That’s a massive saving compared to replacing the entire assembly, which can easily run you hundreds of dollars. As for time, this is a quick job—most people can get it done in under 30 minutes.
So, can you really do this yourself? Absolutely. If it's just a simple glass swap, this is a perfect project for a DIYer. It’s when the problem goes deeper that you might want to call in a professional. If the mirror's adjustment motor is dead or the whole housing is cracked and dangling, it's probably best to let a mechanic handle it.
This kind of repair is more common than you might think. The global automotive glass replacement market is expected to hit nearly USD 58 billion by 2029. You can learn more about the growth in automotive glass technology and see just how big this industry is.
When you're ready to find a part, make sure it has all the right features for your car. A quality option like this Toyota Corolla driver side mirror replacement is a great example of what to look for.
At T1A Auto, we provide premium aftermarket parts with guaranteed fitment, so you can tackle your next repair with total confidence.
Article created using Outrank
