


You're standing at the parts counter with a broken tailgate handle in one hand and a replacement kit in the other. The truck's gate still won't latch. The rods are bent, one striker is worn, and nobody has checked whether the kit matches the truck's build date or release type. That's how customers buy the wrong tailgate hardware kit three times in a row.
A tailgate isn't held shut by the handle alone. It's a coordinated system of latches, pawls, strikers, rods, hinges, cables, fasteners, and, on newer trucks, switches and wiring. Treating it as a single broken part is how you get a gate that looks repaired but still opens under vibration, binds at one side, or develops an electrical fault in the rain.
Table of Contents
- What a Tailgate Hardware Kit Actually Is
- Components Found in a Complete Kit
- Why Tailgate Hardware Fails
- Matching the Kit to Your Specific Vehicle
- Plastic, Upgraded Metal, and CAPA-Certified Options
- Installing a Tailgate Hardware Kit the Right Way
- Maintenance and Water Management
What a Tailgate Hardware Kit Actually Is
A proper tailgate hardware kit is a matched latch-system repair, not a random collection of parts. It may combine side latches, bed-mounted strikers, inner rods, an exterior handle, lock cylinder, support cables, hinges, bushings, fasteners, and an electronic release switch. The correct contents depend on the truck's body style, production date, latch design, and release type.
The handle supplies input. Pulling it moves rods or an actuator, releases both side latches, and lets the pawls clear their strikers. Closing the gate reverses that sequence. Both latches must engage fully, the gate must sit square in the opening, and the release must return without binding. A kit that fits the catalog description but misses the truck's build date or electronic connector is the wrong kit.
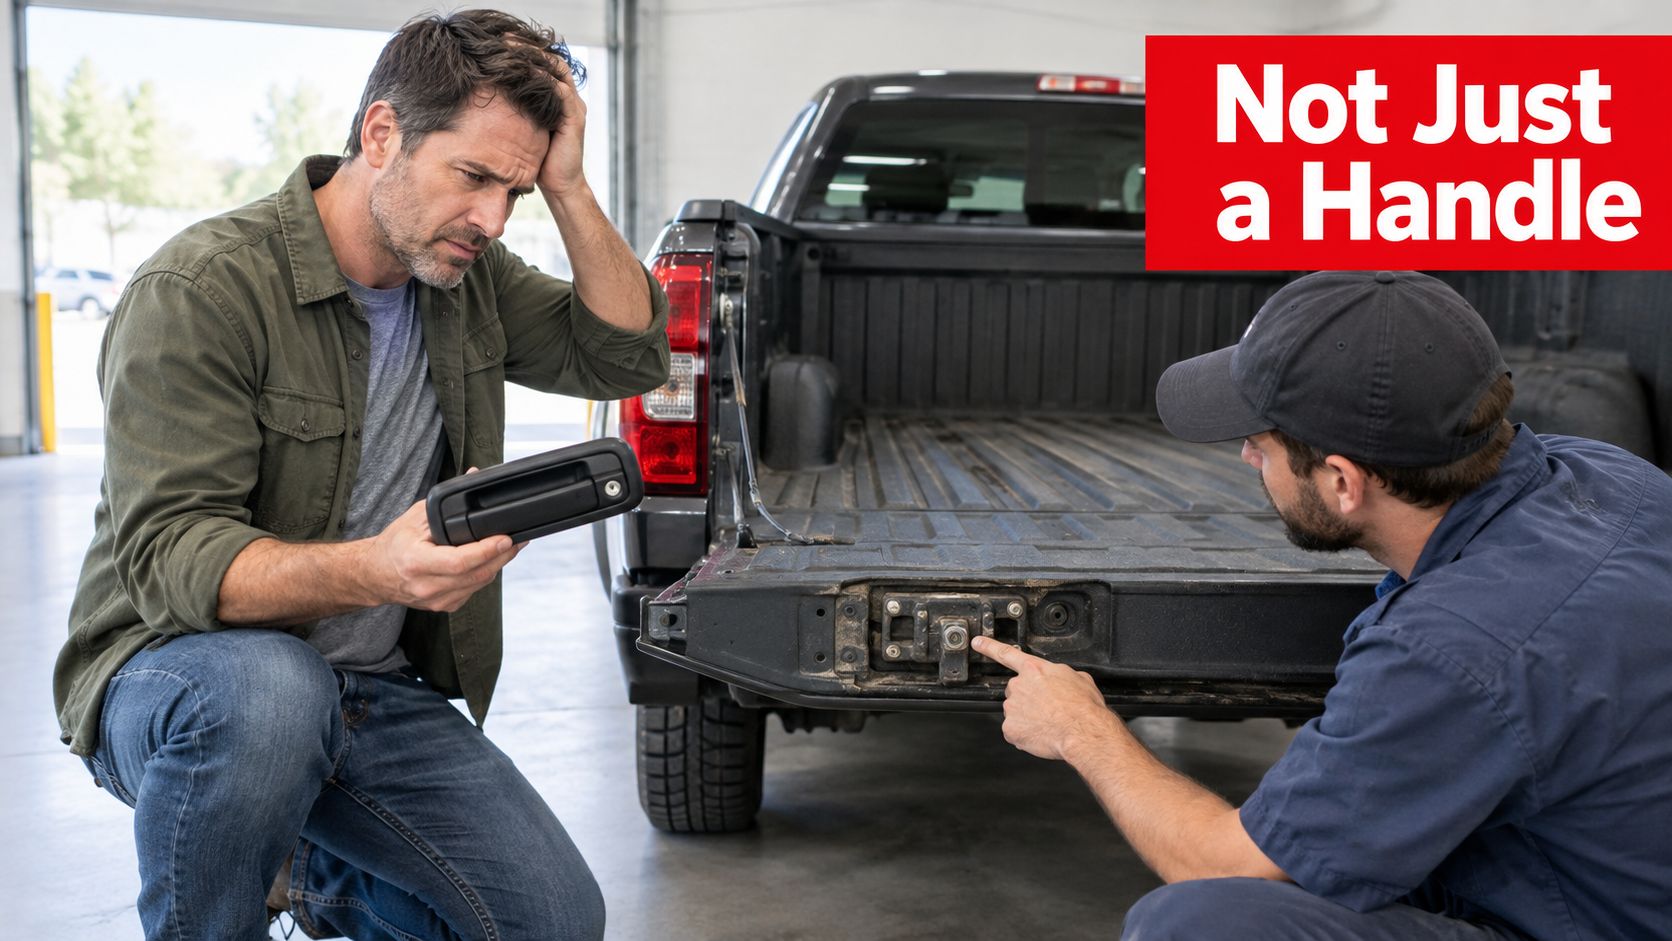
The handle is not the repair
I've seen owners replace a broken exterior handle and discover split plastic rod clips, a seized latch pivot, a shifted striker, or a stretched support cable inside the gate. Rust and water intrusion can add electrical problems on powered releases. A sagging gate changes latch angles, while poor frame alignment leaves one side carrying more load than the other.
Treat the tailgate hardware kit as a frame-alignment, water-management, and load-control decision. NHTSA recall documentation on Ram pickups describes misaligned strikers that could prevent proper latch engagement and allow the tailgate to open while driving (NHTSA Recall 22V-904). “Fits my truck” is only the starting point.
When several parts have aged together, replace the worn latch path as a system. Choose metal rods and clips where repeated force and vibration demand durability, and reject brittle plastic parts that carry the working load. For replacement body hardware, look for CAPA certification where an approved equivalent is available. Confirm the production date, bed configuration, manual or electronic release, connector, and seal before ordering.
After installation, close the gate slowly and check both sides. Pull firmly on each corner, verify the handle returns, test the lock and electronic release, inspect cable tension, and look for water paths around seals and connectors. If the gate rattles, sags, binds, or opens unevenly, stop and correct the alignment before driving.
Shop-floor rule: Buy the system that matches the truck, then prove that both latches hold.
Components Found in a Complete Kit
Start at the outside and work inward. The visible handle and lock are only the controls. The retention work happens at the sides of the gate, where the latches meet the bed-mounted strikers.
The parts that control retention
Side latches sit near the left and right edges of the tailgate. Their pawls rotate around the strikers and must remain positively engaged after the handle returns to its resting position. A weak spring, damaged pawl, seized pivot, or incorrect latch geometry can leave one side only partly locked.
Strikers are the fixed targets mounted to the truck bed. They determine where the latch closes and how much load the gate transfers into the body. A striker that sits too high, too low, too far inward, or at an angle can create binding or incomplete engagement.
Rods connect the handle or actuator to the latches. Metal rods are preferable for working trucks when the kit provides them with accurate bends and secure ends. Plastic clips still have a place as isolators and retainers, but failure-prone plastic rod ends are a poor choice where repeated handle force and vibration are involved.
The exterior handle and lock cylinder provide manual release and security. On powered systems, an electronic switch or actuator may replace part of the mechanical input. That changes the fitment requirement because the wiring, connector, seal, and switch housing must match the tailgate.
The parts that support and locate the gate
Support cables carry the load when the tailgate is open. They also influence how the gate hangs while you're trying to close it. A cable installed in the wrong routing position can bind, rub, or pull the gate out of alignment.
Hinges and bushings control the lower pivot. Worn hinge inserts can let the tailgate move laterally, making a correctly positioned latch look like the problem. If the gate has excessive side play, a new latch kit won't cure the underlying movement.
Fasteners, washers, sleeves, and clips are small but important. Correct thread length and head style matter around thin sheet metal. A missing spacer or reused distorted fastener can change the position of a striker or latch.
For trucks and vocational equipment, it's useful to understand how other repair catalogs organize wear components and application details. The walking floor repair catalog from Brothers Truck Trailer Repair and Welding Corp. is a practical reference for that parts-system mindset, where fit, load, and service environment matter together.
| Component | What It Does | Common Failure Symptom |
|---|---|---|
| Side latches | Capture the strikers and hold the gate shut | One side remains loose or won't release |
| Pawls | Lock around the striker under load | Gate unlatches under vibration or impact |
| Strikers | Provide the fixed latch engagement point | Gate sits high, low, or uneven |
| Rods and clips | Transfer handle or actuator movement | Handle moves without releasing both sides |
| Handle and lock | Provide manual release and security | Broken handle, loose feel, failed lock |
| Power switch or actuator | Commands electronic release | Intermittent release or no response |
| Support cables | Hold the open gate and control its position | Sagging, fraying, or uneven gate support |
| Hinges and bushings | Guide the lower pivot | Side play, rattle, or poor alignment |
| Fasteners and spacers | Secure and position the system | Looseness, shifted geometry, or binding |
A complete kit doesn't need every item listed above for every truck. It needs the right combination for that truck's release style, bed design, production period, and existing damage.
Why Tailgate Hardware Fails
A tailgate can look fine in the driveway and still have a dangerous latch problem on the road. Hardware fails for specific engineering reasons: weak pawl design, water entering electrical controls, poor frame alignment, corrosion, and production-date changes. Calling every failure “wear and tear” sends customers toward the wrong kit.
Ford's December 2021 recall covered 57,591 model-year 2018 F-150 pickups with manual or power-release tailgates. Under dynamic loading, the affected latch pawl design could let the tailgate unlatch while the truck was moving. Ford reported approximately 400 vehicles had received warranty repairs for a suspect latch between May 21, 2018, and October 25, 2021, and knew of no related crashes or injuries at that time (Ford's NHTSA recall report).
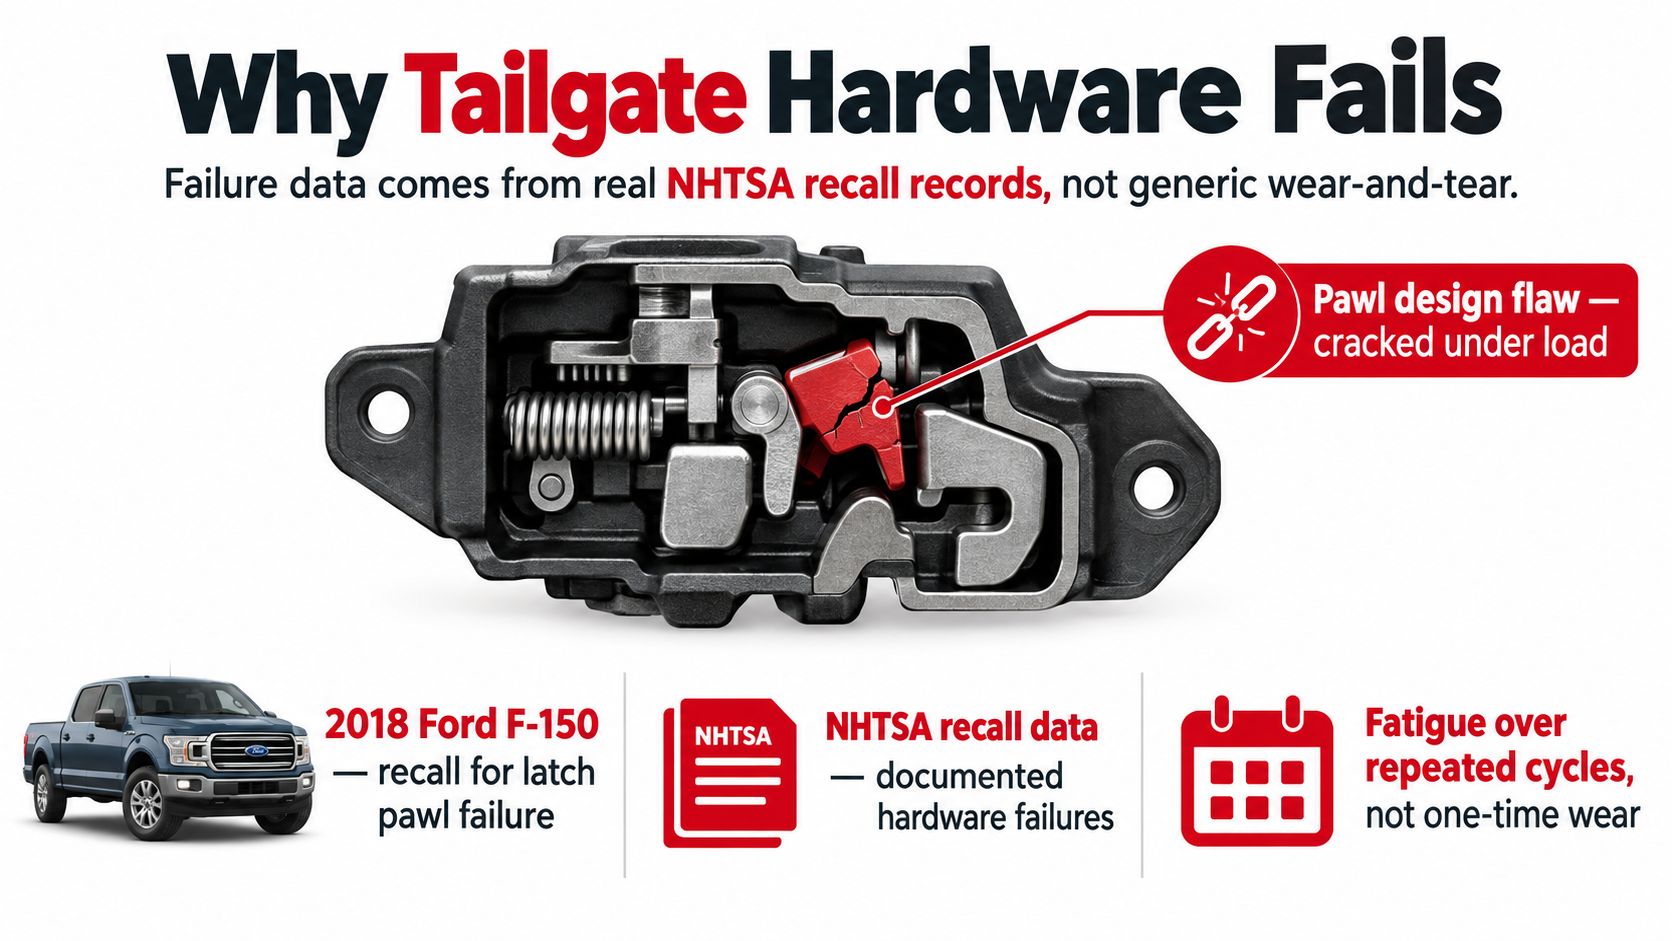
Three failure modes that change the buying decision
Pawl design matters. Two latches can look identical while using different internal pawls. Choose the revision engineered for the truck and verify positive engagement under vibration and impact. A kit that matches the bolt holes but uses the wrong pawl is a bad repair.
Electrical integration matters. Recent GM heavy-duty recall documentation covers 128,966 Chevrolet Silverado 2500/3500 HD vehicles. Related reporting identified a separate campaign involving 132,037 additional Chevrolet Silverado and GMC Sierra pickups built between August 1, 2023, and March 8, 2024. Water entering an exterior power-release switch could create a short and let the tailgate open while parked or driving (NHTSA recall documentation). Match the connector, actuator, sealing method, and release type, not just the model name.
Striker alignment matters. NHTSA Recall 22V-904 involved approximately 1,234,650 Ram 1500, 2500, and 3500 pickups whose misaligned strikers could prevent proper latch engagement (NHTSA Recall 22V-904). Alignment controls the load path. It is not a cosmetic adjustment.
The buying decision should account for model year, production period, latch revision, manual or power release, frame alignment, and striker geometry. After installation, close the gate slowly, confirm both latches capture evenly, test the release repeatedly, and inspect the connector or switch for water exposure. The handle feeling new proves very little.
A driveway failure can start with one rusted pivot, cracked clip, bent striker, or loose fastener. Vibration then turns that small defect into incomplete engagement or a gate that opens under load. Diagnose the whole latch system before ordering, and treat “fits my truck” as the starting point, not the verification.
Matching the Kit to Your Specific Vehicle
“Fits Ford F-150” is a marketing shortcut, not a fitment diagnosis. A tailgate hardware kit must match the latch system's geometry, release method, sealing, and production revision.
Record the vehicle's exact make, series, model year, cab and bed configuration, bed size, and manual or power release before ordering. Confirm those details against the VIN or the manufacturer's application data. Trim options, factory equipment, and mid-year production changes can alter the latch, rods, switch, cables, connector, or strikers.
Capture the application details first
As noted in the failure analysis above, the Dearborn plant reverted to the initial latch design on April 16, 2018, so verify build-date notes for your VIN. The same model-year label can cover different latch revisions. “Same truck” is not enough.
Use this buying checklist:
- Exact make and series. Confirm the truck line, not only the badge on the tailgate.
- Model year and production date. Use the model year as a starting point, then check the build-date range.
- Cab and bed configuration. Bed structure and cable length may differ.
- Bed size and tailgate design. Confirm the application where listings separate bed lengths or gate styles.
- Manual or power release. Match the handle, actuator, switch, connector, and water-sealed housing.
- VIN confirmation. Use the VIN when the supplier provides a fitment check.
Add the release type and production date to every order note. Those details expose many bad listings that claim broad model coverage. A kit that matches the badge but misses the frame alignment or striker geometry is still the wrong kit.
Before you click purchase: Photograph the existing latch, switch connector, rod ends, cable routing, and striker position. The old hardware is a comparison reference, not proof that its setup is correct.
For a broader comparison of factory and replacement components, see OEM vs aftermarket parts. The useful question is whether the replacement provides the required geometry, materials, sealing, and revision for your vehicle.
If a listing omits build-date coverage or manual versus power release, do not guess. Call the supplier, provide the VIN and photos, and get the application confirmed in writing.
A video can demonstrate the mechanism, but it cannot validate your truck's production split. Use it for procedure, then use vehicle data to choose the kit.
Plastic, Upgraded Metal, and CAPA-Certified Options
A tailgate hardware kit is a latch-system engineering decision, not a shopping list. Material affects cracking and distortion, but frame alignment, rod geometry, water management, electronic release design, and production-date coverage determine whether the repair works.
Compare the material and the job
OEM-style plastic assemblies can provide factory-style fit for a lightly used truck with an undamaged gate. They become a poor choice when molded plastic carries repeated load at rod ends, handle frames, or latch interfaces. If the original part failed by cracking, replacing it with another thin molded component repeats the failure pattern.
Upgraded metal components suit work trucks, frequent loading, and vehicles that keep breaking the same hardware. Steel or zinc parts resist cracking and distortion better, while metal rod ends and reinforced handle frames create a stronger load path. They still require the correct geometry. A durable part that misses the frame or striker alignment is still the wrong part.
CAPA-certified parts fit collision repair, insurance work, and fleet purchasing where documented replacement quality matters. CAPA certification addresses tested fit, finish, and corrosion performance against defined standards. It does not confirm that a listing matches your tailgate's release type, production date, or exact application. Review this guide to CAPA-certified parts before treating certification as a fitment decision.
My recommendation by use case
For a lightly used truck with sound mounting points, an OEM-style kit is adequate after application verification. For a work truck, choose reinforced metal at the handle, rods, and other high-stress interfaces when available. For a body shop or fleet, choose a vehicle-specific CAPA-certified option when the component is covered and documentation is required.
T1A Auto offers vehicle-specific tailgate handles, cables, hinges, latches, and related hardware, including upgraded metal and CAPA-certified components. Its published warranty structure lists a lifetime warranty on metal components and a 3-year warranty on standard items. Read the product terms for the exact kit before ordering.
Water exposure belongs in the material decision. As described in the failure analysis above, GM heavy-duty campaigns linked release-switch failures to water intrusion, so prioritize corrosion-resistant housings, revised switch materials, and proper sealing. An electronic release needs protection around the switch and connector, not just a stronger latch body.
Before ordering, confirm the kit's manual or power release, connector and housing design, rod ends, latch geometry, and production-date coverage. Ask the supplier to verify the application against the VIN when possible, and keep that confirmation with the order. “Fits my truck” is a low bar. The kit must match the release system, frame alignment, striker geometry, and build revision.
Installing a Tailgate Hardware Kit the Right Way
A tailgate can have the right parts and still be unsafe. Alignment, latch engagement, water protection, and release travel determine whether the repair works under load.
Park on level ground before disassembly. Record the hinge position, striker locations, gaps between the gate and bed sides, cable routing, and fastener locations. Photograph the gate open and closed. If the truck has collision damage, measure first. Bent sheet metal or a previous poor repair can make the old position misleading.
Work from reference points
Remove the support cables safely, then lower or remove the gate according to the vehicle's service procedure. Install the included handle, rods, latches, cables, and hinges without forcing anything into place. Keep rod routing smooth, fit every retainer, and prevent cables from twisting or becoming trapped between the gate and bed.
Leave the strikers loose initially. Close the gate carefully, center it between the bed sides, and adjust the strikers until both latches meet evenly without binding. The tailgate installation instructions also call for a level vehicle, correct cable installation, free latch movement, and latch-pin adjustment when alignment is off.
Dry-fit the system before final tightening. The handle must return fully, the lock actuator must complete its travel, both pawls must engage, and the gate should sit flush without a hard slam. A power release deserves the same check. Confirm that its connector, wiring, and actuator move freely without being pinched by the gate.
Verify before road use
Cycle the handle and lock repeatedly with the gate open. Close the gate slowly and inspect both latch interfaces. Apply a controlled pull at the center and each side. The gate must stay closed, and neither latch may release with the handle untouched.
Recheck the cables after alignment. If the gate shifts when lifted, stop and inspect the hinges, bushings, and mounting points. “Direct fit” only confirms that the mounting holes may correspond. It does not prove the body is straight or the latch system is adjusted.
For a focused procedure, follow this tailgate cable replacement guide. Take a short, controlled road-load check on a safe route, then inspect latch positions and fasteners again. Keep cargo unsecured until the system passes that check. A parts list is not a finished repair. The gate must align, latch, release, and remain secure through every test.
Maintenance and Water Management
A new kit still needs maintenance. Water, road salt, grit, and repeated cycling attack the release system from different directions, especially on trucks that live outdoors or work in coastal and salt-belt conditions.
Powered tailgates need connector inspection, not just latch lubrication. Check the switch seal, connector housing, wiring route, and grommets. Keep wiring away from pinch points, replace damaged seals, and confirm that the switch isn't electrically active after the gate closes. Water intrusion at an exterior release switch has been a documented GM failure mode, addressed with revised switch material for improved water resistance (reporting on the GM tailgate recall).
A practical inspection routine
Inspect exposed pivots and rods for corrosion, then apply a suitable lubricant where the component manufacturer permits it. Look for seized pivots, weak spring return, elongated mounting holes, worn striker surfaces, coating breakdown, and cable damage.
ASTM B117 is the recognized salt-spray test method for evaluating corrosion on coated automotive hardware. Test performance helps compare coatings under controlled conditions, but it isn't a direct prediction of how long a part will last on your truck.
Owners who want broader seasonal care guidance can also review SAAT Repairs Corp advice. For a tailgate specifically, inspect the system at least during routine service and after harsh winter or coastal exposure. Fleets should add the latch, striker, cable, and connector checks to their existing vehicle inspection process.
DIY work is reasonable when the gate and mounting points are straight, the kit is confirmed for the vehicle, and you can perform alignment and pull testing. Send the job to a repair or collision shop when the bed is bent, striker mounts are damaged, wiring has been repaired repeatedly, or both latches won't engage evenly after adjustment.
T1A Auto offers vehicle-specific tailgate handles, cables, hinges, latches, and related hardware, including upgraded metal and CAPA-certified options for different repair needs. Visit T1A Auto with your vehicle details and confirm the exact fitment before ordering.
