


You pull the rear handle in a parking lot, groceries in one hand, and nothing happens. The door opened yesterday, and the back door handle and lock still look intact from outside. Before you order the visible part, pause. That small pull connects to a longer chain of parts, and the part that failed is often not the part you're touching.
Table of Contents
- Why a Broken Rear Handle Deserves a Safety Check
- How Back Door Handle and Lock Assemblies Work
- Diagnose Symptoms Before Choosing a Replacement
- Compare Common Rear-Door Hardware Configurations
- Verify Compatibility Before Ordering Any Parts
- Install Replacements With Basic Safety Checks
- Worked Repair and Replacement Scenarios
- Make a Safe and Cost-Aware Repair Decision
Why a Broken Rear Handle Deserves a Safety Check
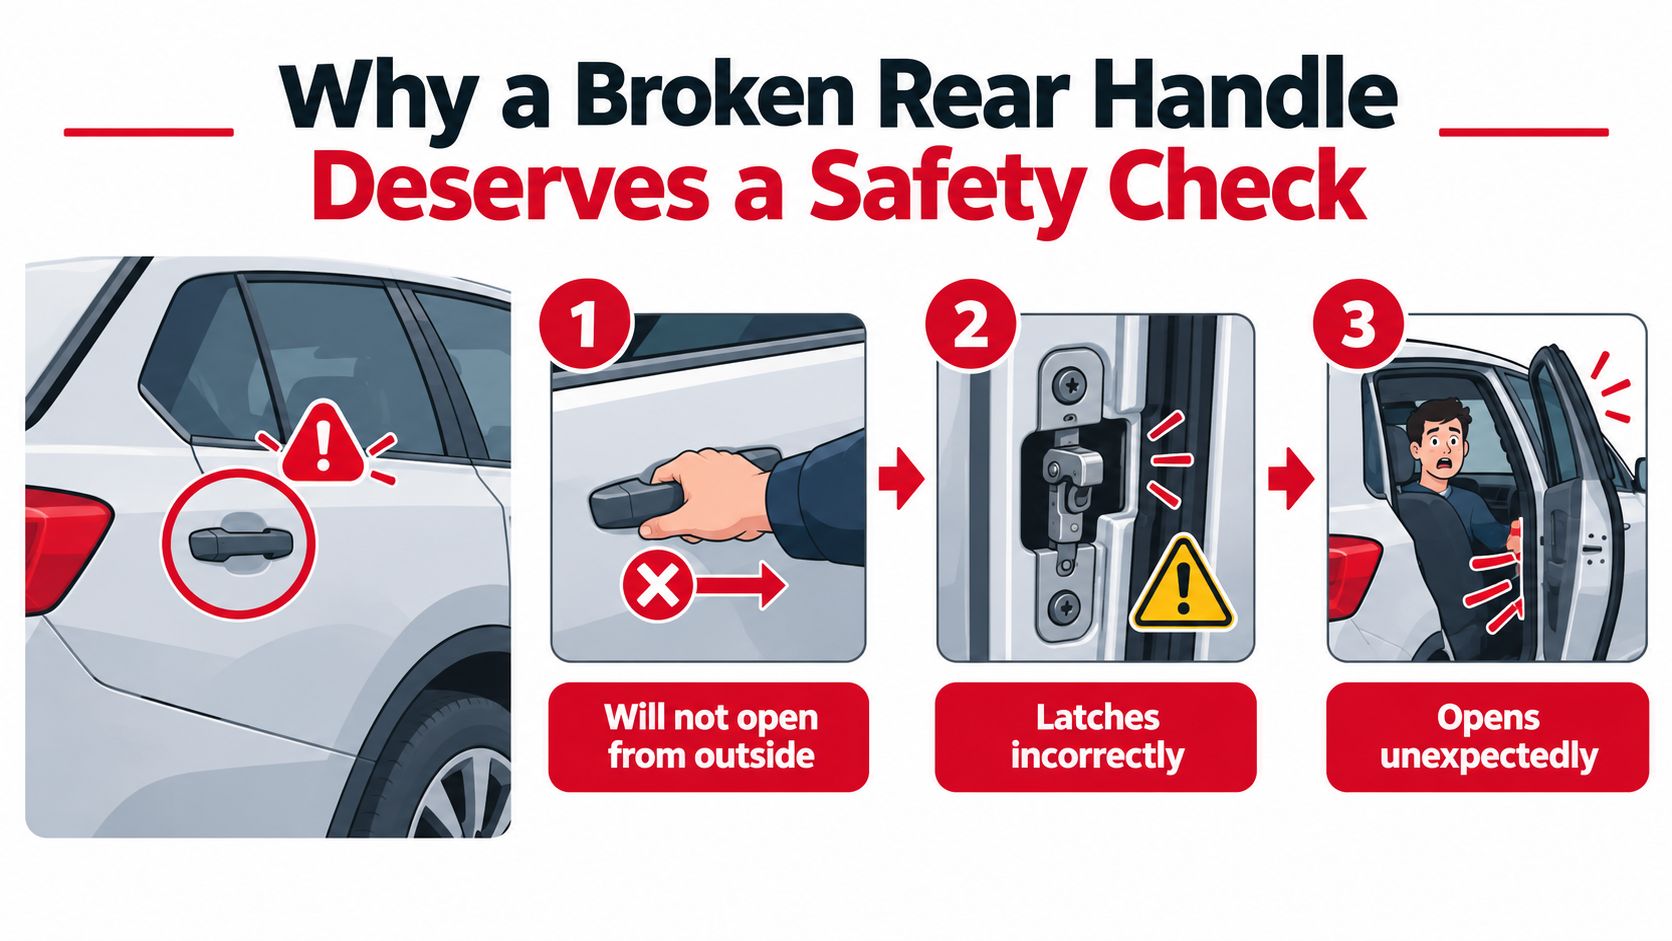
A parent loads a child through the opposite door because the rear exterior handle moves freely but the door stays shut. Another driver hears a soft click, pushes the door closed, and later finds it hasn't latched fully. Both problems look like a broken handle, yet either could involve a disconnected cable, a failed latch, an electronic lock fault, or an unresolved recall.
Your first step isn't removal. It's recall and safety triage using the vehicle identification number, or VIN. The NHTSA record for recalled Mustang Mach-E vehicles covers 197,432 Ford Mustang Mach-E vehicles recalled because low battery charge could leave electronic door latches locked, and a separate 2025 Volvo Trucks recall involved incorrectly seated latch cables that could prevent an inside cab door from opening. Those examples show why a replacement part can't substitute for a manufacturer remedy when a safety defect is the actual cause.
Raise the Urgency for Vulnerable Passengers
A rear door that won't open from inside matters more when the passenger is a child, a wheelchair user, or someone who can't climb to another exit. A door that opens unexpectedly matters for everyone. Treat those symptoms as safety faults, not nuisances, and avoid carrying passengers behind a suspect door until you've verified it latches and releases correctly.
First rule: If the door won't stay latched, won't open from inside, or releases without a deliberate pull, stop using it for passengers and check recall status before buying parts.
Cosmetic work can wait until the mechanism is sound. Small scratches around a handle, for example, are a separate finishing job, and detailers who handle that kind of repair often study paint touch up techniques for mobile detailers rather than treating paint as part of the latch repair. Your priority here is simpler. Confirm whether the vehicle has an open remedy, then follow the symptom through the system.
How Back Door Handle and Lock Assemblies Work
Think of the system as a pull and catch chain. The handle is the grip, the part your hand moves. The cable or rod is the messenger, carrying that movement inside the door. The lock controls permission, deciding whether the messenger may release anything. The latch is the catch, gripping a fixed metal loop called the striker on the body.
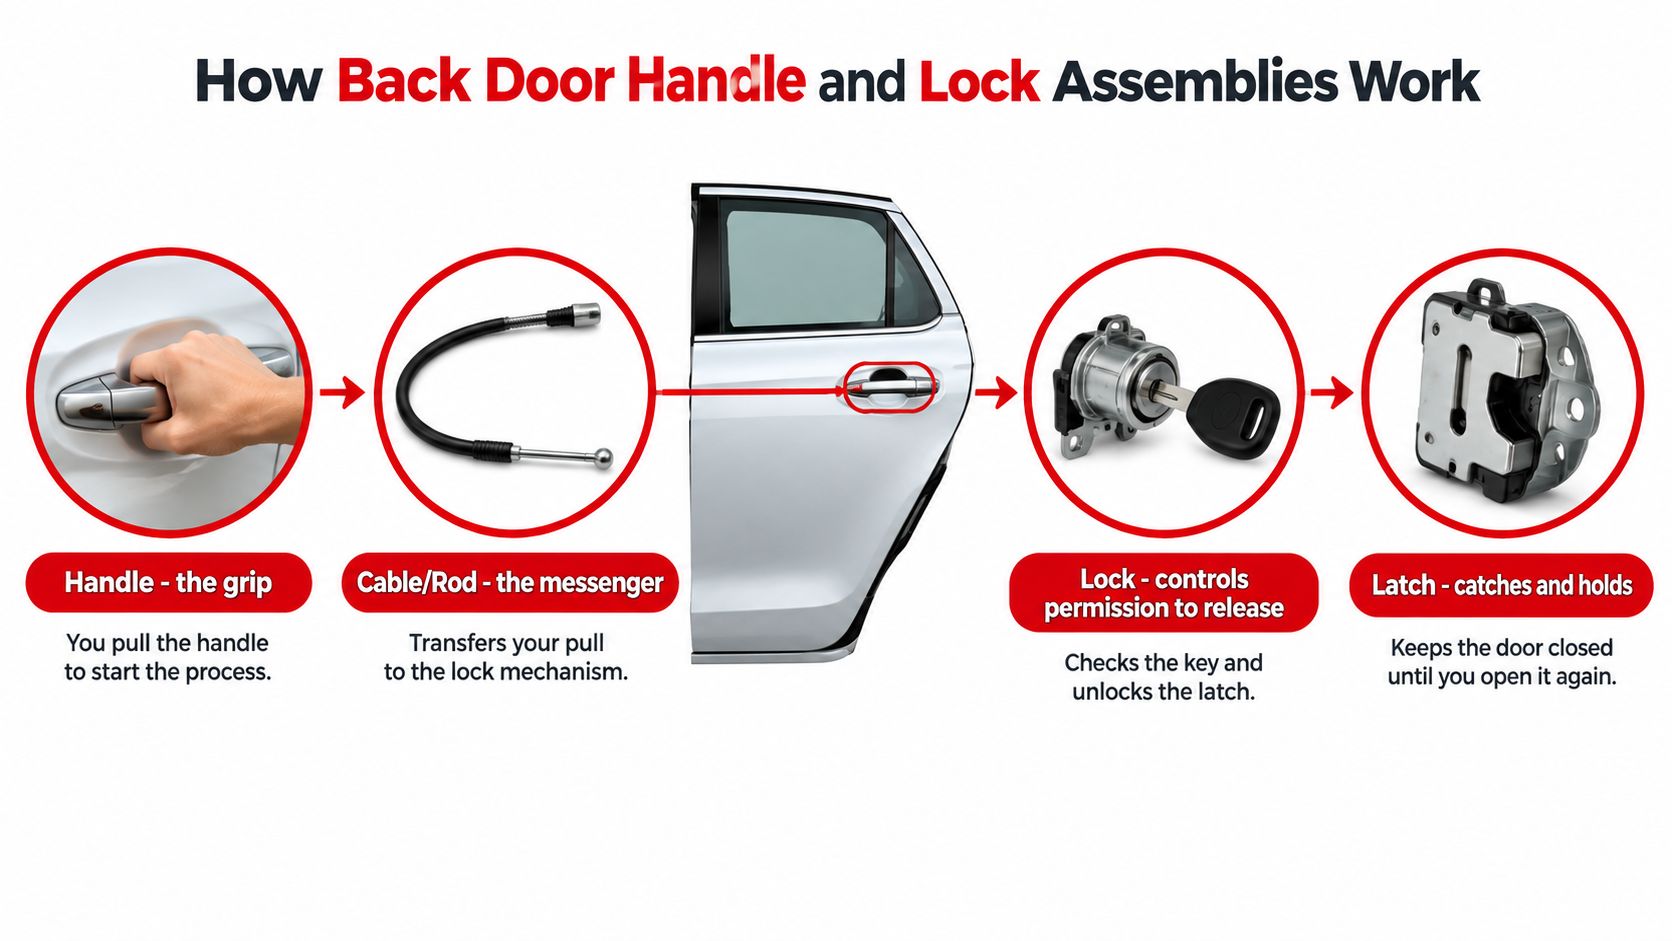
When you pull a released handle, the linkage rotates a release lever, the latch lets go of the striker, and the door opens. When you close it, the latch rotates around the striker and should reach its full-latch position, not merely a partial catch. A door latch assembly diagram showing how these parts align helps if the names blur together, because the handle and latch are different parts doing different jobs.
Rear Doors Are Not Liftgates
Shoppers often use one phrase for several designs. A hinged rear passenger door usually has interior and exterior handles linked through the door. A liftgate or tailgate may use an exterior grip or switch, an electric release, and a latch at the bottom or sides. Parts may be sold as a complete assembly, a handle with cover, a latch unit, or separate linkage pieces, so the name on a listing doesn't tell you which functions it restores.
The video below gives you a moving view of that handle to latch relationship before you start comparing parts.
This chain also retains occupants in a crash. The NHTSA interpretation of FMVSS No. 206 back door coverage explains that FMVSS No. 206 applies crash-retention and emergency-opening requirements to covered back doors that open directly into a passenger seating area, treating handles, locks, latches, and strikers as an integrated system. That's why a handle can look perfect and still be wrong if it doesn't transmit the correct release motion.
Diagnose Symptoms Before Choosing a Replacement
Start with what changes and what doesn't. Note whether the fault affects the outside handle, inside release, locking, or physical closure, and whether it happens every time. Don't force a binding mechanism or keep cycling an electronic latch, because repeated force can bend linkage or hide whether the original failure was electrical.
Follow the Movement in Order
Pull gently and watch the handle return. A handle that flops, stays out, or moves with no resistance points you toward its pivot, spring, mounting, or linkage connection. A handle that feels normal while the latch doesn't move suggests the messenger isn't delivering the pull, or the lock is blocking release.
Next, compare inside and outside operation on the same door. If the interior release works but the exterior doesn't, the latch can still release, so focus on the exterior path. If neither works, check lock state and child-safety settings before assuming both handles failed at once.
- Excessive slack: The handle travels a long way before anything responds, which can mean a stretched, detached, or poorly seated cable or rod.
- Binding: Movement starts, then drags or stops, which directs you to a kink, interference, damaged lever, or misaligned part.
- No return: The handle doesn't reset fully, so the release lever may stay partly engaged and interfere with the next close.
- Inconsistent latch: The door sometimes catches and sometimes bounces, which requires latch and striker inspection rather than a guess based on handle feel.
Separate Locked From Broken
Lock logic confuses many owners. The NHTSA interpretation of rear door lock operation states that when a back door is locked, the relevant interior and exterior release controls are intended to be inoperative until the door is opened, after which opening requires a separate action. In plain terms, a dead handle on a locked door may be correct behavior. Open the door deliberately, then test again.
If the lock button moves but the door remains unresponsive, or the key and power lock disagree, widen the diagnosis to the actuator and lock linkage. A guide to what to do when a car door lock is stuck can help you separate a jammed lock from a release fault. By the end, you should have a narrow claim such as, outside pull lost, inside pull normal, latch closes fully. That sentence is far more useful than the words handle broken when you're choosing a remedy.
Compare Common Rear-Door Hardware Configurations
Your vehicle's layout decides which signals matter. Two vehicles can share a model name but differ by body style, trim, production date, and installed equipment. Use the configuration to frame better questions, not to assume a universal repair.
| Configuration | Primary Input | Connected Components | Diagnostic Clue | Professional Boundary |
|---|---|---|---|---|
| Mechanical rear passenger door | Exterior and interior pulls | Rods or cables, lock, latch, striker | One pull works and the other doesn't | Latch won't reach full engagement |
| Liftgate or tailgate electric release | Exterior switch or grip | Wiring, actuator or motor, latch, striker | Failure follows weak power or no release sound | Electrical fault remains after basic checks |
| Combined lock and child-safety system | Handles plus lock controls | Actuator, child lock, linkage, latch | Behavior changes with lock setting | Interior escape path doesn't work as designed |
Read the Table as a Map
On a mechanical door, compare travel and resistance. On an electric liftgate, listen for an actuator response and note whether other functions suggest low voltage, without inventing a diagnosis from sound alone. On a combined system, test each control in locked and open states so child-safety logic doesn't masquerade as a failed handle.
Extended-cab trucks add another wrinkle because the rear access door and its handle position differ from a conventional four-door layout. As an example of narrow fitment language, the Extended Cab Door Handle, Upgraded Metal, Rear Driver Door Handle Compatible with 1999-2007 Chevrolet Silverado 1500 2500; 99-07 GMC Sierra 1500 2500, & 01-07 Silverado or Sierra 3500 - OEM 15758172 - Left Side Ext Cab Handle (Metal) is described for the rear left door, references 15758172-MTL, 79100M, and GM1520115, and lists specific Silverado and Sierra extended-cab applications. That specificity is the point. Side, cab style, and reference numbers narrow the field in ways a photo can't.
Verify Compatibility Before Ordering Any Parts
A part that lines up with the holes can still pull the linkage through the wrong arc, sit at the wrong angle, or hold a release lever partly open. That isn't compatibility. It's a near fit attached to a safety system.
For covered vehicles, the FMVSS No. 206 latch load requirements require a fully latched system to resist separation under an 11,000-newton load while remaining engaged under a 30g longitudinal or transverse inertia load. You won't test those forces at home, but they explain why latch depth, striker alignment, fasteners, and structural support matter. Smooth handle movement alone doesn't prove the door is retained correctly.
Build an Identification Checklist
- Exact vehicle: Record the VIN, year, make, model, body style, and door position.
- Original reference: Match the original equipment part number when you can read it from documentation or the removed part.
- Control layout: Check keyhole, sensor, switch, handle orientation, and lock arrangement.
- Included pieces: Confirm whether covers, clips, linkage parts, seals, and fasteners come with the listing or must be transferred.
CAPA certification can be a useful quality signal where it applies, but it doesn't prove that a given part fits your vehicle. Fitment still comes from the vehicle and part references. A complete assembly may make sense when several connected pieces are damaged, while an isolated failure may justify keeping sound original components after inspection.
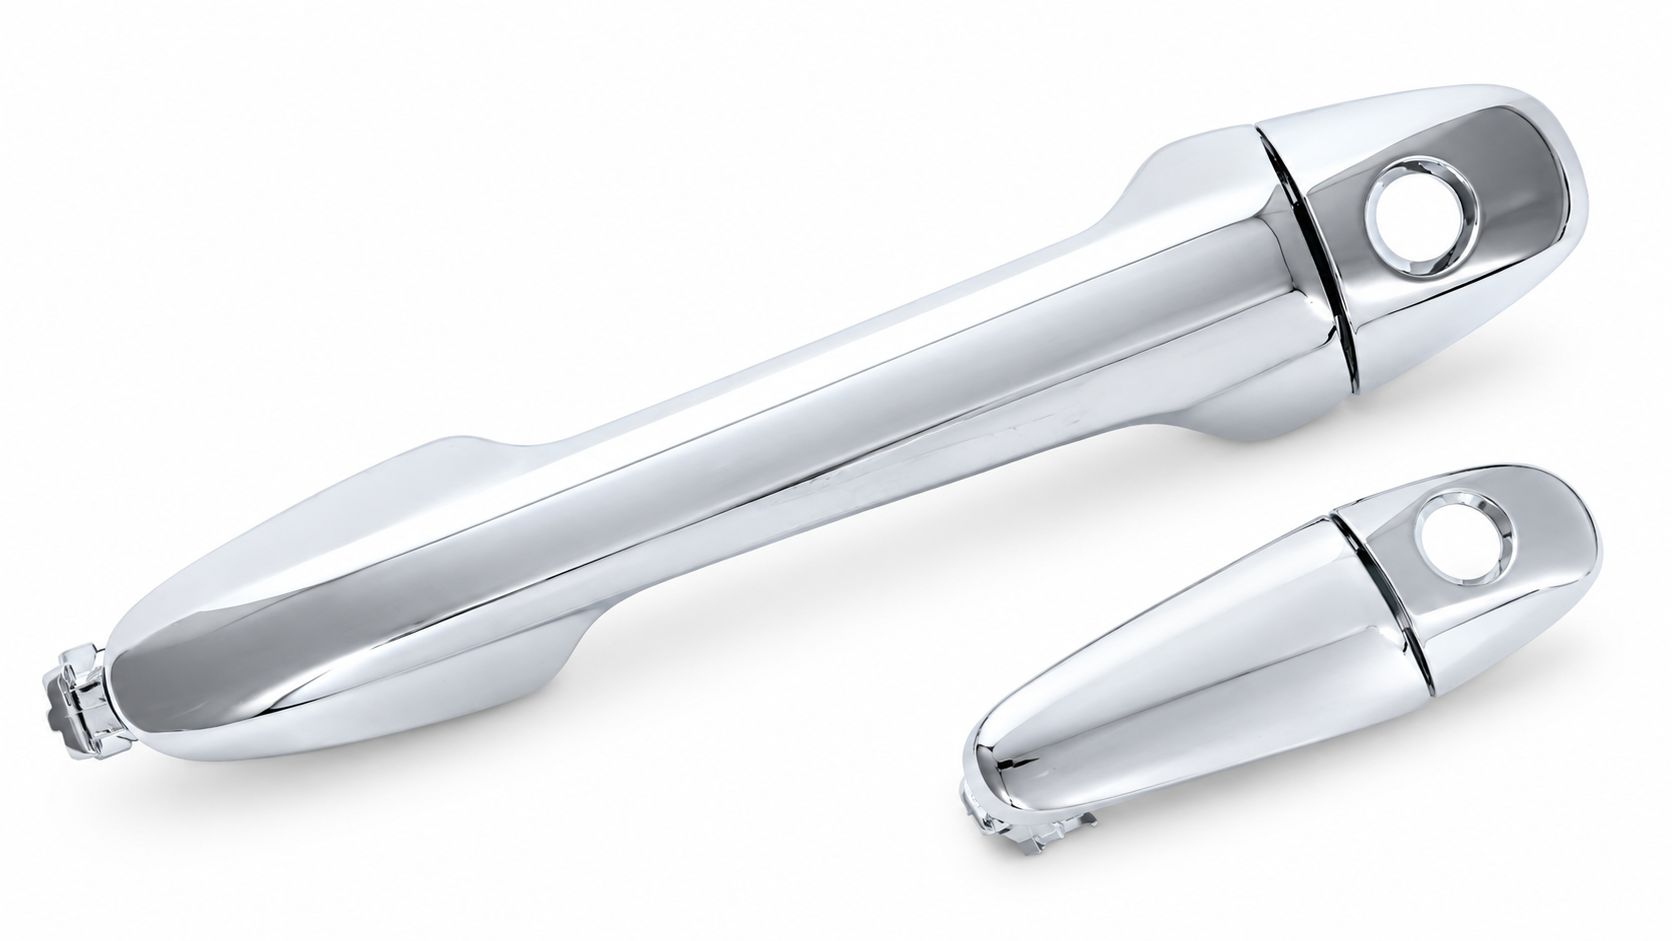
Listings also reward careful reading. The Exterior Front Driver Door Handle & Cover, Upgraded Metal - Compatible with 2016-2020 Toyota Tacoma, 14-19 Toyota Highlander - All Chrome w/Keyhole - OEM 69211-0E010-C1, 69217-0E030-C1 - Front Driver Side Handle is for the front left door, despite any visual resemblance to rear handles. At T1A Auto, using the vehicle-based catalog search and checking the detailed listing can reduce that kind of mix-up, but you still need to confirm side and references before purchase.
Install Replacements With Basic Safety Checks
Installation starts only after recall status, diagnosis, and compatibility are settled. Follow vehicle-specific instructions for your door, because access panels, fasteners, wiring, and linkage routing vary. Photograph connections before removal if your instructions permit disassembly, and keep fasteners organized by location.
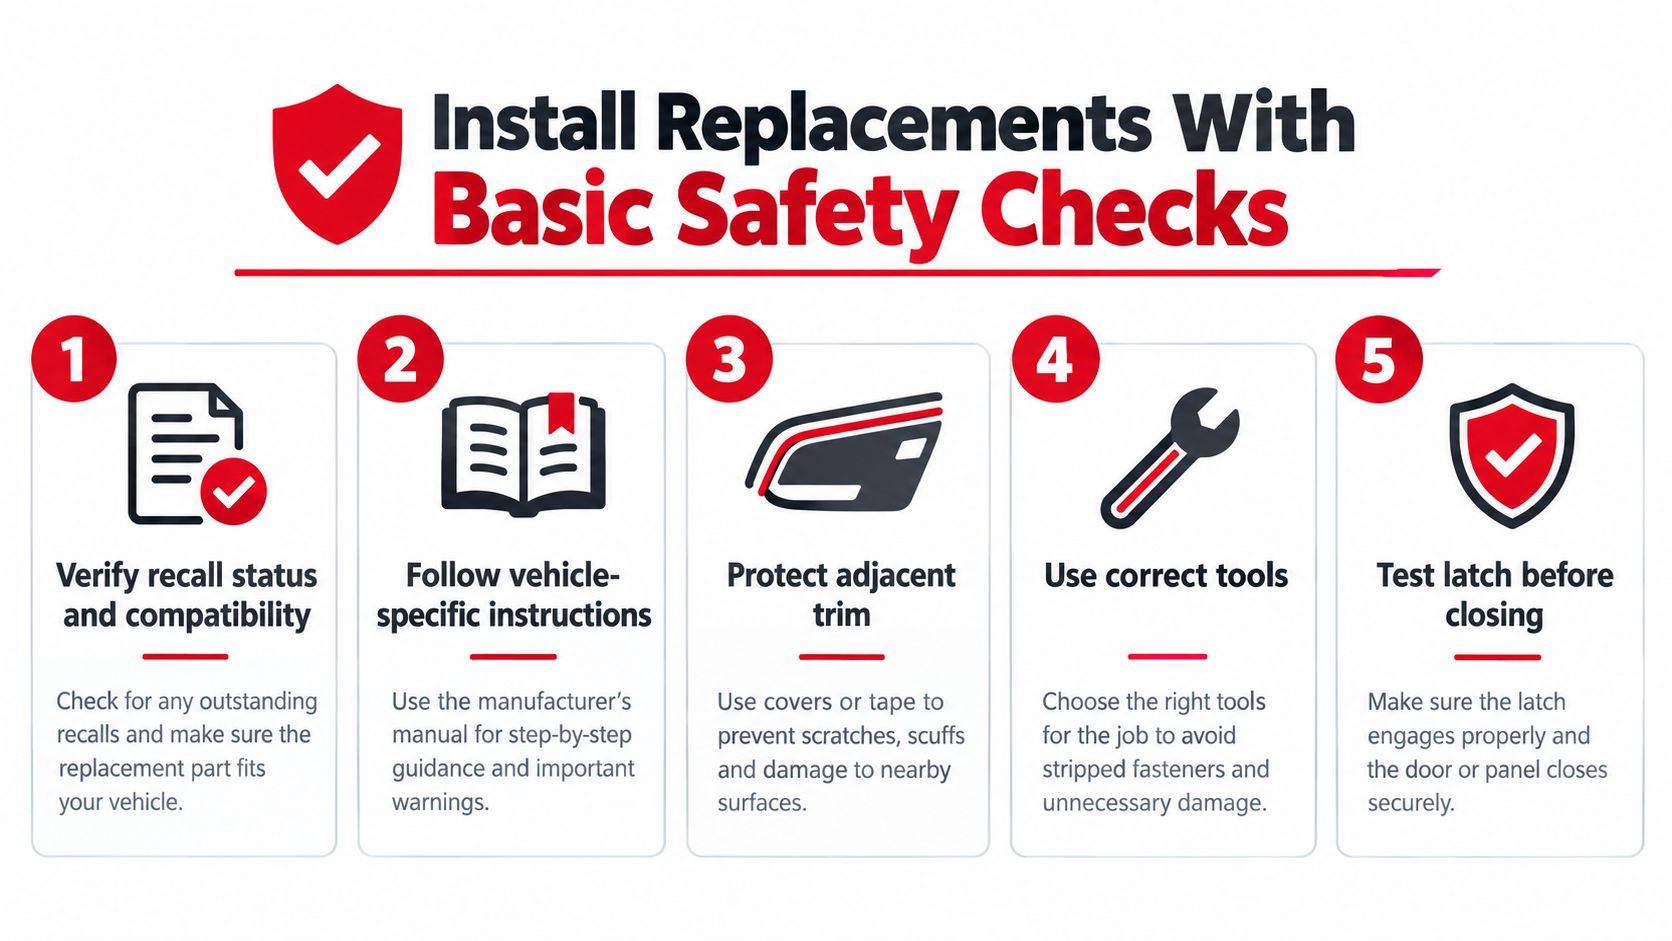
Protect adjacent trim and paint while you work, and don't pry against connected cables or rods. Guidance on how to remove a car door panel without damaging clips is useful when access requires trim removal, but it doesn't replace instructions for the latch system itself. If a connector or retaining clip doesn't release as described, stop instead of improvising a method.
A Qualified Replacement Sequence
- Remove without force: Detach the damaged assembly while supporting connected parts, and note anything cracked, bent, or already disconnected.
- Compare side by side: Check mounting points, lever position, cable or rod attachment, electrical connector, and parts that must transfer.
- Install and retain: Fit the replacement without stretching the linkage, then secure every clip and fastener as specified.
- Test before final closure: Operate the release while observing movement, where the design safely allows it, and confirm the handle returns fully.
Cables and rods need a clean path. Excess slack can eat up handle travel, while a tight or kinked path can hold the mechanism near release. Don't file, bend, or shim parts to make an incompatible assembly behave.
A successful installation is proved by operation from every intended control, not by how neatly the handle sits against the door.
Finish with repeated checks from outside and inside. Lock, open, close, and confirm the latch engages fully each time. Stop and reassess if you find binding, partial engagement, a release lever held by the actuator, unintended opening, or an electronic release that remains unavailable. Those are reasons to seek qualified service, not reasons to slam the door harder.
Worked Repair and Replacement Scenarios
These examples aren't universal fixes. They show how evidence changes the decision, so you can apply the same reasoning without copying someone else's remedy.
Loose Outside Handle, Normal Inside Release
The exterior grip wobbles and doesn't spring back, but the interior handle opens the door and the closed door feels firmly latched. That pattern keeps suspicion near the exterior handle, its attachment, or the first section of linkage. Replacing the latch just because it's deeper in the door wouldn't follow the evidence. Inspect the exterior path first, verify references, and retain working components if inspection confirms they're sound.
Door Looks Closed but Releases When Disturbed
A rear door appears shut, then pops open after a light touch on the handle. Don't keep testing it with a passenger inside. This pattern raises questions about partial latch engagement, linkage adjustment, lockout behavior, and whether the handle returns completely. Check the child-safety control and recall status, then treat any failure to reach full latch as a stop point for professional inspection.
Electronic Liftgate Fails After a Weak Battery
The exterior liftgate control worked before a low-battery episode and now produces no release. The visible grip may be intact while power, wiring, the actuator, or the latch control is responsible. Recall examples involving electronic latches show why you shouldn't assume the plastic or metal piece in your hand caused the fault. Restore and assess vehicle power through appropriate service guidance, verify recall status, and only then judge whether a handle or switch is defective.
Damaged Cover Assembly Versus Isolated Lock Failure
In one vehicle, the handle and cover are cracked, but lock and latch behavior remain consistent. In another, the handle moves normally and the lock won't change state reliably. The first case may point to a handle and cover replacement after exact identification. The second points away from the grip and toward the lock mechanism or actuator, even though the owner experiences both as a door that won't open.
Notice what each scenario shares. You name the symptom, locate where motion or permission stops, and choose the narrowest repair supported by what you observed.
Make a Safe and Cost-Aware Repair Decision
Use a short decision sequence when the choices start to blur. First, complete safety triage and recall verification. Second, decide whether the evidence isolates one part or implicates the wider system. Third, confirm the exact configuration and part references. Only then choose among retaining the original assembly, replacing a failed component, or installing a complete assembly.
Cost Means More Than the Part Price
The cheapest route isn't cost-aware if it buys the wrong side, leaves a suspect latch in place, or requires a second disassembly. A narrower repair can be sensible when original parts pass inspection and operate consistently. A complete assembly can be sensible when damage crosses connected pieces, provided fitment is exact and the underlying cause isn't an open recall or an unresolved electrical fault.
CAPA-certified components may support a quality decision where certification applies, but certification never replaces fitment verification. When lock behavior itself is the unresolved issue, background reading on car door lock replacement can help you frame questions for a specialist, especially if key operation, actuator response, and handle movement don't agree. Don't use general guidance to override vehicle-specific instructions.
For shoppers comparing replacement handles, use the vehicle selector and detailed fitment notes rather than trusting a familiar shape or finish. Check the side, references, included pieces, and control layout against your vehicle before ordering. That routine prevents both an avoidable return and the more serious mistake of forcing a near fit.
Definition of done: The door opens from every intended control, locks and unlocks as designed, closes to full latch, and doesn't release unintentionally.
If any part of that definition fails, the repair isn't finished, even if the new back door handle and lock look right. Safety comes from the complete chain working together, repeatedly and without improvisation.
When your diagnosis points to a confirmed handle or related component, T1A Auto lets you search by vehicle and review detailed fitment information before you order. Compare the door position, side, references, and included hardware against your vehicle, then choose the replacement that matches the fault you've verified.
