


Sometimes, you have to replace a car door panel because it's just plain beat up. But more often than not, the real reason is that something inside the door has given up the ghost. Think window regulators, speakers, or door handles. This is a project that restores your car's look and feel, but just as importantly, it gets crucial parts working again—like being able to open your door or roll down the window.
The good news? This is a totally doable DIY job that can save you a bundle on labor costs.
Why You Might Need to Replace a Car Door Panel
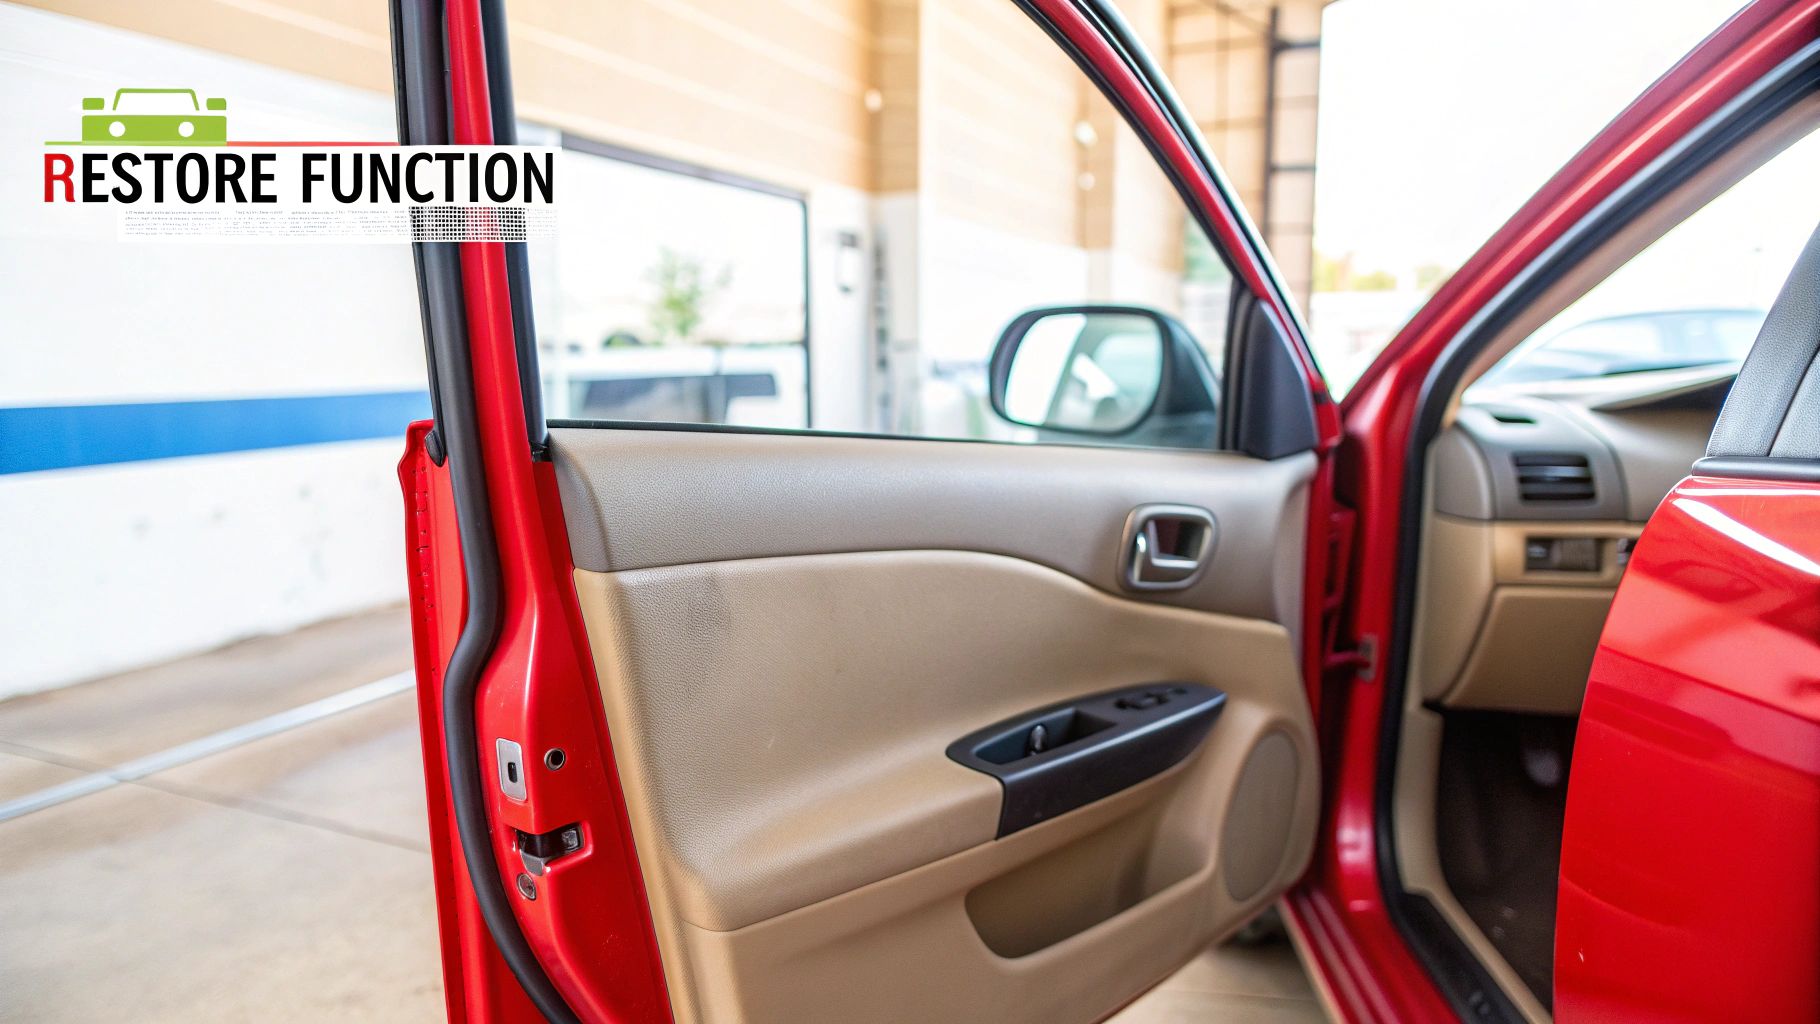
When you hear "door panel replacement," your mind probably jumps to big, ugly scratches, cracks from a stray shopping cart, or deep-set stains that just won't come out. And sure, those are all good reasons to swap one out. But in my experience, the real motivation is usually a functional failure hiding just behind that panel.
A busted interior door handle, a power window that’s decided to permanently stay up (or down), or a speaker that's gone completely silent—these are the true culprits. These aren't just minor annoyances, either. A window stuck open in a rainstorm is a nightmare, and a handle that won't open from the inside is a genuine safety issue. Taking on a car door panel replacement yourself is the most practical way to fix it right.
It's More Than Just Dents and Scratches
Think about that annoying rattle you've learned to tune out on your daily commute, or the sagging armrest that drives you crazy every time you get in the car. These are the real-world problems that a new panel can solve, bringing back your car’s functionality and your sanity. Forget paying steep dealership prices—you can get the same, if not better, results with quality aftermarket parts.
A smart move is to upgrade while you're at it. For example, if your plastic door handle broke (a common failure), swapping it for a sturdy metal one from T1A Auto not only fixes the problem but prevents it from happening again. It's a budget-friendly fix that’s incredibly satisfying to do yourself.
This project is way more approachable than most people think. The global market for automotive door panels is expected to hit a massive $34,158.6 million by 2025, mostly because of demand after accidents and from simple wear and tear.
When a Broken Part Forces Your Hand
A lot of drivers end up tackling this project not for looks, but because something critical inside the door has failed. Here are the most common reasons you'll need to pull that panel off:
- Broken Interior Door Handles: The handle itself snaps, or the cable connecting it fails. Either way, you're trapped until you can roll down the window to use the outside handle.
- Faulty Window Regulators: This is the mechanism that raises and lowers your window. When it breaks, your window is stuck in place, which is both inconvenient and insecure.
- Malfunctioning Speakers or Electronics: If you're tired of a blown speaker or need to fix a finicky window switch, the only way to get to them is by removing the door panel.
If you’re replacing the panel due to collision damage, it's also worth understanding how an accident can devalue your car, even after you’ve made repairs. By seeing this as a completely manageable project, you can restore your vehicle's look and function while building confidence for the next DIY job.
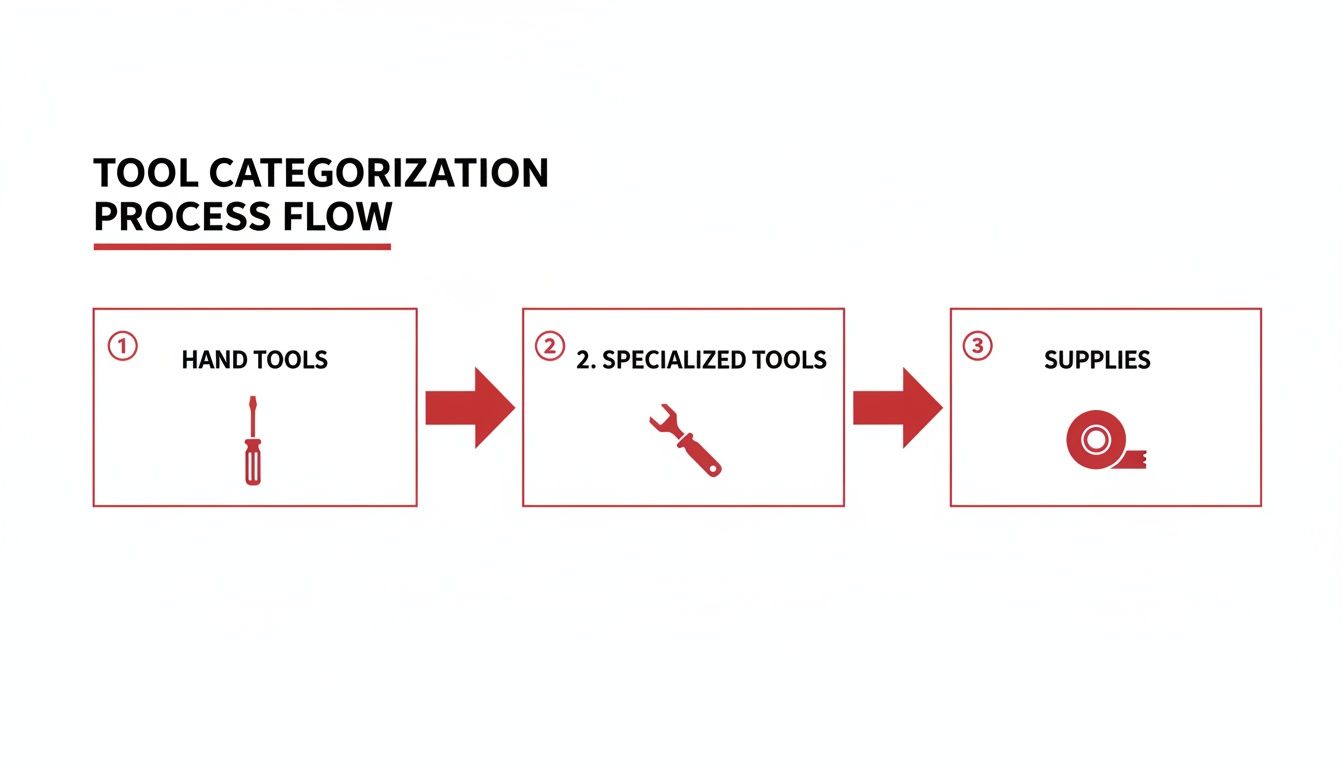
Gathering the Right Tools for the Job
Any experienced mechanic will tell you that the secret to a smooth job isn't speed—it's preparation. Before you even touch the car, laying out the right tools is the single best thing you can do to avoid frustration. Trying to tackle a door panel with the wrong gear is a classic recipe for broken clips, scratched paint, and a whole lot of wasted time.
First things first, let's talk safety. You're going to be unplugging wires for power windows, locks, and maybe speakers. The absolute first move is to disconnect the negative terminal of your car's battery. This one simple step completely removes the risk of an electrical short, which could blow a fuse or damage sensitive electronics. Don't skip it.
The Essential Toolkit
You don't need a professional-grade workshop to pull this off, but a few key items are non-negotiable. Most of what holds a door panel on are common Phillips head screws and a few bolts, often in 7mm, 8mm, or 10mm sizes.
A decent screwdriver set with interchangeable bits and a basic socket set will handle almost everything. I highly recommend making sure your socket set has an extension. Carmakers love to hide bolts in deep recesses like the bottom of an armrest pull cup, and you simply won't reach them without one.
My favorite cheap trick? A magnetic parts tray. For a few bucks, you get a place to toss every screw, bolt, and clip without worrying they'll roll away into another dimension under the car seat. It's a lifesaver.
Why You Can't Use a Flathead Screwdriver
Now for the most common mistake I see people make: grabbing a flathead screwdriver to start prying the panel off. Just don't do it. A metal screwdriver blade against your plastic panel or painted door frame will leave ugly gouges and scratches every single time. It's the calling card of an amateur job.
The right way to do this is with a non-marring plastic trim removal kit. These tools are specifically shaped and made from a softer material designed to pop stubborn retaining clips without damaging anything around them. A good set is inexpensive and the single best investment you can make for this project.
A Few Workshop Extras
Beyond the main tools, a couple of simple supplies will make your life much easier.
- Painter's Tape: As you unplug wiring harnesses, wrap a small piece of tape around each one and label it—"mirror," "lock," "window." This takes ten seconds and completely eliminates the guessing game when it's time to put everything back together.
- Shop Towels: Keep a few handy for wiping down surfaces and protecting your interior from any grease you might encounter inside the door.
- A Good Light: The inside of a car door is dark. A bright LED work light or a headlamp lets you see exactly what you're doing, so you don't miss a hidden screw or a tricky connector tab.
Of course, having the right tools is only half the battle; you need quality replacement parts, too. If you're weighing your options, our guide on aftermarket parts versus OEM components breaks down the pros and cons to help you make an informed choice.
To make things easy, here’s a quick checklist of the tools I recommend having on hand before you start.
Essential Toolkit for Door Panel Replacement
Gathering these items before you begin will ensure the entire process goes smoothly, from the first screw to the final clip.
| Tool | Primary Use | Pro Tip |
|---|---|---|
| Screwdriver & Socket Set | Removing screws and bolts | An extension is a must-have for reaching fasteners hidden inside armrests. |
| Plastic Trim Removal Kit | Popping retaining clips and prying panels | Using this instead of a metal screwdriver prevents scratches and damage. |
| Needle-Nose Pliers | Disconnecting stubborn electrical connectors | Perfect for depressing the tiny locking tabs on wiring harnesses without breaking them. |
| Work Light or Headlamp | Illuminating dark areas | A headlamp is great because it keeps both of your hands free to work. |
| Masking Tape & Marker | Labeling wires and connectors | A simple label like "W" for window and "L" for lock can save you a big headache. |
With this toolkit ready to go, you're all set to tackle the job with confidence.
Removing the Old Door Panel Like a Pro
Alright, let's get our hands dirty. Taking off an old door panel isn't about brute force; it's more like a methodical search for hidden fasteners. I'm going to skip the rigid "Step 1, Step 2" format because, frankly, every car is a little different. Instead, we'll walk through a workflow that applies to almost any vehicle, helping you think like a mechanic to figure out what's holding that panel on.
Your main goal here is to find and remove every single screw, bolt, and clip. It sounds simple, but car manufacturers are surprisingly good at hiding them. You have to become a bit of a detective, checking the usual spots and understanding how all the pieces fit together. Rushing this part is the quickest way to snap a piece of plastic, so take a deep breath and work carefully.
The Hunt for Hidden Fasteners
Most door panels are held on by a mix of obvious screws, cleverly hidden fasteners, and a bunch of plastic clips around the edge. The screws are what you'll go after first. Just think about where you naturally put your hands to use the door—the armrest, the handle—those are the high-stress areas that are almost always reinforced with screws.
Common hiding places include:
- Inside the Armrest Pull Cup: Feel around deep inside that pocket where you pull the door shut. Often, there’s a little rubber mat or a small plastic cover you can pop off with a pry tool. Underneath, you'll usually find a screw or bolt.
- Behind the Interior Door Handle Trim: That plastic bezel sitting around the interior handle? It almost always hides at least one screw. You'll need to gently pry this trim piece away to get to it.
- Under the Power Window Switch Panel: This is another prime location. The whole switch assembly typically pops straight up and out with a plastic pry tool. Once it's out, you'll see the screws and electrical plugs hidden below.
After you've tracked down and removed all the screws, the only things left holding the panel on are the perimeter clips. This is where your non-marring trim tools are absolutely critical.
Safely Disconnecting Wires and Linkages
Before you can yank the panel off completely, you've got to disconnect everything that tethers it to the door frame. This means unplugging wires for the windows, locks, mirrors, and speakers, and unhooking the mechanical linkage for the interior door handle.
Start by gently prying the panel away from the door just enough to peek behind it. You'll see several wiring harnesses. Each connector has a tiny locking tab you have to press down before you can pull it apart. Whatever you do, never yank on the wires themselves. Just gently wiggle the connector while you push the tab. If it feels stuck, you probably haven't released the lock all the way.
The door handle linkage might be a metal rod held by a plastic clip, or it could be a cable with a ball on the end. For the rod style, you'll usually swing a small plastic clip out of the way, which then lets you lift the rod out. For cable styles, you'll typically unhook the ball from the handle mechanism first, then release the cable housing from its bracket.
Here's a pro tip that has saved me countless headaches: take a quick photo with your phone of how the wires and linkages are routed before you disconnect anything. That simple picture is an invaluable reference when it's time to put it all back together.
The Art of Popping Door Panel Clips
With all the screws gone and connections unplugged, it's time to release those retaining clips. Slide a plastic pry tool between the door panel and the metal door frame, starting at a bottom corner. You’ll feel some resistance—that's the first clip.
Apply steady, even pressure until you hear a distinct "pop." Don't worry, that sound is normal. From there, just work your way around the bottom and up both sides of the door, releasing one clip at a time. It’s always better to use several small, firm prying motions rather than one big, aggressive one. We break this process down even further in our complete guide on how to remove a car door panel if you want to see more visuals.
Once the side and bottom clips are all free, the panel will feel loose. Most door panels are designed to be lifted straight up and off the door because they hang on a lip along the top of the window sill. Lift it carefully, and the panel should come right off.
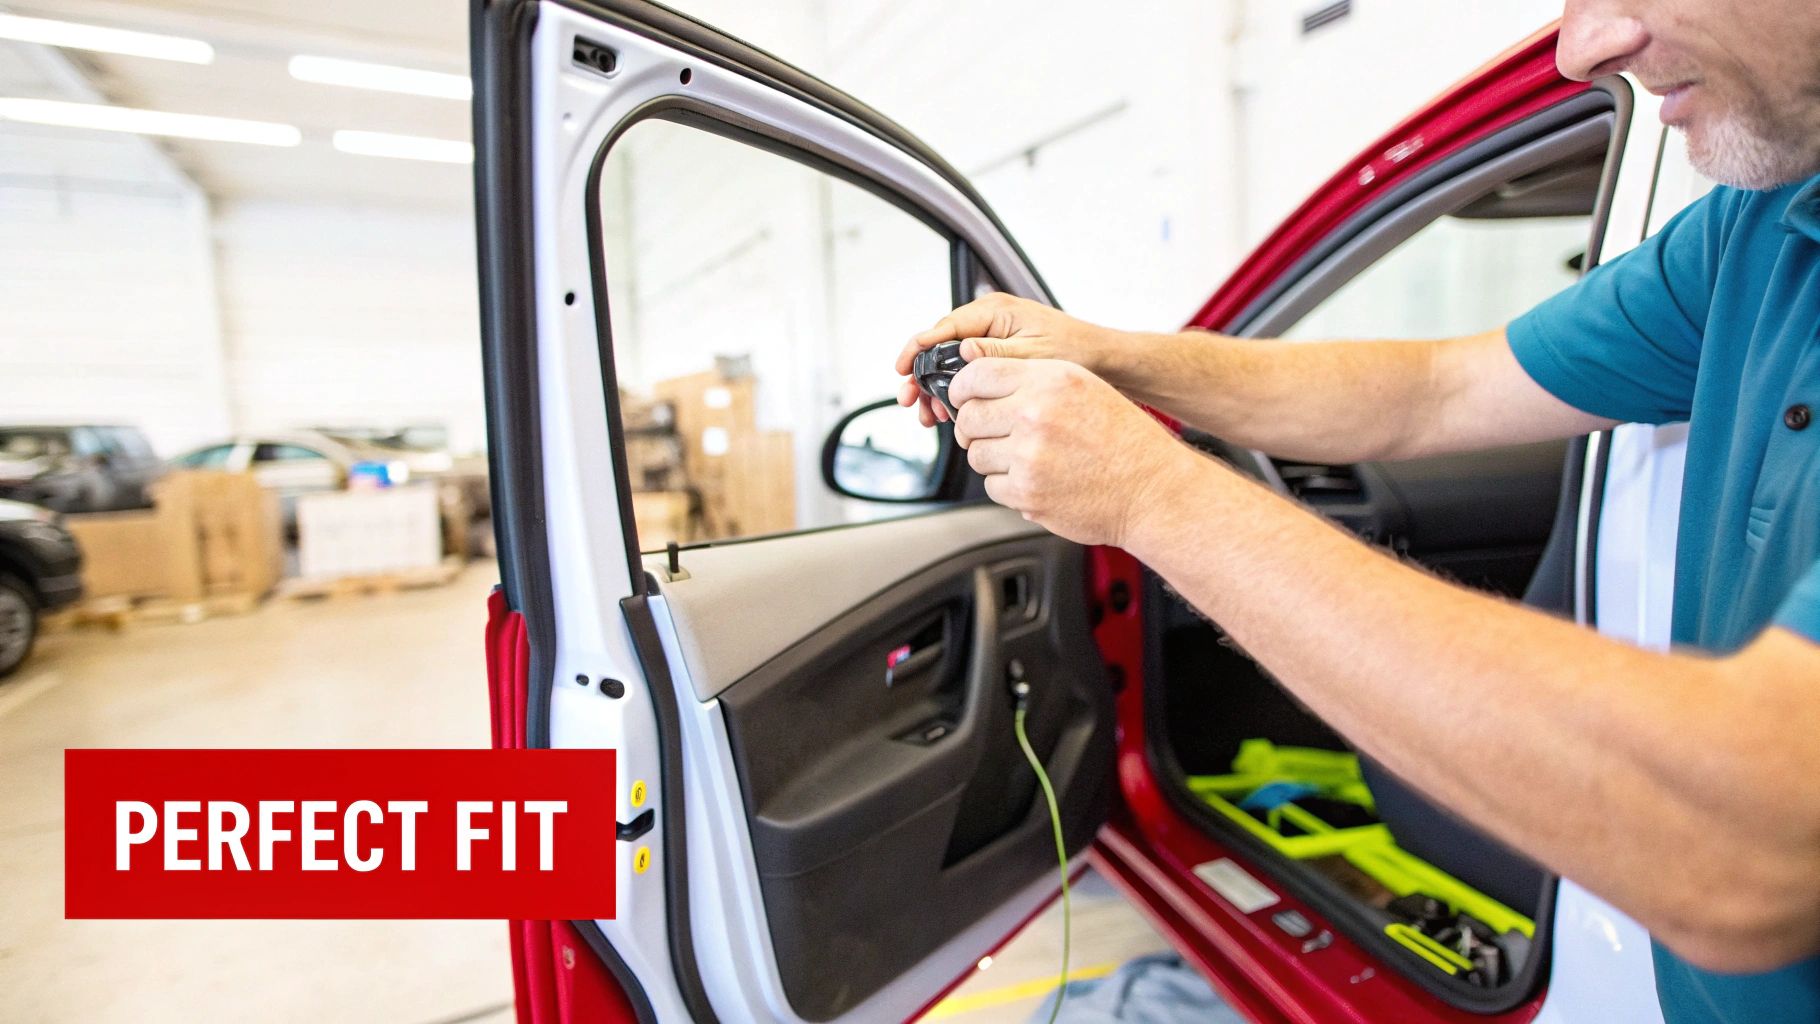
This breakdown shows the types of tools you'll be working with.
As you can see, while your basic hand tools do a lot of the work, having those specialized trim tools is what keeps you from scratching or breaking things.
Inspecting for Broken Clips
Once the panel is off, take a second to look over the clips. It's incredibly common for a few to break during removal, especially on older cars where the plastic gets brittle over time. Sometimes, they'll stay stuck in the door frame instead of coming out with the panel.
This is exactly why having a bag of spare replacement clips on hand is such a good idea. A loose, rattling door panel is almost always the fault of broken or missing clips. A new set is cheap insurance that guarantees your panel will fit snugly and quietly, just like it did from the factory. Just use your trim tool or a pair of pliers to pull out any broken bits left in the door frame before moving on.
How to Handle the Curveballs You'll Find Behind the Panel
The truth is, no two door panel jobs are ever exactly the same. While the basic steps are pretty universal, car makers have a knack for adding their own little engineering quirks. Popping the panel off is the easy part; figuring out the web of wires, linkages, and barriers behind it is where a simple DIY project can get frustrating.Don't let that stop you. The key is knowing what to look for and how to handle it when you see it. You might find a different type of handle linkage, a stubborn manual window crank, or a big sheet of plastic glued to the door. These aren't roadblocks—they're just common variations you need a plan for.
Navigating Different Door Handle Linkages
Once you get a look inside, you’ll see the interior handle connects to the latch in one of two ways. Figuring out which one you’re dealing with is critical for getting it disconnected without breaking anything.
- Metal Rods with Plastic Clips: This is a classic setup you’ll see on a lot of vehicles. A simple metal rod connects the handle to the latch, secured by a small plastic clip that swings over it like a gate. You just flip the clip open and lift the rod out. Be careful, though—these clips get brittle over time and can snap if you force them.
- Bowden Cables: If you have a newer car, you’ll probably find this. It’s a flexible cable, much like a bicycle brake line, with a small metal ball on the end that slots into the handle. To release it, you typically unhook the ball first, then slide the cable housing out of its bracket.
A good pair of needle-nose pliers is your best friend here. They're perfect for coaxing those little clips open or guiding a cable out of a tight spot.
Here's a pro tip I swear by: take a clear photo with your phone before you unhook a single thing. That picture is your perfect roadmap for putting it all back together, and you won’t have to guess how the linkage was routed.
The Challenge of Manual Window Cranks
Got manual "roll-up" windows? You’ve got one extra hurdle to clear. Unlike a simple electrical plug for power windows, that crank handle is held on by a sneaky little clip. You won't see a screw. Instead, there's a C-shaped clip hiding in a groove right behind the handle.
The trick is to use a special window crank removal tool, or even just a hook fashioned from a sturdy paperclip. You need to gently push the door panel inward to create a small gap, then fish in there to snag the clip and pull it off. Heads up—these clips have a tendency to go flying across the garage, so try to keep a hand over them as they come loose.
Don't Destroy the Vapor Barrier
Tucked behind the door panel, you'll see a sheet of plastic or foam glued right to the door's metal frame. That’s the vapor barrier, and it's way more important than it looks. It’s what keeps rain, moisture, and road noise from getting into your car’s cabin.
So many people make the mistake of just ripping it off and throwing it away. Don't be that person. You need to preserve it.
Use a utility knife to carefully slice through the gummy black adhesive around the edges, trying your best not to tear the plastic sheet itself. After you finish your repair, you can press it right back onto the original adhesive. If it's not sticking anymore, just run a new bead of butyl tape or a good weatherstripping adhesive to get a perfect seal. A poorly sealed vapor barrier is one of the top causes of mysterious water leaks and that annoying wind noise you can't track down.
It's no surprise that the demand for aftermarket car door panels has shot up. With more cars on the road, there's just more traffic and more minor collisions. Body shops often lean on CAPA-certified parts for repair work because they match OEM quality and sometimes even improve on the original design by swapping failure-prone plastic bits for metal. If you're curious, you can find more data about the automotive door panel market on fortunebusinessinsights.com. For the DIYer, this just means high-quality, dependable parts are easier to get than ever.
Knowing how to deal with these common curveballs is what turns a frustrating afternoon into a successful repair. When you know how to handle a stubborn window crank or properly reseal a vapor barrier, potential showstoppers become just another simple step in the process.
Installing the New Panel for a Perfect Finish
Alright, the old panel is off, and you've handled any repairs inside the door. Now comes the satisfying part: putting it all back together. This is where your careful work pays off, and you get a door that looks and feels like it just left the factory. The golden rule is simple—work in the exact reverse order of how you took it apart.
Don't just rush to slap the panel on, though. The difference between a pro-level repair and an amateur job is in the final details. You want to make sure every connection is solid, every component works, and there are absolutely no rattles or weird gaps when you're done.
The Pre-Installation Checkpoint
Before you even think about hanging that new panel, stop and do a quick function test. It’s a crucial step. With the panel still off, plug in all the electrical harnesses for your windows, locks, speakers, and mirrors. Then, reconnect your car's battery.
Go through and test everything. Does the window roll up and down smoothly? Do the locks fire properly? Can you hear audio from the speaker? If you find a problem now, it's usually just a loose connector that takes seconds to fix. Finding that same issue after the panel is fully installed means you're tearing it all down again.
Trust me on this one. Testing the electronics before the final fitment is the single most important tip I can give you. It can save you from a massive headache and an hour of rework. It’s a non-negotiable step for any DIYer who values their time.
Once you’ve confirmed everything is working as it should, disconnect the battery again for safety before moving on.
Aligning the Panel and Engaging the Clips
Getting a tight, rattle-free finish is all about proper alignment. Start by hanging the new door panel from the top lip of the door frame, right along the window sill. Gravity will help hold it in place while you get the rest of the panel situated.
Now, look at the clips around the perimeter. You should be able to see the clips on the panel lining up with their corresponding holes in the door frame. Once you're confident it's aligned, give the panel a firm, controlled thump with the heel of your hand right over a clip's location. You’re listening for a solid "click" or "pop"—that's the sound of it locking into place.
Work your way around the entire edge of the panel, one clip at a time. This methodical approach keeps the panel from getting skewed and ensures it sits perfectly flush. If a clip is fighting you, don't force it. That’s the quickest way to break it. Just pull the panel back a bit, re-align, and try again.
- Start at the Top: Hang the panel on the window sill first.
- Align by Sight: Visually confirm the clips are lined up with the holes.
- Use Firm Pressure: A solid thump directly over the clip works best.
- Listen for the Click: That audible pop tells you the clip is secure.
It’s incredibly common to break a few clips during removal, no matter how careful you are. That's why it's always smart to have a few fresh door panel fasteners and clips on hand. Using new clips is the secret to getting that tight, professional fit.
The Final Connections and Fasteners
With the panel securely clipped in, it's time for the final hookups. Re-attach the door handle linkage—whether it's a metal rod or a cable—and reconnect all those wiring harnesses you just tested. Those photos you took earlier will be your best friend here, ensuring every wire is routed correctly.
Tuck the wires back into the door so they don't get pinched by the panel or window mechanism. Reinstall your power window switch, armrest, and any other trim pieces. Finally, put all the screws and bolts back in. Tighten them until they're snug, but don't go crazy; over-tightening can easily crack the plastic.
Give the panel one last check. Pull on the armrest and press around the edges to make sure everything feels solid. That's it—your new car door panel is installed, restoring the look and function of your vehicle.
Got Questions About Your Car Door Panel? We've Got Answers.
Even with a step-by-step guide in hand, it's totally normal to hit a snag or have a few questions pop up, especially if this is your first time digging into a door panel. We get it. We’ve been there.
To help you out, we’ve put together some of the most common questions we hear from fellow DIYers. Think of this as your personal troubleshooting cheat sheet to get you unstuck and back on track.
How Much Does a Shop Charge to Replace a Door Panel?
Taking your car to a professional for this job can hit your wallet pretty hard. You can expect to pay anywhere from $200 to over $700 for a single door. The final bill really depends on your car’s make and model, the price of an OEM panel, and what the local labor rates are.
If you're driving a luxury vehicle packed with electronics like memory seats or advanced speaker systems, you'll definitely be on the higher end of that scale. This is precisely why so many people choose to do it themselves. With a quality aftermarket panel, you can pocket hundreds of dollars in labor savings alone.
Can I Just Reuse the Old Door Panel Clips?
I know it's tempting to save a few cents by reusing the old clips, but trust me on this one: don't do it. After years of heat cycles and vibrations, those original plastic clips get incredibly brittle. Even with the right trim tool, they’re almost guaranteed to snap on the way out.
A weak or broken clip is the number one reason for a door panel that rattles and buzzes every time you hit a bump. A fresh set of clips is a tiny investment that pays off big by giving you a snug, silent fit for years to come.
What if My Power Windows or Locks Don't Work After I'm Done?
That's the classic "uh-oh" moment, but don't panic. The fix is almost always something simple: a forgotten plug. The first thing you need to do is pop the panel back off. It'll go much faster the second time around, I promise.
Go through every single wiring harness one by one and make sure it’s firmly plugged in. You’re listening for that satisfying "click" that tells you the connection is solid.
- Double-check the main window switch connector.
- Make sure the lock actuator plug is seated.
- Look at the mirror controls and any speaker wires you disconnected.
If you’ve checked every connection and they’re all tight, the next place to look is your vehicle’s fuse box. It's possible a fuse blew during the process.
How Long Should This Take Me?
If you're doing this for the first time, I'd block out 2 to 3 hours for each door. That gives you plenty of breathing room to work carefully, find all those sneaky hidden screws, and avoid the frustration of rushing and breaking a piece of trim.
Sure, a seasoned mechanic could probably knock it out in under an hour, but taking your time is the real secret to getting a result that looks like it came straight from the factory.
When you're ready to tackle your car door panel replacement, having the right parts is just as important as having the right information. At T1A Auto, we offer premium aftermarket door handles, window regulators, clips, and more, all engineered for guaranteed fitment and long-lasting durability. Shop now at t1aauto.com to find the perfect parts for your vehicle.