


Before you can fix that broken side mirror, you need to figure out exactly what you're up against. Is it just the glass that's cracked, or is the whole housing busted? The answer makes a huge difference. A glass-only job can be a quick, snap-in-place fix. But if the housing is damaged, you're looking at replacing the full mirror assembly, which means taking the interior door panel off.
Assessing the Damage to Your Side Mirror
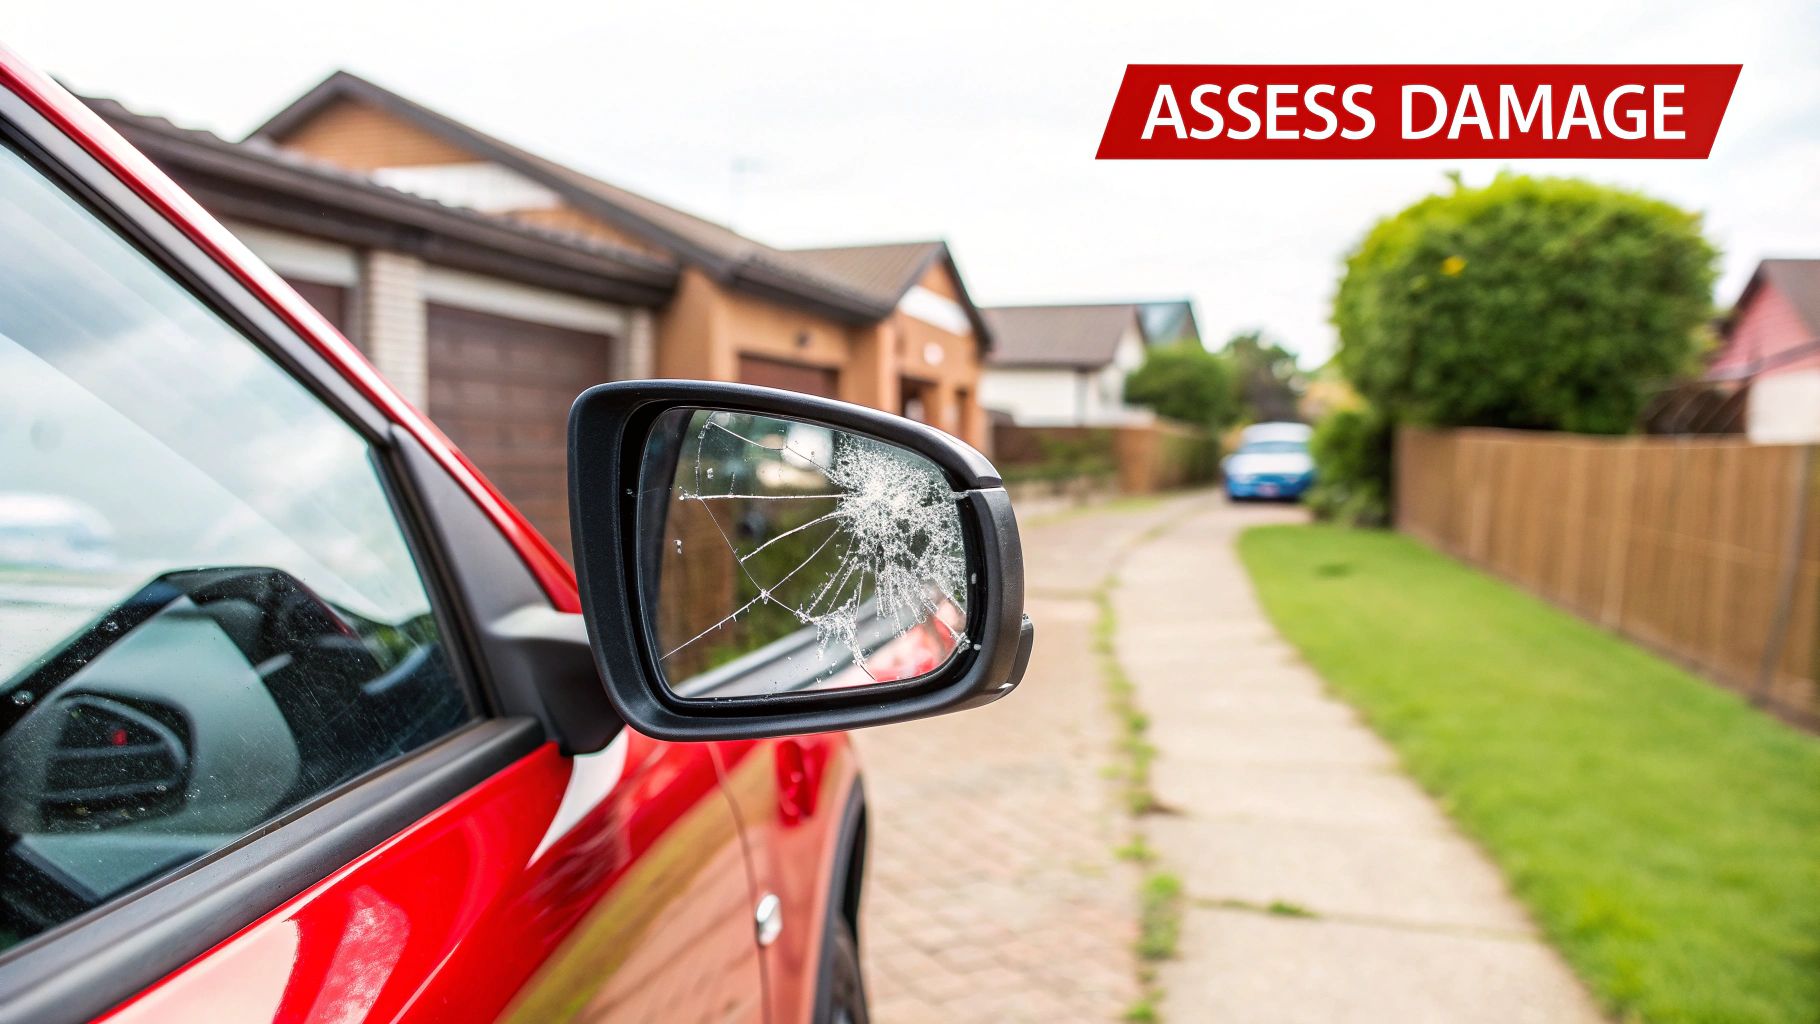
Alright, before you even think about ordering parts, you need to play detective. What seems like a simple cracked mirror can sometimes hide bigger problems. Getting this diagnosis wrong is the number one way to turn a 15-minute job into an all-afternoon headache. The whole point is to determine if you can get away with just replacing the glass or if you need the entire mirror unit.
Taking a few minutes to do this right, right in your driveway, will tell you exactly what to buy and how involved the repair will be. Trust me, don't skip this part.
Glass-Only Damage vs. Full Assembly Failure
Let's start with a good look and a quick function test. If all you see is a crack or spiderweb pattern on the glass itself and the plastic housing around it looks perfect, you're probably in luck. That's the classic sign of a simple glass-only replacement.
But you need to look closer for the tell-tale signs of a bigger issue. Here’s what bumps the job up to a full assembly replacement:
- Cracked or Broken Housing: See any deep cracks, missing chunks of plastic, or heavy scrapes on the body of the mirror? The whole unit is compromised. That housing is what protects the internal motors and wiring from the elements.
- Loose or Dangling Mirror: If the entire mirror feels wobbly or is literally hanging by its wires, the internal mounting points have snapped. There's no fixing that; you need a whole new assembly to make sure it stays attached to your car.
- Malfunctioning Power Features: Hop in the driver's seat and try everything out. Does the mirror adjust in all directions? If you have heated mirrors or a built-in turn signal, do they still work? If any of these features are dead, it points to damaged motors or wiring inside.
I've seen it happen dozens of times: someone orders just the glass because it's shattered, only to find the adjustment motor was also killed in the impact. Always test the power functions, even if you can't see anything in the mirror. It's a simple check that confirms the electronics are still good.
Making the Final Call
After that quick inspection, the path forward should be pretty clear. If the housing is solid and all the power functions check out, you're looking at a glass-only repair. That’s the best-case scenario—a fast, cheap, and satisfying DIY fix.
But if you found any damage to the housing, the mounting, or the electronics, you have to replace the entire side mirror assembly. It’s a more involved job, for sure, but it’s absolutely something a home mechanic can handle. Going this route guarantees your mirror is safe, fully functional, and looks right.
Choosing the Right Replacement Mirror Parts
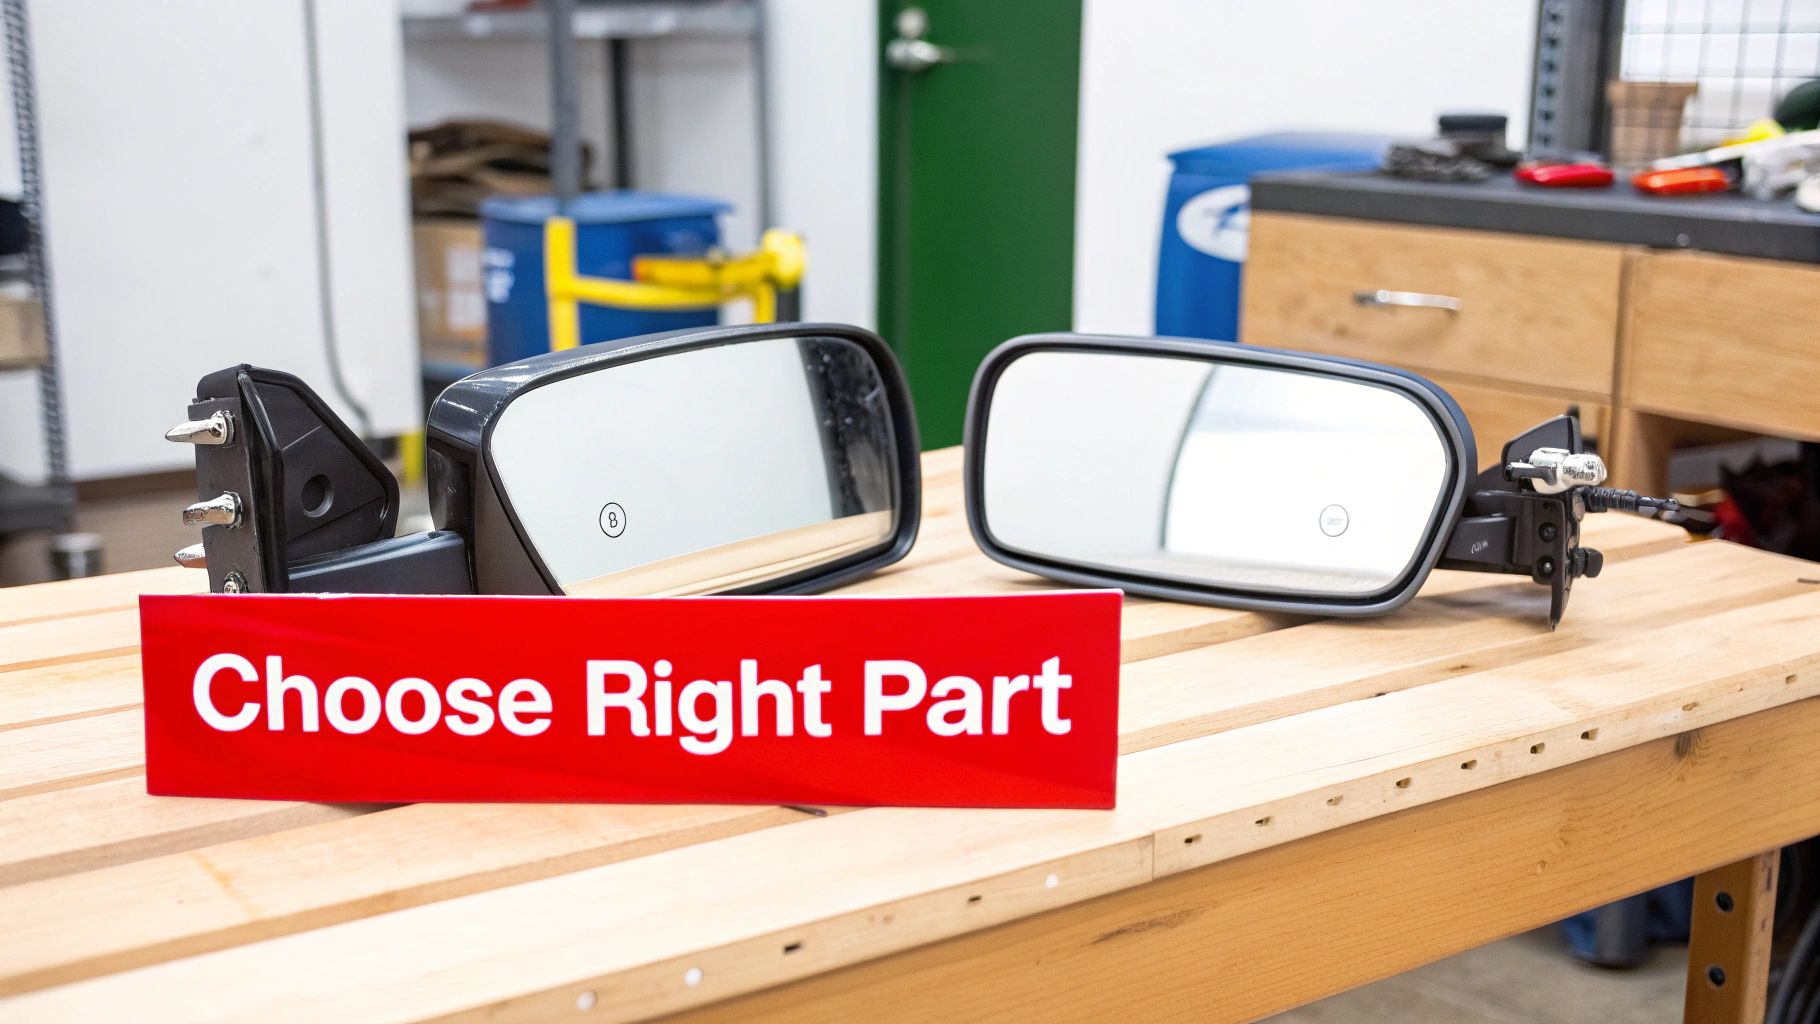
Alright, let's get down to the most critical step: picking the right part. Honestly, getting this right from the start saves you a massive headache. The last thing you want is to have your car door panel taken apart, only to find the new mirror's wiring plug doesn't match.
Making the right choice upfront turns this into a quick, satisfying fix instead of a frustrating trip back to the auto parts store.
OEM vs. Aftermarket: The Great Debate
Your first big decision is whether to go with an OEM part or an aftermarket one. This choice really comes down to your budget and how you feel about brand names versus generics.
Original Equipment Manufacturer (OEM) parts are the real deal—identical to what the factory put on your car. You'll get them from a dealership's parts counter, and they come with a perfect-fit guarantee, but also a premium price tag.
Aftermarket parts, on the other hand, are made by other companies to fit your vehicle. They're almost always cheaper, but the quality can be a bit of a mixed bag. This is where a little bit of knowledge goes a long way. If you want to dig deeper into this, we've got a whole guide breaking down the key differences between OEM and aftermarket parts.
It’s a huge market out there. The global demand for replacement mirrors is expected to hit USD 23.6 billion by 2029. That tells you a lot of people are doing this exact same repair, so you've got plenty of options.
OEM vs. Aftermarket Side Mirror Comparison
To help you decide, here’s a quick breakdown of what you can expect from each type of part.
| Feature | OEM (Original) | CAPA-Certified Aftermarket | Standard Aftermarket |
|---|---|---|---|
| Fit and Finish | Guaranteed to be an exact match to the factory part. | Tested and certified to match OEM fit, form, and function. | Varies widely; may require adjustments to fit properly. |
| Cost | Highest price point, often by a significant margin. | More affordable than OEM, with a slight premium over non-certified. | The most budget-friendly option available. |
| Quality & Durability | Meets the car manufacturer's original quality standards. | Meets strict third-party standards for safety and quality. | Inconsistent; quality can range from excellent to poor. |
| Warranty | Typically comes with a manufacturer-backed warranty. | Usually includes a warranty from the parts manufacturer. | Warranty coverage can be limited or non-existent. |
| Peace of Mind | The highest level of assurance, but you pay for it. | Excellent; the certification provides a trusted quality check. | A gamble; you might get a great part or a dud. |
Ultimately, the choice depends on your priorities. For most DIYers, a CAPA-certified part hits the sweet spot between cost and guaranteed quality.
Why You Should Look for CAPA Certification
When you're browsing aftermarket mirrors, keep an eye out for a four-letter word: CAPA. The Certified Automotive Parts Association is a non-profit watchdog that puts aftermarket parts through the wringer to make sure they're just as good as the originals.
A CAPA seal means the part has been tested for fit, durability, and safety. It’s your assurance that the mirror will bolt on correctly and function just like the one you're replacing.
Pro Tip: In my experience, choosing a CAPA-certified part is the smartest move for most repairs. You get OEM-level quality and a guaranteed fit without the dealership sticker shock. It's the best of both worlds.
Sure, you might find a non-certified mirror that’s a few bucks cheaper, but you’re rolling the dice on whether it will fit right, match the color, or have electronics that actually work. That small savings isn't worth the potential for a major installation headache.
Your Pre-Purchase Checklist
Before you add anything to your cart, you need to know exactly what you’re replacing. Modern mirrors are surprisingly complex, so grab a notepad and run through this list to inventory your mirror’s features.
- Power or Manual? Do you adjust it with a switch, or do you have to push the glass with your hand?
- Heated Glass? Look for that little defrost symbol on the mirror glass. It’s pretty standard in areas with cold winters.
- Turn Signal? Does a light flash on the mirror housing or in the glass when you signal a turn?
- Blind-Spot Warning? Is there a little icon of a car in the corner of the glass that lights up to warn you?
- Auto-Dimming? Does the mirror automatically darken at night to cut down on headlight glare from cars behind you?
- Camera System? Some newer trucks and SUVs have cameras on the bottom of the mirror for a 360-degree view.
Miss just one of these features, and the new mirror simply won't work. The wiring harness won't connect, or you'll lose a safety feature you rely on. A few minutes of checking now ensures you order the right part to fix your broken side mirror on the first try.
How to Replace Only the Mirror Glass
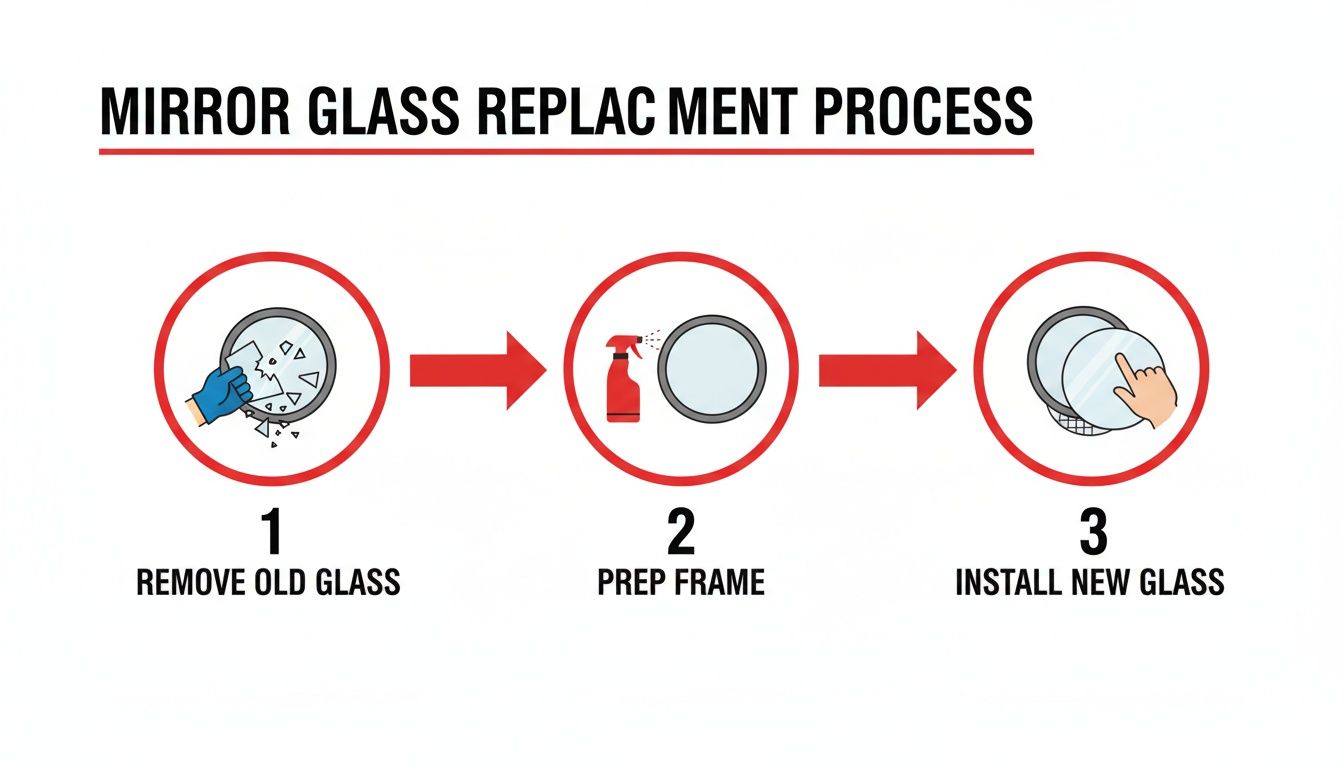
If you've checked out the damage and confirmed the mirror's housing is solid and all the power functions still work, you've just hit the DIY jackpot. Swapping out just the glass is one of the quickest, cheapest, and most satisfying ways to fix a broken side mirror. Honestly, it's a fast job you can knock out in under 30 minutes with just a couple of basic tools.
The whole process is pretty straightforward, but a few extra precautions can make all the difference between a sloppy job and a pro-level repair. We'll walk through the safest way to get the shattered glass out, prep the surface for a rock-solid bond, and pop the new glass in for a perfect, secure fit.
Preparing for the Glass Swap
Before you start yanking things apart, let's get organized. Having everything you need right there next to you turns this into a smooth, seamless project. The last thing you want is to be fumbling for a cleaning rag while holding a new mirror with its adhesive already exposed.
Here’s what you should have ready to go:
- Safety First: This is non-negotiable. Always wear thick work gloves and a good pair of safety glasses. Broken mirror glass is razor-sharp, and tiny shards can fly off when you're prying the old one out.
- Removal Tools: A heat gun or even a powerful hairdryer is going to be your best friend. You'll also need a plastic pry tool or a stiff putty knife—if you use a metal one, wrap the edge in painter's tape to keep from scratching the housing.
- Cleaning Supplies: Grab some isopropyl (rubbing) alcohol and a clean, lint-free cloth. This is critical for prepping the mounting surface.
- The New Glass: Your replacement mirror glass should arrive with adhesive already on the back. Just double-check that it’s the right one for your car's features, like heating or auto-dimming.
With your gear laid out, park the car somewhere you have plenty of room to work. If you have a power mirror, use the switch to tilt the broken glass all the way up. This move gives you much better access to the bottom edge where you'll start prying.
Removing the Old Broken Glass Safely
Patience is the key here. The main goal is to soften the old adhesive so you can pry the broken glass—along with its plastic backing plate—away from the motor assembly inside the housing.
Start by gently warming up the surface of the broken mirror with your heat gun or hairdryer. Keep it moving in a constant sweeping motion for a minute or two. You don't want to hold it in one spot, as too much heat can easily warp the plastic housing. That little bit of warmth makes the old adhesive much more pliable and easier to work with.
Once it's warm to the touch, carefully slide your wrapped pry tool under the bottom edge. Work it in slowly, applying steady, gentle pressure. You should feel the adhesive start to give. If you hit a point of major resistance, just back off and apply a little more heat.
Crucial Tip: Listen for the soft "pop" of clips releasing. Most mirror glass is attached to a plastic backing plate, which then snaps onto the motor. You're trying to release these clips, not just shatter the glass off. Once it feels loose, carefully pull the entire piece away.
If your mirror is heated, you'll see two small electrical wires connected to the back. Gently wiggle these off with your fingers or a pair of needle-nose pliers before you completely remove the old glass.
Prepping the Surface for a Perfect Bond
With the old glass out, you'll be looking at the plastic mounting surface—the part that actually moves when you adjust your mirror. It's almost guaranteed to have old adhesive gunk on it. For a closer look at what you'll find in there, our guide on replacing side view mirror glass has some great visuals.
Whatever you do, don't skip the cleaning step. A perfectly clean surface is absolutely essential for the new adhesive to create a permanent, weatherproof bond. If you stick the new mirror onto a dirty base, I guarantee it will fall off eventually.
Take your lint-free cloth, dampen it with some rubbing alcohol, and thoroughly wipe down the entire mounting plate. Get every last trace of old adhesive, dirt, and grime off of there. The surface needs to be completely clean and dry before you move on. This simple 30-second task is what separates a repair that lasts for years from one that fails in a month.
Installing the New Mirror Glass
And now for the easy part. If your mirror was heated, reconnect those two little electrical wires to the terminals on the back of the new glass. They usually just slide right on.
Next, peel the protective film off the adhesive pads on the back of your new mirror. Take a second to carefully align it, lining up the tabs on the new backing plate with the slots on the motor assembly inside the housing.
Once you’re sure it's aligned correctly, press it firmly into place. Use the palm of your hand to apply even, steady pressure across the entire mirror, paying special attention to the edges. You should hear and feel a satisfying "click" as the clips lock in.
Finally, give the new glass a quick wipe with glass cleaner to get rid of any fingerprints. Jump back in the driver's seat and test the power controls to make sure it moves smoothly in all directions. That's it—you've successfully managed to fix your broken side mirror and probably saved yourself a good chunk of change compared to a shop repair.
Installing a Full Side Mirror Assembly
Sometimes, a simple cracked mirror is the least of your worries. When the whole housing is shattered, or the mirror is just dangling by its wires after a parking lot mishap, you’re looking at a full assembly replacement. It sounds daunting, I know, but this is one of the most doable DIY repairs you can tackle in your own driveway. It really just comes down to being patient and methodical.
I'm going to walk you through the whole process, from start to finish. We'll cover exactly how to get that interior door panel off without snapping any of those fragile plastic clips—we’ve all been there. Then, I'll show you where to find the mirror's wiring, how to unbolt the old unit, and most importantly, how to test everything before you put it all back together.
It's a bit more involved than just swapping the glass, but the core idea is the same: careful removal, clean installation, and a thorough check at the end.
Gearing Up for the Installation
First things first, let’s get our tools in order. Having everything you need laid out and within reach is the secret to avoiding those frustrating mid-job runs to the auto parts store.
Here’s what a typical toolkit for this job looks like:
- Safety Gear: Don't skip the safety glasses and gloves. You'll be working around wiring and potentially sharp, broken plastic.
- Trim Removal Tools: A cheap set of plastic pry tools is a game-changer. They’re designed to pop off interior panels without scratching your paint or snapping clips. A flathead screwdriver wrapped in tape is not a substitute.
- Screwdrivers: You’ll almost certainly need a Phillips head, and maybe a flathead, for various screws in the door panel.
- Socket Set: A basic socket set with an extension is crucial for the nuts holding the mirror. The most common sizes you'll run into are 10mm and 8mm.
- Needle-Nose Pliers: These are perfect for coaxing off stubborn electrical connectors without damaging the plastic clips.
Safety First: Before you even think about touching a tool, disconnect the negative terminal on your car's battery. This is non-negotiable. It prevents short circuits and, in a worst-case scenario, stops an airbag from deploying unexpectedly.
With your gear ready, go ahead and roll down the window of the door you're working on. This gets the glass out of the way and gives you much better access inside the door frame.
Removing the Interior Door Panel
This is the part that usually gives people pause, but it's not as bad as it looks. Think of it as a puzzle. The panel is held on by a few screws and a bunch of plastic clips. Your first job is to play detective and find those hidden screws.
Check these common hiding spots:
- Deep inside the door handle recess.
- Under the armrest, often beneath a little plastic cover you can pop out.
- Behind the power window and lock switch panel.
Use your pry tool to gently lift any covers and remove the screws you find. The switch panel itself usually pops straight up with a bit of careful prying. Once it's loose, you'll see a wiring harness attached—press the small release tab to disconnect it.
After all the screws are out, it's clip time. Start at a bottom corner of the door and slide your pry tool between the panel and the metal door frame. Feel for a clip, then give it a firm but gentle pop. You'll hear and feel it release. Just work your way around the sides and bottom of the door like this.
Once the clips are free, lift the panel straight up to unhook it from the windowsill. Go slowly, as the door handle cable is likely still attached to the back. Unhook it carefully, and then you can set the panel aside somewhere it won't get stepped on.
Unbolting the Old Mirror and Installing the New One
With the door panel gone, you’ve got a clear view. Look for a triangular piece of plastic or foam insulation up near the front of the window frame. Pop that cover off, and you'll reveal the mirror's mounting nuts and its main electrical connector.
First, disconnect the wiring harness. There's a small tab you'll need to press to release the clip. Now, the trick is to support the old mirror from the outside with one hand while you use a socket wrench to loosen the three mounting nuts on the inside. As you take off the last nut, the old mirror assembly will come right off in your hand.
Before putting the new one on, take a second to wipe down the mounting surface on the door. Now, guide the wiring harness of the new mirror through the access hole. Line up the mounting studs with the holes in the door and hand-tighten the nuts to get it seated properly.
Finish tightening them with your socket wrench until they’re snug. Be careful not to go full beast mode here—over-tightening can easily crack the new mirror's plastic housing.
The All-Important Final Check
Stop! Before you even think about putting that door panel back on, you have to do this. This is the single most important step to fix a broken side mirror and avoid having to tear it all apart again.
Reconnect the negative battery terminal. Next, temporarily plug the window and lock switch panel back into its harness. Now, go through and test every single function on your new mirror:
- Power Adjustment: Run the mirror through its full range of motion—up, down, left, and right.
- Heated Glass: If your car has it, turn on the rear defroster and wait a minute. The mirror glass should feel warm to the touch.
- Turn Signal: Flip on the turn signal and walk around to make sure the indicator in the mirror is flashing as it should.
- Blind-Spot Monitor: For cars with this feature, you might need to start the engine to see if the little warning light cycles on.
A non-working mirror is more than just an annoyance; it’s a safety issue and can get you a ticket. Modern mirrors are tied into critical safety systems, and damage to these high-tech parts makes repairs more complex and expensive. That's why this final check is so essential. You can find more detail on evolving automotive mirror regulations over at mordorintelligence.com.
Once you've confirmed every function is working perfectly, you can put the door panel back on by reversing the steps you took to remove it. And just like that, you've handled a pretty significant repair yourself and saved a nice chunk of change.
What About Advanced Features and Calibration?
Modern side mirrors have come a long way. They aren't just pieces of glass anymore; they’re high-tech hubs packed with sensors, cameras, and heating elements. If you're swapping out a mirror that has blind-spot monitoring, a 360-degree camera, or even auto-dimming glass, your job isn't quite done when you tighten that last bolt.
Simply installing the new part often isn't enough. The car's computer relies on these sensors for crucial safety features—think lane-keep assist or automatic emergency braking—and it needs to be told that the new component is perfectly aligned. This process is called calibration, and for many newer vehicles, it's a step you absolutely can't skip.
Does My New Mirror Need to Be Calibrated?
So, how do you know if your car needs this extra, and often professional, step? It really boils down to what tech is packed into the mirror you just replaced. A basic power mirror without any fancy gadgets usually won't need anything extra. But the more advanced systems almost always do.
You'll almost certainly need a pro to perform a calibration if your mirror includes:
- A 360-Degree or Surround-View Camera: This system is clever, stitching together images from several cameras (including the one in your new mirror) to create that helpful top-down view. If the new camera isn't calibrated, the image will look warped, misaligned, or just plain wrong. This makes the feature useless and, frankly, a bit dangerous.
- Blind-Spot Monitoring (BSM) Sensors: Those little radar sensors that watch for cars in your blind spot are angled with extreme precision. After a replacement, they have to be recalibrated to make sure they're looking at the right patch of road. An uncalibrated sensor might give you constant false alarms or, far worse, fail to see a car right next to you.
- Lane-Keep Assist Systems: Some of the most sophisticated systems use the side camera's data to help keep the car centered in its lane. Proper calibration is the only way to guarantee the system has an accurate view of the lane markings.
It's tempting to try and save a few bucks by skipping calibration, but please don't. This is a critical safety measure. An improperly aimed sensor can completely disable a safety feature you count on or cause it to behave unpredictably. It's a small price to pay for real peace of mind.
The New Reality: Digital Mirrors are Here
The trend toward more complex mirrors is picking up steam. We're quickly moving toward camera-based, fully digital side mirrors, which completely changes the repair game. What used to be a simple mechanical swap is now often an electronics job involving diagnostics and programming. When you fix a broken side mirror on a newer car, you're not just dealing with glass and plastic—you're working with sophisticated computer modules.
This evolution has a real impact on repair costs and complexity. As more sensors and cameras get packed in, the price of the parts goes up, and the need for skilled technicians with the right calibration equipment becomes the new normal. For more on this trend, check out the industry analysis on the future of automotive side mirrors.
What to Expect at the Shop
If you've determined that calibration is necessary, the next stop is a dealership or a well-equipped independent repair shop. This isn't a driveway job. The process requires specialized gear, including specific targets placed around the car and a diagnostic scanner that talks directly to the vehicle's computer.
A technician will put the car into a calibration routine. From there, the system uses the targets to learn the new camera or sensor's exact position and viewing angle. This critical step ensures its data is accurate and can be trusted by all the other safety systems in your vehicle.
If you're having issues with more basic mirror functions and want to do some digging yourself before calling a professional, take a look at our guide on what to do when your power mirror is not working.
While it adds an extra task and cost to the repair, proper calibration is the final piece of the puzzle. It’s what fully restores your vehicle's advanced safety features, keeping you and your passengers safe on the road.
Answering Your Top Side Mirror Repair Questions
When you're staring at a cracked or dangling side mirror, a few questions probably pop into your head right away. Let's get them answered so you can figure out your next move, handle the repair safely, and avoid any costly mistakes.
So, How Much is This Going to Cost Me?
The price to fix a broken side mirror is all over the map. If you're lucky and just need to replace the glass on an older manual mirror, you might get away with spending only $15 to $40 for the part and doing it yourself. A complete manual mirror assembly isn't much more, typically running between $50 and $150.
But that's where the simple pricing ends. The cost skyrockets once you add modern features. A mirror assembly with power controls, heating elements, built-in turn signals, and blind-spot cameras can easily jump to $250 and soar past $1,000. If you're having a shop do the work, tack on another $75 to $150 for labor.
Is It Even Legal to Drive Like This?
This is a big one, for both legal and safety reasons. The laws can differ slightly from state to state, but one thing is constant: driving without a working driver-side mirror is almost always illegal. It's also incredibly dangerous. You lose a huge chunk of your visibility, making everyday maneuvers like changing lanes a massive gamble.
The rules for the passenger-side mirror are sometimes a little more forgiving. In some places, you can legally drive without one as long as your main rearview mirror gives you a clear line of sight for at least 200 feet behind you. Honestly, though, that’s not a loophole I’d recommend using. For your own safety and to stay on the right side of the law, just get any broken mirror fixed right away.
Can I Just Super Glue the New Glass On?
Please don't. Your replacement mirror glass comes with pre-applied automotive adhesive for a reason. That stuff is engineered to handle everything your car goes through—constant engine vibration, freezing winters, and scorching summers.
Using household super glue, epoxy, or even silicone is just asking for trouble. Those adhesives will eventually crack or fail under road conditions, and the last thing you want is your new mirror glass flying off on the freeway. Always use the adhesive that came with the part.
Do I Really Need to Bother Disconnecting the Battery?
If your mirror has any wires running to it for power, heat, or signals, then yes—absolutely. Disconnecting the negative battery terminal is a non-negotiable safety step that takes less than a minute.
Taking this simple precaution prevents you from accidentally shorting out a circuit, which could blow a fuse or even fry a sensitive computer module. It also removes the very small, but very real, risk of deploying an airbag if you're working inside the door panel. For a basic glass-only replacement with no wiring involved, it's not strictly necessary, but it's still a smart habit.
If a collision caused the damage, the repair cost is just one piece of the puzzle. You might also want to understand what a diminished value claim is to see how the accident affects your car's overall worth.
At T1A Auto, we provide premium, CAPA-certified aftermarket side mirrors and replacement glass engineered for a perfect fit and lasting durability. Find the exact part for your vehicle and get back on the road with confidence. https://t1aauto.com
