


Changing the front differential fluid is one of those maintenance jobs that's easy to overlook, but it’s absolutely critical for any 4WD or AWD vehicle. Think of it as a 30,000 to 60,000-mile checkup for the gears that drive your front wheels. You're simply swapping out the old, tired gear oil for fresh fluid to keep everything lubricated and protected from damage.
Why Bother Changing Your Front Differential Fluid?
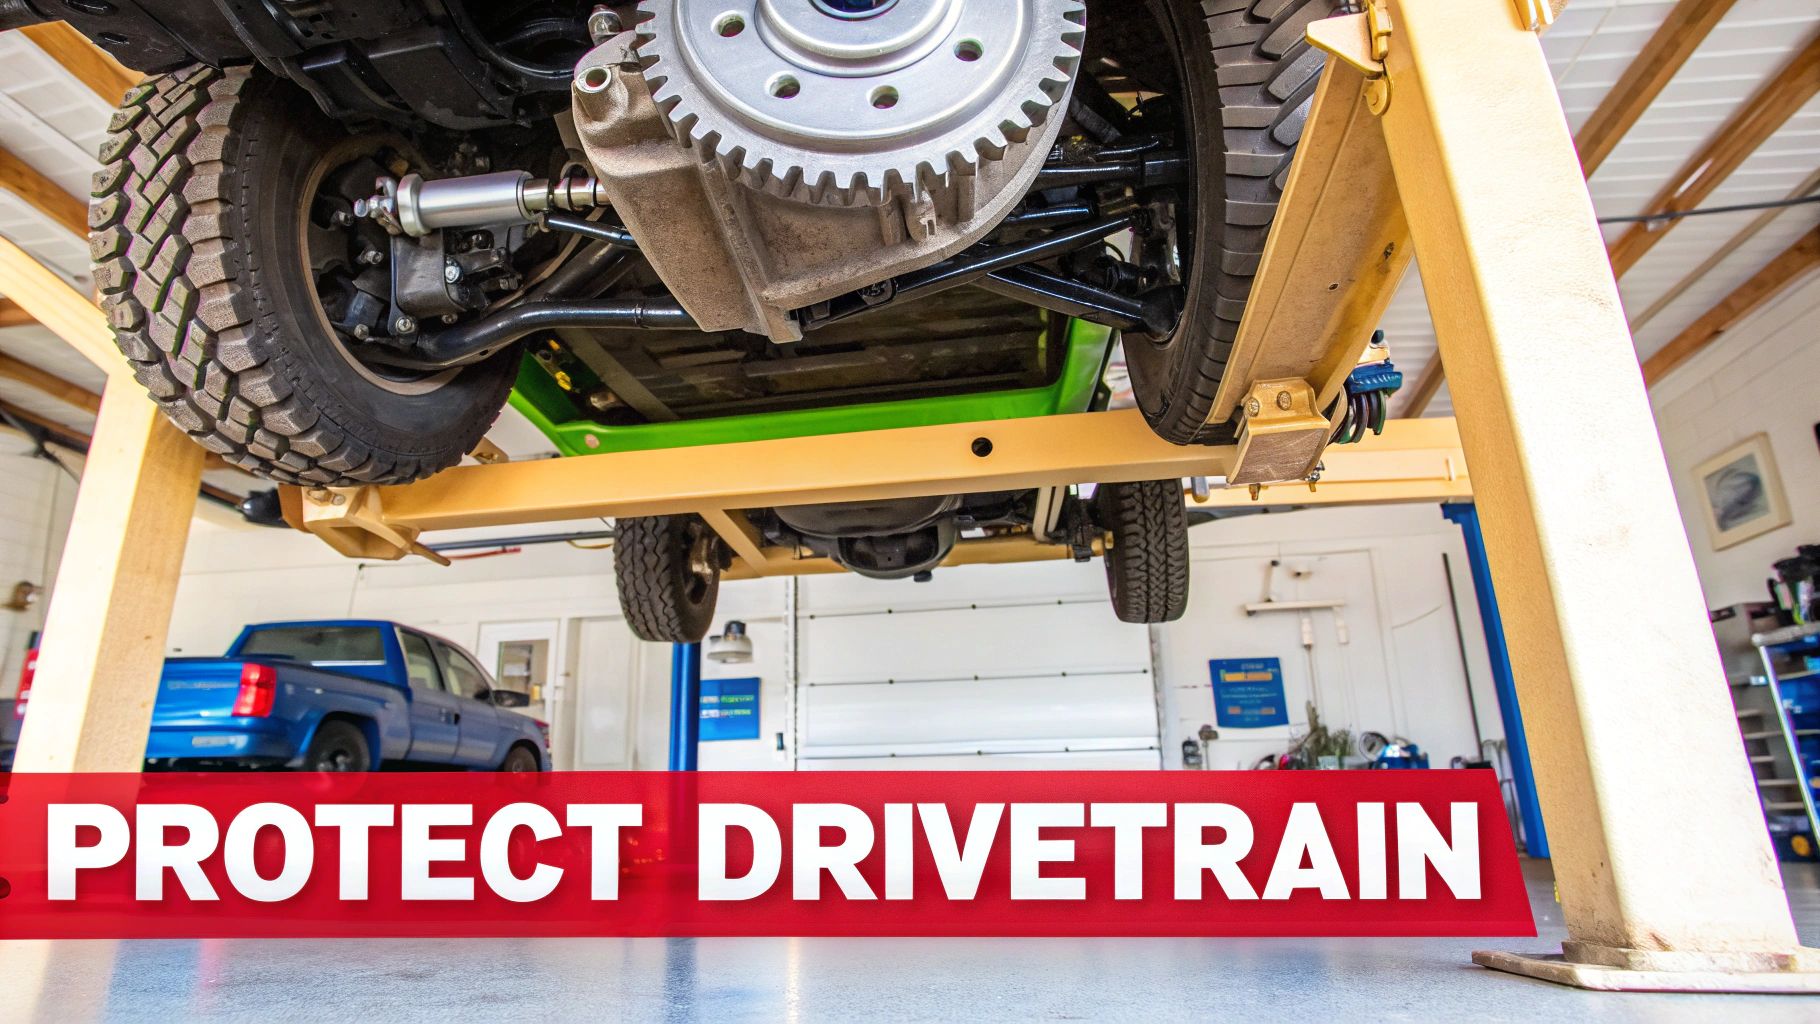
The front differential is a tough little gearbox tucked under the front of your rig. Its main job is to let your front wheels spin at different speeds when you take a corner—without it, turning would feel clunky and chew up your tires. Inside that housing, you have a set of precision-engineered gears, like the pinion and crown gears, that are always under immense pressure.
The only thing keeping those gears from grinding themselves into metal shavings is a thin layer of specialized gear oil. This fluid isn't just for lubrication; it also pulls heat away from the components and picks up tiny metal particles that flake off during normal use.
When Good Fluid Goes Bad
Over thousands of miles, the constant heat and pressure inside the differential break down the gear oil. Its additives wear out, and its ability to lubricate diminishes. At the same time, contaminants like moisture and those little metal filings build up, turning the fluid into a thick, abrasive sludge.
Once the fluid is shot, a few nasty things start to happen:
- Friction and Heat Spike: The worn-out oil can’t maintain a strong protective film. This leads to metal-on-metal contact, which creates a ton of excess heat.
- Wear and Tear Speeds Up: Those tiny metal particles suspended in the old fluid act like liquid sandpaper, slowly grinding away at your gears and bearings.
- Big Trouble on the Horizon: If you ignore it long enough, you'll start to hear whining or grinding noises. Eventually, this can lead to total differential failure, a repair that can easily run into the thousands.
A timely front differential fluid change is some of the cheapest insurance you can buy for your drivetrain. It’s a few bucks for fluid and an hour of your time to protect a very expensive component.
The Payoff of Being Proactive
Changing your front differential fluid isn't just about dodging a massive repair bill; it's about keeping your vehicle running right. Fresh gear oil restores that crucial protective cushion between moving parts, helping everything run quietly and efficiently.
You're not just swapping fluids—you're actively extending the life of your vehicle's drivetrain. Tackling this job yourself saves you a trip to the shop and gives you the peace of mind that comes from knowing it was done right.
Gathering Your Tools and Choosing the Right Gear Oil
A successful front differential fluid change starts long before you ever slide under the truck. Honestly, having the right tools and the correct gear oil ready to go is what separates a smooth afternoon job from a frustrating ordeal. Rushing this prep work is just asking for stripped plugs and wasted time, so let's get you set up properly.
First things first, let's talk about getting those drain and fill plugs out. After years of heat cycles and road grime, they can be incredibly stubborn. You'll need a quality socket set, but pay close attention to the type of plug on your differential. Many don't use a standard six-point socket; instead, they require a large hex bit socket, often a 10mm hex.
To get the leverage you need to break those plugs loose without busting your knuckles, a long-handled ratchet or, even better, a breaker bar is your best friend. But when it comes time to put everything back together, the single most important tool is a torque wrench. Just "guesstimating" the tightness is a huge mistake. It's a surefire way to get leaks or, worse, damage the threads in the differential housing—and that's an expensive fix.
Your Essential Toolkit for the Job
Here’s a quick rundown of what you’ll want to have laid out before you begin. While every vehicle has its quirks, this list covers the essentials for most jobs. If you're looking to build out your garage, you can check out our collection of automotive tools to make sure you're ready for anything.
| Item | Specification / Type | Pro Tip |
|---|---|---|
| Wrench Set | Socket or hex bit set | Double-check the exact plug size for your vehicle before you start. A 10mm hex bit is a common one. |
| Breaker Bar | 1/2-inch drive recommended | Use this for loosening the plugs only. Never use it for tightening; you'll over-torque it every time. |
| Torque Wrench | Calibrated in ft-lbs | This is non-negotiable. Tightening the plugs to the exact factory spec is critical. |
| Fluid Pump | Simple hand pump style | This makes refilling so much cleaner, especially when the fill hole is tucked away in a tight spot. |
| Drain Pan | At least 5-quart capacity | Get one with a nice, wide opening. It will save you from cleaning up a puddle of gear oil later. |
Selecting the Correct Gear Oil
Picking the right fluid is just as crucial as having the right tools. Your owner's manual is your ultimate guide here, so don't guess. You're looking for two key pieces of information: the viscosity grade (like 75W-90) and the API service category (such as GL-5). Pouring in the wrong stuff can cause poor lubrication and lead to serious wear and tear down the road.
You'll also run into choices between conventional and synthetic gear oil. As a general rule, synthetic oil provides much better performance, especially in extreme hot or cold weather. It holds up longer and is a fantastic upgrade for any vehicle that does heavy towing, sees off-road use, or gets driven hard.
Key Takeaway: Always stick with the fluid type your vehicle's manufacturer specifies. There's a reason the global market for these specialized lubricants is so massive—the transmission and differential fluid sector alone was valued at over USD 9.53 billion in 2024. This isn't just about selling oil; it's about using precisely engineered fluids that are fundamental to keeping your vehicle running for the long haul.
How to Drain and Refill Your Front Differential
Alright, with your tools laid out and the right fluid on deck, it’s time to get down to business. Changing your front differential fluid is a pretty straightforward job, but the devil is in the details. Getting it right means paying attention, from setting up your truck safely to knowing the one little trick that can save you from a massive headache.
First things first: safety. You absolutely have to park your vehicle on a perfectly level surface. This isn't just a suggestion—it’s critical for making sure all the old gunk drains out and you get an accurate fill level later. Chock the rear wheels, then get the front end up in the air with a good floor jack. Position your jack stands under the solid frame points recommended by the manufacturer. And I'll say it again: never, ever get under a vehicle that's only held up by a jack.
This quick flow chart gives you a good visual of the prep work before you even grab a wrench.
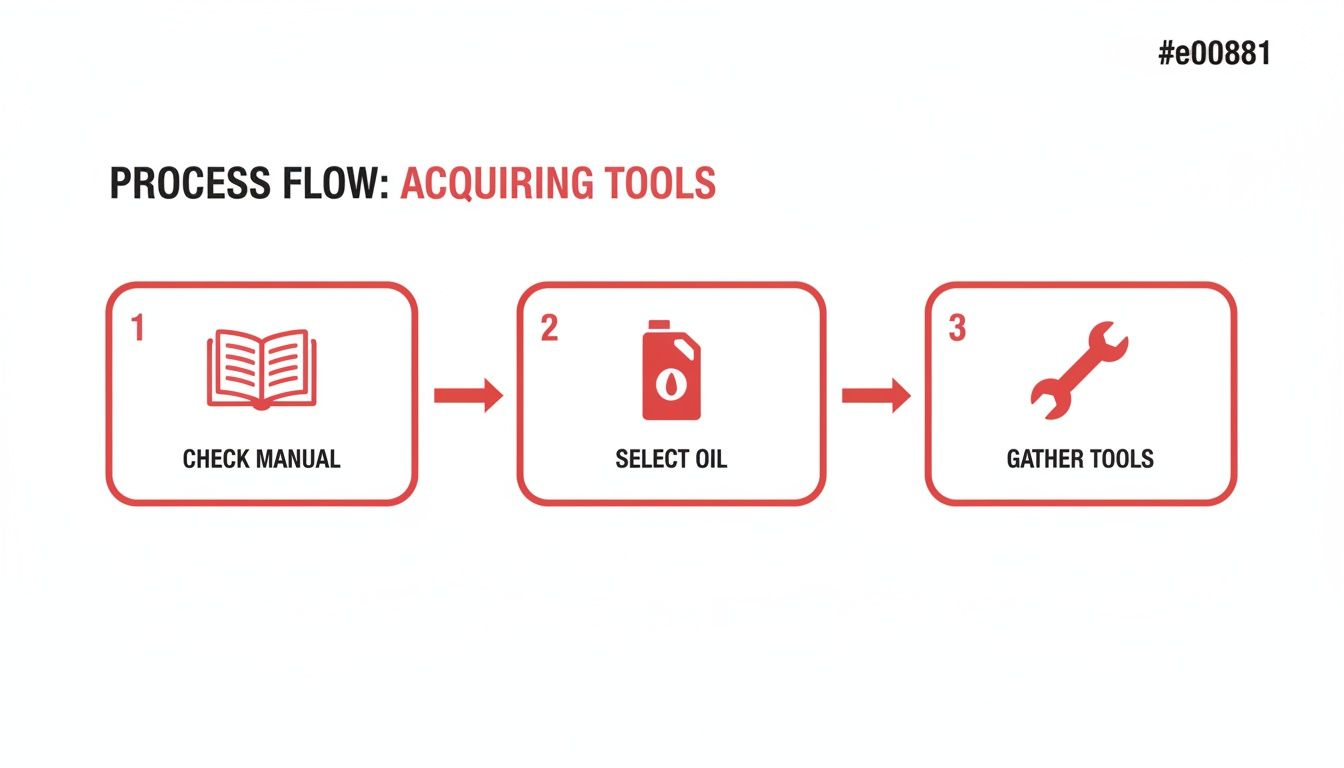
As you can see, checking the manual for the right fluid is step one for a reason. Don't skip it.
Finding the Plugs and Draining the Old Fluid
Now, time to slide underneath and find that differential housing. You're looking for two plugs. The fill plug will be higher up, usually on the side of the housing or the cover. The drain plug is right at the bottom, where gravity would pull all the fluid. On a lot of trucks, like many Toyota Tacomas, these are often big 10mm hex bit plugs.
Pro Tip: Always, and I mean always, loosen the fill plug before you even think about touching the drain plug. Can you imagine draining all the old fluid just to discover the fill plug is seized solid? It’s a classic rookie mistake that can leave your truck completely stranded. Don't let it happen to you.
Once you've cracked the fill plug loose and know you can get it out, slide your drain pan under the drain plug. Grab your breaker bar and the right socket to break it loose, then carefully unscrew it the rest of the way by hand. Be ready for a gush of old fluid.
While it’s draining, inspect the drain plug. Most of them are magnetic and will have a fuzzy, dark paste clinging to the end. That’s totally normal—it’s just a buildup of super-fine metal shavings from everyday wear and tear. What you don't want to see are large metal chunks or slivers. If you find those, you might have bigger problems brewing inside the differential that need a professional eye.
Pumping In the Fresh Gear Oil
When the flow slows to a steady drip, you're ready to button things up. Wipe the magnet on the drain plug completely clean and thread it back in with a fresh crush washer. Don't just guess on the tightness; use a torque wrench. For example, some Tacoma models call for 48 ft-lbs on the drain plug.
Now for the fun part. The fill hole is almost always in a tight spot, making a fluid pump your best friend. Trying to pour directly from the bottle is just asking for a mess.
- Screw the pump onto your new bottle of gear oil.
- Stick the pump's hose firmly into the fill hole.
- Start pumping the new fluid in until it starts to trickle back out of the hole.
That little bit of overflow is exactly what you're looking for. There’s no dipstick here; the correct fluid level is right at the bottom edge of the fill hole. Once you see that fresh gear oil seeping out, you're full.
Clean off the fill plug, put a new crush washer on it, and thread it back into the housing. Torque it to spec—which is often less than the drain plug. On many of those same Tacomas, it's around 29 ft-lbs. Sourcing these small but crucial parts like washers and plugs is key, and knowing the best online auto parts retailer can save you a lot of hassle. Getting quality parts ensures you won’t have to deal with annoying leaks down the road.
Last step: wipe down the entire differential housing to get rid of any spilled oil. A clean housing makes it easy to spot any potential leaks after you take it for a spin. That’s it—your front diff is now freshly serviced and ready for thousands more miles of protection.
Final Reassembly and Checking Your Work
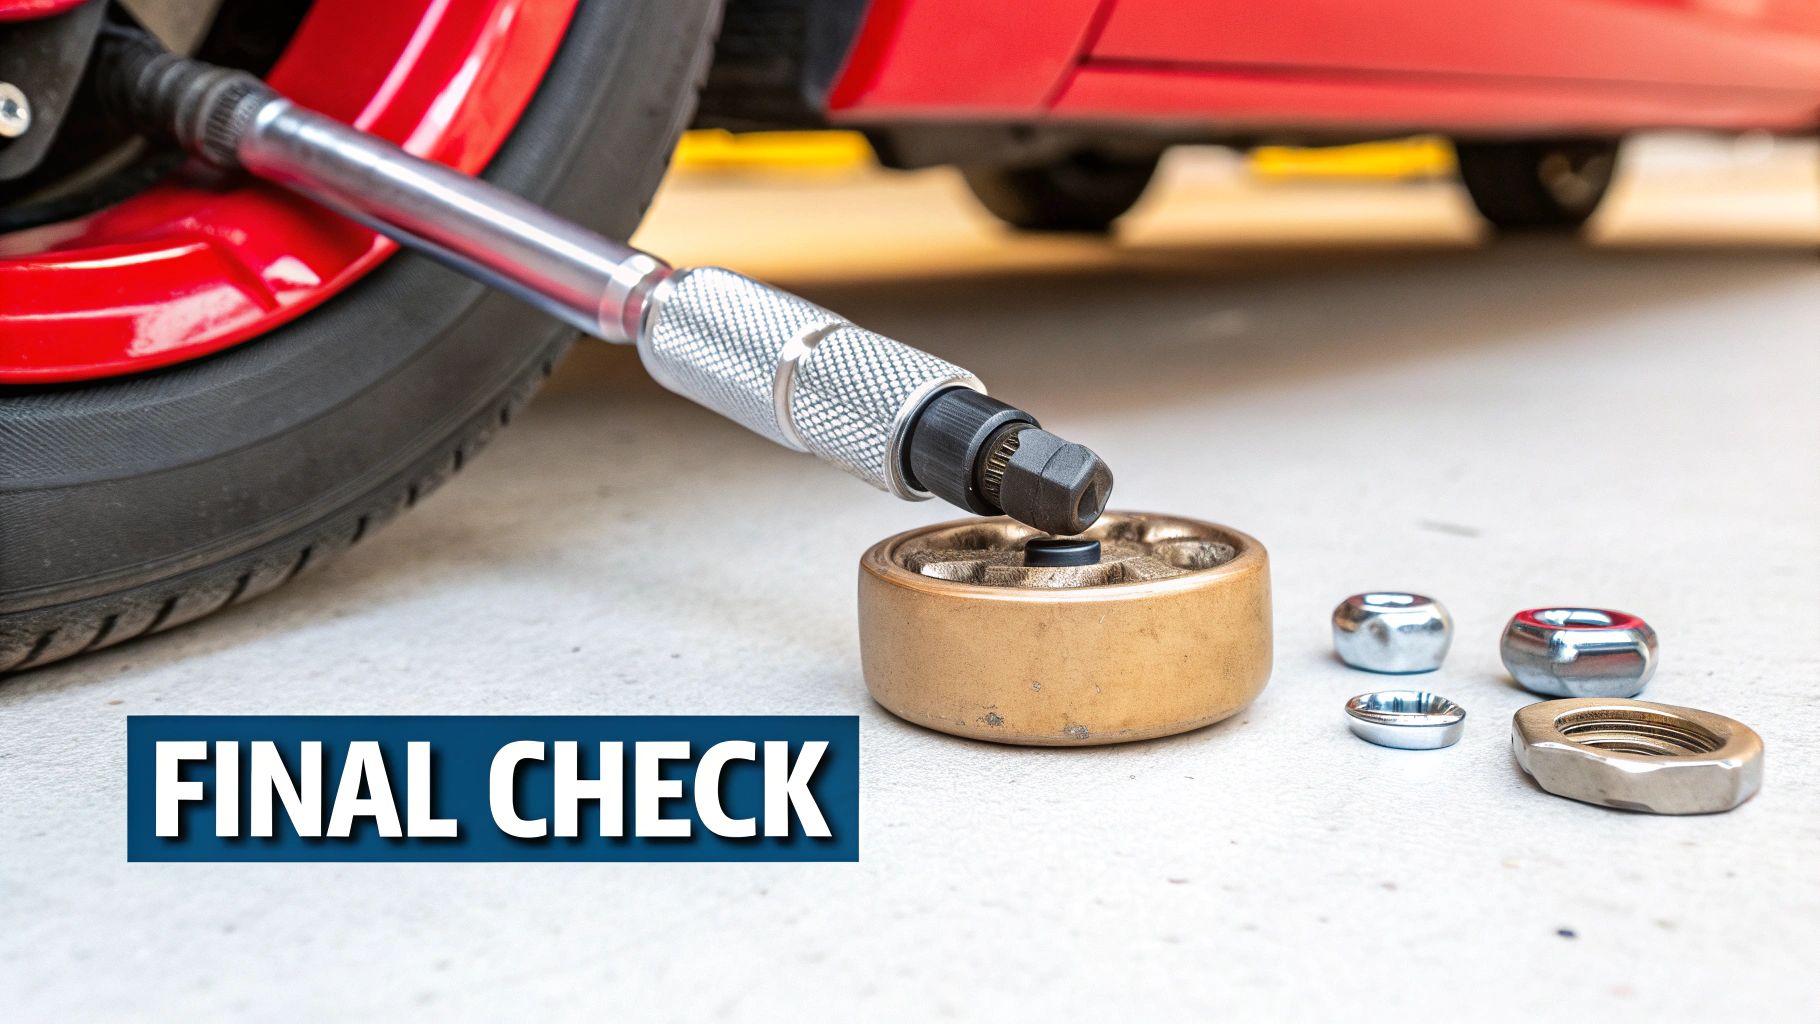
You’ve made it through the messy part—the old, sludgy gear oil is out, and the fresh stuff is in. Now it's time to button everything up correctly. Don't rush this part; these final steps are what separate a professional job from a leaky mistake.
Before you even think about threading those plugs back in, clean everything meticulously. Grab a clean, lint-free rag and wipe down the threads on both plugs and inside the differential housing ports. Any leftover grime or old fluid can get in the way of a perfect seal.
While you're at it, grab those new crush washers you bought. These little metal rings are designed to deform as you tighten the plug, creating a tight, leak-proof seal. Reusing the old one is asking for trouble. It's already been crushed flat and won't seal properly a second time, almost guaranteeing a slow, annoying drip. For a couple of bucks, a new washer is the best insurance you can buy.
The Importance of Proper Torque
Alright, find your torque wrench. This isn't a "good-and-tight" situation. Over-tightening can strip the threads right out of the differential housing, especially on softer aluminum cases. That turns a simple fluid change into a massive, expensive headache. On the other hand, leaving it too loose will cause a leak, and you'll be right back under the car.
Check your vehicle's service manual for the exact torque specs—don't guess. They vary a lot between makes and models, but as an example, you might see something like 29 ft-lbs for the fill plug and 48 ft-lbs for the drain plug. Set your wrench, tighten until you get that satisfying click, and move on.
Keeping these components in top shape is a huge deal. The global automotive differential market was valued at USD 8.44 billion back in 2023, and that number is only expected to grow as vehicles get more complex. It's a testament to how vital these parts are. You can find more details in the automotive differential market research on databridgemarketresearch.com.
Final Checks and the Test Drive
With the plugs torqued down, give the whole differential housing one last wipe with a clean rag. This makes it much easier to spot any potential leaks later. Now you can safely lower your vehicle off the jack stands and back onto solid, level ground.
The last step is the test drive, which is your chance to confirm a job well done.
- Start the engine and let it run for a minute or two.
- Go for a short drive, about 5-10 minutes should do it. Make a few gentle left and right turns to really get that new fluid moving around inside the diff.
- Find a clean, dry spot to park—your driveway is perfect. Let the vehicle sit for a few minutes.
- Grab a flashlight and slide back underneath for one final look. Check around the drain and fill plugs for any sign of wetness or drips.
If it’s bone dry, you can pat yourself on the back. You've just performed a professional-level front differential service, saving a good chunk of cash and ensuring your drivetrain stays healthy for thousands of miles to come.
Troubleshooting Common Issues and Maintenance Schedules
Even the most straightforward front differential fluid change can hit a snag. We’ve all been there—stuck plugs, weird-looking fluid, and stripped threads are practically a rite of passage for any DIY mechanic. Don’t worry, a little patience and the right approach will get you through it.
One of the most common headaches is a drain or fill plug that’s seized solid. Before you start reefing on it with a breaker bar, grab a good penetrating oil and give that stubborn plug a healthy spray. Let it sit for at least 15-20 minutes to work its magic. Sometimes, a few sharp taps on the head of your ratchet with a hammer can be enough to shock the threads loose. If the hex head does strip out, a bolt extractor socket set is a lifesaver and worth every penny.
Reading the Old Fluid
The old fluid you drain is like a health report for your differential. What comes out can tell you a lot about what’s going on inside, so pay close attention.
- Milky or Creamy Appearance: This is the classic sign of water contamination. Water can sneak in past worn axle seals, especially if you've been driving through deep puddles or fording streams.
- Excessive Metal Shavings: It's normal to see a fine, gray paste on the magnetic drain plug. But if you find larger chunks or slivers of metal, that’s a red flag for internal damage, like a bearing that's on its way out.
- Burnt Smell: A harsh, acrid smell means the fluid has been cooked. This usually happens from heavy towing or aggressive driving, and it's a sure sign the oil has lost its ability to protect the gears.
If you find significant metal debris, you might be looking at a problem that goes beyond just old fluid. Sometimes, these issues can be linked to other parts of your drivetrain. For more information, take a look at our guide on what to expect during a front wheel bearing replacement.
Setting a Smart Maintenance Schedule
Most manufacturers recommend changing the front differential fluid somewhere between 30,000 and 60,000 miles. But honestly, that’s just a guideline. How you use your vehicle is what really matters.
The biggest factor in your fluid's lifespan is your vehicle's workload. If you tow heavy trailers, go off-roading, or live in a scorching hot climate, you need to be more proactive. I’d recommend cutting that service interval in half and changing the fluid every 15,000 to 30,000 miles just to be safe.
Staying on top of this is more important than ever. The market for advanced lubricants, including differential oils, hit around USD 15.67 billion in 2024. That growth is driven by the demands of modern, complex drivetrains that require high-performance fluids to stay healthy.
To keep your entire vehicle in top shape, it's a good idea to follow a detailed maintenance plan. You can find excellent examples in resources like this 2025 Car Maintenance Checklist.
Got Questions About Your Diff Service? We’ve Got Answers.
Even after you've tightened the last plug and wiped up the last drop of oil, a few questions might still be rolling around in your head. That's perfectly normal. Getting the details right not only gives you peace of mind but makes the next time you do this job even easier. Let's tackle some of the most common things people ask after a differential fluid change.
A big one that comes up all the time is whether you can just use the same gear oil for both the front and rear differentials. While some trucks are designed that way, making the assumption is a gamble you don't want to take. It's a common mistake that can get expensive, fast.
Fluid Types and What to Expect on the Drain Plug
Many trucks and SUVs, especially those with a limited-slip differential (LSD) in the back, need a very specific fluid. These oils contain special friction modifiers that are essential for the clutch packs inside the LSD to work correctly.
Pouring standard gear oil into one of these units is a recipe for disaster. You’ll likely get clutch chatter, a noticeable drop in performance, and eventually, some serious internal damage. The only way to know for sure is to check your owner's manual. Always look up the specs for the front and rear axles separately.
Another thing that often gives people pause is what they find stuck to the magnetic drain plug. What's normal wear, and what's a sign of trouble?
A little bit of fine, metallic paste on the magnet is nothing to worry about. It looks like a dark gray sludge, and it's just the normal result of gears meshing together for thousands of miles. What you don't want to see are bigger metal chunks, shiny slivers, or a whole handful of shavings.
If you find anything more than that typical gray fuzz, it's time to have a professional take a look. It could be an early warning sign of a bearing on its way out or a chipped gear tooth.
Why You Can't Skip the Torque Wrench
So, how important is it really to use a torque wrench on those plugs? Let me be blunt: it's absolutely critical. It's not a step you can eyeball or "get close enough" on.
Differential housings, covers, and their plugs are often made from aluminum or other softer metals. It is surprisingly easy to cause damage if you're not careful.
- Over-tightening: This is the fastest way to strip the threads right out of the housing. What was a simple fluid change suddenly becomes a major, costly repair.
- Under-tightening: This is just asking for a leak. A loose plug will seep gear oil, potentially starving the differential of lubrication and leading to catastrophic failure down the road.
A torque wrench isn't a huge investment, but it's one that pays for itself by guaranteeing a perfect, leak-free seal every single time. Don't skip it.
For all the premium aftermarket parts you need to keep your vehicle in top condition, from tailgate handles to CAPA-certified cameras, trust T1A Auto. Find guaranteed-fit components backed by a lifetime warranty at t1aauto.com.
