


Gas tank straps are one of those "out of sight, out of mind" parts. They’re just simple metal bands, but they’re responsible for holding your vehicle's heavy, flammable fuel tank securely to the undercarriage. It’s a job you don't think about until something goes wrong, but they are a critical safety component.
Why Gas Tank Straps Are a Critical Safety Component
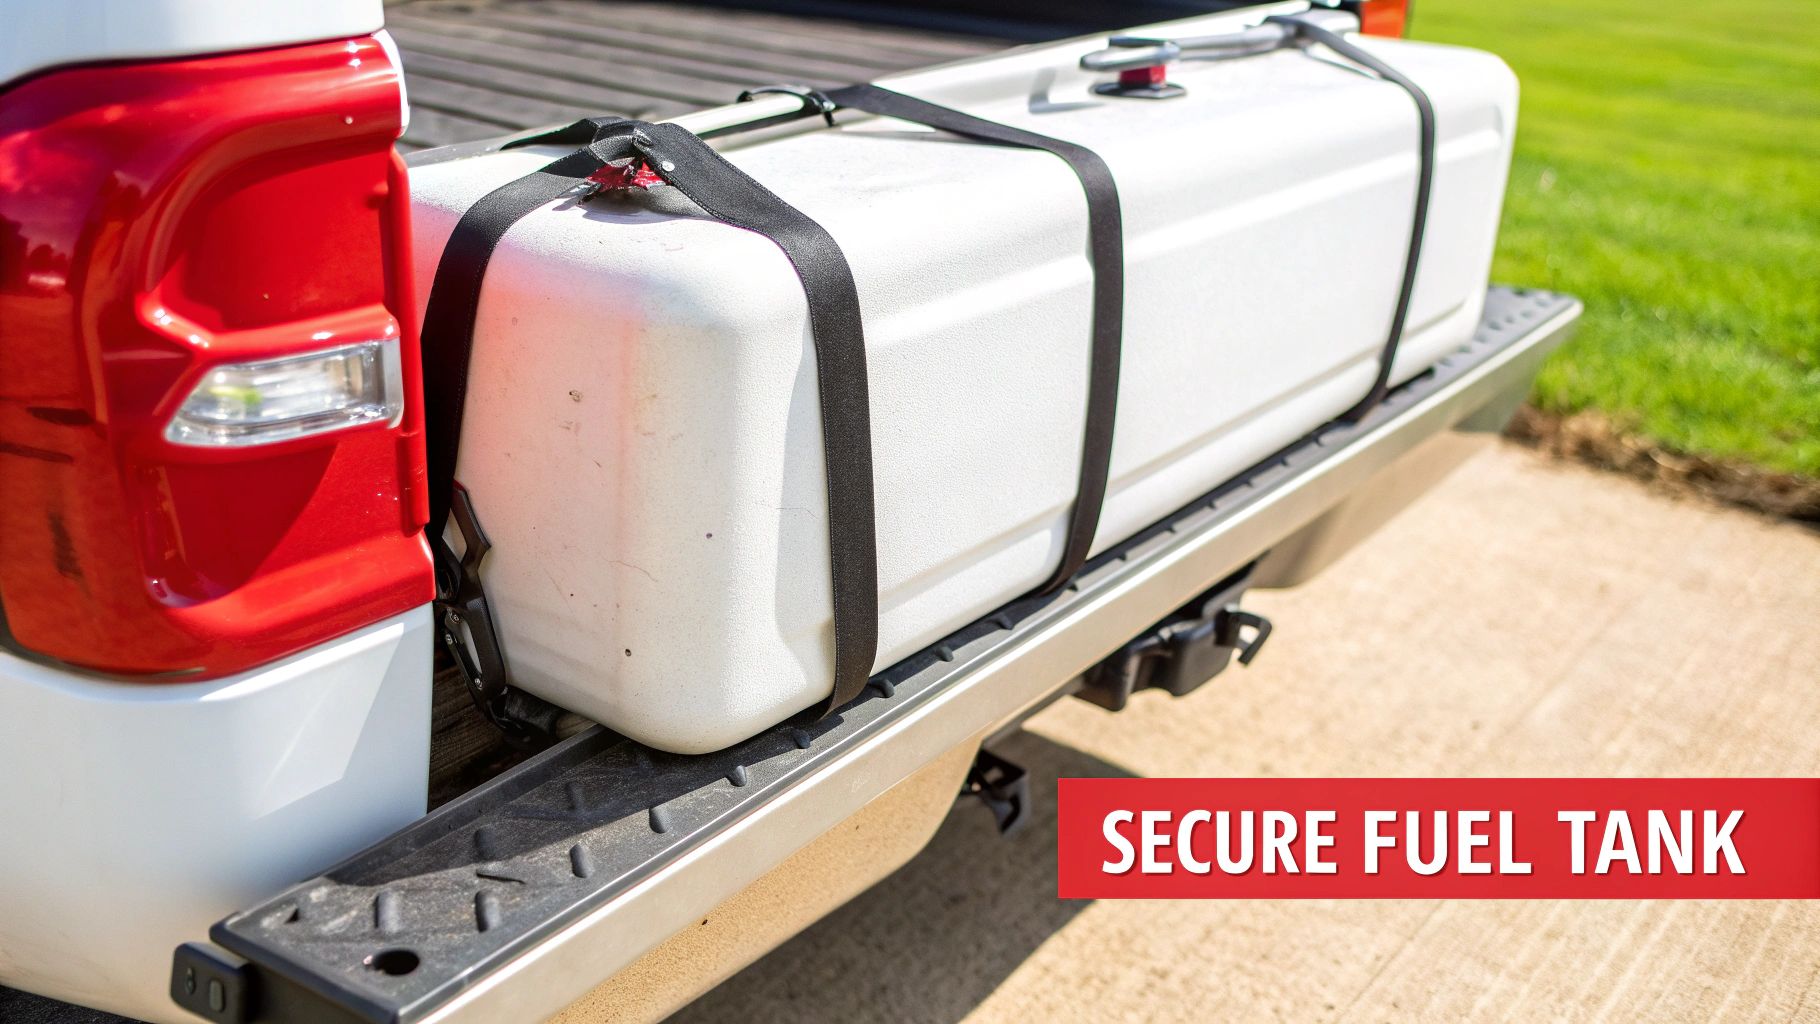
It's easy to forget about the gas tank straps tucked away beneath your vehicle, working tirelessly without any fanfare. But their role is absolutely essential. They are the only thing supporting a tank that can weigh hundreds of pounds when full, bracing it against the constant forces of acceleration, braking, and cornering.
When a strap fails, it’s not just a minor inconvenience—it’s a serious safety hazard. A broken strap can cause the fuel tank to sag, shift, or worse, drag on the road. This sets off a chain reaction of dangerous problems.
The Dangers of a Failing Strap
The most immediate risk is damage to your fuel lines and filler neck. A tank that's no longer secure can stretch, kink, or completely sever these connections, leading to a dangerous fuel leak. Suddenly, the potential for a fire becomes a very real and frightening possibility.
Beyond leaks, a loose tank puts immense stress on the remaining strap and its mounting points, causing them to fail even faster. Those loud clunking or banging noises you might hear from underneath are more than just an annoyance; they're a clear warning that your entire fuel system is compromised.
Key Takeaway: A failing gas tank strap isn't a repair you can put off. It's an urgent safety issue that directly threatens the integrity of your fuel system and the overall safety of your vehicle.
Common Causes of Failure
For most vehicle owners, especially those in regions with harsh winters, the biggest enemies of gas tank straps are moisture and road salt. Constant exposure to these elements causes aggressive corrosion. The straps, which are often just thin metal bands, rust from the outside in, slowly losing their strength until they finally snap under the tank's weight.
This is such a common problem that it has created a significant market for replacements. Market intelligence shows the global fuel tank straps market is valued at USD 1.2 billion and is expected to grow, driven in part by aftermarket demand for high-mileage vehicles. Failure rates can climb as high as 12% in vehicles with over 150,000 miles, making regular inspection a crucial part of maintaining an older truck or car.
When you're replacing them, choosing a durable, coated strap is a smart investment in your vehicle's longevity and your own safety. As you source parts, it's also helpful to know the difference between OEM and quality aftermarket components. If you're curious, we have a helpful guide explaining what CAPA-certified parts mean for your repair.
Performing a Confident Visual Inspection
You don't need a code reader or expensive diagnostic gear to figure out if your gas tank straps are shot. Your most valuable tools for this job are a good, bright flashlight and knowing exactly what you're looking for. Getting under the car for a solid visual check is the first, and most important, step. It'll tell you for sure if the straps are the problem and give you a real sense of what you're getting into.
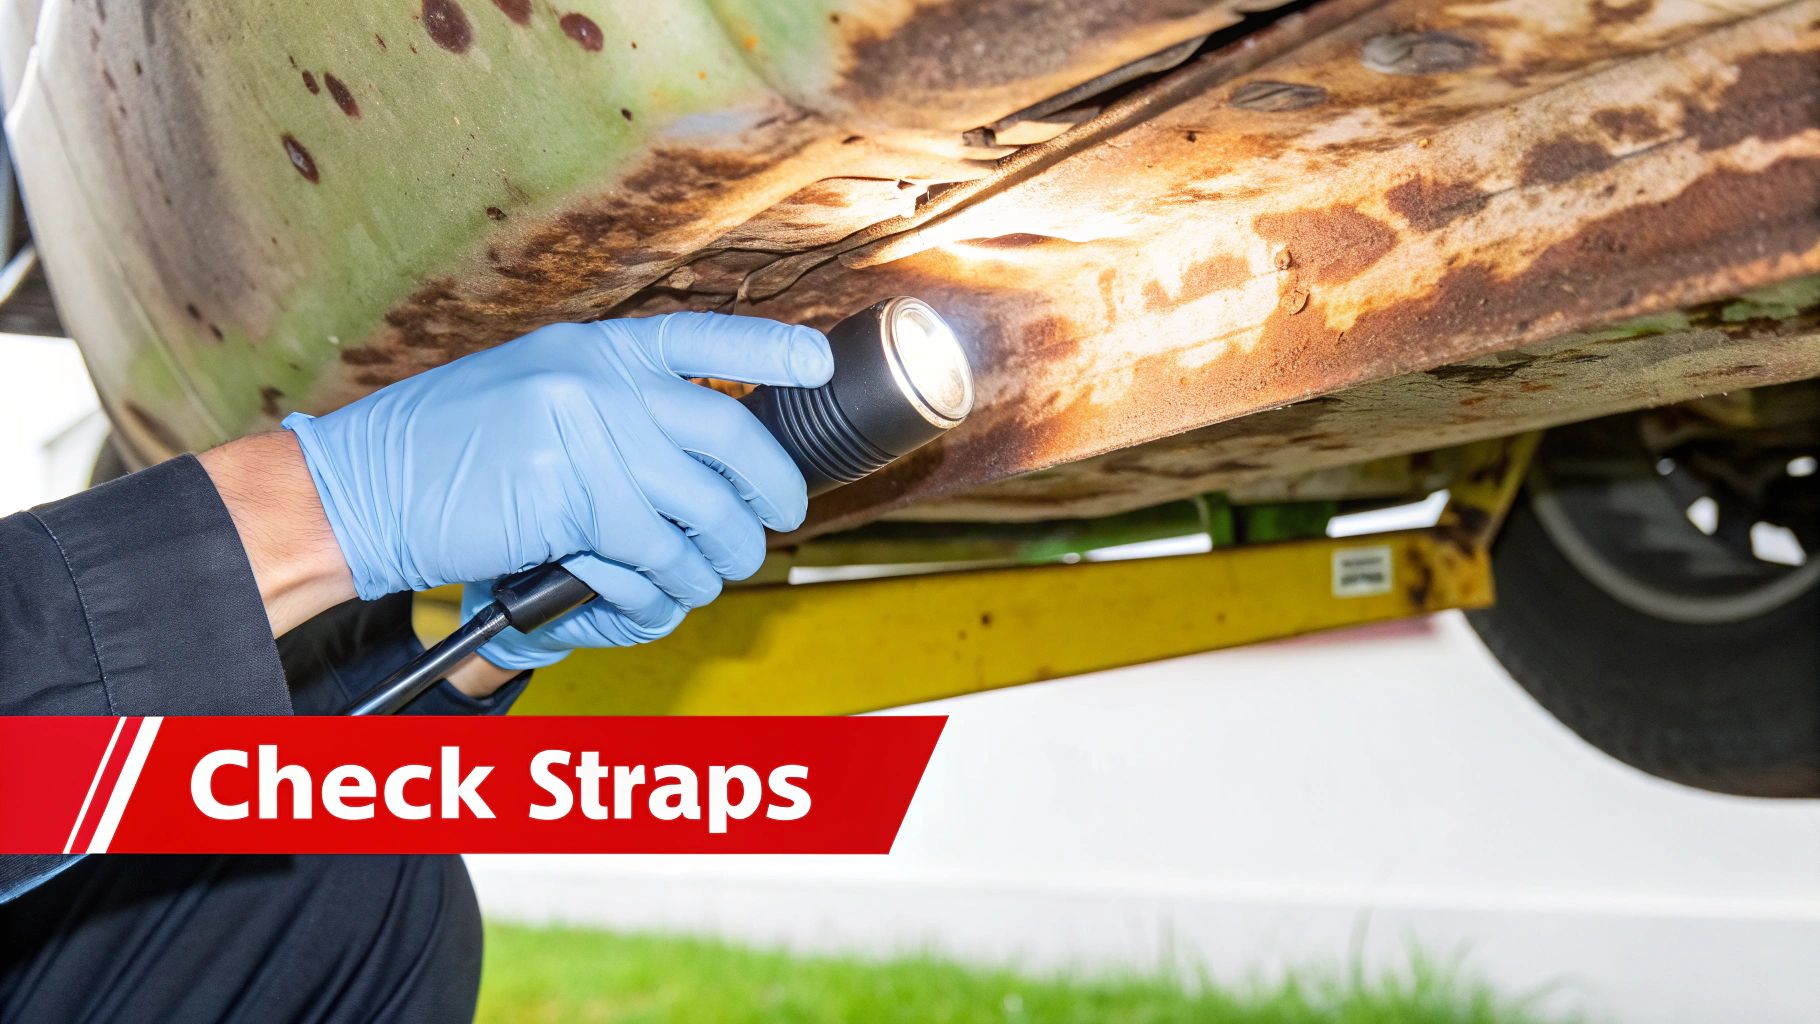
First things first: get your vehicle jacked up safely and secured on jack stands. Once you’re situated underneath, your primary mission is to assess the rust on the straps. The key here is learning to tell the difference between harmless surface rust and the kind of deep corrosion that signals a strap is about to fail.
Spotting Dangerous Corrosion
Not all rust is an immediate red flag. You've got to be able to tell the difference between a little surface tarnish and serious structural decay that's eating away at the metal.
- Surface Rust: This usually looks like a light, even layer of orange-brown dust. If you give it a light scrape with a screwdriver, you’ll hit solid metal right underneath. It's mostly cosmetic and not something to panic about.
- Scale and Flaking: Now, this is a major warning sign. If the rust is so bad that it's flaking off in chunks or the strap looks swollen and layered, its integrity is gone. This isn't just rust; this is the strap actively falling apart.
- Pitting: Look for little craters or deep pits in the metal. These are serious weak spots. A stress crack can easily start in one of these pits and lead to a complete break when the vehicle is bouncing down the road.
Here's a pro tip from the shop floor: try a simple tap test. Use the plastic handle of a screwdriver to tap firmly along the strap. A healthy strap will give you a sharp, metallic "ping." A strap on its last legs will sound dull and dead, almost like you're tapping on a block of wood.
Checking for Looseness and Damage
After sizing up the rust situation, it's time to check for any physical play. With the vehicle still securely on stands, give the fuel tank a firm push. A properly secured tank should have absolutely no movement.
Next, grab ahold of one of the straps and try to wiggle it back and forth. It should feel rock solid and completely taut. If you feel any slack or play, you've found a problem. The strap has either stretched out over the years or, more likely, the mounting bolts have loosened up or rusted through.
As you push on the tank, listen carefully. That distinct "clunk" or "thud" you might hear is the sound of the tank shifting around—a dead giveaway that the straps aren't doing their job. This is often the exact noise that drivers complain about hearing from inside the car.
Finally, trace the entire length of each strap with your flashlight. Pay extra close attention to the bends where the strap curves around the tank and the mounting points where it bolts to the vehicle's frame. These are the highest-stress areas and the most common places for cracks to develop. A hairline crack you spot today could easily become a complete failure tomorrow.
Gathering the Right Tools and Parts for the Job
A successful gas tank strap replacement starts long before you ever slide under the truck. It begins in the garage, with the right tools and parts laid out and ready to go. Trust me, nothing kills your momentum faster than realizing you’re missing a deep socket or that the new straps don't quite match up with the old ones.
Before you even think about lifting the vehicle, do a pre-flight check of your gear. Taking a few extra minutes here will save you hours of frustration later. You absolutely need a good floor jack and a sturdy pair of jack stands—this is non-negotiable for safety. You’ll also want a socket set with a few different extensions, because some of those bolts can be in seriously awkward spots.
Your Essential Toolkit
Let's get everything you need within arm's reach. The goal is to avoid that annoying shuffle back and forth to your toolbox once you're on the ground.
- Floor Jack and Jack Stands: I can't say this enough: never, ever rely on a jack alone to support a vehicle you're working under.
- Socket Wrench Set: You'll want both standard and deep sockets. Common sizes for this job are 13mm, 15mm, and 18mm, but it’s always smart to double-check the requirements for your specific model.
- Penetrating Oil: This stuff is your best friend. You're almost guaranteed to run into rusted, stubborn bolts, so spray them down and let the oil soak in for at least 15-20 minutes before you even try to turn them.
- Torque Wrench: Guessing isn't good enough here. Proper torque is critical for making sure the new straps are secure without stripping the threads or damaging the tank.
- Wire Brush: A quick scrub with a wire brush to clean up the frame mounting points will ensure the new hardware sits flush and tight.
A little tip from experience: I always keep a small block of wood on hand. Placing it between the floor jack and the fuel tank distributes the lifting force and prevents any chance of denting or, even worse, puncturing the tank.
Choosing the Right Replacement Straps
Don't skimp on the quality of your new gas tank straps. These aren't just cosmetic parts; they're critical safety components. The global market for these straps has hit USD 1.42 billion for a reason—they are absolutely essential, especially on hardworking trucks. You can even explore the full report on fuel tank strap trends if you're curious about the industry.
When you're shopping for replacement parts, pay close attention to the materials and coatings. Look for straps made from heavy-gauge steel with a durable, corrosion-resistant finish like a powder coat or an E-coating. This is one of those jobs where spending a little more on a premium aftermarket part can save you from doing it all over again in a few years. If you're weighing your options, our guide on OEM vs. aftermarket parts can help you decide what's best for your truck.
The Gas Tank Strap Replacement Process Unpacked
So, you're ready to get your hands dirty. Replacing gas tank straps is a manageable job, but it’s one where you absolutely have to be methodical, especially since you’re working right next to the fuel system.
The most critical safety step happens before you ever touch a wrench: run the tank down as close to empty as you can get it. A full tank is unbelievably heavy and dangerous to work under.
Before you even think about loosening a bolt, get that tank supported. I always use a floor jack with a good-sized block of wood on top to spread the load. This trick prevents the jack from denting or, worse, puncturing the tank. Just raise it until it barely takes the weight off the straps; you'll see them go just a little bit slack. That's your sweet spot.
Tackling the Old Hardware
With the tank safely supported, it's time to deal with the old, rusted-out straps. The first thing you should grab is a can of penetrating oil. Give the mounting bolts a healthy dose and let it soak in. Seriously, let it sit for a while. Being impatient here is the fastest way to snap a bolt and turn a simple job into a weekend-long headache.
When you go to break the bolts loose, use slow, even pressure. If a bolt puts up a big fight, don't force it. Back off, maybe even tighten it just a hair, and then try loosening again. Rocking it back and forth like this can often break the rust’s grip where brute force will just snap the head off.
Pro Tip: If you're looking at a bolt head that’s already rounded and mangled, don’t even bother with a standard socket. A dedicated bolt extractor set is a lifesaver in these situations. It'll spare you the pain of drilling out a broken bolt later.
Once the bolts are free, carefully unhook the old strap. Pay close attention to how it's routed around any fuel lines, brake lines, or the exhaust. I always snap a quick photo with my phone before I pull it out—it's the perfect reference to make sure the new one goes in correctly.
Preparing for a Secure Installation
Don't just bolt the new strap on and call it a day. A few extra minutes of prep work make all the difference. Grab a wire brush and clean up the mounting points on the vehicle’s frame. Getting rid of all that rust and caked-on gunk ensures the new hardware sits flush and torques down properly for a rock-solid fit.
This simple workflow is the key to getting set up for a safe and efficient job.
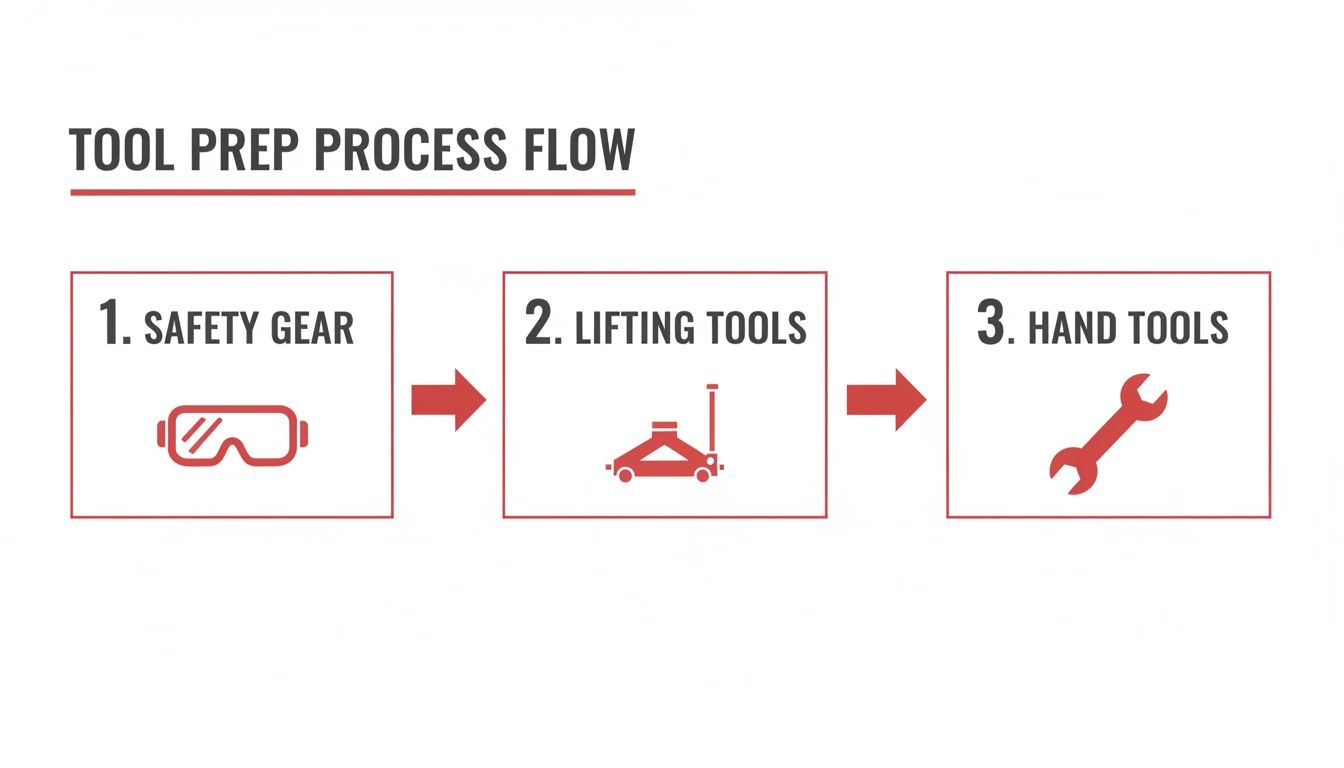
Starting with your safety gear, moving on to lifting the vehicle, and then grabbing your tools creates a logical and safe sequence.
It's easy to overlook these simple metal bands, but their role in safety is huge. They're a critical piece of the massive automotive fuel tank industry, a market valued at over USD 18.03 billion. A major shift occurred in the 1990s when new regulations forced manufacturers to design straps that could withstand incredible crash forces. This single change is credited with a 25% reduction in fuel-related fire incidents. You can learn more about the automotive fuel tank market's growth and safety standards if you're curious.
Installing the New Gas Tank Straps
Now, carefully fish the new strap into place. Double-check your reference photo to ensure it follows the same path as the old one, making sure it isn't pinching any wires or lines. Attach the strap to its anchor point first, then swing the bolted end up to the frame.
Always start the new bolts by hand. This prevents cross-threading, which can ruin your whole day. Once they're started, you can switch to a ratchet. If you have more than one bolt, snug them up evenly, alternating between them to apply even pressure.
The final, and most important, step is to use a torque wrench. It's tempting to just crank it down, but overtightening can stretch and weaken the bolt, while undertightening lets the tank shift around. Getting the torque spec right is what makes for a safe, professional repair. After it's torqued, give the tank a good, firm shove to make sure it's completely solid. No wiggles, no movement.
Final Checks and Long-Term Maintenance Tips
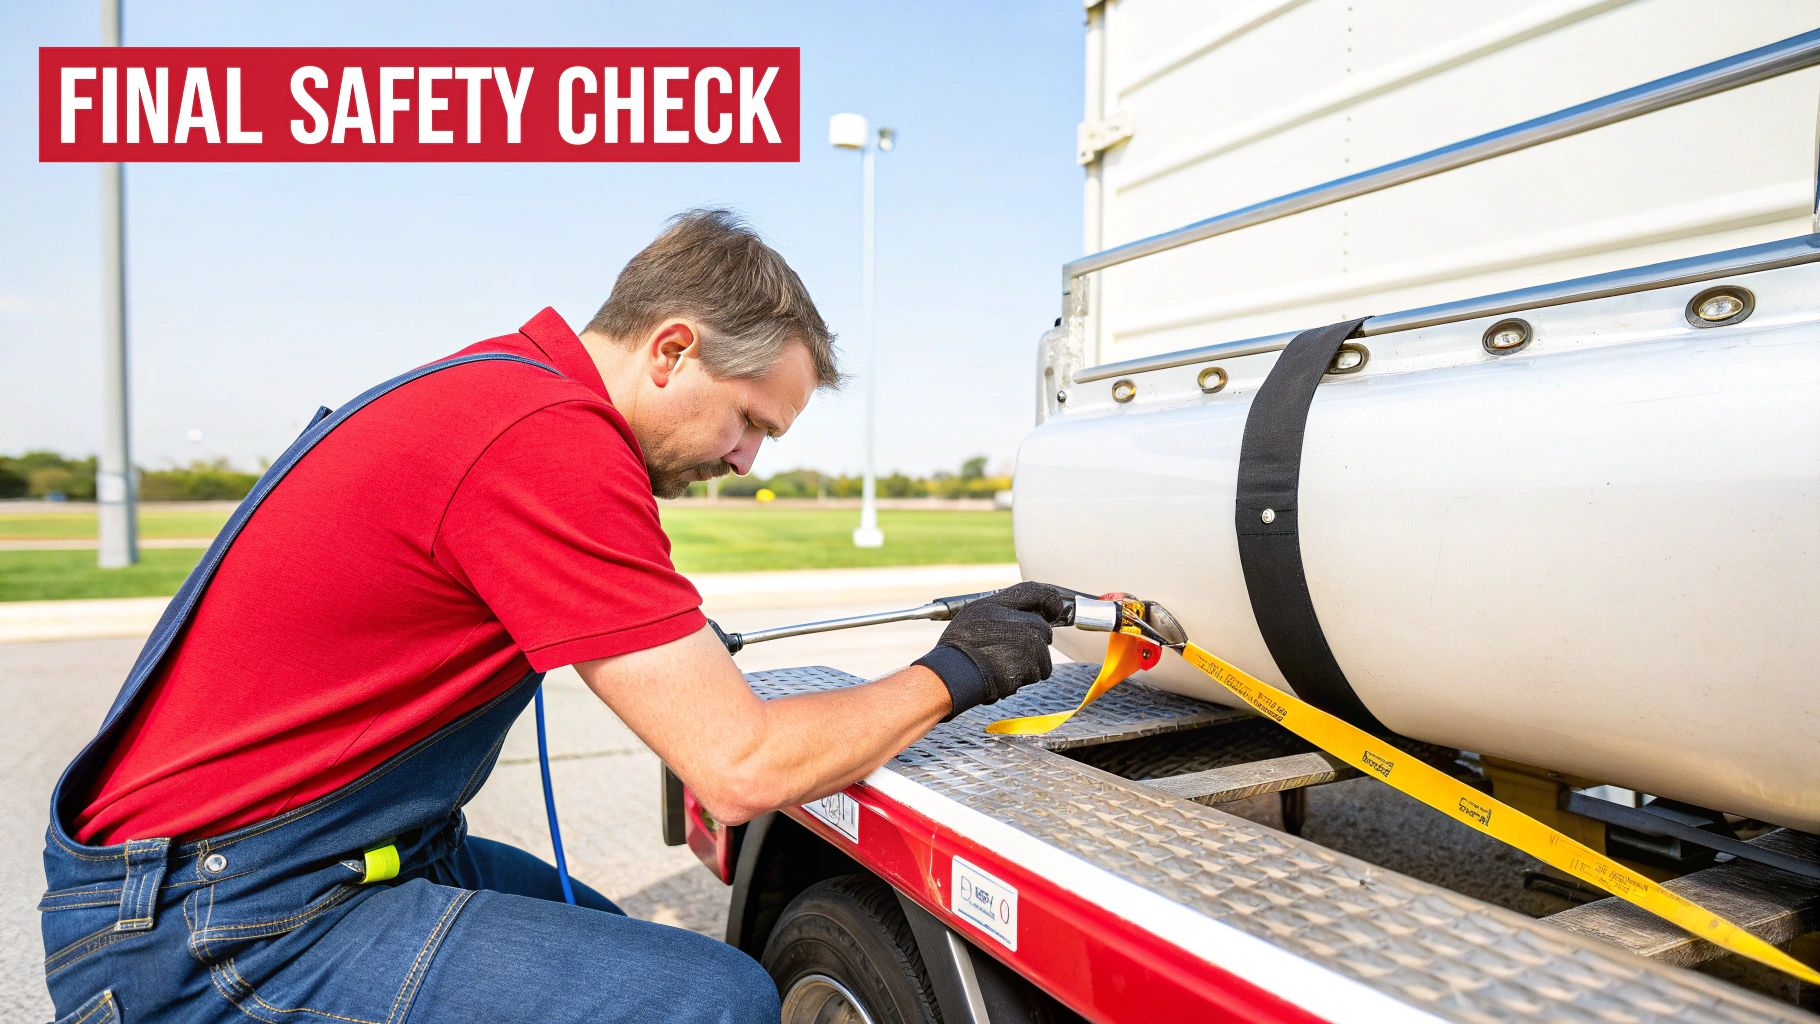
You've got the new gas tank straps installed and torqued down. Great job. But before you lower that jack and call it a day, hold on. A few careful final checks are non-negotiable—they're what separate a good repair from a great one that you can trust for years.
This isn't just about double-checking your work; it's about making sure everything is perfectly situated for the long haul.
Confirming Clearance and Tension
Grab your flashlight and give the entire area one last, thorough visual sweep. You're looking for breathing room.
Pay close attention to the relationship between the new straps and all the critical components nearby. Ensure the straps aren’t pinching, rubbing, or putting any odd pressure on your fuel lines, brake lines, or any electrical wiring. Even a little bit of contact can chafe a line and cause a serious failure down the road. Don't forget to check the clearance around the exhaust system, too.
Now, with the jack still supporting the tank's weight, give the straps a final tug. They should be banjo-string tight, with absolutely no slack. Once you're satisfied, begin to lower the jack—slowly. Keep your eyes and ears open for any sudden shifts or creaking noises. A quiet, smooth transfer of weight is what you're looking for.
After the jack is completely out of the way, get under there and give the tank a firm shove. It should feel completely solid, like it’s part of the truck's frame. If you feel any wiggle or movement at all, you've got to jack it back up and re-check those fasteners and torque specs.
The First Test Drive and Proactive Protection
Your first trip around the block is the ultimate test. Kill the radio, roll down the windows, and just listen. Drive over a few bumps and take a few turns. That clunking or thudding sound that started this whole project should be a thing of the past.
Want to give your new straps the best chance at a long life? This is especially important if you deal with road salt in the winter. Consider spraying the straps and mounting hardware with a quality rubberized undercoating. It’s a cheap and easy way to add a serious layer of defense against rust and corrosion.
Making small, proactive checks part of your routine can save you a ton of hassle. For more ways to stay ahead of repairs, check out our preventive maintenance checklist for trucks.
Got Questions About Replacing Your Gas Tank Straps?
Even a job that seems as straightforward as swapping out gas tank straps can leave you with a few head-scratchers. It’s always smart to get the common questions out of the way before you get under the truck. Let's tackle some of the things people usually ask.
First up, a lot of folks wonder when they should even be thinking about their straps. It's not like there's a "check gas tank strap" light on your dash, so this one's all on you.
How Often Should I Be Checking My Gas Tank Straps?
The best habit you can get into is giving them a quick visual check every time you do an oil change, or at the very least, once a year. It’s easy to remember and only takes a minute.
However, if you're up north in the salt belt or spend a lot of time on rough, bumpy roads, you need to be more vigilant. In those cases, bumping your inspections up to twice a year is a much safer play. You're looking for the tell-tale signs of trouble: deep, flaky rust that’s eating away at the metal, any obvious cracks, or if the straps feel loose to the touch. Catching it early is the whole game.
Can I Still Drive My Truck if a Strap is Broken?
Let me be blunt: absolutely not. Driving with a broken gas tank strap is incredibly dangerous, and I can't recommend against it strongly enough. Even if one strap is still holding on, the tank is dangerously unstable.
Every bump, turn, and sudden stop will cause the tank to shift and slam around. That movement can easily damage fuel lines, creating a serious fire hazard, or even cause the tank to fall off the vehicle completely. If you find a broken strap, park it. The truck shouldn't be driven until it's fixed, period.
This isn't just a "what if" scenario. An unsecured tank puts all that focused stress on the one remaining strap and its mounting hardware. It's a guarantee that the second one will fail, and probably soon. It's a ticking clock.
Are Aftermarket Gas Tank Straps as Good as the Originals from the Dealer?
This is a fantastic question, and the answer might surprise you. While quality can be all over the map, a high-quality aftermarket strap often isn't just a replacement—it's an upgrade.
Reputable aftermarket brands look at why the original part failed and improve the design. They'll often use better materials to prevent the same thing from happening again. For instance, you’ll often find:
- Thicker gauge steel that offers a lot more strength and durability.
- A tougher, more advanced coating, like a heavy-duty powder coat or an E-coat, which gives you far better protection against rust and corrosion.
The right aftermarket strap, designed for your specific truck, can easily outlast the original part. You get a better fit and a longer lifespan, usually for a price that’s much easier on the wallet than what you'd find at the dealership.
Do I Really Have to Drop the Whole Fuel Tank?
Thankfully, no. The professional way to do this is to support the tank right where it is. You don't need to drain it or mess with the fuel lines, which keeps the job much safer and simpler.
Just slide a floor jack under the tank with a piece of wood on top to spread out the load and prevent damage. This holds the tank securely in place, allowing you to unbolt and replace one strap at a time. The key is making sure that tank is completely stable before you loosen a single bolt.
When you need T1A Auto replacement parts that are built to last, you can count on our premium, corrosion-resistant gas tank straps. Engineered for a guaranteed fit and backed by our lifetime warranty, they provide the security and peace of mind you deserve. Find the perfect fit for your truck today at https://t1aauto.com.
