


Diagnosing electrical gremlins in your car all starts with what’s in your hands. You don't need a wall of expensive gear, but your success really boils down to having a few key items: a digital multimeter, a trusty test light, and the right wiring diagram for your specific vehicle. These tools are what separate a frustrating guessing game from a logical, step-by-step diagnosis.
Your Essential Toolkit for Electrical Diagnostics
Before you can even think about chasing down an electrical problem, you’ve got to have the right detective tools. Trying to figure out what's wrong with a modern car's electronics without them is like trying to find a specific address in a huge city with no map and no street signs. You'll just end up lost and frustrated.
Putting together a basic diagnostic kit is your first real step toward confidently finding and fixing these issues yourself. This isn't about buying every fancy gadget on the shelf; it's about a handful of versatile tools that will handle 90% of what you'll run into.
Let’s quickly break down the must-haves. This table gives you a quick overview of what you need and why.
Essential Diagnostic Tools and Their Primary Use
| Tool | Primary Function | When to Use It |
|---|---|---|
| Digital Multimeter | Measures voltage, resistance, and current. | For precise readings like checking battery voltage, testing sensor resistance, or performing a voltage drop test. |
| 12V Test Light | Quickly confirms the presence or absence of power. | Ideal for fast checks at the fuse box or checking for power at a connector without needing an exact number. |
| Wiring Diagram | Provides a "map" of your vehicle's circuits. | Anytime you're tracing a wire, identifying components in a circuit, or trying to understand how a system works. |
| Insulated Tools | Provides protection against accidental shorts. | Whenever you're working around live circuits, especially near sensitive computer modules or the battery. |
| Wire Strippers/Crimpers | Cuts, strips, and connects wires for repairs. | When you need to replace a corroded connector, splice a broken wire, or install a new component. |
With these core items, you can stop throwing parts at a problem and start pinpointing the actual cause, saving you a ton of time and money.
The Digital Multimeter: The Heart of Your Kit
Your digital multimeter (DMM) is, without a doubt, your most powerful ally. This is the tool that lets you see electricity. It measures the big three—voltage, resistance, and current—giving you a clear window into what a circuit is actually doing. Think of it as a stethoscope for your car's wiring; it lets you listen in and find out exactly what’s wrong.
Here's a look at a typical multimeter. You'll see the dial for selecting what you want to measure and the ports where you plug in your test leads.
For automotive work, I highly recommend an auto-ranging DMM. It automatically picks the right measurement scale for you, which seriously cuts down on simple mistakes. A quality meter is an investment that pays for itself in accuracy and durability.
Essential Supporting Tools
While the multimeter is the star of the show, a few other tools are absolutely non-negotiable for doing the job right—and safely.
-
12V Test Light: Honestly, this simple tool is often the fastest way to see if you have power. Clip it to a good ground, poke the wire or terminal you're testing, and if the light comes on, you've got voltage. It's perfect for quickly checking every fuse in the box.
-
Insulated Tools: Safety first, always. Using screwdrivers and pliers with insulated handles is a smart move. It gives you a critical layer of protection against an accidental slip that could fry a computer or give you a nasty shock.
-
Wire Strippers and Crimpers: If you're going to make a repair, make it a good one. A decent set of strippers and crimpers is essential for replacing a corroded connector or fixing a broken wire. Clean strips and solid crimps mean the repair will last. You can find a variety of these essential items in our collection of professional-grade automotive tools.
The Unsung Hero: The Wiring Diagram
You can have the best tools in the world, but without a roadmap, you’re just wandering in the dark. That's exactly what a vehicle-specific wiring diagram is: your map. Every seasoned tech will tell you that you can't properly diagnose anything without one. It shows you how power is supposed to flow, where the grounds are, and what components are tied together.
Pro Tip: Don't even bother with generic diagrams. You need the specific schematic for your car's year, make, and model. Factory service manuals or online subscription services are the best sources. Getting the right diagram is the single most important piece of prep work you can do.
The First Steps: Visual Checks and Symptom Analysis
Before you even think about grabbing a multimeter, slow down. The best diagnostic work starts with your own two eyes and a little bit of critical thinking. So many electrical gremlins leave behind obvious clues, and learning to spot them will save you a ton of time and frustration. Think of yourself as a detective arriving at a crime scene—your first job is to gather evidence.
Start your investigation at the heart of the electrical system: the battery. Pop the hood and give it a good, thorough look. Are you seeing that classic chalky white or crusty bluish-green corrosion on the terminals? That stuff is an insulator, and it can literally choke the life out of your electrical system. While you’re there, give the battery cables a firm wiggle. A loose connection is one of the most common—and thankfully, easiest—culprits for a no-start situation.
From the battery, let your eyes trace the main wiring harnesses. You don't need to be a seasoned pro to spot something that just looks wrong. Scan for any wires that are frayed, cracked, or show signs of melting from getting too hot. Pay extra attention to spots where wires might rub against the engine block or chassis. Constant vibration is notorious for wearing through insulation over time, which can lead to a nasty short circuit.
Interpreting Your Car's Symptoms
With your visual sweep done, it’s time to really think about the symptoms. How the problem is showing up is a massive clue. Is it one specific thing that’s broken, or are a bunch of unrelated systems all acting up at once? This distinction is critical and will point you in the right direction.
- Isolated Failure: If it’s just one component, like a power mirror that refuses to adjust, the problem is almost certainly contained within that one circuit. You're likely looking at a blown fuse, a bad switch, or a fried motor. For this specific issue, you can find a detailed walkthrough in our guide on what to do when your power mirror is not working.
- Systemic Failure: Now, if several different things are going haywire—maybe your radio cuts out every time you hit the turn signal and your dash lights are flickering—you've got a bigger fish to fry. This pattern usually points to a foundational issue like a weak battery, a dying alternator, or a bad ground connection that's affecting multiple circuits.
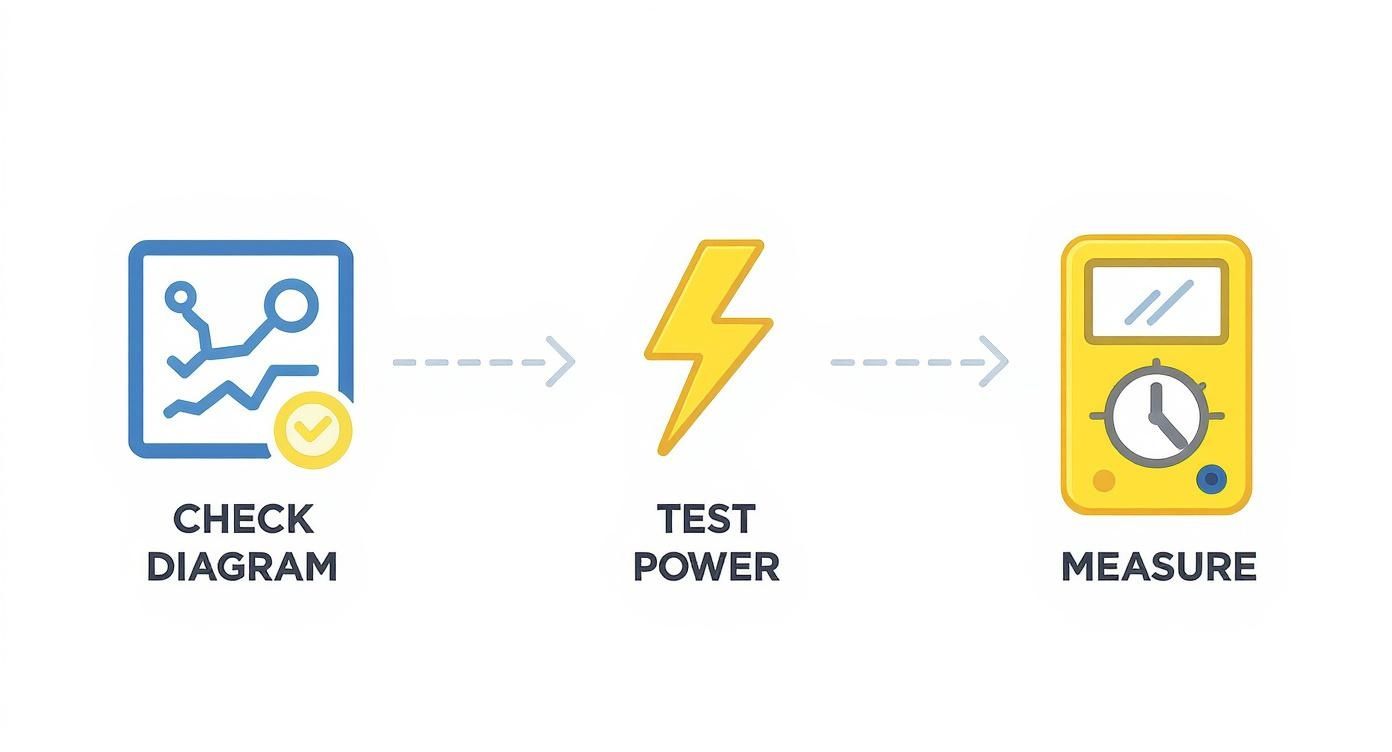
This basic diagnostic flow—consulting your map (the wiring diagram), checking for power, and then taking precise measurements—is the core process you'll use after your initial analysis.
Real-World Scenarios and Clues
Let's put this into practice. Say your headlights are dim and flickering, and the engine turns over really slowly when you try to start it. These symptoms, happening together, are screaming "power supply issue." Your first move should be to test the battery and the charging system, period.
On the other hand, what if your car starts strong and all the lights are bright, but the driver's side power window won't budge? The problem is localized. You wouldn’t waste a second checking the alternator. Instead, you'd go straight for the fuse for that window circuit, then move on to testing the switch and the window motor itself. This methodical approach stops you from chasing ghosts and lets you zero in on the real problem.
Key Takeaway: Never underestimate the power of observation. A careful 10-minute visual inspection, combined with a logical breakdown of the symptoms, can often get you 80% of the way to the solution before you ever pick up a tool.
Of course, modern diagnostic scanners have changed the game, allowing shops to plug into a car's On-Board Diagnostic (OBD) port and pull error codes. These tools are fantastic for pointing you toward issues with things like faulty sensors or spark plugs causing poor engine performance. But even the most advanced scanner is just a tool; it's most effective when you pair its data with your own hands-on analysis.
Mastering the Multimeter: Battery and Charging System Tests
When you're trying to figure out how to diagnose car electrical problems, the battery and charging system are always your first stop. Think of them as the heart and soul of your vehicle's electronics. A problem here can create a ripple effect of confusing symptoms, making you think you have a dozen different issues when the root cause is often singular and surprisingly simple.
Grabbing your digital multimeter and running through a few basic checks is the fastest way to confirm your electrical system has a healthy heartbeat. Honestly, these tests are non-negotiable. They establish a baseline for any other diagnosis you might do and can often solve the entire mystery right then and there.
Evaluating Static Battery Voltage
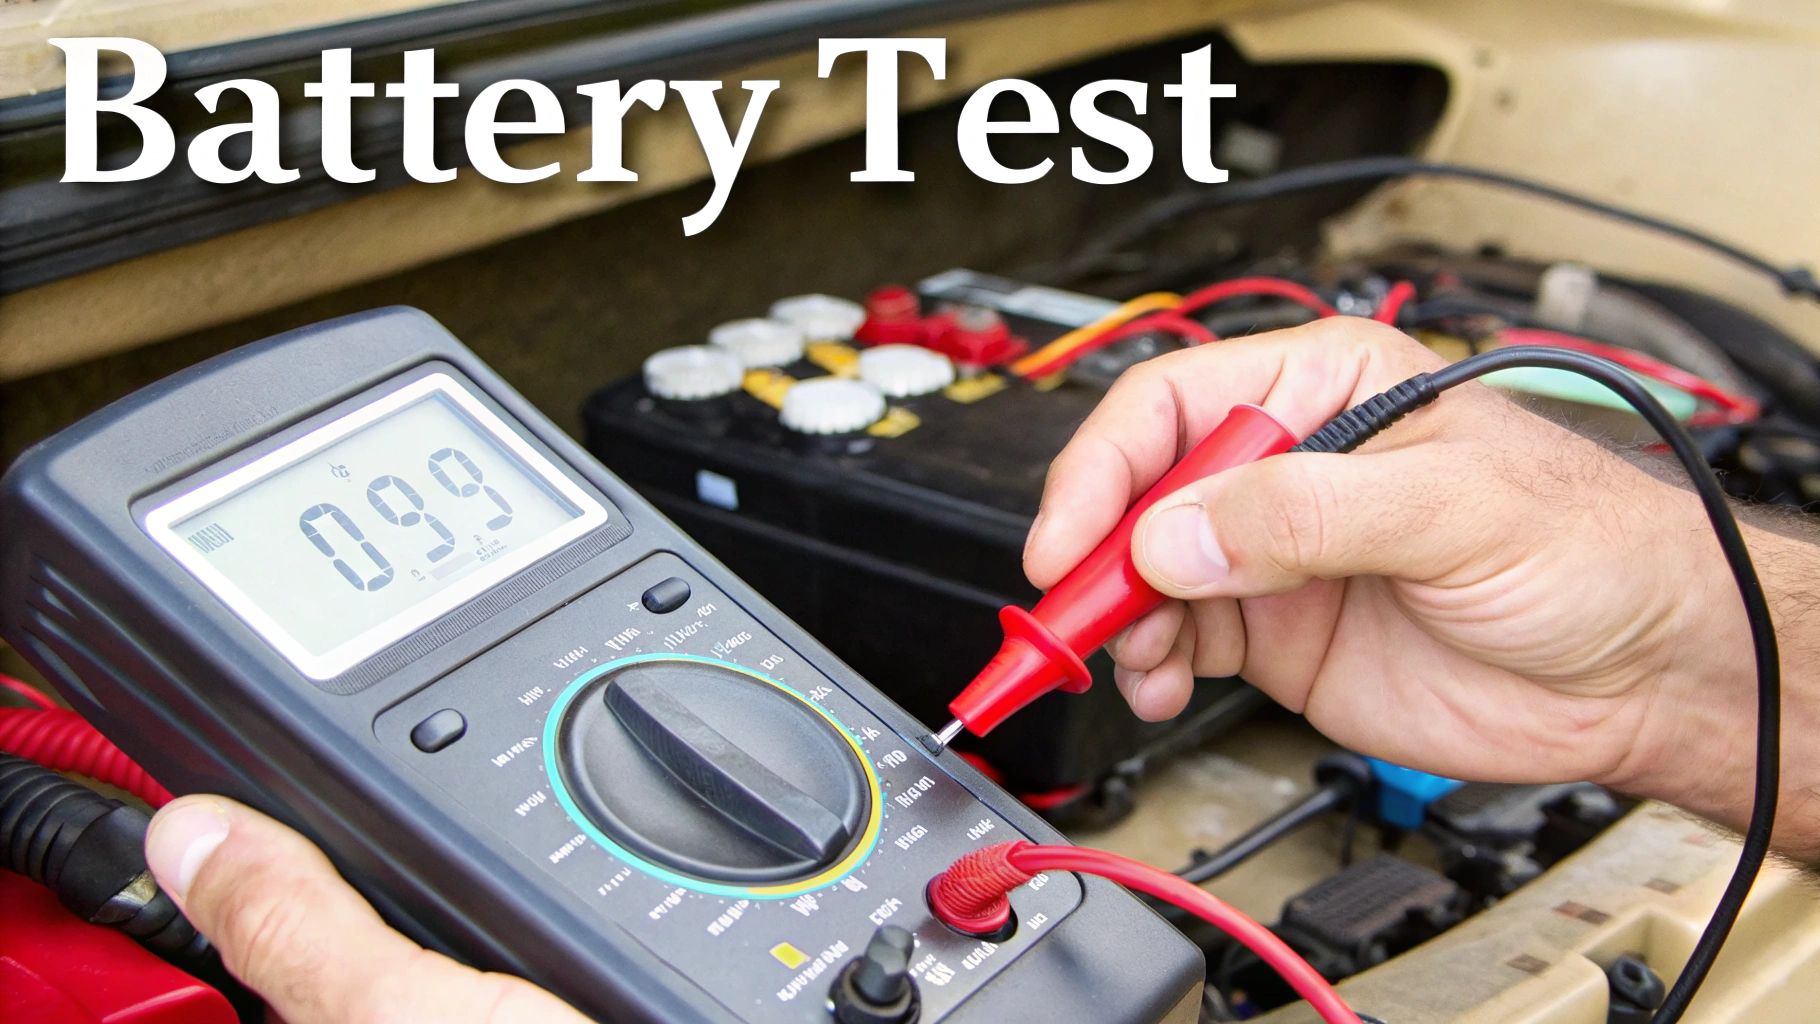
Your first move is the simplest: checking the battery's static voltage. This quick reading tells you the battery's state of charge when the engine is off. It’s a snapshot of the potential energy it has stored up and ready to go.
Set your multimeter to the DC voltage setting (look for V⎓ or DCV), usually in the 20-volt range. Make sure the engine has been completely off for at least an hour, then touch the red probe to the positive (+) battery terminal and the black probe to the negative (-) terminal.
The number you see on the screen is critical.
- 12.6V to 12.8V: This is the magic number. It means you’ve got a fully charged and healthy battery.
- 12.4V: At this point, your battery is about 75% charged. It’ll still work, but it might be showing its age or isn't being fully charged by the alternator.
- 12.2V: This signals a 50% state of charge. You might start noticing slow cranking here, especially on a cold morning.
- 12.0V or below: The battery is essentially dead and needs immediate attention.
A low reading doesn't automatically condemn the battery—maybe you just left a light on. But if it consistently reads low even after a full charge, that's a huge red flag that it can no longer hold that energy and is on its way out.
Performing a Cranking Voltage Test
Next, you need to see how the battery performs under pressure. The cranking voltage test is all about measuring its ability to deliver the massive jolt of current needed to turn the engine over. This is where a weak battery will really show its true colors.
Keep your multimeter connected to the terminals just as before. Have a friend turn the key to start the car while you keep your eyes glued to the multimeter's display. As the starter motor draws power, the voltage will drop.
A healthy battery should not drop below 9.6V during the crank. If you see the voltage plummet below that threshold, the battery just doesn't have the internal strength to do its job, even if it showed a decent static voltage. This is a definitive sign you need a replacement.
Checking Alternator and Charging System Health
Once the engine is running, the alternator takes over. Its job is to power all the car's electronics and, just as importantly, recharge the battery for the next start. Testing its output is vital to make sure your battery isn't just slowly draining while you drive.
With the engine idling, check the voltage across the battery terminals again. What you're reading now is the alternator's output.
A healthy, working alternator should be putting out somewhere between 13.7V and 14.7V. This is the sweet spot for charging the battery effectively without overcharging and damaging it. If your reading is solid within this range, your alternator is doing its job.
Now for the final load test. With the engine still running, turn on every major electrical accessory you can think of: headlights on high beam, A/C or heater blower on max, radio cranked up, and wipers going. The alternator is now working hard. The voltage might dip a little, but it should stay firmly above 13.0V. If it drops below this, the alternator is struggling to keep up with the car's demand and is likely failing.
These basic tests are the foundation for diagnosing almost any electrical issue, even more complex ones. For instance, knowing how to test parking sensors often begins by confirming they are getting the correct, stable voltage from the electrical system you just verified.
Tracking Down Faults: Fuses, Relays, and Grounds
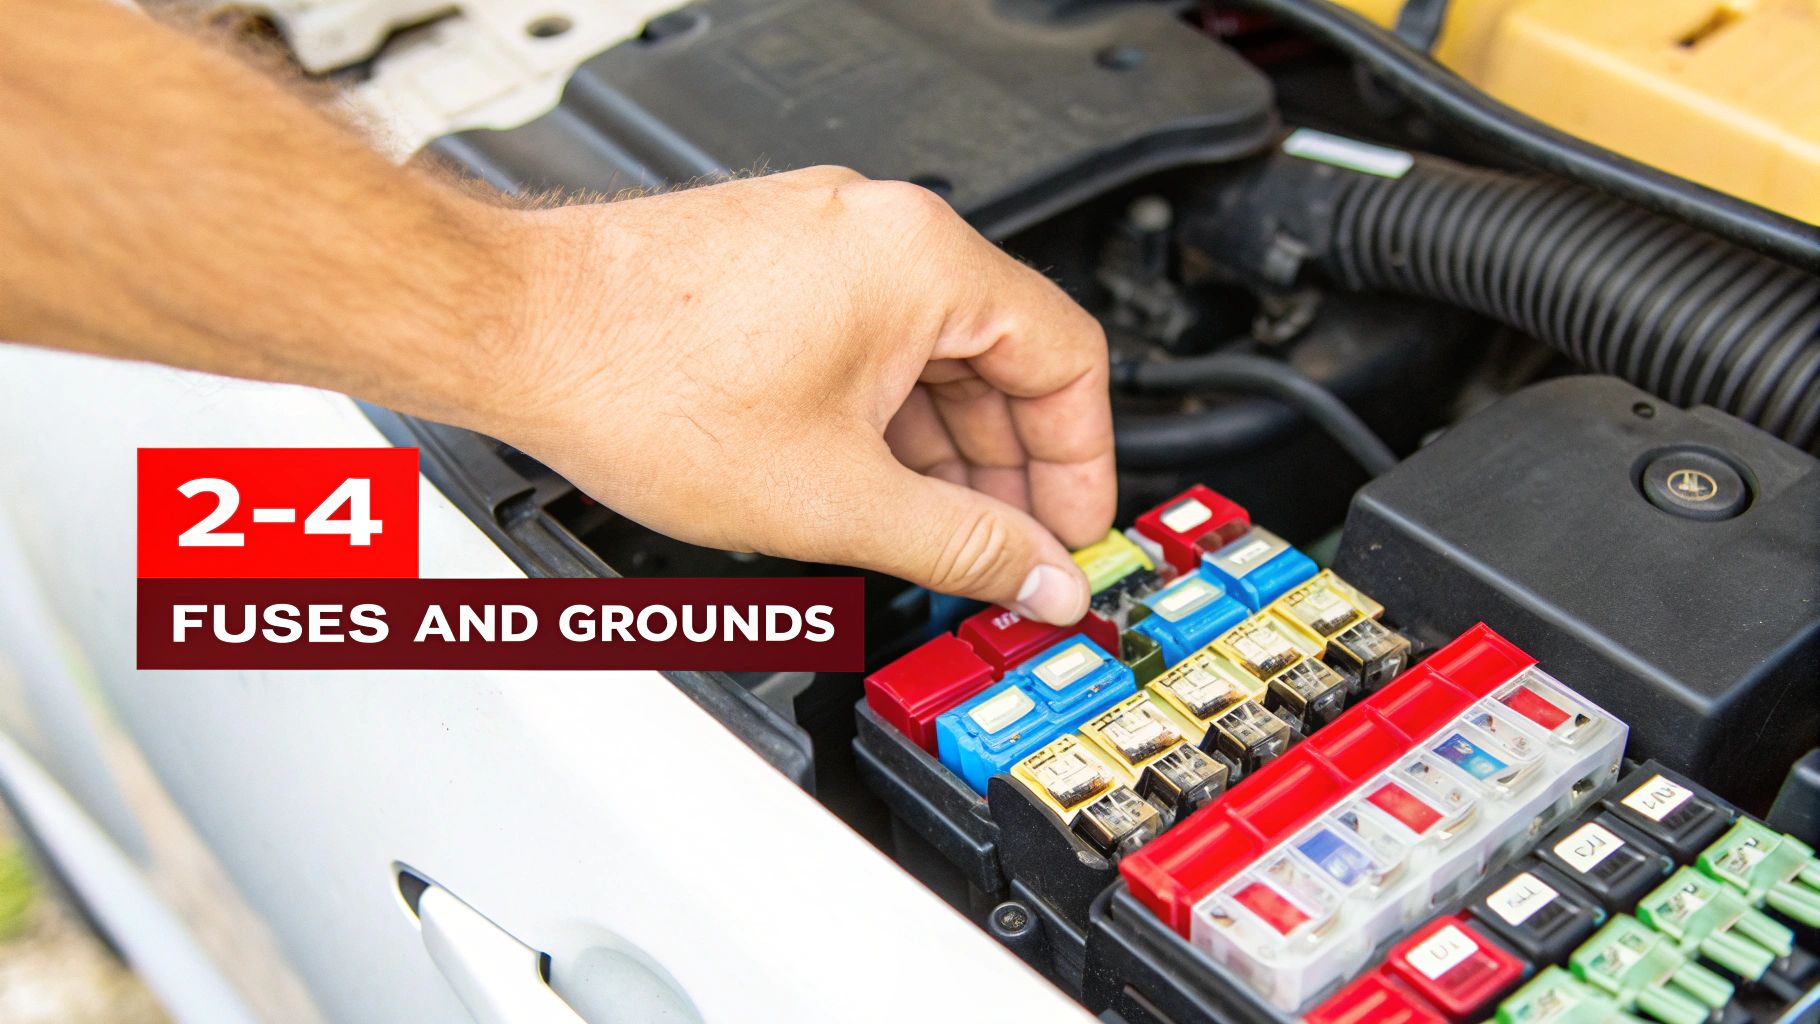
Alright, so you've confirmed your battery and alternator are pulling their weight. The next logical place to look is at the circuit's gatekeepers: the fuses, relays, and grounds. More often than not, a frustrating electrical gremlin isn't some expensive, buried computer but something as simple as a five-cent fuse, a sticky relay, or a crusty ground wire.
Think of these three as the unsung heroes of your car's wiring. Fuses are the sacrificial lambs, designed to blow and protect pricey electronics from damaging power surges. Relays act as tiny remote-control switches, letting a small current turn a much bigger one on and off. And grounds? They're the all-important return path for every electron. A problem with any one of them can kill a circuit dead in its tracks.
Finding and Testing Fuses the Right Way
A dead component almost always points to a fuse as the first suspect. Most cars have two fuse boxes—one tucked away inside the car (under the dash or in a side kick panel) and a main power distribution center under the hood for the heavy-hitting circuits. Your owner's manual is your best friend here; it’ll have a map showing what each fuse protects.
A quick visual check is tempting. You pull the fuse, look for the little metal strip inside, and if it's broken, you’ve found your problem. But be careful. I’ve seen countless fuses with hairline fractures that are nearly impossible to spot, leading people to chase their tails for hours.
This is exactly why you should always test fuses with a multimeter. A visual check is a good first guess, but a continuity test is definitive proof and takes seconds.
Just set your multimeter to the continuity setting (it's the one that looks like a sound wave). Touch one probe to each metal tab on top of the fuse. A solid beep means the fuse is good. Silence means it's toast, no matter how good it looks.
Demystifying and Checking Relays
Relays look more complicated, but they're really just small electromagnetic switches. When you flip your headlight switch, for example, a tiny current flows to the relay, energizing a coil that closes a bigger switch to power the actual headlights. They can fail by getting stuck open (the lights never turn on) or stuck closed (they never turn off).
There's a brilliantly simple field test for relays that old-school mechanics call "swaptronics." It’s a great trick.
- Find the relay you think is bad.
- Look for an identical relay right next to it that controls something you can easily test, like the horn.
- Carefully pull both relays and swap their positions.
If your original problem is gone and now your horn doesn't work, you've just confirmed the relay is bad. It’s a quick and dirty way to diagnose a faulty relay without needing any special tools.
The Art of Hunting Down Bad Grounds
Ah, bad grounds. They are the source of some of the weirdest, most maddening electrical problems you'll ever encounter. Because electricity needs a complete circle to flow, a poor ground connection makes the current search for another way home—often through circuits it was never meant to touch. This is what causes flickering lights, gauges that go haywire, and components that only work when you turn something else on.
A ground is just a wire bolted to the car's metal frame or engine block. Over time, these connection points get rusty, corroded, or just plain loose. This creates resistance that chokes the circuit.
Tell-Tale Signs of a Bad Ground:
- Dimming Lights: Headlights that go dim when you hit the power window switch are a classic symptom.
- Works Sometimes, Fails Others: A component that's flaky could be a ground that’s making intermittent contact.
- Gremlins in Bunches: When your radio, dome light, and dash lights are all acting possessed, suspect a common ground point they all share.
To hunt them down, look for braided metal straps connecting the engine to the chassis and smaller black wires bolted to the body. The real pro-level test is a voltage drop test. With the circuit on, touch one multimeter probe to the ground wire's terminal and the other to a clean spot on the chassis nearby. Anything over 0.1V to 0.2V tells you that connection is weak and needs to be cleaned or tightened.
This concept of a solid ground is universal, from cars to homes. For instance, knowing how to fix an open ground outlet in your house follows similar electrical principles. As vehicle systems grow ever more complex, a solid understanding of the basics is key. Advanced diagnostic methods are now being used that analyze sensor data, which has reportedly cut down on undetected electrical faults by over 40%.
Advanced Troubleshooting: Hunting for Parasitic Drains
So, you’ve confirmed the battery and alternator are in good shape, but your car still struggles to start every few mornings. This is the classic, frustrating symptom of a parasitic drain—something is staying on and secretly sipping power long after you’ve shut everything down.
Finding a parasitic drain can feel like hunting a ghost in the machine. It takes patience and a methodical approach, but it’s a skill that separates the pros from the parts-swappers. This is where your multimeter graduates from a simple voltage checker to an ammeter, letting you see the invisible flow of electricity.
Setting Up for the Amperage Draw Test
Before you can find the drain, you need to set up your test correctly. Getting this part right is non-negotiable for accurate readings and, more importantly, for your safety and the safety of your tools.
First things first: turn everything off. Headlights, radio, dome lights, everything. Close all the doors and take the key out of the ignition.
Now, let's get your multimeter ready to measure current, or amperage.
- Turn the dial on your multimeter to the highest amperage setting, which is usually 10A.
- Move the red probe from the normal VΩmA port over to the dedicated 10A port. This is a critical step. If you forget, you'll likely blow the internal fuse in your meter the second you complete the circuit.
- Carefully loosen the nut and disconnect the negative battery cable. Never use the positive cable for this test.
- Connect one of your multimeter leads to the negative battery post itself and the other lead to the cable terminal you just disconnected.
What you've just done is put your meter "in series" with the vehicle's electrical system. Now, every bit of power the car draws has to flow through your meter, which is how we’ll measure it.
Waiting for the Car to Go to Sleep
The moment you connect your meter, you'll see a fairly high reading on the screen. Don't panic—this is normal. The car's computers, interior lights, and various control modules are still awake.
Modern cars don't shut down instantly. They have a "sleep mode" they enter to conserve power, and you have to wait for it. This can take anywhere from 15 to 45 minutes, so grab a coffee and be patient. To help the process along, you can trick the door latch into thinking the door is closed by using a screwdriver or a carabiner to flip the mechanism.
A healthy, modern car should settle into a draw somewhere between 25 and 50 milliamps (which reads as 0.025 to 0.050 amps on your meter). Some high-end luxury cars might sit a bit higher, but anything consistently over 100 milliamps (0.100 amps) points to a problem that's going to kill your battery.
Finding the Culprit: The Fuse-Pulling Method
Once your meter reading has stabilized and it's higher than that 50-milliamp baseline, the real hunt begins. Your mission is to figure out which circuit is causing the drain. The strategy is simple: pull fuses one by one until the reading on your meter drops.
Start with the fuse panel inside the car. Pull one fuse out and look at your multimeter. If the reading doesn't change, that circuit is innocent. Put the fuse back in its exact spot and move on to the next one.
You'll keep doing this until, suddenly, you pull a fuse and the amperage reading plummets. For instance, if you were reading a 0.350 amp draw and pulling a fuse makes it drop to 0.040 amps, you’ve just found your problem circuit.
Check the fuse box diagram. If that fuse is labeled "Radio," "Power Seats," or "Interior Lights," you now know exactly where to focus your attention. If you pull every fuse in the interior panel and find nothing, move on to the fuse box under the hood and repeat the process.
Once you’ve identified the faulty circuit, your wiring diagram becomes your best friend. A single circuit often powers multiple components. If the "Radio" fuse was the one, the problem could be the radio itself, the amplifier, or even a stock CD changer. You’ll need to start unplugging each component on that circuit one at a time until the draw disappears, finally pinpointing the faulty part.
Common Questions About Diagnosing Car Electrical Problems
Even with the best guide, you're bound to have questions when you're elbow-deep in wiring. Let's walk through some of the most common things people ask when they're trying to nail down an electrical gremlin. Getting these right from the start can save you hours of headaches.
What Is the First Thing I Should Always Check?
Before you even think about grabbing a tool, always start with the battery. Seriously. It's the heart of your car's electrical system, and if it's not healthy, nothing else will be.
First, just look at it. Are the terminals clean and tight? Then, grab your multimeter and do a quick static voltage test. You’re looking for a reading of 12.6V or higher on a battery that’s been sitting for a bit. Anything less, and you've found a problem right out of the gate.
A weak battery can send you on a wild goose chase, creating a cascade of bizarre symptoms that might look like a fried computer but are really just a cry for more juice. Don't skip this step—it establishes a solid baseline for every other test you'll run.
Can a Bad Ground Really Cause So Many Weird Problems?
Oh, absolutely. It's probably the single most overlooked cause of strange electrical issues. Think of the ground as the "return" path for electricity. If that path is blocked by rust, a loose bolt, or a frayed wire, the current gets creative and tries to find another way back to the battery.
When that happens, you get some truly baffling behavior:
- Headlights might work, but they're frustratingly dim.
- The radio might cut out when you hit the brakes.
- Flipping on a turn signal could make your dash lights pulse along with it.
These gremlins pop up because electricity is flowing through circuits it was never meant to touch, using other components as a makeshift ground. If you have multiple, unrelated electrical glitches happening at the same time, a bad ground should jump to the top of your suspect list.
Real-World Example: I once had a truck where the fuel gauge went crazy every time the headlights were switched on. The issue wasn't the gauge or the sending unit. After a lot of head-scratching, I found a single corroded ground strap on the frame rail that served both circuits. A wire brush and five minutes of cleaning fixed it completely.
When Should I Replace a Part Versus Fix the Wiring?
This is the classic crossroads in any electrical repair, and the answer comes down to what your tests tell you.
- Replace the Part: If you’ve proven the component itself is dead, it's time for a replacement. This is for things like a window motor that won't budge with power applied directly to it, a sensor that reads way out of spec, or a switch that shows no continuity when it should.
- Fix the Wiring: If the component works perfectly when you bypass the car's wiring (using jumper wires, for instance), then the problem is in the journey, not the destination. You're looking for a broken wire, a corroded pin in a connector, or a rodent-chewed harness. Repairing the wiring is the right call here.
Let's say a backup camera is on the fritz. You'd first unplug it and test for power at the connector with the car in reverse. Got voltage? The camera itself has likely failed. No voltage? The fault is somewhere between the fuse box and the trunk, and you need to start tracing that circuit. It’s also worth remembering that some issues can be related to security systems; a device like a Ghost Immobiliser could be involved, so understanding how it integrates with the vehicle's electronics can be part of the diagnostic puzzle.
When your diagnosis points to a failed component, getting a high-quality replacement is critical for a lasting repair. T1A Auto specializes in premium aftermarket parts like CAPA-certified cameras, sensors, and window regulators that are engineered to meet or exceed OEM standards, ensuring a perfect fit and reliable performance. https://t1aauto.com
