


So, your car window is stuck. It’s one of those uniquely frustrating problems, but don't panic. In my experience, it almost always boils down to one of four usual suspects: a blown fuse, a faulty switch, a dead motor, or a broken regulator.
Figuring out which one is the culprit is the key. If all your windows stopped working at once, your first bet is always the fuse. But if it's just one window giving you trouble, the problem is local—likely the switch, motor, or regulator in that specific door.
Why Your Power Window Stopped Working
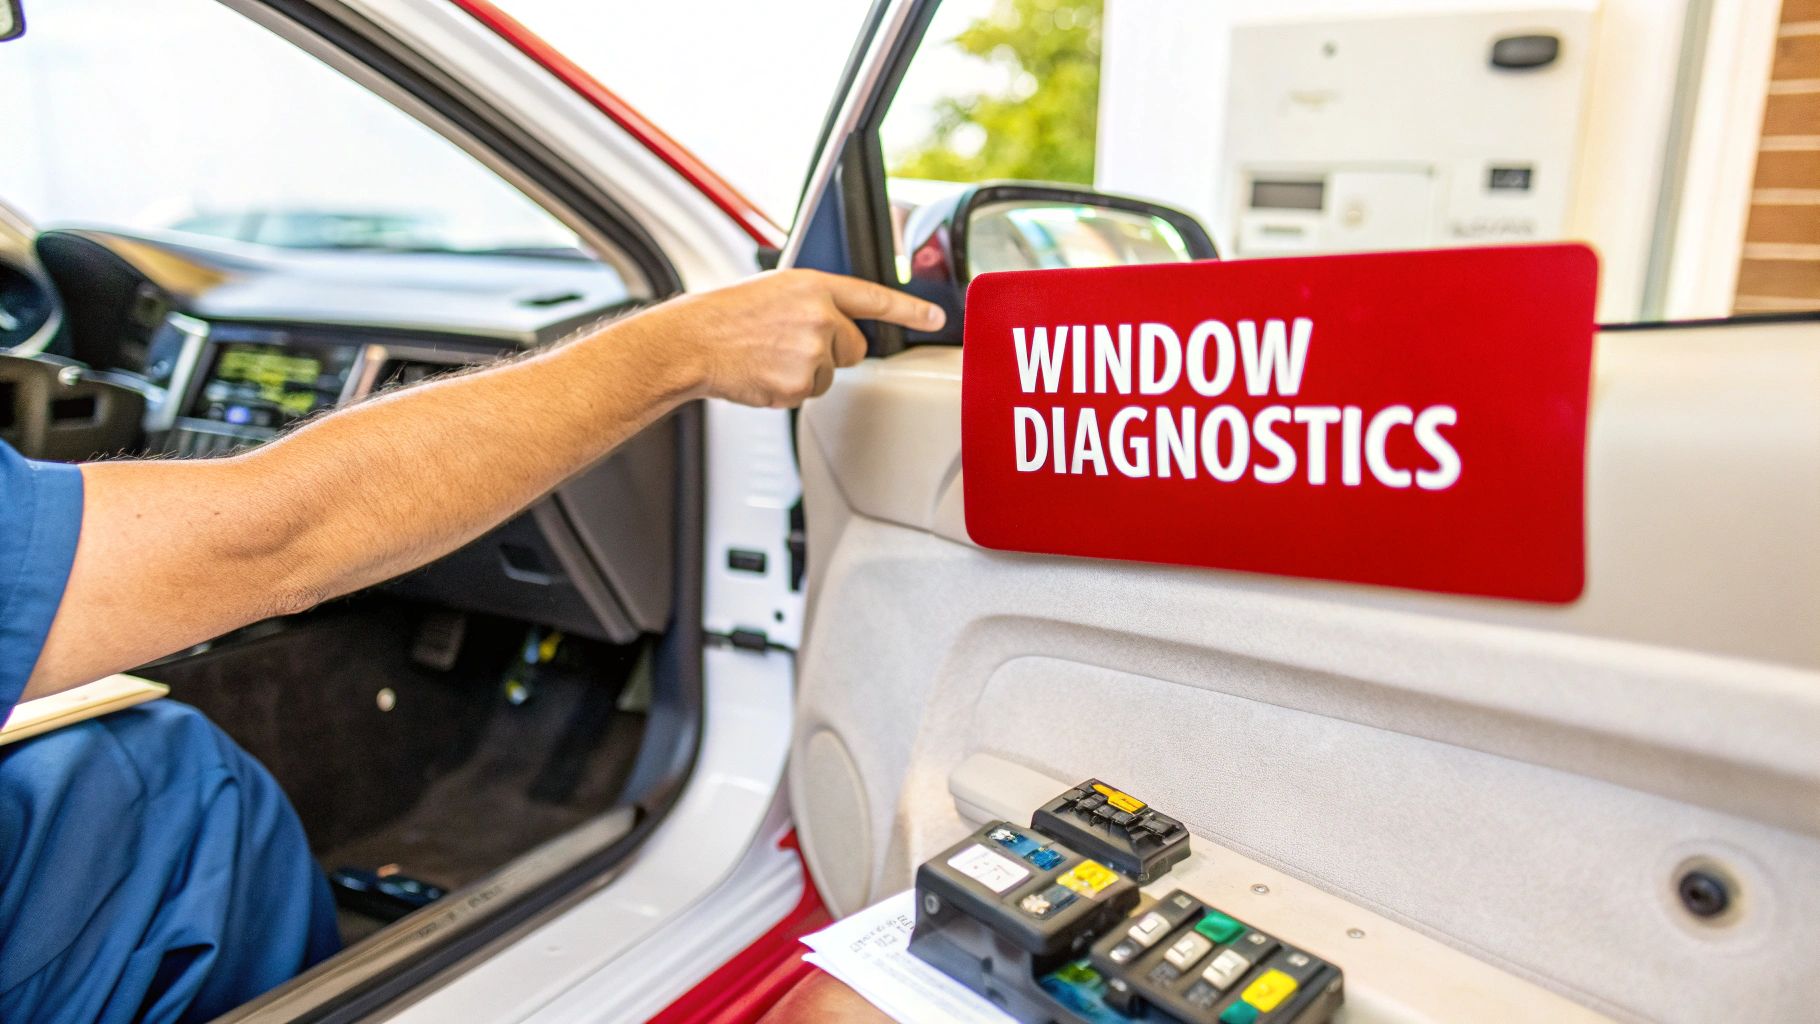
We've all been there—you hit the button and get nothing but silence. A window that won’t close isn't just annoying; it leaves your car vulnerable. Before you start throwing money at new parts, let’s get to the root of the problem and figure out how to fix an electric window the right way.
Think of it as a small team of parts that have to work together perfectly. When one part quits, the whole system fails. Your job is to play detective and find the slacker.
To help you narrow it down quickly, here's a handy table based on the symptoms you're likely seeing.
Quick Diagnosis for Power Window Failures
| Symptom | Most Likely Cause | What to Check First |
|---|---|---|
| All windows stopped working at once. | Blown fuse or Master switch | Fuse box, then the driver's side master switch panel. |
| Only one window won't work from any switch. | Window motor or Regulator | Listen for motor noise. Check power at the motor. |
| Window works from master switch but not its own door. | Door switch | The switch on the non-working door. |
| You hear grinding/clicking, but the window won't move. | Broken regulator | Listen closely inside the door panel. |
| The window moves very slowly or struggles. | Dying motor or bad track | Check for obstructions; otherwise, suspect the motor. |
This table should point you in the right direction, but let’s dig a bit deeper into what these parts do and how they fail.
The Four Main Culprits
The best way to think about the system is as a chain of command. The switch gives the order, the fuse protects the circuit, the motor provides the muscle, and the regulator does the heavy lifting.
-
The Fuse: This is your system’s bodyguard. It’s a tiny, cheap part designed to sacrifice itself during a power surge to save the expensive motor. If every window is dead, the fuse is almost certainly the issue. A 5-minute check can save you a world of hassle.
-
The Switch: This is the button you press every day. Over time, the internal contacts get worn out, especially on the driver's side from constant use. A classic sign of a failing switch is a window that goes down but struggles—or refuses—to go back up.
-
The Window Motor: Here’s the powerhouse. This little electric motor turns electrical current into the force needed to move that heavy pane of glass. When they start to die, you’ll often notice the window getting slower and slower. Eventually, you might just hear a faint hum or click when you press the button, but the window won't budge.
-
The Regulator: This is the mechanical assembly of arms and cables that physically lifts and lowers the glass. The motor drives it, but the regulator does the actual work. Its plastic parts can become brittle and break, or the cables can fray and snap. Telltale signs are loud grinding noises or the window dropping crookedly into the door.
Sometimes, the root issue isn't even in the door. A weak or failing battery can cause all sorts of strange electrical gremlins. Understanding the typical car battery life can help you rule out broader power supply problems.
Pro Tip: Always, always start with the simplest fix first. Check the fuse before you even think about grabbing a screwdriver to take the door panel off. Also, use your ears. The sounds your window makes (or doesn't make) are massive clues that can tell you exactly where to look.
By methodically checking each component, you can confidently diagnose the issue. This turns a frustrating situation into a totally manageable DIY project, saving you a trip to the garage and a hefty labour bill.
Get Your Gear and Workspace Ready
Before you even think about pulling a door panel off, let's talk prep. The old "measure twice, cut once" mantra is a lifesaver here. Rounding up the right tools and setting up a decent workspace first is what separates a quick, clean fix from a full-blown weekend nightmare. Trust me, scrambling for the right socket while balancing a door panel on your knee is a frustration you don't need.
A little forethought makes all the difference. You don't need a pro-level shop, but there are a few essentials for anyone learning how to fix an electric window. This isn't just about making the job easier—it's about preventing damage, like gouging your door trim or scratching your paint.
The Tools You'll Actually Need
Good news: you probably already have most of what you need. If not, consider this a small investment that'll pay you back on countless other car projects. This is your basic kit for tackling almost any interior job.
Here’s the rundown of must-haves:
- Socket and Ratchet Set: A metric set is a must. You'll almost certainly need a 10mm socket—it seems like half the bolts on every car, from an F-150 to a Camry, are 10mm.
- Screwdriver Set: Keep both Phillips and flathead screwdrivers nearby. You'll find screws hidden in the most clever places, like inside the door pull or under a little cover in the armrest.
- Trim Removal Kit: This is the non-negotiable item. You can use a screwdriver to pry off plastic trim, but you will scratch or crack something. A cheap plastic pry tool kit is designed to pop clips without leaving a single mark.
- Multimeter: Don’t even think about skipping this. For an electrical problem, a multimeter is the only way to know for sure what's wrong instead of just throwing parts at it. It turns guesswork into a diagnosis.
- Work Gloves and Safety Glasses: The inside of a car door is full of surprisingly sharp metal edges. Protect your hands, and always wear eye protection.
Setting Up for a Safe and Smooth Repair
With your tools laid out, it's time to prep the car and your space. The single most important safety step is also the one people forget most often.
Don't Skip This: Before you do anything else, disconnect the negative terminal on your car battery. This simple step prevents you from accidentally shorting a circuit, which can blow fuses, fry expensive computer modules, or worse. It takes two minutes and can save you from a world of hurt.
Battery disconnected? Great. Now, make sure you can see what you're doing. Work in a well-lit garage or wait for a clear day. I always lay an old blanket or a big piece of cardboard down next to the car; it gives you a clean, safe spot to place the door panel and other parts without scratching them up.
One last pro tip: grab a roll of strong tape. Painter's tape or even duct tape will work. You'll need it to hold the window glass in the full "up" position after you unbolt it from the regulator. Without it, the glass will come crashing down inside the door.
How to Pinpoint the Exact Problem
Don't just jump online and order a new window motor. That's a classic rookie mistake that costs time and money. Fixing an electric window is all about being a good detective, not just a parts-swapper. A little bit of logical troubleshooting will help you find the real culprit, saving you a ton of frustration.
Think of it like a doctor's visit for your car. You wouldn't schedule surgery without running some basic tests first. We’re going to apply that same thinking here, starting with the easy stuff and working our way to the more involved checks.
Start With the Fuse Box
Always, and I mean always, start here. The fuse box is the easiest thing to check and, more often than you'd think, it's the solution. This is especially true if more than one window has suddenly stopped working.
Pop open your owner's manual to find the diagram for your fuse box—it’ll point you right to the power window fuse. Pull it out using the little plastic puller tool that's often clipped inside the box lid (or a pair of needle-nose pliers). Hold the fuse up to the light. See that little metal strip inside? If it’s broken or looks burnt, you've found your problem.
A new fuse costs pennies and takes less than a minute to install. If that new fuse blows right away, though, you’ve got a bigger issue on your hands—a short circuit somewhere in the system that needs to be tracked down.
Listen for Clues From the Door
Believe it or not, your ears are one of your best diagnostic tools right now. The sounds—or the complete lack of them—coming from inside the door panel can tell you almost everything you need to know.
- Complete Silence: You hit the switch and get nothing. No click, no hum, just silence. This almost always points to an electrical problem. Power isn't even getting to the motor, which means you're likely dealing with a bad fuse, a dead switch, or a break in the wiring.
- A Faint Click or Hum: This is actually a good sign! If you hear a little click from inside the door when you press the switch, it means the switch is working and power is reaching the motor. The motor is trying to do its job but can't. This suggests the motor itself has burned out or the regulator is physically jammed.
- Grinding or Crunching Noises: That's the unmistakable sound of a failed window regulator. The awful racket is usually caused by stripped plastic gears or, more commonly, a snapped steel cable that's now tangled up inside the door. The motor is fine, but the mechanical guts are toast.
This diagnostic flowchart helps visualize the path forward based on what you're hearing (or not hearing).
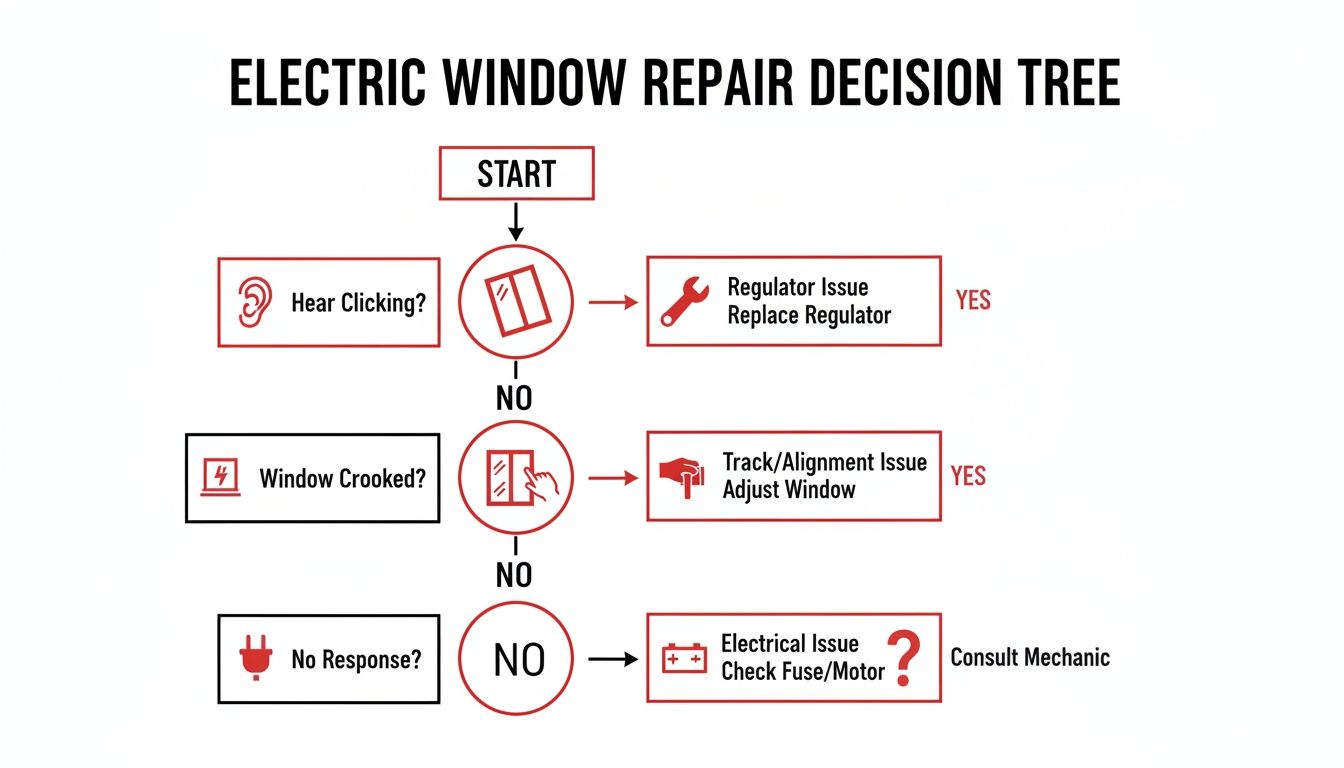
As you can see, those initial audio clues are incredibly valuable. They let you know whether you should grab your multimeter for an electrical test or start preparing for a mechanical inspection.
Testing the Window Switch
If the fuse checked out but only a single window is dead, the switch is the next logical suspect. The driver's side master switch gets the most use by far, making it a common failure point. To test it, you’ll need a multimeter set to the continuity setting (it usually has a little sound wave symbol).
Carefully pry the switch panel out of the armrest or door panel and unplug its wiring harness. Touch your multimeter probes to the terminals on the back of the switch. When you press the button for the non-working window, the multimeter should beep, signaling a complete circuit. If you get silence, the switch is bad. It’s time for a new one.
Going Straight to the Source: The Motor
To be 100% sure whether your motor is dead or alive, you can bypass everything and power it directly. This is the definitive test. After you get the door panel off, you'll see a two-wire plug connected to the motor. Disconnect it.
Using a couple of jumper wires connected to your car's battery (or any 12V power source), touch the wires directly to the two pins in the motor's connector. If the motor whirs to life, it's good. If it does nothing, you can officially declare it dead. Swap the polarity on your jumper wires, and it should spin the other way.
For a more detailed walkthrough of this process, check out our guide on how to test a window motor. It's a crucial step that prevents you from buying a new motor only to find out the problem was a simple broken wire.
Key Takeaway: Testing the motor directly eliminates all guesswork. If it works with direct power, the problem is upstream (switch, wiring). If it doesn't, you've found your broken part and can order a replacement with confidence.
Spotting a Broken Regulator
Sometimes, all the electrical parts are working perfectly, but the mechanical hardware that lifts the glass has given up. This assembly of arms, pulleys, and cables is the regulator, and when it fails, the symptoms are usually loud and obvious.
Look for these dead giveaways of a broken regulator:
- The window tilts and goes down crookedly into the door.
- You hear loud popping or grinding when you hit the switch.
- The window just falls down into the door on its own, especially after hitting a bump.
- The glass moves an inch or two and then stops, completely jammed.
A stuck window isn't just a personal headache; it's a huge part of the auto repair industry. The global market for automotive power window motors hit USD 8.8 billion in 2023 and continues to grow. Data shows that combined motor and regulator failures are the primary issue in 25% of vehicles between 5 and 10 years old, and a whopping 85% of those failures trace back to snapped cables or worn-out plastic gears. It’s an incredibly common problem.
By following this systematic approach—fuse, sound, switch, motor, and regulator—you'll nail down the exact cause of the failure. This ensures you buy the right part the first time and turn a frustrating job into a successful DIY repair.
Time to Replace the Window Motor and Regulator Assembly
So, you've tracked down the problem and confirmed the window motor or regulator is toast. Now for the satisfying part: swapping it out. This is where you get to roll up your sleeves and really fix something.
Don't let the idea of taking your door panel off scare you. Honestly, with a little patience and the right mindset, this is a totally doable job for a Saturday afternoon. It's a fantastic way to save a few hundred bucks in shop labor. We'll go through it step-by-step, from carefully prying off the panel to getting the new parts aligned just right.
Getting Inside: Removing the Door Panel
The first thing standing between you and the repair is the interior door panel. Car makers have gotten pretty clever at hiding screws and using fussy little clips, so the name of the game here is slow and steady. A set of plastic trim removal tools is your best friend—using a screwdriver is a surefire way to leave scratches and break old plastic.
Before you start prying, hunt for all the screws. They love to hide in plain sight.
- Check inside the door pull handle or armrest.
- Look behind the interior door latch, sometimes under a small pop-off cover.
- Run your hand along the very bottom edge of the panel.
- Pop out the window switch panel; there's often one hiding under there.
Once the screws are out, slide your pry tool between the panel and the door frame. Work your way around the edge and give it a gentle pop to release each clip. You'll hear them let go one by one. When they're all free, lift the panel straight up and then out to unhook it from the window channel at the top. But hold on—it's still connected.
Don't just yank the panel off. There are still wires for your switches, speakers, and maybe a door light, plus the cable for the handle. A pro tip is to snap a quick photo with your phone before you unplug everything. It's a lifesaver when you're putting it all back together.
With the panel off, you'll find a plastic sheet, kind of like a liner, stuck to the door. That's the weather barrier, and it's super important for keeping rain and road noise out. You need to peel it back, but be gentle and try not to rip it. It's held on by this goopy black adhesive. Just peel back enough to give yourself a window to work through.
Secure That Glass (This Is Not Optional)
This next step is critical for your safety. Before you unbolt a single thing on the regulator, you have to get the window glass secured in the 'up' position. If you skip this, the second you disconnect it, the heavy glass will come crashing down inside the door. It can easily shatter and cause a nasty injury.
Grab some strong tape—painter's tape is good, but duct tape is even better. Run a few strips over the top of the door frame, taping the glass securely in place. Give the glass a little jiggle to make sure it's not going anywhere.
Taking Out the Old Assembly
Okay, now you can see the whole regulator mechanism—the metal tracks, cables, and the motor. First, you need to detach the glass from the regulator. Look for the clamps or bolts that hold the glass to the lift plate; you can usually reach them through access holes in the door. Loosen those up and the glass is free.
Next, locate the bolts holding the entire regulator frame to the door itself. Most trucks and cars, from a Ford F-150 to a Honda Civic, use a handful of 10mm bolts. Unplug the electrical connector from the motor. With everything unhooked, it's time to wrestle the old assembly out. It can feel like a game of Tetris, but just keep turning and maneuvering it until you find the angle that lets it slip out of the largest access hole.
Power window failures aren't just an annoyance; they're a huge part of the auto repair business, especially in trucks like the Toyota Tacoma and GMC Sierra. The global market for power windows is expected to climb from USD 18.30 billion in 2025 to USD 24.23 billion by 2032. The lift motor itself is a USD 3.5 billion market, and failure rates can jump by 40% on higher-mileage vehicles.
Installing the New Motor and Regulator
Putting the new assembly in is pretty much the reverse of taking it out. A good quality part will line up perfectly and make your life way easier. If you need more visuals, our detailed guide on window regulator and motor replacement has some great extra tips.
- Slide the new part in. Carefully maneuver the new assembly back inside the door.
- Start the bolts by hand. Line up the mounting holes and get all the bolts started by hand first. This prevents cross-threading. Leave them a little loose for now.
- Reconnect the glass. Gently lower the glass down to meet the new regulator's lift plate. Put the clamp bolts back in, but again, just hand-tight.
- Test the alignment. This is key. Temporarily plug the window switch back in and connect the battery. Run the window up and down a few times. Watch to see if it moves smoothly without binding or tilting. Now is your chance to nudge the regulator around for a perfect fit.
- Torque everything down. Once you're happy with how it travels, go ahead and tighten all the regulator and glass mounting bolts to spec.
After you've double-checked that it works perfectly, carefully press the weather barrier back into place. Reconnect the wiring and door handle cable to the back of the door panel. Hook the top lip of the panel over the window sill, then give it a firm bump with the heel of your hand around the edges to snap all the clips back in. Reinstall your screws, and you're done.
You've just tackled a real-deal auto repair, saved a bunch of money, and restored your car's security and convenience. Job well done.
Choosing the Right Parts and Tips for a Lasting Repair
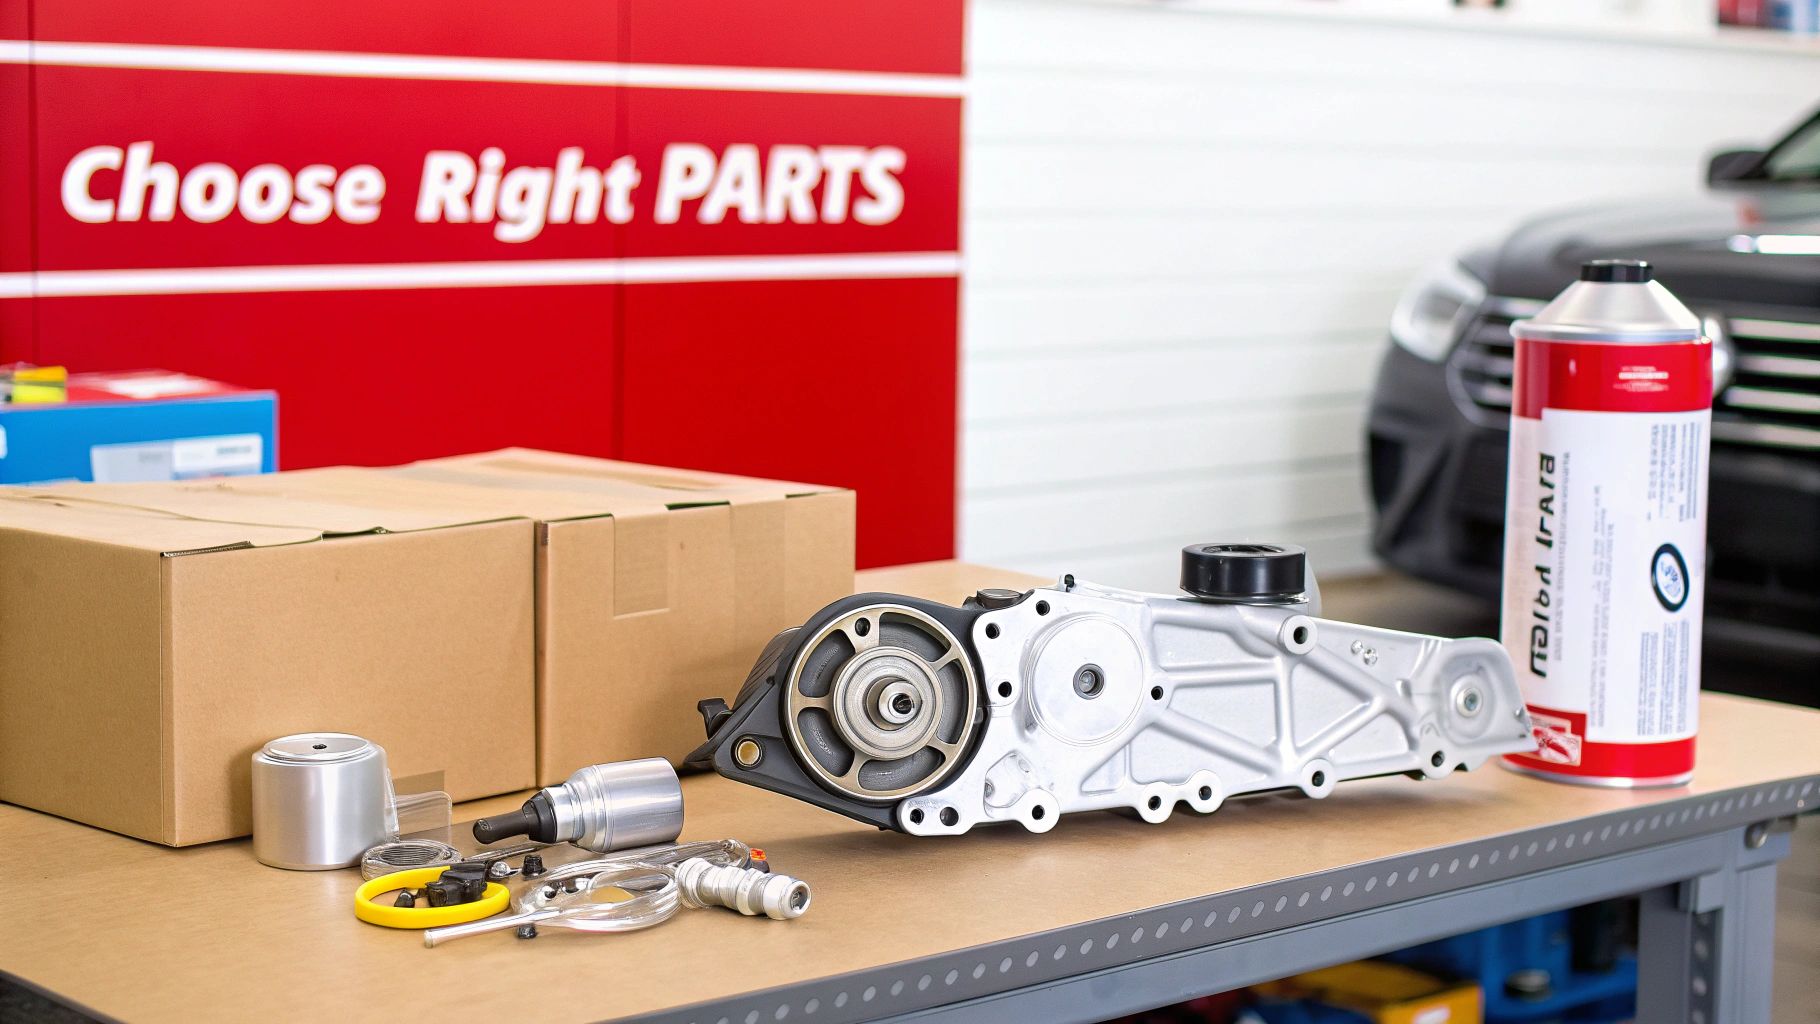
You've put in the time to figure out what’s wrong and take the door apart. The last thing you want is to be right back here in a year because the replacement part failed. This is the moment where your repair becomes a permanent fix, not just a temporary patch.
Choosing between dealership OEM parts and aftermarket alternatives all comes down to the quality of the materials. So many factory regulators give out because they’re built with flimsy plastic components that just weren't designed to last.
Upgrading for Durability
When you’re shopping for a new window regulator, keep an eye out for parts that specifically mention upgraded materials. A quality aftermarket replacement will often swap out those failure-prone plastic gears and cable pulleys for durable metal ones. That single upgrade is the secret to preventing the same problem from happening all over again.
Believe it or not, the weak link is rarely the motor. It’s the mechanical regulator it's attached to. Flimsy plastic gears and cables that snap under stress account for a staggering 65% of all power window complaints reported to the NHTSA between 2018 and 2023. Choosing a regulator with metal components directly addresses this core design flaw.
Fixing it yourself with a premium aftermarket regulator can save you up to 70% compared to what a dealership would charge—we're talking $150 versus $500—and you can have it installed in under an hour. You can find more details on this in research about the automotive electric window regulator market. A well-engineered part isn't just about saving money; it’s about making a smarter, more permanent repair.
For a deeper dive, check out our guide on aftermarket parts vs. OEM for a full breakdown.
And remember, fitment is everything. Always get a part that is vehicle-specific for your car or truck’s exact make, model, and year. A "universal" part might look like a bargain, but it’s a recipe for rattling, binding, and another failed regulator down the road.
Pro Tips for a Long-Lasting Repair
Installing a quality part is the main event, but a few quick maintenance steps can make a huge difference in how long your repair lasts. Think of it as preventative care that reduces the strain on your new motor and regulator, keeping everything running smoothly for years.
While you have that door panel off, here are three simple things you should do:
- Lubricate the Window Tracks: Over time, the rubber channels the glass slides in can get dry and sticky, creating a ton of drag. This forces the new motor to work way harder than it should. A quick shot of silicone lubricant into the front and rear window tracks works wonders.
- Clean the Rubber Seals: Grab a clean cloth and some soapy water to wipe down all the rubber weatherstripping around the window. You’d be surprised how much dirt and grit builds up in there, acting like sandpaper and increasing friction every time the window moves.
- Check for Obstructions: Before you button everything back up, run the window up and down a few times. Watch its path closely and make sure no wires, insulation, or anything else is getting in the way. It’s easy for a wire harness to get snagged and cause the new regulator to bind.
These small steps might add ten minutes to the job, but it’s a smart investment. They ensure your new parts aren't fighting against unnecessary friction—the number one enemy of any power window system. Combine a high-quality part with a little maintenance, and you can be confident you’ve fixed that window for good.
Common Questions About Electric Window Repair
After you've finished the job, or even before you start, a few questions always seem to pop up. When you're tackling something like this for the first time, it's natural to have concerns about the cost, which parts to buy, and what to make of those strange symptoms that don't seem to make sense.
Let's clear the air and go over some of the most common things people ask when they're learning to fix a power window. Getting these answers doesn't just give you peace of mind; it helps you make smarter decisions down the road.
How Much Does a DIY Window Repair Actually Cost?
This is the big one, isn't it? For most people, the potential savings are the main reason to do the job themselves. While the exact numbers depend on your car, the difference between DIY and paying a shop is pretty stark.
- DIY Cost: You're mostly just paying for the part itself. A good-quality aftermarket window regulator and motor assembly usually runs between $75 and $150. If you need to buy a set of trim removal tools, that might add another ten bucks. All in, you’re almost always looking at a bill under $200.
- Shop Cost: This is where it gets expensive. A repair shop or dealership will charge you for the same part (often with a healthy markup) and then add one or two hours of labor. That can easily push your total into the $350 to $500 range, and for luxury brands, it can climb even higher.
The bottom line is, by investing a little of your own time, you stand to save a few hundred dollars.
Should I Replace Just the Motor or the Entire Assembly?
You've probably seen that you can buy the window motor all by itself, separate from the regulator. It might seem like a clever way to save a few bucks by only replacing the broken component, but from my experience, this is almost always a bad idea.
Think about it: the motor and the regulator are a team, working together under constant tension and stress every time you use the window. If the motor burns out, you can bet the regulator's cables, pulleys, and plastic guides have seen the same amount of action. Bolting a brand-new motor onto an old, fatigued regulator is just asking for another failure.
Best Practice: Always, always replace the motor and regulator as a complete assembly. They're designed to wear out together. Swapping in a complete new unit ensures every single moving part is fresh and ready for years of service. It's the only way to avoid tearing that door panel off again in six months.
My Window Goes Down but Won’t Go Up. What’s Wrong?
Ah, the classic. This is probably the most common and baffling power window problem, but the diagnosis is surprisingly simple. Nine times out of ten, the culprit is the window switch.
Inside that switch are tiny electrical contacts, and they can wear out unevenly. It's very common for the "down" contact to keep working just fine long after the "up" contact has burned out or corroded. This leaves you in that incredibly frustrating spot where you can open your window but have absolutely no way to close it.
Before you even touch that door panel, test the switch. It’s a frequent failure point—especially on the driver's side master switch, which gets the most use—and it’s a heck of a lot easier and cheaper to replace than the whole regulator assembly.
At T1A Auto, we specialize in premium aftermarket parts engineered with upgraded materials to ensure your repair lasts. Find the guaranteed-fit window regulator for your vehicle and fix it right the first time by visiting T1AAuto.com.