


When your power window quits on you, it's easy to jump to conclusions and assume the motor is toast. But before you start ordering parts, a little bit of smart diagnosis can save you a lot of time and money. The first step is to figure out if the motor is actually getting the power it needs. A quick check with a multimeter at the motor's connector will tell you a lot. If you've got power but no movement, then you can be pretty sure the motor is the culprit.
Starting Your Window Motor Diagnosis
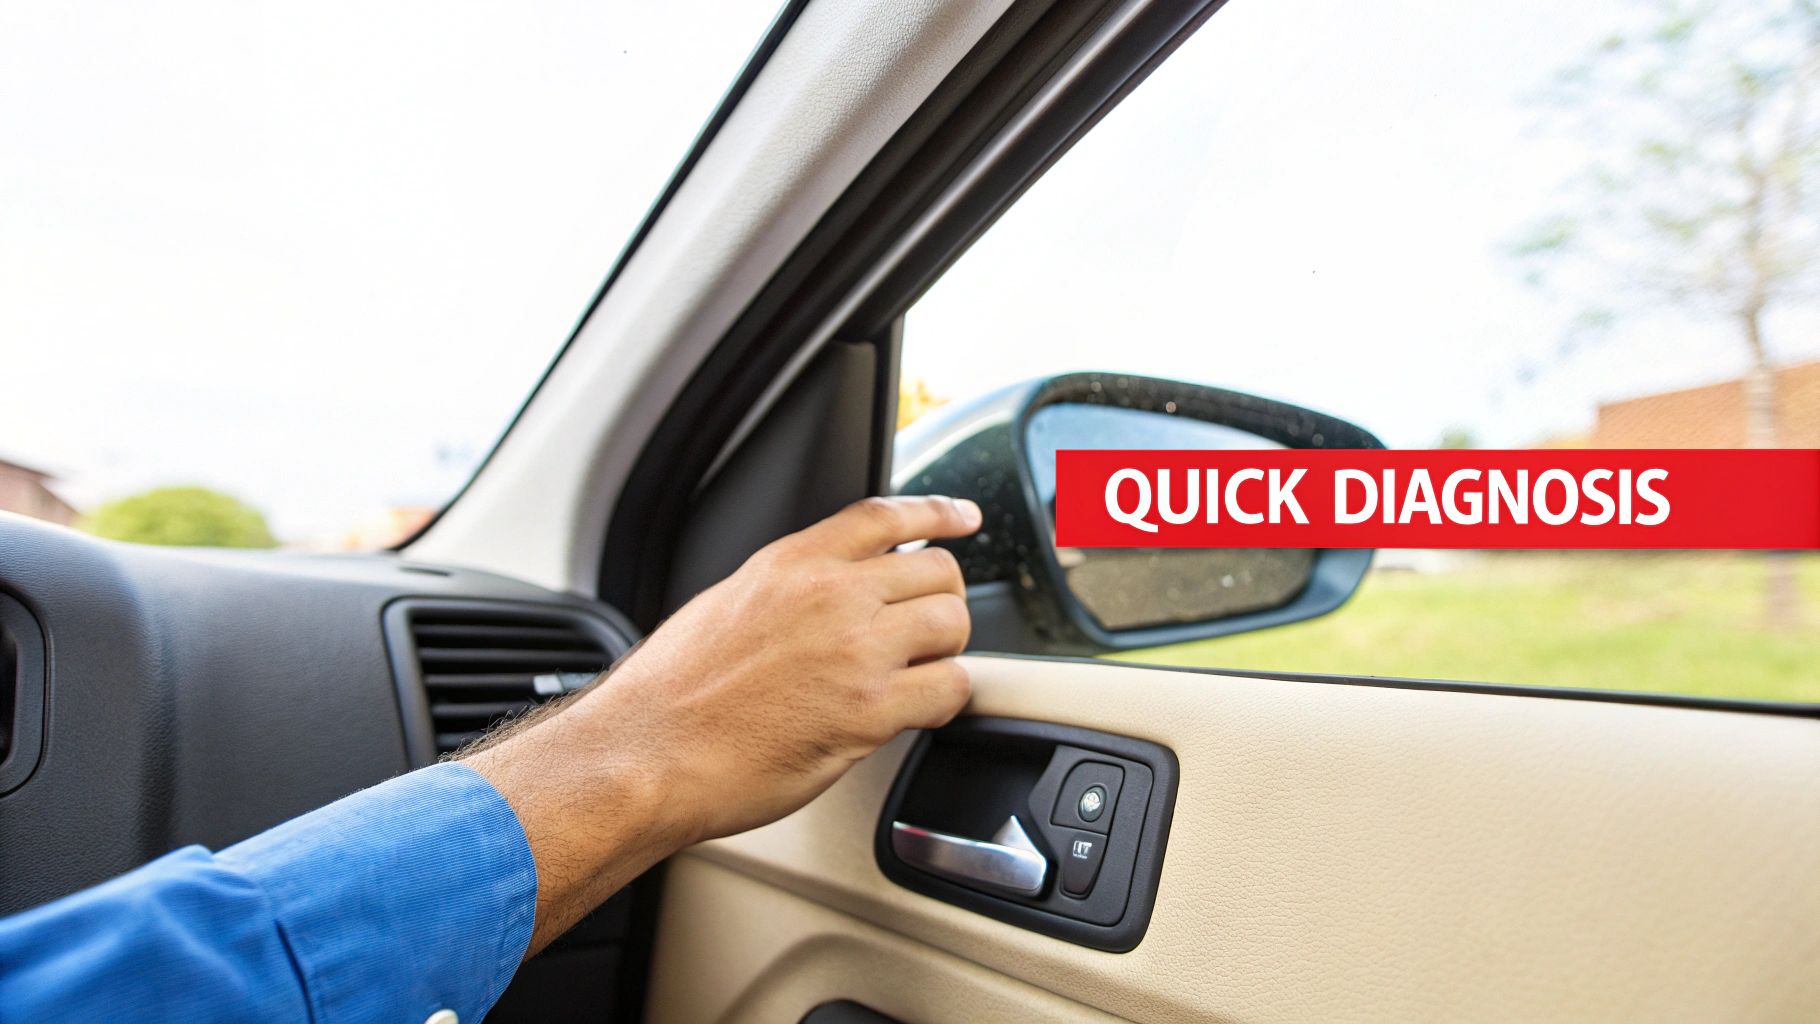
A window that's stuck open in the rain is one of the most frustrating things to deal with. It’s tempting to immediately blame the motor and start tearing the door apart, but hold on. I’ve seen it a hundred times—a methodical approach almost always gets you to the real problem faster.
Think of your power window system as a team. You've got the switch, the fuse, the wiring, and finally, the motor. If any one of them isn't doing its job, the whole system fails. More often than not, the actual problem is much simpler (and cheaper to fix) than a burnt-out motor.
Simple Preliminary Checks
Before you even think about grabbing a screwdriver or a multimeter, let’s run through a few quick checks. These initial observations are surprisingly good at pointing you in the right direction. Just turn the key to the "on" or "accessory" position so the electronics have power.
- Listen for Any Sounds: Lean in close to the door panel and press the window switch up and down. Do you hear anything? A faint click from inside the door? Maybe a low hum or a grinding noise? Any sound at all is a great clue—it means the motor is getting power and trying to work. This usually points to a mechanical jam in the regulator, not a dead motor.
- Test the Other Windows: Try the other windows from the driver's master switch panel. If nothing happens anywhere, your problem is probably something that affects the whole system, like a main fuse, a relay, or the master switch itself. If only one window is on the fritz, you know the issue is isolated to that specific door.
- Try the Local Switch: If the window won't work from the master panel, walk around and try the switch on the problem door. If it works there, you’ve just saved yourself a ton of work—the master switch is almost certainly your issue.
Sometimes the simplest things are overlooked. A weak battery can cause all sorts of weird electrical gremlins in modern cars. Before you dive deep into diagnosing a single component, it's always a good idea to know how to ensure your car battery is properly charged.
Before you break out the tools, run through this quick mental checklist. It can often pinpoint the problem in just a few minutes.
Quick Diagnostic Checklist
| Symptom Check | What It Likely Means | Next Step |
|---|---|---|
| Hear a click or hum, but the window doesn't move. | The motor has power, but the window regulator is likely jammed or broken. | Inspect the window regulator for mechanical failure. |
| None of the windows work from any switch. | A system-wide electrical issue, like a blown main fuse, faulty relay, or bad master switch. | Check the main power window fuse and relay in the fuse box. |
| The window works from its local switch but not the driver's. | The problem is isolated to the master switch panel or its wiring. | Test and likely replace the master switch. |
| Complete silence when you press the switch. | An electrical problem is preventing power from reaching the motor. | Check the fuse, switch, and wiring for that specific door. |
These quick checks are your first line of defense and help you avoid chasing ghosts.
Interpreting the First Clues
These simple observations are your first big clues. Total silence when you hit the switch usually means there's an electrical open somewhere in the circuit—could be a fuse, the switch, a broken wire, or, yes, a dead motor. That humming sound, on the other hand, tells you the motor is alive but something is physically stopping it from doing its job, which is classic regulator failure.
This process of elimination is everything. By ruling out the easy stuff first, you can be confident that it’s time to get a little more involved. If all signs are pointing to a problem inside the door, your next step is to get the door panel off so you can access the motor's wiring. For a detailed walkthrough on that, our guide on how to remove a car door panel will show you exactly how it’s done.
Gathering Your Tools and Safety Gear
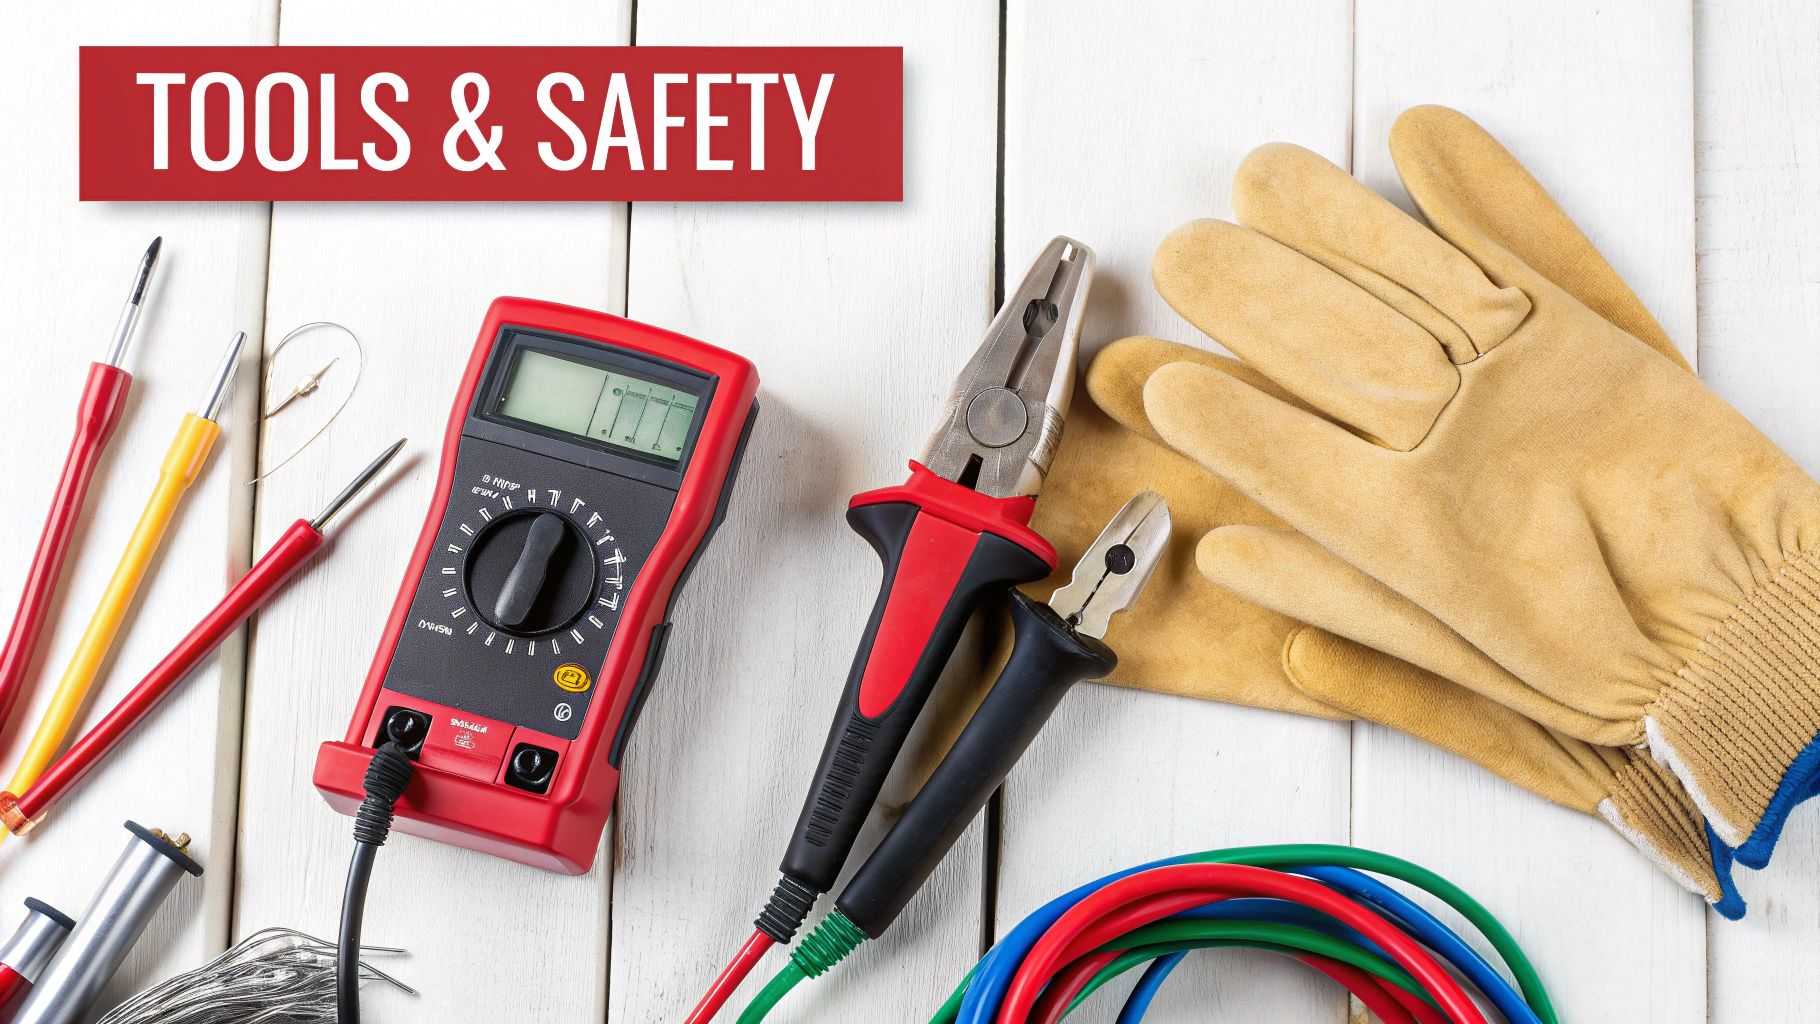
Before you dive into your door panel, let's talk about tools. Jumping into any car repair without the right gear can turn a quick job into a weekend-long headache. Having everything you need laid out first not only makes the process go smoothly but, more importantly, keeps you safe.
The absolute star of the show here is your digital multimeter. This little device is your eyes and ears for anything electrical, letting you measure voltage and check for continuity. It's how you'll trace the power from the switch to the motor and find out exactly where things are going wrong. You don’t need a fancy, expensive model; a basic one from any auto parts store will do the trick just fine.
Beyond the multimeter, a few other key pieces will make this job a whole lot easier.
Essential Diagnostic Tools
- Jumper Wires: You'll want a set of jumper wires with alligator clips. These are non-negotiable for doing a direct "bench test" on the motor, allowing you to bypass the car's wiring and see if the motor spins with direct power.
- 12V Power Source: Your car's battery is the easiest source to use, but a standalone 12V power pack or jumper box works great too. This is what you'll use with the jumper wires to confirm the motor is actually alive.
- Basic Hand Tools: This is where your standard toolbox comes in. Grab a set of screwdrivers (Phillips and flathead), a socket set, and—this is a big one—a plastic trim removal tool. Trust me, using a proper trim tool is the difference between a clean job and a door panel full of snapped clips and ugly pry marks.
It's interesting to see how far the technology has come. Advanced systems now use sophisticated sensors to monitor motor health, measuring torque and position to prevent the window from closing on an obstruction. If you're curious about the engineering behind it all, you can dive deeper into electric motor testing and power analysis.
Critical Safety Precautions
Okay, let's get serious for a moment. Safety first, always. You're about to work with your car's electrical system, and a simple slip-up can lead to blown fuses, fried electronics, or worse. The single most important thing you can do is disconnect the negative battery terminal.
Pro Tip: Always disconnect the negative (-) battery terminal first and tuck the cable aside so it can't accidentally touch the post. This simple step prevents any chance of a short circuit while you work.
Also, do yourself a favor and put on a pair of work gloves. The inside of a car door is a minefield of sharp metal edges and hidden brackets. A decent pair of gloves will save your knuckles from getting chewed up while you're fishing around for wires and bolts.
How to Test for Power at the Motor Connector
This is where the rubber meets the road. Testing for power right at the motor's connector is the single most definitive test you can do. It quickly tells you if the motor is dead or if the problem is hiding somewhere else in the wiring, switches, or fuses.
Getting this right can save you from the headache of pulling out a perfectly good motor.
First, you'll need to get to the motor's electrical connector, which means taking off the interior door panel. Once you're inside, follow the wiring harness to the motor assembly and find the plug. There's usually a small plastic tab you'll need to press to release it. Be gentle—these connectors can get brittle over time.
Setting Up Your Multimeter
Alright, grab your digital multimeter. This is the tool that’s going to give you a clear answer. We need to set it to measure DC voltage, which is what your car's electrical system runs on.
- Set the Dial: Turn the multimeter's main dial to the DC Voltage setting. You're looking for the symbol with a V and a solid line over a dotted line (or just VDC).
- Pick the Range: You're expecting a reading around 12 volts, so choose a range slightly higher than that, like the 20V setting. This gives you the most precise measurement.
- Check the Probes: Make sure the black probe is plugged into the COM (common/ground) port and the red probe is in the port labeled VΩmA (for voltage, resistance, and milliamps).
The multimeter in this image is set up just how you'll need it to check if the window motor is getting juice.
Performing the Voltage Test
With the multimeter ready to go, carefully insert the metal tips of the red and black probes into the terminals of the wiring connector—the one that plugs into the motor. For this test, it doesn't matter which probe goes into which terminal.
Next, turn the vehicle's ignition key to the "on" or "accessory" position. The engine doesn't need to be running.
Now for the test itself. Have a friend press and hold the window switch in one direction (either up or down) while you keep an eye on the multimeter's display.
What to Look For: A good, working circuit will show you approximately +12V when the switch is pressed one way (e.g., down). When your friend presses it the other way (e.g., up), you should see around -12V (negative 12 volts). That polarity flip is what makes the motor spin in the opposite direction.
If you see those +12V and -12V readings, it's great news in a way. It means the switch, fuse, relay, and all the wiring are doing their jobs perfectly.
But it also gives you 100% confirmation that the motor itself is the problem. It's getting the signal to move, but it just can't.
On the other hand, if you get a reading of 0V (or something very close to it) no matter which way the switch is pressed, the motor is probably fine. Your problem is "upstream" in the circuit. No power is making it to the connector, so you'll need to start tracing the wiring back toward the switch and fuse box to find out where you're losing power.
Giving the Motor a Direct Bench Test
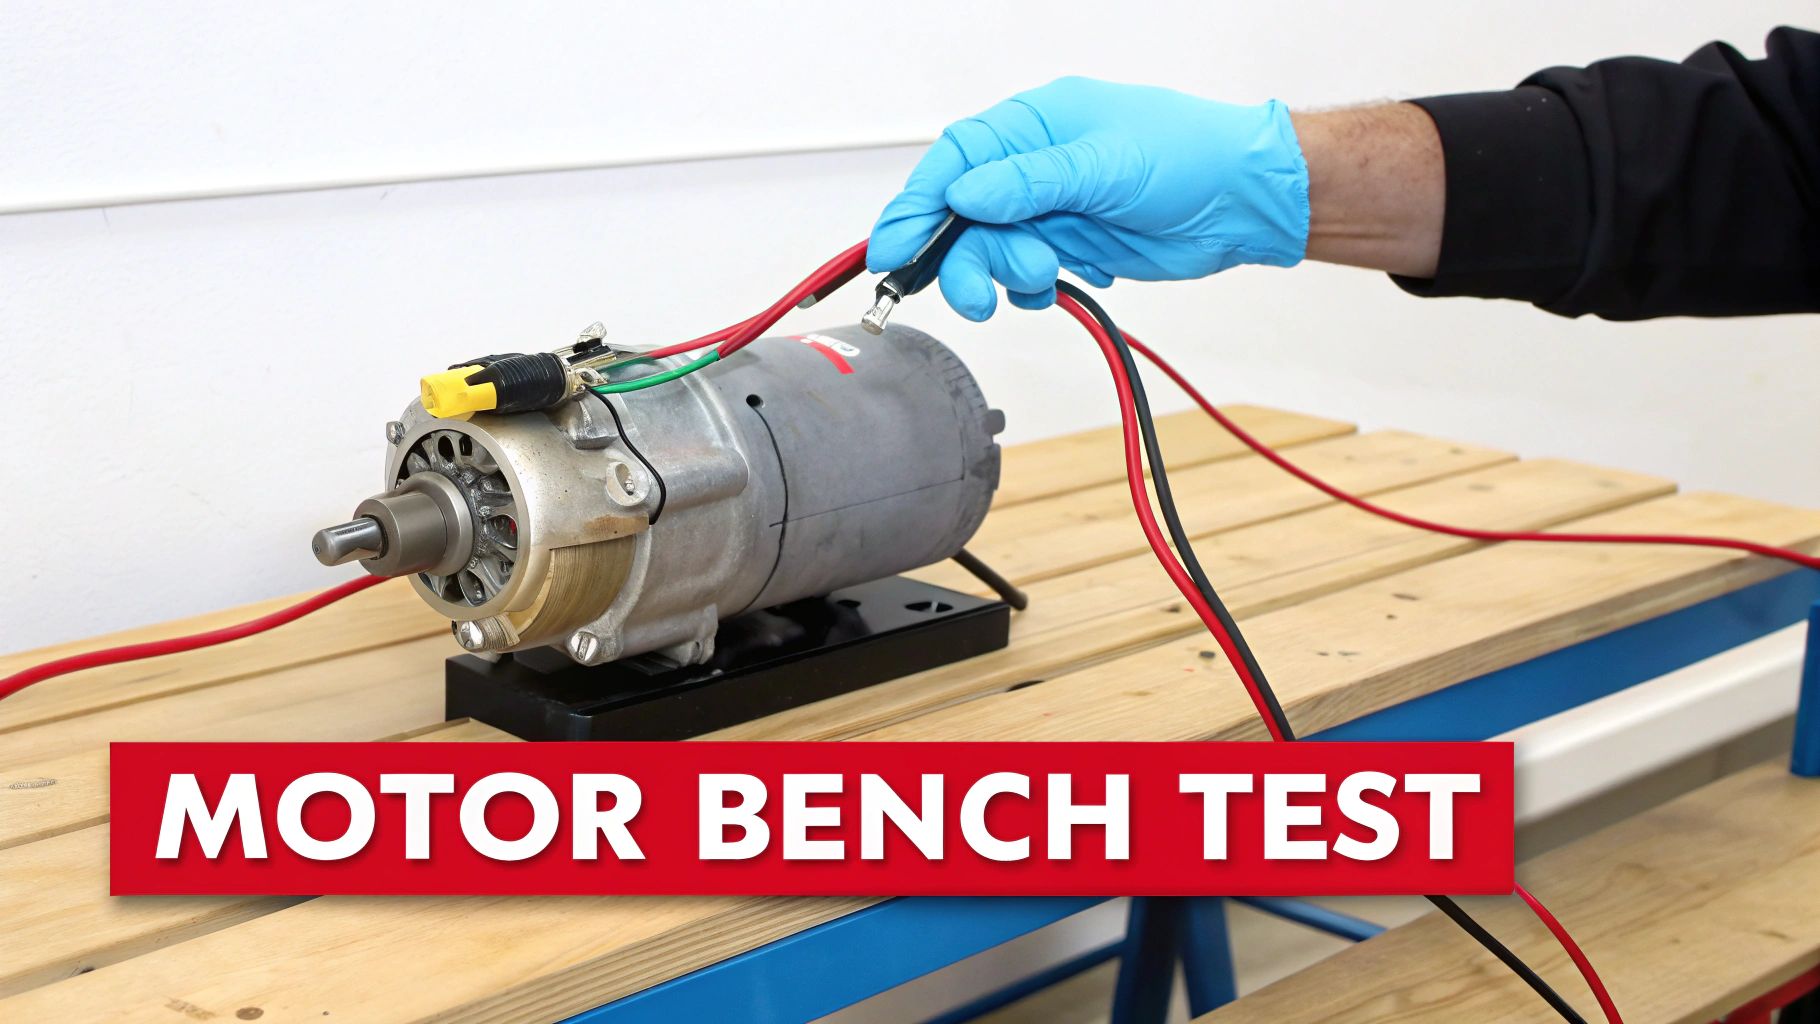
So, your multimeter confirmed that power is getting to the motor, but the window is still dead in the water. This is where we get the final verdict with a bench test. It's the most surefire way to know if the motor itself is the problem.
By taking the car's wiring, switches, and everything else out of the picture, you're testing the motor in isolation. This involves pulling the motor from the door and hooking it directly to a 12-volt source, like the car battery. This single test gives you a definitive yes-or-no answer before you go spending money on parts.
How to Set Up a Safe Bench Test
First things first, you've got to get the motor out. It’s usually held onto the window regulator inside the door with three or four small bolts. A word of caution: make sure you support the window glass. I always use a few strips of strong painter's tape to hold it in the fully closed position so it doesn't come crashing down.
With the motor free, you'll need a set of jumper wires and a good 12V power source. The car's battery is perfect for this.
- Play It Safe: Place the motor on a sturdy, non-conductive surface, like a wooden workbench or even a piece of cardboard on the garage floor. The moment it gets power, that little gear is going to spin with some real torque, and you don’t want it dancing across your workspace.
- Hook It Up: Connect one jumper wire from your 12V source to one of the terminals on the motor's connector. Then, connect the second jumper wire to the other terminal.
You’ll know immediately if it’s working.
Reading the Results
What happens next tells you everything.
A good motor will spin to life instantly. You're listening for a smooth, consistent whirring sound. To check both directions, just swap the jumper wires on the motor's two terminals. Reversing the polarity should make it spin just as smoothly the other way.
If it spins like a top in both directions, your motor is fine. The real culprit is likely a mechanical issue, like a bind in the window regulator that only shows up when it's trying to lift the heavy glass. But if you see or hear anything else, the motor has given up the ghost.
- Dead Silent, No Movement: The motor is completely shot. This usually means the internal windings have burned out.
- Humming or Buzzing, But No Spin: Power is getting in, but something inside is seized up—a bad bearing or a jammed gear.
- Grinding Noises or Jerky Spinning: This is a classic sign of stripped internal gears or worn-out brushes. The motor is on its last legs.
In a professional shop, a technician might go a step further with insulation resistance testing to spot internal shorts from moisture before a motor fails completely. They use a special meter to check for resistance values in the megaohm range. You can get a better sense of these advanced electrical motor tests on epri.com.
If your bench test points to a bad motor, the next step is getting a replacement. Our in-depth guide on how to replace a power window motor will walk you through the whole installation from start to finish.
Making Sense of Your Test Results
You’ve done the detective work, and now you have the data. The next step is turning those multimeter readings and bench test behaviors into a solid diagnosis. This is where you figure out exactly what’s wrong so you know precisely how to fix your power window for good.
Let's break down what you're likely to see.
The single most telling scenario is when the motor runs perfectly on your workbench but completely fails once it’s back in the door. It’s frustrating, sure, but it also gives you a crystal-clear answer: the motor itself is fine. If you confirmed a solid +12V and -12V at the connector but the motor refused to budge in the car, the problem isn't electrical. The motor is being physically blocked by a jammed or broken window regulator.
Interpreting Common Failure Scenarios
What if you saw the opposite? You got proper voltage during the in-vehicle test, but the motor was completely dead on the bench. This is the most straightforward diagnosis you can get. The motor has failed internally, and it’s time for a new one. No more guesswork—you’ve found the culprit with 100% certainty.
Here are a few other common outcomes I've seen over the years:
- Slow or Weak Motor: Did the motor spin during the bench test but seemed tired or sluggish? That's a classic sign of advanced wear. The internal components, like the brushes or magnets, are giving up, and it’s only a matter of time before it quits entirely.
- Grinding or Clicking Noises: If the motor was making loud, nasty sounds on the bench, it’s a dead giveaway that the internal gears are broken or stripped. Even if it still manages to spin, those gears are on their last legs.
Key Takeaway: The whole point of this testing is to isolate the problem. A motor that works fine on the bench but not in the car points to a mechanical issue (the regulator). A motor that fails the bench test is definitively bad and needs to be replaced.
Subtle Signs and Advanced Diagnostics
Sometimes, a motor's decline is more subtle. In a professional shop, technicians might use advanced techniques like non-intrusive vibration signature analysis to gauge a motor's health without even taking it out of the door. This method uses sensitive accelerometers to detect tiny mechanical imbalances, which can reveal a motor's efficiency with surprising accuracy. While this isn't something you'd do in your home garage, it's a fascinating look at how pros diagnose failures before they even happen, a concept detailed in research on compensated slip methods.
Choosing Your Next Steps
Once you have your answer, it's time to act.
If your tests pointed to a bad motor, the next step is sourcing the right replacement. But if you discovered the problem was further upstream—a bad switch, frayed wiring, or a blown fuse—our comprehensive guide on how to fix a power window will walk you through those specific repairs.
When you're ready to order a new motor, always double-check the fit using your vehicle’s year, make, and model. Pay close attention to the small details—is it for the driver’s side or passenger’s side? Front or rear door? These parts are rarely interchangeable. A quality aftermarket part can often be a more durable and reliable solution than the original, getting your window back in action for the long haul.
A Few Common Questions From the Garage
When you're trying to figure out why a power window won't budge, a few classic questions always come up. I've been there, and I've heard them all. Here are the answers to the most common head-scratchers to help you get through the diagnosis and back on the road.
This flowchart can help you visualize the path forward, showing you how to interpret your test results and figure out what to do next.

For example, if your in-car voltage test looks good but the motor fails a bench test, you've confirmed a bad motor. Other test combinations will point you toward a faulty switch, wiring problems, or a bad regulator.
Can I Test a Window Motor Without a Multimeter?
You can, but I wouldn't recommend it. A simple 12V test light can tell you if power is reaching the connector, but that's only half the story.
The problem is that a weak connection causing a significant voltage drop might still be enough to illuminate a test light, but it won't be enough juice to actually run the motor. This can easily lead you to think the motor is bad when the real issue is a corroded wire upstream.
Jumping the motor directly with a 12V battery is another option—it’s basically a bench test without the bench. It's a solid final check, but taking a few minutes to use a multimeter first can save you the hassle of pulling the motor out of the door if the problem is just a bad switch.
My Window Goes Down but Won't Go Up—Is the Motor Bad?
This is a classic symptom, and the motor is almost never the problem. A window motor uses the exact same internal components to spin both ways; it just reverses the polarity to change direction.
The real culprit here is usually the window switch. The switch has separate internal contacts for "up" and "down." The "up" contact almost always wears out first because it has to fight gravity and push the glass against tight window seals, which draws more current and causes more wear over time. Before you even think about the motor, test the switch for continuity in both directions.
How Do I Know if It's the Motor or the Regulator?
This one is easy—just use your ears. When you press the switch, listen closely to the sounds coming from inside the door.
-
You hear the motor: If you hear a humming, whirring, or even a nasty grinding noise, you know the motor is getting power and trying to do its job. The problem is almost certainly mechanical, pointing to the regulator—the assembly that actually lifts the glass. Broken cables and stripped plastic gears are incredibly common.
-
You hear complete silence: If you get nothing but silence, you're dealing with an electrical problem. Power isn't reaching the motor, so you need to investigate the fuse, the switch, the wiring, or the motor itself.
This simple listening test is one of the most effective first steps you can take to narrow things down.
Is Repairing a Broken Window Motor a Good Idea?
Honestly, no. In nearly every case, it’s a waste of time. These motors are built as sealed units, and finding individual internal parts like brushes, windings, or those tiny planetary gears is next to impossible.
The amount of time and frustration it takes to carefully pry open a sealed motor, figure out what failed inside, and try to MacGyver a fix just isn't worth it. A new or remanufactured unit is a reliable, practical, and long-lasting solution that will save you a massive headache.
Once you've confirmed a bad motor or regulator, getting a quality replacement is the final step. At T1A Auto, we specialize in premium aftermarket parts engineered for a perfect fit and long-term durability. You can find the right part for your vehicle and get your window working like new again.