


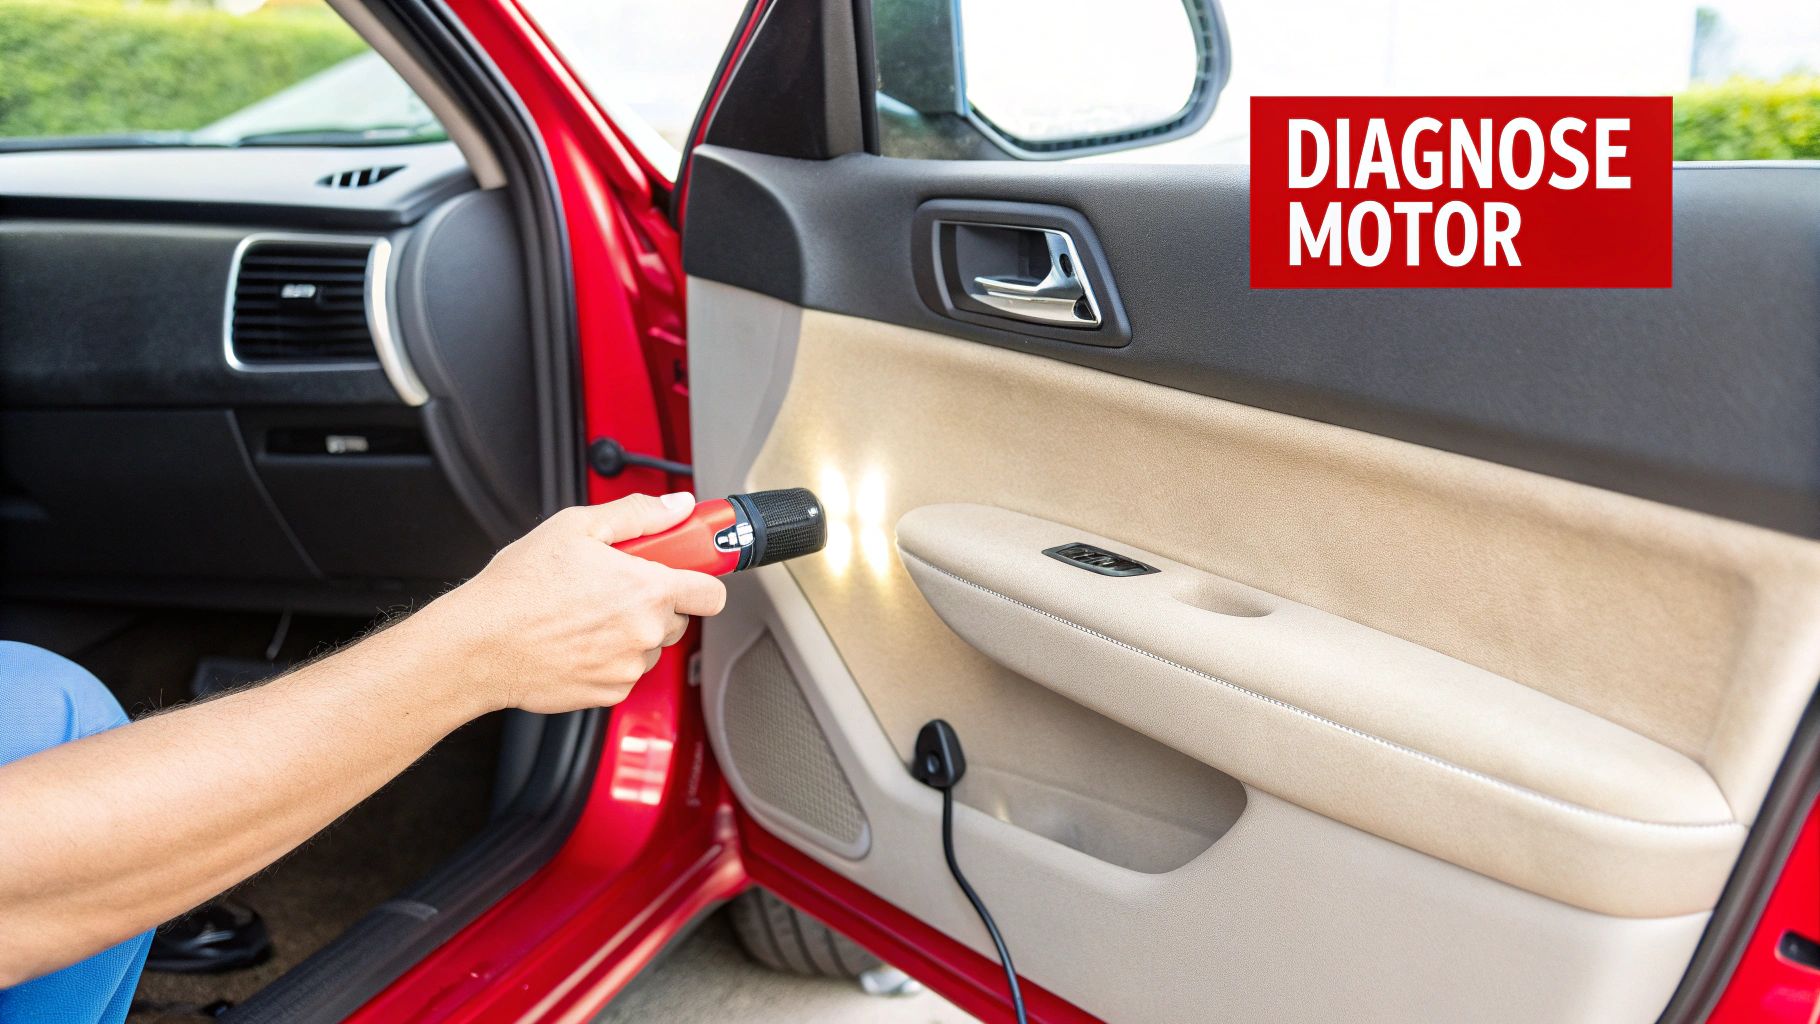
Before you tear into your door panel, let’s make sure the power window motor is actually the bad guy. Rushing in without a proper diagnosis can lead to a frustrating afternoon and a lighter wallet for no good reason. A few simple checks can save you a world of trouble.
A classic tell-tale sign is a clicking or grinding sound from inside the door when you hit the switch. That's usually the sound of the motor getting power but being unable to do its job. Another dead giveaway is a window that moves painfully slow or struggles to go up and down—that’s a motor on its last legs.
Confirming a Failing Power Window Motor
So, your window is stuck. The temptation is to immediately blame the motor, but a few different parts could be the culprit. Taking a few minutes to pinpoint the real problem will ensure you only buy the parts you actually need. Let's break down the usual suspects: the switch, the motor itself, and the regulator assembly.
Where Did It Go Wrong?
Each of these parts fails in its own unique way. Knowing what to look for is the key to a quick and accurate diagnosis.
- The Switch: If you press the button and get absolute silence—no click, no hum, nothing—your problem could be as simple as a bad switch or a blown fuse. A dead switch can't send the "go" signal to the motor.
- The Motor: This is where you get the noise. A distinct clicking or buzzing sound when you press the switch means power is flowing, but the motor’s internal gears are likely stripped or the motor has seized up.
- The Regulator: If you can hear the motor spinning away but the window is jamming, moving crookedly, or making loud popping noises, the regulator is almost certainly to blame. The regulator is the mechanical lift mechanism, and its cables or plastic guides are notorious for breaking, even when the motor is perfectly fine.
Pro Tip: Here’s a great shortcut. If the switch on the passenger door doesn't work, try operating that same window from the master switch on the driver's side. If it works from there, you’ve just confirmed the problem is the individual door switch, not the motor.
Power Window Problems and Their Likely Causes
Use this quick reference table to diagnose your window issue before taking the door apart.
| Symptom | Likely Cause | Recommended First Step |
|---|---|---|
| Window doesn't move, no sound from door | Faulty switch or blown fuse | Check the fuse panel first. |
| Clicking or grinding sound, window doesn't move | Bad window motor | Prepare to remove the door panel. |
| Motor runs, but window is crooked or noisy | Broken regulator | Inspect the regulator cables and tracks. |
| Window moves very slowly | Worn-out motor or bad track | Lubricate the window tracks first. |
This table can help narrow down the possibilities and point you in the right direction, saving you time and effort.
The Ultimate Litmus Test
Want to be 100% sure it's the motor? Once you have the door panel off, there's a foolproof way to check. Grab a 12V test light and carefully probe the motor's electrical connector while a friend presses the window switch. If that test light illuminates but the motor shaft doesn't spin, congratulations—you have a confirmed dead motor. Now you can order that replacement part with total confidence.
Don't feel bad if your motor has given up the ghost; it’s an incredibly common repair. Power window motor failure accounts for roughly 20%-25% of all window-related issues shops see. These parts simply wear out over time, usually after about 5 to 10 years of service.
If your diagnosis points to a more complicated failure or you just want to see the full repair process, our guide on how to fix a power window can walk you through additional steps.
Gathering the Right Tools for the Job
Before you even think about popping off a door panel, let's talk tools. Trying to tackle any car repair without the right gear is a recipe for frustration. Knowing how to replace power window motor components is half the battle; having the proper equipment on hand makes the whole process go smoothly.
This isn't just about grabbing your standard toolbox. A few specific items will be your best friends, preventing you from scratching your paint, breaking plastic clips, or turning a two-hour job into an all-weekend ordeal.
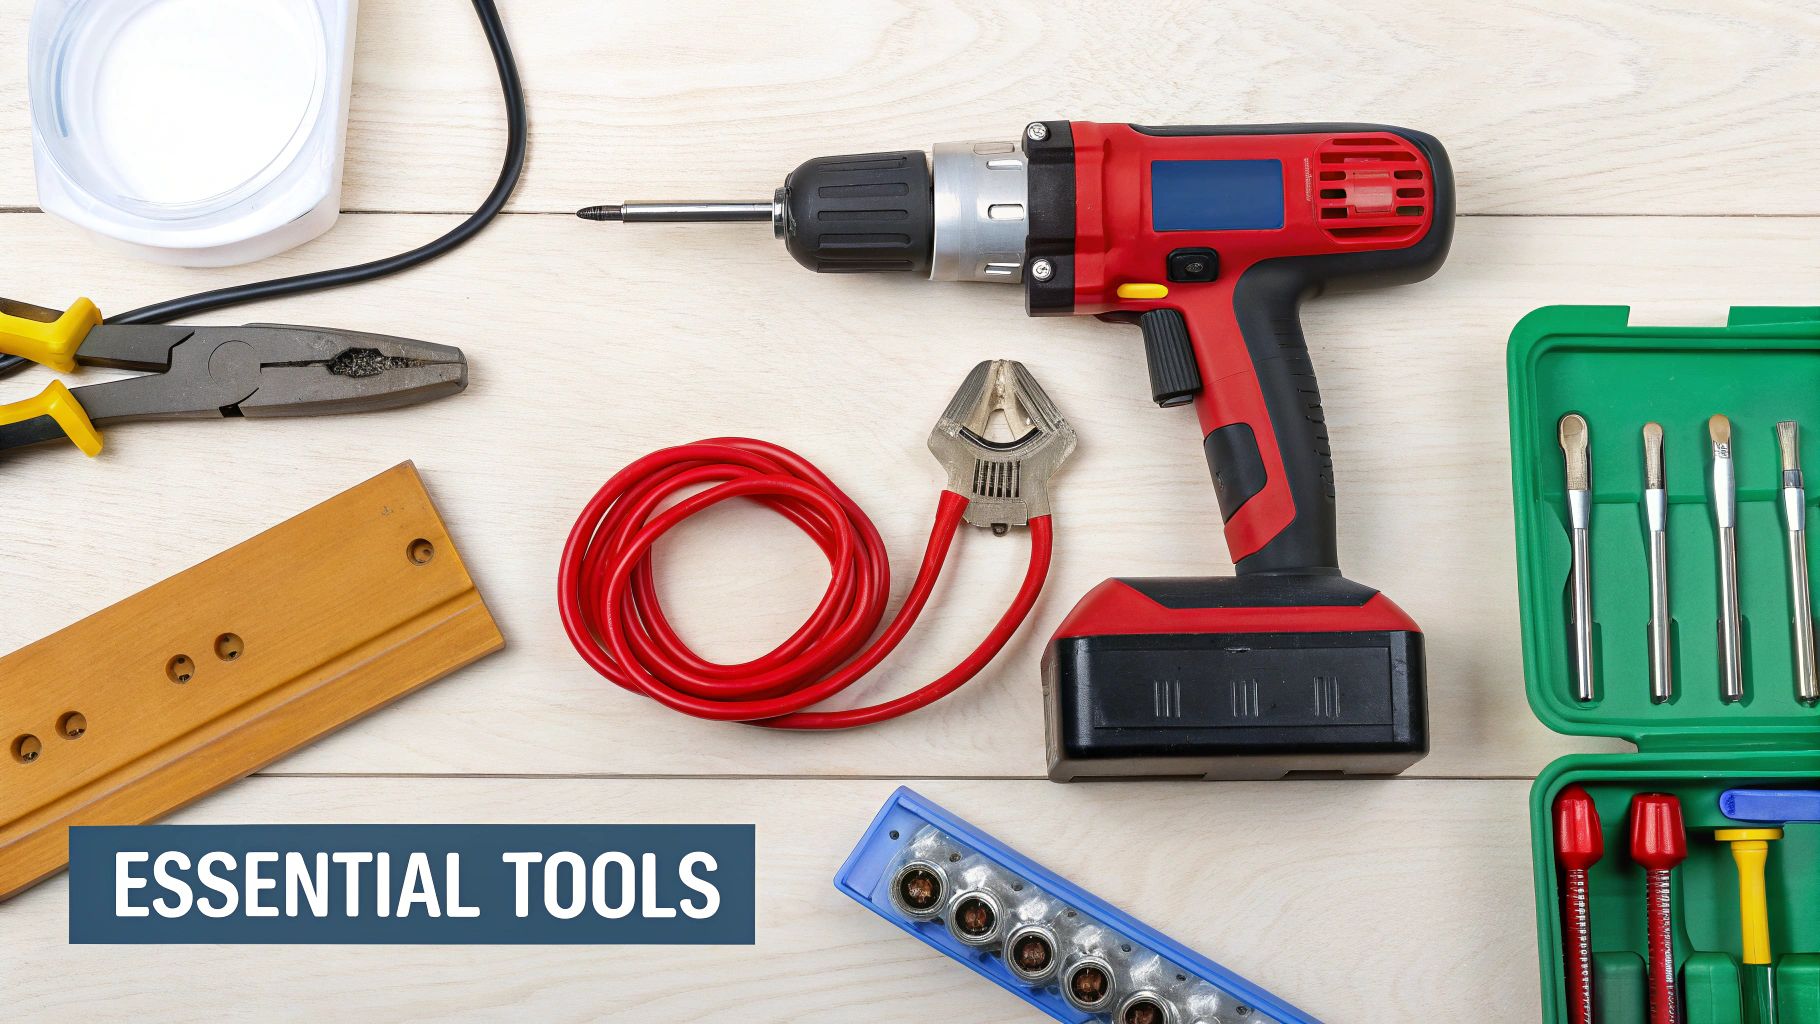
The Essential Toolkit for Window Motor Replacement
Think of this as your pre-flight checklist. While every car is a little different, these tools will get you through almost any power window motor replacement. Make sure you have these within arm's reach before you start.
- Non-Marring Trim Removal Kit: This is a must-have, not a nice-to-have. Prying on a plastic door panel with a flathead screwdriver will leave ugly, permanent marks. These plastic pry tools are designed specifically to pop clips without causing damage. Trust me, they're worth every penny.
- Socket and Ratchet Set: You'll definitely run into a handful of bolts. Most cars use common metric sizes like 8mm, 10mm, and 12mm. A few extensions for your ratchet will be a lifesaver for reaching bolts tucked away inside the door.
- Screwdriver Set: A decent set of Phillips and flathead screwdrivers is essential. You'll find screws hidden in the armrest, behind the door handle, and in the switch panel.
- Needle-Nose Pliers: Perfect for those finicky electrical connectors that don't want to let go. They're also great for maneuvering little clips or rods you might find attached to the lock mechanism.
A couple of things you probably already have around the house can make a huge difference, too.
A Pro Move: Before you start, grab a roll of painter's tape. Once you unbolt the window glass from the regulator, you have to hold it up somehow. A few strips of tape across the top of the door frame will hold the glass securely in the "up" position and won't leave a sticky mess behind.
Keep Your Workspace Organized
Discipline here pays off big time. The inside of your door is a collection of small, easy-to-lose screws, bolts, and plastic clips. Losing a single one can result in a mysterious and infuriating rattle down the road.
A simple magnetic parts tray is an inexpensive way to keep track of every fastener. As you take things apart, I recommend laying them out on a towel in the exact order you removed them. This creates a simple visual guide for putting it all back together, which is a huge help when you're ready to reassemble.
This is a repair you'll see more and more. The automotive power window motor market hit $9.4 billion in 2023 and is projected to grow to $15.6 billion by 2033—that’s a lot of cars needing this fix. If you're interested in the industry trends, you can check out the full automotive power window market research. Getting your tools and workspace sorted out first sets you up for a successful repair.
How to Safely Remove the Interior Door Panel
Alright, this is where the real fun begins: getting the interior door panel off. I've seen more people get frustrated at this stage than any other, but trust me, a little patience here will save you a world of hurt. If you rush this part, you're almost guaranteed to break a few of those brittle plastic clips or scratch your trim.
Every door panel I've ever worked on is held in place by two things: a handful of hidden screws and a bunch of plastic clips. The golden rule is to find and remove all the screws before you even think about prying the panel off. Get this right, and you're halfway home.
Locating Hidden Fasteners
You'd be surprised where manufacturers hide these screws. Before you grab a pry tool, put on your detective hat and give the panel a thorough once-over.
- Behind the Interior Door Handle: Check for a small plastic cover right behind the handle you use to open the door. A tiny flathead screwdriver is perfect for gently popping it off to reveal a screw.
- Inside the Armrest or Pull Cup: The little pocket where you grab the door to pull it shut is a classic hiding spot. You'll often find a screw at the bottom, sometimes buried under a small rubber mat you'll need to lift out first.
- Under the Power Switch Console: The plastic bezel holding your window and lock switches usually needs to come out. Pry it up gently, and you’ll almost always find one or two more screws underneath, holding the main panel to the door frame.
My Pro Tip: As you take each screw out, toss it into a magnetic parts tray. They're often different lengths and thread types, and trying to guess where each one goes during reassembly is a nightmare you don't need. Keep them organized.
Popping the Panel Clips Correctly
With all the screws out, it's clip time. I always start at a bottom corner of the door with a plastic, non-marring trim tool—metal tools will absolutely scratch your paint. Wedge the tool between the door panel and the metal frame until you feel it bump up against the first clip.
Now, give it a firm but gentle pry outward. You’re listening for a sharp "pop". That's the sound of success. Don't try to pull the whole panel off just yet. Just work your way around the bottom and up both sides, popping one clip at a time. The top edge of the panel almost always hooks over the window sill, so once the clips are free, you'll lift the entire panel straight up and off.
Disconnecting Wires and Releasing the Vapor Barrier
Hold on—don't just yank the panel away. It's still tethered to the door by a web of wires for your speakers, switches, and maybe a courtesy light. Support the panel with one hand (or a knee) and carefully disconnect each wiring harness. Most have a little plastic tab you need to press to release the lock.
Once the panel is free, you’ll be looking at a sheet of plastic or foam. This is the vapor barrier, and it’s critical for keeping rain and moisture out of your car's cabin. Don't just rip it off. Take a utility knife and carefully slice through the sticky black butyl sealant that holds it on. Only peel it back as far as you need to get to the window motor. This makes it super easy to press it right back into place later and maintain a perfect seal.
For a deeper dive with more examples, check out our comprehensive guide on how to remove a car door panel for more visuals and vehicle-specific tips.
Replacing the Power Window Motor
Alright, with the door panel off and the vapor barrier carefully peeled back, you're now looking at the inner workings of your door. This is where patience and a methodical approach really pay dividends. Your first job isn't to yank out the old motor—it's to make sure the window glass is secure.
If the window isn't already all the way up, do that now. Grab some strong painter's tape or even duct tape and run two or three strips over the top of the door frame, securing the glass on both the inside and outside. Trust me, this simple step is a lifesaver. It keeps the window from crashing down into the door when you remove the motor, which could easily break the glass or pinch your fingers.
Unbolting and Disconnecting the Old Motor
Time to find our culprit. The power window motor is a small, typically cylindrical unit that's bolted to the larger regulator assembly. You'll spot a wiring harness plugged right into it. Before reaching for any wrenches, disconnect that harness. You’ll usually find a small plastic tab that needs a firm press to release the connector. It can be a little stiff, so don't be afraid to give it a good squeeze.
Once the wiring is safely out of the way, you can turn your attention to the mounting bolts. Most motors are held on by three or four bolts, usually an 8mm or 10mm size. They can be tucked into some awkward spots, which is why a socket extension is an absolute must-have for this job. Carefully loosen and remove each bolt. I highly recommend keeping a magnetic tray handy so you don't lose them inside the door panel—that’s a headache you don’t need.
With the last bolt out, the motor might still feel stuck. Just give it a gentle wiggle to free it from the regulator's gear teeth. Then, carefully guide it out through the largest access hole in the door's metal frame.
This visual guide breaks down the core process of getting to the motor, from panel screws to electronic connectors.
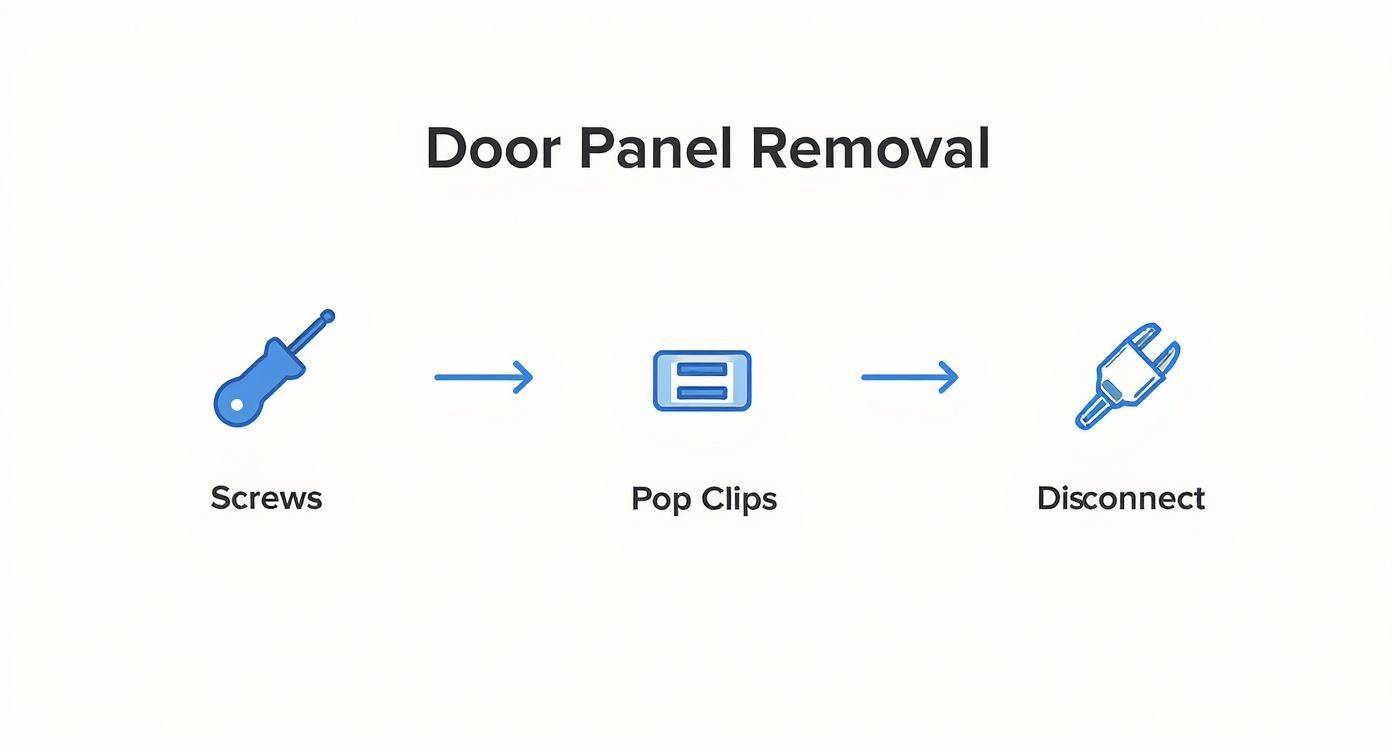
As the infographic shows, it’s a simple three-part process to get the panel off. A little bit of methodical work here sets you up for an easy motor swap.
Installing the New Power Window Motor
Putting the new motor in is pretty much the reverse of taking the old one out, but there are a couple of crucial points to get right.
First, carefully guide the new motor into position. The most important thing is to make sure its gear teeth mesh perfectly with the teeth on the window regulator. You should feel it slide smoothly into place. If you have to force it, something is wrong. Jamming it in can strip the brand-new gears before you've even powered it on.
Next, start all the mounting bolts by hand. This is non-negotiable. It ensures you don't cross-thread the bolts, which can completely ruin the mounting points on the regulator. Once they're all hand-tight, go ahead and snug them down with your ratchet. You want them firm, but there's no need to go crazy and overtighten them.
To make sure you've covered all your bases, here’s a quick checklist comparing the removal and installation process.
Old Motor Removal vs New Motor Installation
Use this checklist to ensure every removal step is properly mirrored during installation.
| Removal Step | Installation Checkpoint | Pro Tip |
|---|---|---|
| Secure Window Glass | Keep tape in place until the new motor is tested. | Double-check the tape's hold before you start unbolting anything. |
| Disconnect Wiring Harness | Reconnect harness to the new motor. | Listen for an audible "click" to confirm the connector is fully seated. |
| Unbolt Old Motor | Hand-tighten all bolts on the new motor first. | Use a magnetic socket or tray to avoid dropping bolts inside the door. |
| Separate Motor from Regulator | Ensure new motor's gear teeth mesh smoothly. | Wiggle the regulator arm slightly if needed to help align the gears. |
Following this simple reverse-order process ensures you don't miss a critical step on the way back.
Crucial Tip: Hold on! Before you even think about putting the door panel back on, you need to test your work. Temporarily plug the wiring harness into the new motor and then reconnect the main window switch. With the battery reconnected, run the window up and down a couple of times. A quick check now can save you the massive frustration of having to tear everything apart again.
It's no surprise that this is such a common repair. The global power window motor market is projected to grow from USD 13.01 billion in 2023 to nearly USD 18.68 billion by 2032. This isn't just a niche job anymore; it's a repair that both DIYers and pros are tackling more and more. If you're curious about the numbers behind this trend, you can find more details in this analysis of the automotive power window motor market.
Testing and Reassembling Your Door
https://www.youtube.com/embed/p-zFMHMIlWk
The new motor is bolted in, but hold on—don't get ahead of yourself. Slapping the door panel back on without testing your work is one of the most common mistakes I see people make. It’s a surefire way to turn a successful repair into a frustrating do-over.
This final phase is all about making sure the fix worked and putting everything back together for a professional, rattle-free finish.
Your first move is to temporarily plug the main power window switch back into its wiring harness. With the switch connected, go ahead and carefully reconnect the negative terminal on your car's battery. Now, with everything powered up, it's time for the moment of truth.
Performing the Critical Function Test
Hit the switch and run the window all the way down, then all the way back up. You're not just checking if it moves; you need to pay close attention to the details.
- Is the window moving at a healthy, consistent speed?
- Is the new motor quiet, or do you hear any grinding or straining sounds?
- Does the glass track straight and true, without binding or catching on anything?
If you get a smooth, quiet operation, you've nailed it. If the window doesn't move at all, double-check that you heard a solid "click" when you plugged in the motor and switch harnesses. A loose connection is a common culprit.
What if it moves in the wrong direction—up when you press down? This can happen with some aftermarket motors that have reversed polarity. The fix usually involves swapping the pins in the connector, but consult the motor’s instructions.
A Quick Note on Re-Initialization: Many modern cars need you to "re-learn" the window's limits after the battery has been disconnected. This reset is what makes the auto up/down feature work. Typically, it’s as simple as holding the switch in the "up" position for 5-10 seconds after the window is fully closed.
Putting Your Door Panel Back Together
Once you've confirmed the new motor is working perfectly, disconnect the battery’s negative terminal one more time. Safety first. Now you can start putting things back together, which is pretty much the reverse of how you took it all apart.
- Vapor Barrier: Carefully press the plastic sheet back into place. The original black butyl sealant is usually sticky enough to get the job done. If it’s lost its tack, it's worth adding a new bead of sealant to keep water from getting into your door.
- Electronics: Grab the door panel and reconnect all the wiring harnesses—switches, speakers, courtesy lights, the works. Give each connector a gentle tug to make sure it’s locked in securely.
- Hang the Panel: Hook the top lip of the door panel over the window sill first. This gets it into position. Then, line up the plastic clips with the holes in the door frame and give the panel a firm tap with the heel of your hand near each clip to pop them into place.
- Fasten the Screws: Finally, put all those screws you carefully set aside back where they belong. You’ll have them in the armrest, behind the door handle, and likely under the switch console.
With that last screw tightened, give the door panel a quick shake to check for any looseness or rattles. Reconnect your battery for the last time, and that's a wrap. You've just successfully learned how to replace a power window motor and brought your door back to life.
Common Questions About Window Motor Replacement
Even after you've wrapped up the job, a few questions might still be floating around in your head. When you're tackling a project like replacing a power window motor, a little extra insight always helps. Let's walk through some of the most common things people wonder about during and after this repair.
Getting the right answers can help you make better decisions and sidestep some of those rookie mistakes.
Should I Replace Just the Motor or the Whole Assembly?
This is the big one, and it's a classic DIY dilemma. On the surface, just swapping out the motor seems like the cheapest route, and often it is. But here's the catch: you absolutely have to inspect the regulator—that's the mechanism with the tracks and cables that actually moves the glass.
While you have the door panel off, look closely. See any frayed cables? Cracked plastic guides? A track that looks even slightly bent? If you spot any of that, don't hesitate. Replace the entire motor and regulator assembly as a single unit. Trust me on this one. Bolting a brand-new motor onto a worn-out, failing regulator is just asking to do the whole job over again in a few months.
For a deeper dive into your part options, our guide on OEM vs. aftermarket parts can help you figure out what makes the most sense for your car and wallet.
Remember, a window that won't roll up is more than just annoying—it's a real security problem. An open window is a welcome sign for thieves, making this repair essential for your overall car security system.
How Much Money Can I Save Doing This Myself?
A lot. The potential savings are pretty substantial here. A new power window motor or a complete assembly will typically run you somewhere between $50 and $150, depending on your make and model.
Now, if you were to take your car to a shop for the same repair, you'd be looking at a bill anywhere from $250 to $500, sometimes even more. The vast majority of that cost is pure labor. If you already have a basic set of hand tools, your only real expense is the part itself, meaning you can easily save a few hundred dollars.
Why Does My New Motor Move the Window Backward?
This one trips a lot of people up, but don't worry—it’s a surprisingly common hiccup, especially with some aftermarket parts. If your window goes down when you press "up," it just means the motor's polarity is reversed.
Some replacement motors are designed for this and have a reversible connector you can just flip around. If yours doesn't have that feature, you may need to carefully swap the two wires leading into the motor's connector. Before you get the wire cutters out, though, triple-check that you bought the right part. Motors are almost always specific to a door (e.g., "front driver side") and are not interchangeable.
What Is a Window Relearn Procedure?
Many modern cars need you to perform a "relearn" or "re-initialization" process anytime you replace the motor or even just disconnect the battery. This simple procedure teaches the car's computer the window's exact fully open and fully closed positions.
Without this step, your one-touch auto up/down feature probably won't work. The process is usually very straightforward: you hold the switch in the "up" position for a few seconds after the window is fully closed, then do the same in the "down" position. Your owner's manual will have the specific sequence for your vehicle.
For guaranteed-to-fit power window motors and regulators engineered to last, trust T1A Auto. We offer premium aftermarket parts with free shipping over $75 and a lifetime warranty on many components. Find the right part for your vehicle today at https://t1aauto.com.
