


So, your tailgate latch is acting up. Don't worry, figuring out how to fix it usually starts with a simple check for things like debris, a need for lubrication, or a rod that's popped loose inside the tailgate panel. More often than not, a quick visual once-over and a minor adjustment are all it takes to get things working smoothly again. Of course, some problems are a bit more stubborn and might mean you need to replace the whole latch assembly.
How to Quickly Figure Out What’s Wrong With Your Tailgate Latch
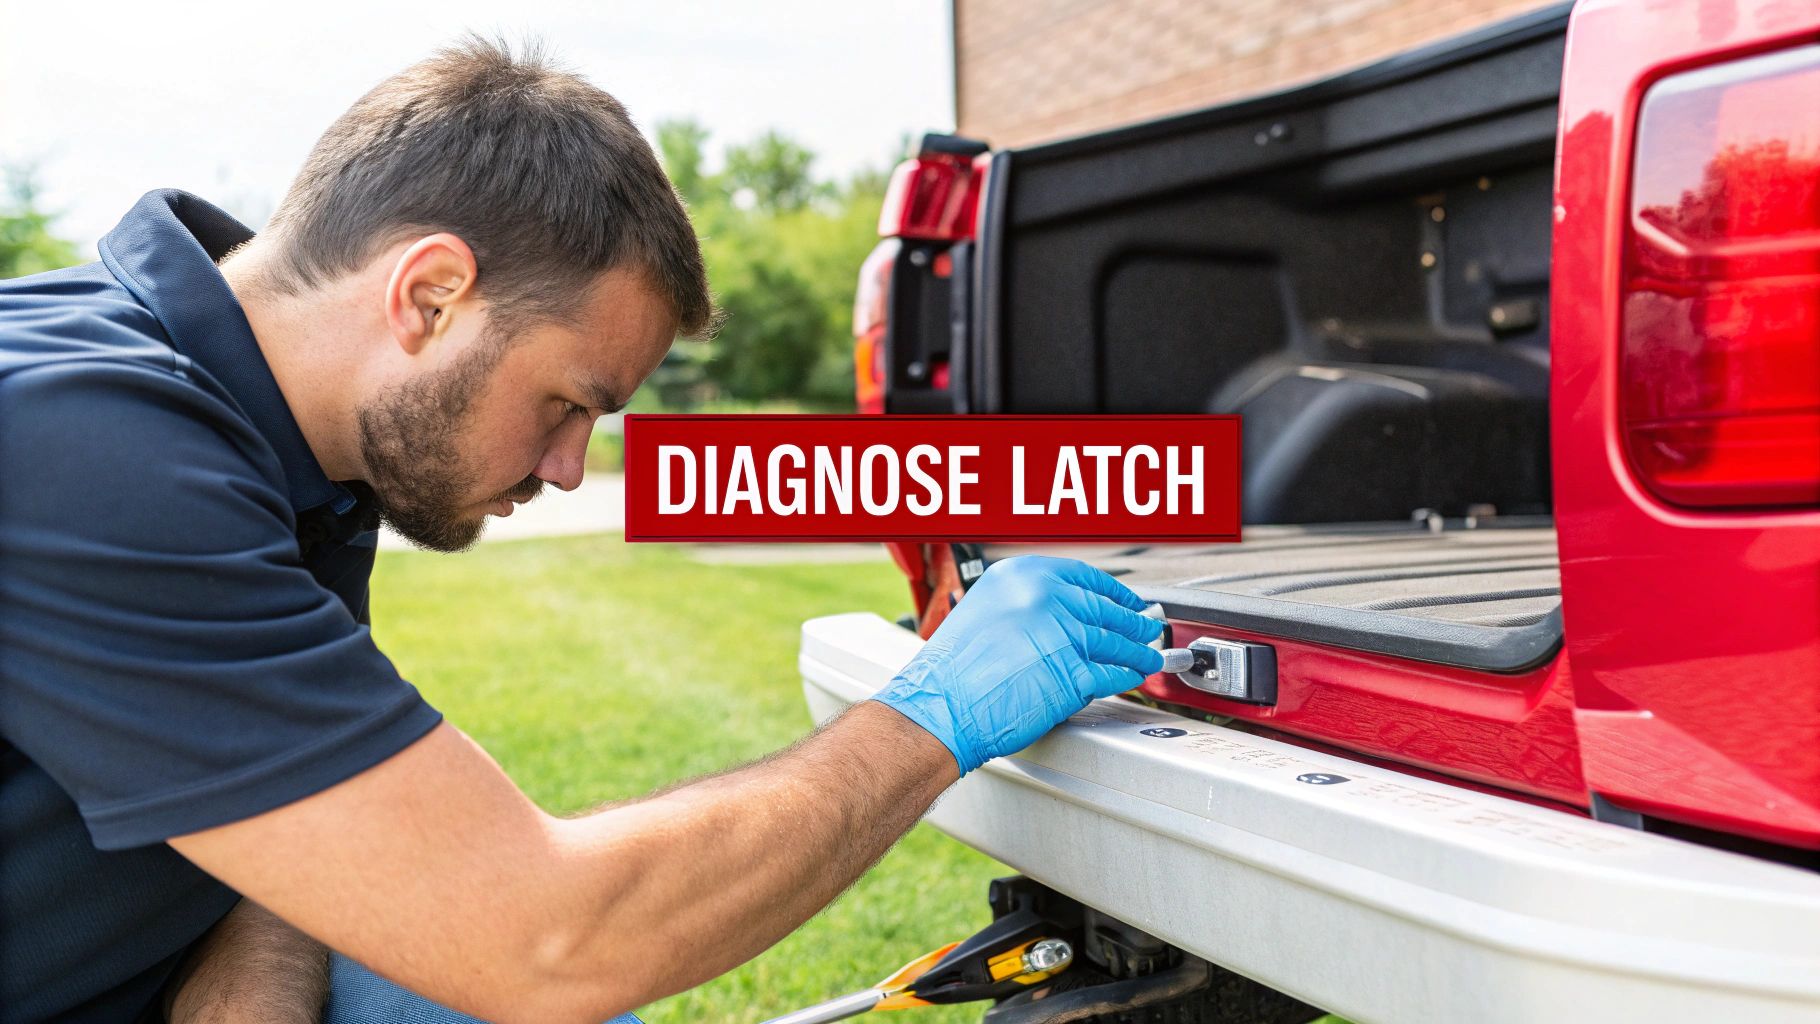
Before you start pulling out tools, let’s play detective and pinpoint the real problem. A bad tailgate latch can manifest in a few different ways, from being jammed shut to making a racket every time you hit a bump. Nailing the diagnosis first saves you a ton of time and helps you avoid buying parts you don't actually need.
And trust me, you're not alone in this. This is more than just a minor annoyance; it’s a super common headache for truck and SUV owners. The global market for automotive tailgate latches hit a staggering $6.46 billion USD in 2023, which tells you just how many of these things are out there. In fact, some data shows that roughly 1 in 5 pickup trucks and SUVs will run into latch trouble within their first five years on the road. You can dig into the automotive tailgate latch market trends and statistics to see the full picture.
Getting to the Root of the Problem
Think about the clues your tailgate is giving you. Each symptom points to a different culprit, guiding you straight to the most likely fix. For instance, a handle that feels floppy and loose is a totally different issue than a latch that just won't grab the striker.
Here are the most common problems I see day-to-day:
- The Tailgate Won't Open: You pull the handle, but it feels limp, or you hear nothing happening inside. This almost always means an internal rod or cable has broken or disconnected.
- The Tailgate Won't Stay Shut: It just bounces back open or refuses to click securely into place. This is the classic sign of a jammed mechanism or a striker that’s out of alignment.
- A Stuck Handle: If the handle itself is stiff or completely frozen, the problem is probably rust, caked-on grime, or just a lack of grease right there in the handle assembly.
- Rattling Noises While You Drive: That constant clunking sound from the back means the latch isn’t holding the tailgate tight against the striker, which usually points to wear and tear or poor alignment.
Common Tailgate Latch Symptoms and Probable Causes
To make it even easier, here’s a quick table to match the issue you're seeing with its most likely cause and the first action you should take. This simple step can often solve the problem without you ever needing to pull the tailgate apart.
| Symptom | Potential Cause | Your First Action |
|---|---|---|
| Tailgate is completely stuck shut | Disconnected internal latch rod or cable | Climb into the truck bed to remove the inner panel for manual release |
| Handle feels loose with no resistance | Broken plastic clip holding the control rod | Access the internal mechanism to inspect and replace the clip |
| Latch clicks but doesn't catch | Misaligned striker plate or worn latch claw | Clean the latch and striker, then check and adjust the striker's alignment |
| Mechanism is stiff or gritty | Dirt, debris, or rust inside the latch | Spray cleaner and then apply white lithium grease or silicone lubricant |
Starting with these simple checks will help you narrow down the issue quickly. If a good cleaning and a minor adjustment don't do the trick, then it's time to dig a little deeper.
Getting Your Tools in Order for the Repair
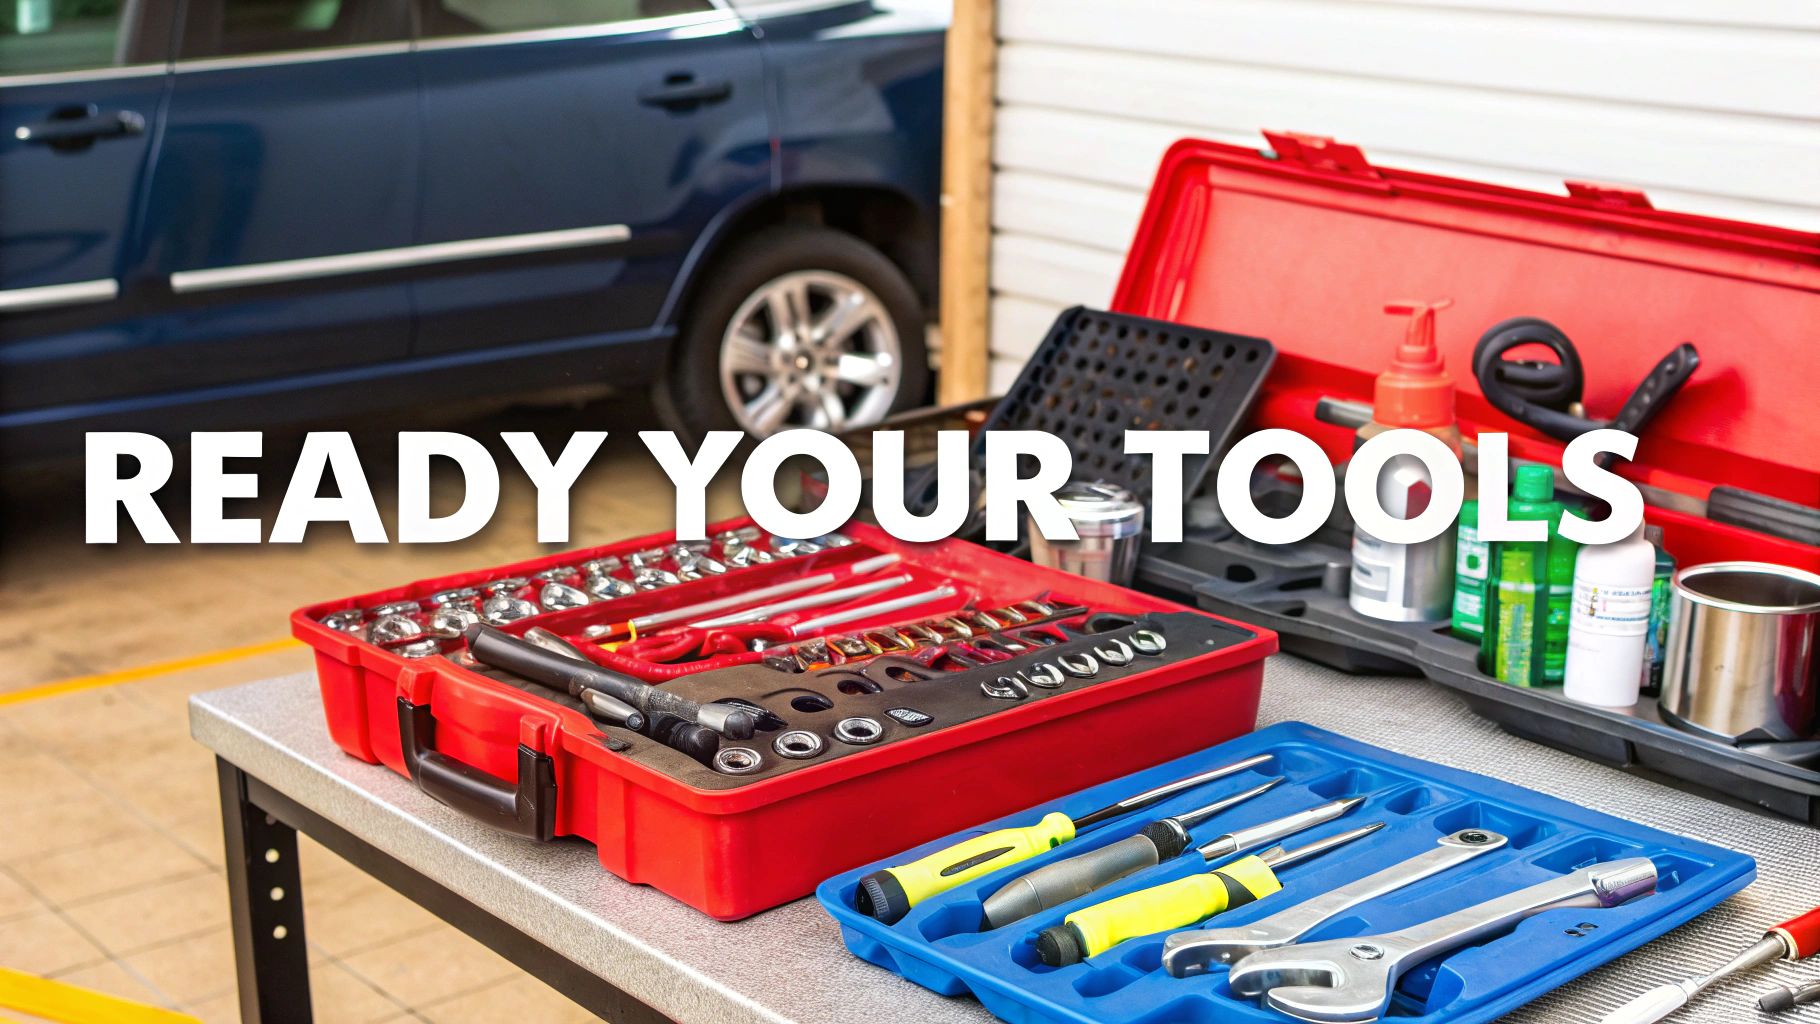
Trying to tackle a tailgate latch repair without having the right tools ready is a classic recipe for frustration. It turns a simple job into a pain. Before you even think about touching the tailgate, take a few minutes to gather your gear. Trust me, this little bit of prep work will save you from a major headache later.
The idea here is to fix the problem without creating new ones. I've seen it a hundred times: someone grabs a flathead screwdriver to pry off the interior trim panel and ends up with deep gouges in the plastic and a handful of broken clips. This is exactly why a dedicated set of nylon trim removal tools is a lifesaver. They’re designed to be tough on clips but gentle on your truck’s plastic and paint.
The Essential Toolkit (And a Few Extras)
You don't need a professional-grade workshop for this, but a few specific tools will make the job go much smoother, especially if you run into a stubborn part.
Here’s what you should have within arm's reach:
- Socket Set: A basic metric set is usually all you need to unbolt the latch assembly itself.
- Pliers: You'll want both needle-nose for those tricky little clips and standard pliers for general grabbing and holding.
- White Lithium Grease: Don't even think about skipping this. It's the best long-term lubricant for the latch mechanism and will keep your new or repaired part moving freely for years.
- Multimeter: This is a non-negotiable if you're dealing with a power tailgate. It's the only real way to know if an electrical fault is the root of your problem.
A common mistake is thinking you need a massive, expensive tool chest. For most latch jobs, a basic mechanic’s toolkit that you might already have in your garage will cover 90% of what you need.
Finally, when it comes time to buy the replacement latch, you've got a choice to make between an OEM part from the dealer or a solid aftermarket one. To figure out what makes sense for your truck and your wallet, it helps to understand the differences between OEM vs. aftermarket parts. Getting the right part is just as important as having the right tools.
Getting Eyes on the Latch Mechanism
Alright, you've got your tools, now it's time to dig in and see what's actually happening inside that tailgate. This is where you’ll confirm your suspicions and pinpoint the real problem. Taking off the inner panel isn't rocket science, but you need to go slow. I’ve seen plenty of simple jobs turn into headaches because someone got impatient, snapped a few plastic clips, and scratched up their paint.
First thing's first: protect your truck. Lay down a blanket or a big piece of cardboard. With the tailgate down, start hunting for the screws that hold the inner access panel on. You'll usually find them around the edges, and sometimes they're sneakily hidden under the handle's plastic trim piece, or bezel. If so, grab your trim removal tool and gently pry that bezel off.
With the screws out, the panel is only held on by a row of plastic clips. Don't just start yanking on it. Pick a corner and carefully slide your nylon pry tool underneath, working your way around the edge. Apply firm, steady pressure, and you’ll hear them pop free one by one. Take your time here—those clips get brittle with age and love to break.
This graphic lays out the basic flow for getting inside the tailgate and finding the source of the trouble.
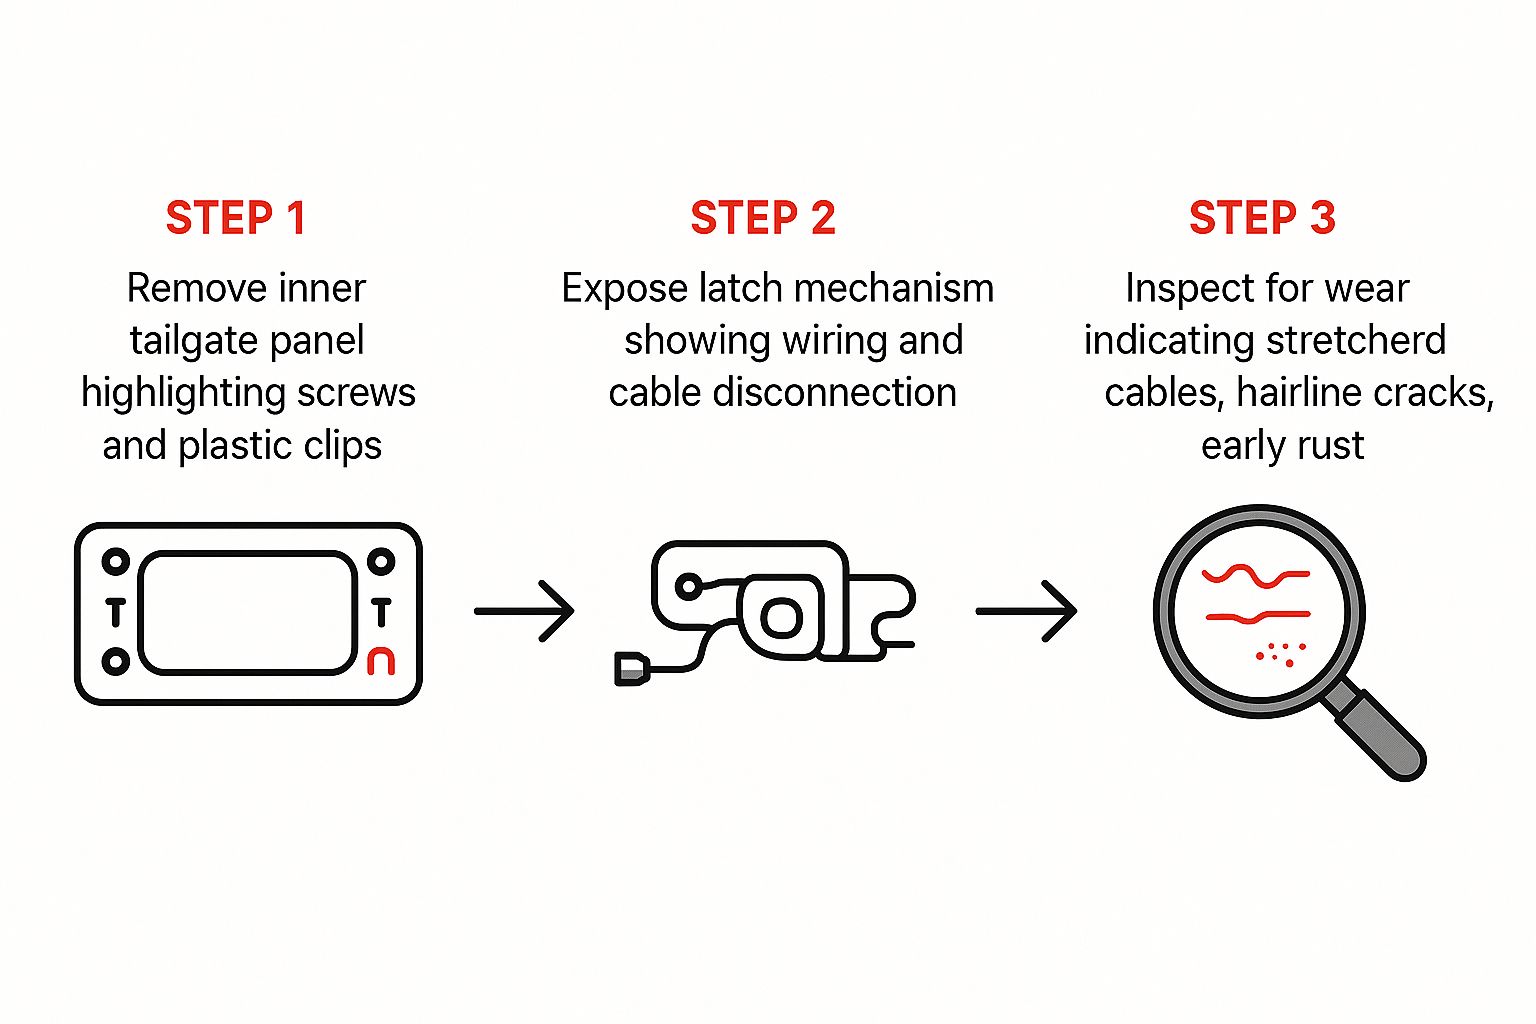
As you can see, the process boils down to careful disassembly, a thorough inspection, and then the actual fix. Skipping straight to the repair without a good look is just asking for trouble.
What to Look for Inside the Tailgate
Once the panel is off, you’ll have a clear view of the latch's inner workings. If your truck has a backup camera or power locks, you’ll also see some wiring. Be gentle when disconnecting these. There’s usually a small tab on the connector you press to release it. Whatever you do, don't pull on the wires themselves.
Now for the real inspection. Look at everything, not just for one big, obvious broken part. The goal is to spot any little signs of wear and tear that could cause another failure a few months from now.
Here’s what I always check:
- Control Rods and Cables: These are the lifelines connecting the handle to the latches on either side. Are they bent, or have they popped out of place? A very common point of failure is the little plastic clips that hold them. Check for cracks or breaks.
- The Latch Assembly: Look closely at the main latch body itself. I'm talking hairline cracks in the plastic housing or any serious rust buildup on the metal bits.
- Springs and Levers: Give the handle a pull and watch everything move. Does it operate smoothly, or does it look gritty and stiff? A weak or busted spring is a classic reason why a latch won't snap back into place correctly.
A tell-tale sign I often see is a "mushy" handle feel. The latch might still work, but it doesn't feel crisp. This is almost always caused by a control rod clip that’s not completely broken but has developed just enough slack to absorb the handle’s movement before it can fully unlatch the tailgate.
Mechanical vs. Electronic Latches
It's also crucial to know what kind of system you're working with. Traditional mechanical latches are usually straightforward—a bent rod or a broken clip is easy to spot and fix. But newer electronic latches, now found in over 30% of new vehicles in developed markets, add a layer of complexity. These systems often need a diagnostic tool to be properly reset or replaced after the work is done.
Considering the average professional repair can run anywhere from $150 to $400, doing it yourself can save you a good chunk of change. If you're curious about these evolving systems, you can learn more about the trends in the tailgate latches market.
Once you've looked over every component and found the culprit—whether it's a cheap plastic clip, a bent rod, or the entire assembly—you'll know exactly what you need to do to get it fixed right.
Getting to Work: The Latch Repair or Replacement
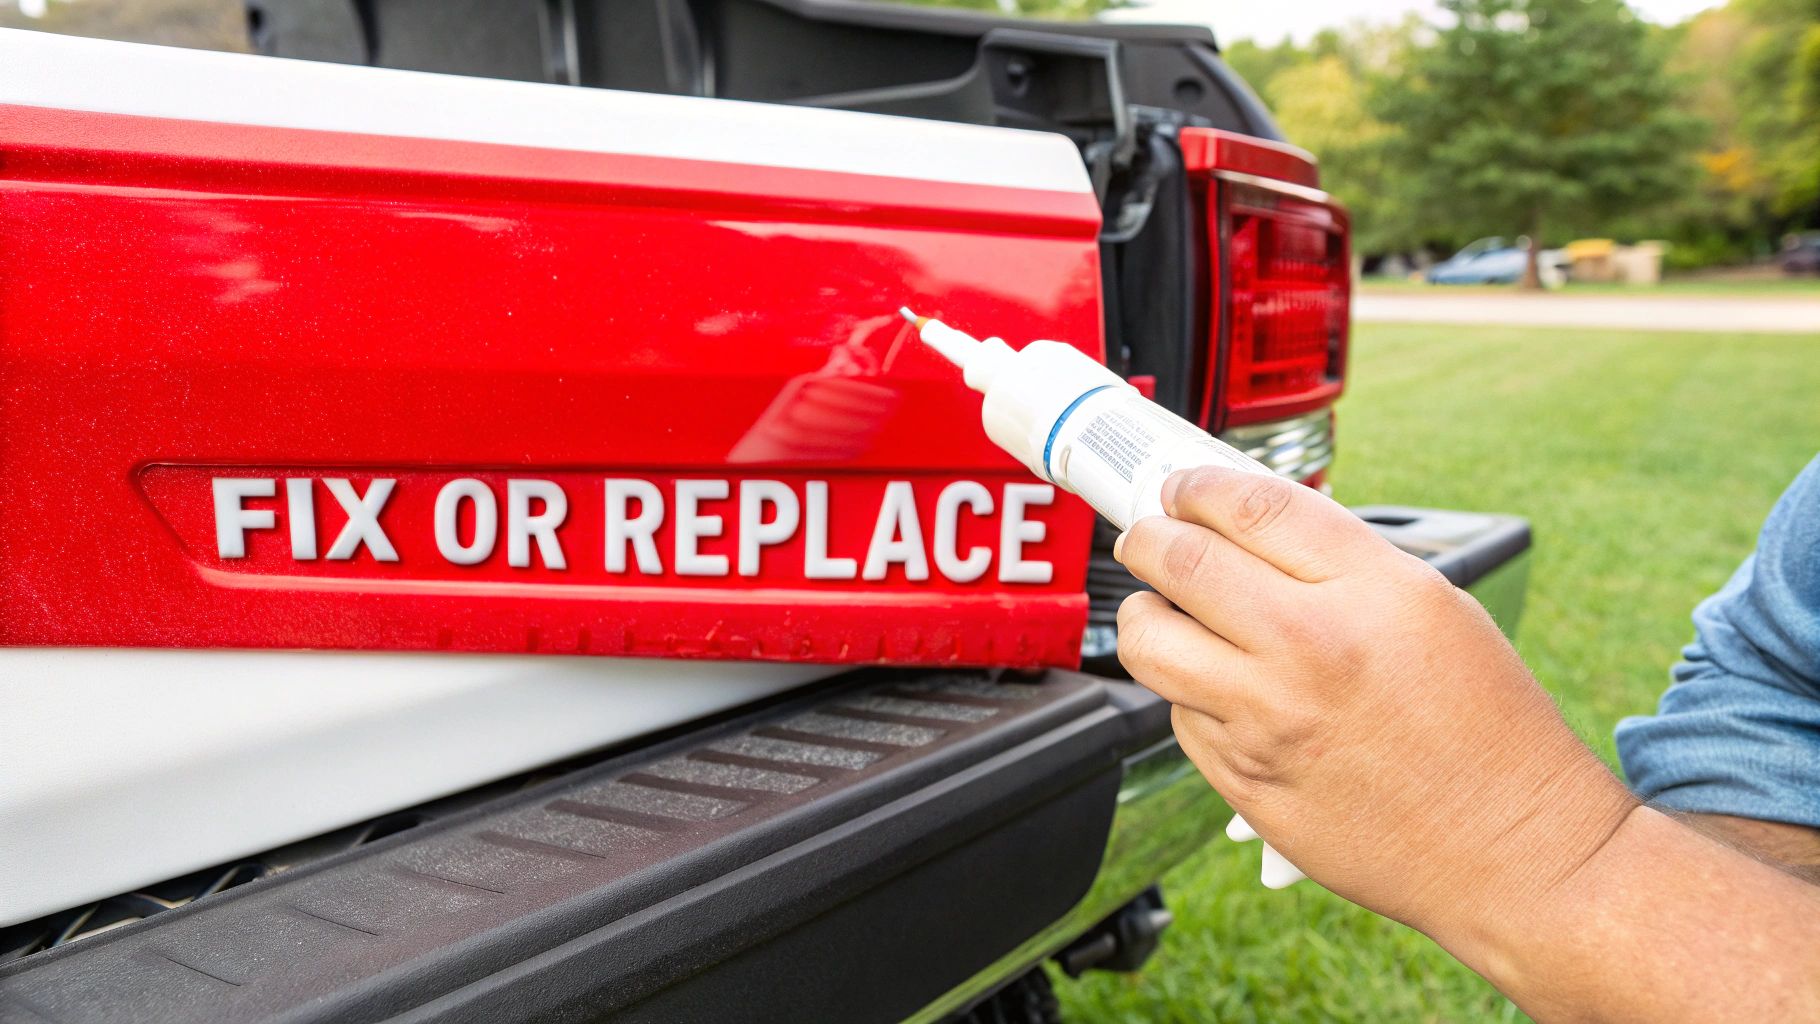
Alright, with the access panel off and the problem in plain sight, it’s time to get your hands dirty. What you do next all depends on your diagnosis—you could be looking at a quick clean-and-lube job, a simple rod adjustment, or a full-blown latch replacement. We’ll walk through each scenario so you can get your tailgate working like new.
And if you’re dealing with this, you’re not alone. A 2023 analysis of service records in the U.S. found that around 12% of all light truck and SUV service visits involve some kind of latch work. That number jumps to nearly 18% for vehicles over five years old, which tells you just how common this wear-and-tear item is. For those who like the nitty-gritty details, you can read more about the global car door latch market.
The Quick Fix: Cleaning and Lubricating a Stiff Latch
More often than not, a latch isn't broken—it's just gunked up. If you found a mechanism that's gritty, slow, or showing a bit of surface rust, a good cleaning is the first order of business. This is the easiest fix by far and can solve a lot of sticky handle problems.
Grab a can of brake cleaner or a good degreaser and spray it directly into the latch mechanism. Don't be shy with it. Work the handle back and forth a few times to get the cleaner into all the little crevices, breaking up years of dirt and dried-up grease. Use a shop rag to wipe away the grime as it drips out.
Once the parts are clean and dry, the key is using the right lubricant. I always reach for white lithium grease. It sprays on thin to penetrate the mechanism, then thickens up to provide lasting protection against moisture and friction. A few squirts on all the pivot points, springs, and contact surfaces is all it takes.
The Common Culprit: Adjusting Rods and Clips
Did you find one of the metal control rods just dangling there, disconnected from its plastic clip? Bingo. This is one of the most common failure points I see, and it's why your handle suddenly feels like it's attached to nothing.
If you’re lucky, you can just snap the rod back into its clip. More often, though, the plastic clip itself is the problem—they get brittle with age and break. The good news is these clips are dirt cheap and available at any auto parts store. Pop the old one out and snap a new one in place.
Sometimes the rods are connected just fine, but they've developed slack over time, making the handle feel mushy. Many of these rods have threaded ends that let you make small adjustments to tighten things up and restore that crisp, responsive feel.
Pro Tip: Before you even think about putting that access panel back on, test everything. And I mean everything. Work the handle, operate the latches with your fingers, and watch the whole mechanism move. Make sure it all returns to the "home" position without a fight. This five-second check can save you the headache of tearing it all apart again.
The Full Swap: Executing a Latch Replacement
If you found a crack in the housing, a bent metal tab, or an internal part that’s clearly failed, cleaning and adjusting won't do any good. A full replacement is your only move. It sounds like a big job, but it's really just a simple unbolt-and-swap process.
Start by disconnecting any control rods and electrical connectors still attached to the old latch. Next, grab your socket wrench and remove the bolts holding the latch assembly to the tailgate frame. With those out, the old part should come right off.
Line up the new latch and start threading the mounting bolts by hand. This is a crucial step to avoid cross-threading, which can ruin your whole day. Once they’re all started, tighten them down snugly. Reconnect the control rods and any wiring.
This is where using a quality replacement part really pays off. For popular trucks, you can find a solid Silverado or Sierra tailgate latch replacement that's built to last longer than the original.
With the new latch installed, do one final function check. Close the tailgate and listen for that satisfying "clunk." Open it and make sure it releases smoothly. If you have a power lock or a backup camera in the handle, test those now, before you put the access panel back on.
Overcoming Common Repair Setbacks
https://www.youtube.com/embed/nJWnCPiDTAg
Even when you’ve got the right parts and a good guide, a seemingly simple repair can hit a snag. I’ve been there. A bolt seizes up, or the new latch just doesn’t feel right, and suddenly your quick project turns into a headache. But don't worry—most of these issues are just minor bumps in the road, not dead ends.
One of the most frequent frustrations I see is dealing with stubborn, rusted hardware. You get your wrench on a mounting bolt, put some muscle into it, and… nothing. It’s completely fused. Before you go any further and risk stripping that bolt head, your best friend is a can of penetrating oil.
Give the bolt a generous spray, making sure to get it right on the threads, and just walk away for 15-20 minutes. Seriously, let it do the work. That time allows the oil to creep into the threads and break the rust's grip. When you come back, a few sharp taps on the wrench with a hammer can help shock the threads and break it loose for good.
Fine-Tuning Your Tailgate Alignment
Another classic "what gives?" moment happens after you've installed the new latch. You go to close the tailgate, and it doesn't sit flush, or worse, it rattles every time you hit a bump. This is almost never an issue with the latch itself. The real culprit is usually its alignment with the striker plate—that U-shaped metal bar it catches on the truck bed.
Getting this alignment perfect is more art than science, but it's not difficult. Just loosen the striker's mounting bolts until it has a little bit of play. Don't take them all the way out. Then, you can make small adjustments with a rubber mallet.
- Tailgate too high or low? Tap the striker up or down.
- Doesn't close tight enough? Nudge the striker inward, toward the bed.
- Hard to shut? Move the striker just a fraction outward.
Make one tiny adjustment at a time, then snug the bolts and test the fit. A little patience here will reward you with that solid, factory-perfect close and eliminate those annoying rattles.
Keep in mind, sometimes a rattle has nothing to do with the latch. If you've perfected the alignment and still hear a noise, check your tailgate cables. Worn-out cables can allow for just enough slop to cause a rattle. A fresh Toyota Tundra tailgate cable replacement set can often be the simple fix for that lingering sound.
Post-Repair Troubleshooting Checklist
So, you’ve done everything by the book, but the latch still won’t work. Before you start tearing it all apart again, take a breath and run through this quick mental checklist. It’s saved me from redoing a job more times than I can count.
- Check the Power. If you have a power lock, is the electrical connector clicked in all the way? A connection that looks good but isn't fully seated is a common oversight.
- Look at the Rods. Are all the control rods and cables snapped securely into their plastic clips? Make sure none of them are bent or binding on a piece of the tailgate structure.
- Inspect the Handle. Is it possible a small piece inside the handle assembly slipped out of place when you were putting it back together?
Going through these simple steps first can often expose a minor error, saving you a whole lot of extra work.
Answering Your Top Tailgate Latch Questions
So, you've wrapped up the repair, but a few questions are probably rattling around in your head. It's totally normal. Getting these last few details sorted out is what separates a good fix from a great one. Let's dig into the common things people ask after they've learned how to fix a tailgate latch.
How Much Money Did I Just Save?
This is the big one, right? Let's talk numbers. Buying a replacement latch yourself can set you back anywhere from $30 for a simple mechanical one to over $200 if you’ve got a more complex electronic setup. Now, if you'd taken it to a shop, you would have seen another $100 to $250 added on for labor.
Do the math—you just put a couple hundred dollars back in your pocket. That's a pretty good payoff for an afternoon's work.
What’s the Best Lubricant to Use?
I get this question all the time: "Can I just use WD-40?" Look, WD-40 is great for breaking a rusty bolt free, but it's not a true lubricant. It dries out and can actually attract gunk, making your latch sticky again down the road.
You'll get much better, longer-lasting results with a proper lubricant. I always recommend one of these two:
- White Lithium Grease: This stuff is my go-to. It creates a thick, waterproof barrier that sticks around and keeps things moving smoothly.
- Silicone Spray: A fantastic, cleaner alternative. It lubricates just as well but doesn't attract nearly as much dust or dirt.
Expert Tip: Using the right lubricant isn't a small thing—it's what makes your repair last. A quick spray of white lithium grease means you won't be dealing with this same problem again in six months.
What About Power Locks and Annoying Rattles?
If you saw that electrical connector and got a little nervous, don't be. A power lock feature doesn't really complicate the job; it just adds one extra, simple step. You just need to gently unplug that connector before you pull the old latch out.
Here's a pro tip I've learned from experience: before you even think about putting that inner tailgate panel back on, grab your key fob and test the lock. It'll save you a ton of frustration.
And what if you fix the latch but the tailgate still rattles? This is almost always one of two things: the striker is out of alignment, or the rubber bumpers are shot. Check that U-shaped striker on the truck bed first—sometimes it just needs a little nudge up or down. Then, take a look at the rubber bumpers on the tailgate. If they’re flattened or missing, they can't create the pressure needed to keep things tight and quiet.
For a guaranteed fit and lasting performance on your next repair, trust T1A Auto for premium aftermarket parts that are built to last. Find the exact tailgate latch you need and get the job done right.
