


A successful window regulator replacement starts long before you ever pick up a tool. Honestly, the key to avoiding a major headache is all in the prep work. You need to be sure the regulator is actually the problem and then get the right part and all your tools lined up before you start.
This little bit of planning is what turns a potentially frustrating afternoon into a smooth, satisfying repair.
Gathering Your Tools and the Right Part
Before you spend a dime, let’s do a quick diagnosis. It'll save you time and maybe some cash. Go ahead and press your window switch.
Do you hear the motor whirring, grinding, or making some kind of effort, but the glass isn't moving? That's the classic sign of a busted regulator. If you get complete silence, though, your focus should shift to an electrical gremlin—maybe the switch itself, a blown fuse, or a dead motor.
Choosing the Correct Replacement Regulator
Okay, so you've confirmed the regulator is toast. Now comes the critical step: finding the right replacement. Window regulators are definitely not a one-size-fits-all part. They are incredibly specific to your vehicle's make, model, and year. You’ll mostly run into two main types: the cable-driven style and the older scissor-style mechanism.
That classic X-Arm, or scissor-style, regulator is still a huge part of the market. Its simple, durable design has kept it in service on countless models for decades. It's a reliable workhorse.
When you're shopping, you’ll have to decide between OEM (Original Equipment Manufacturer) and aftermarket parts. If you're leaning toward a used OEM part to save money, a good guide to auto parts recycling can point you in the right direction. That said, many of today's high-quality aftermarket regulators offer fantastic value and longevity. It really helps to understand the key differences, and you can learn more about that here: https://www.t1aauto.com/blogs/t1-auto-blogs/oem-vs-aftermarket-parts
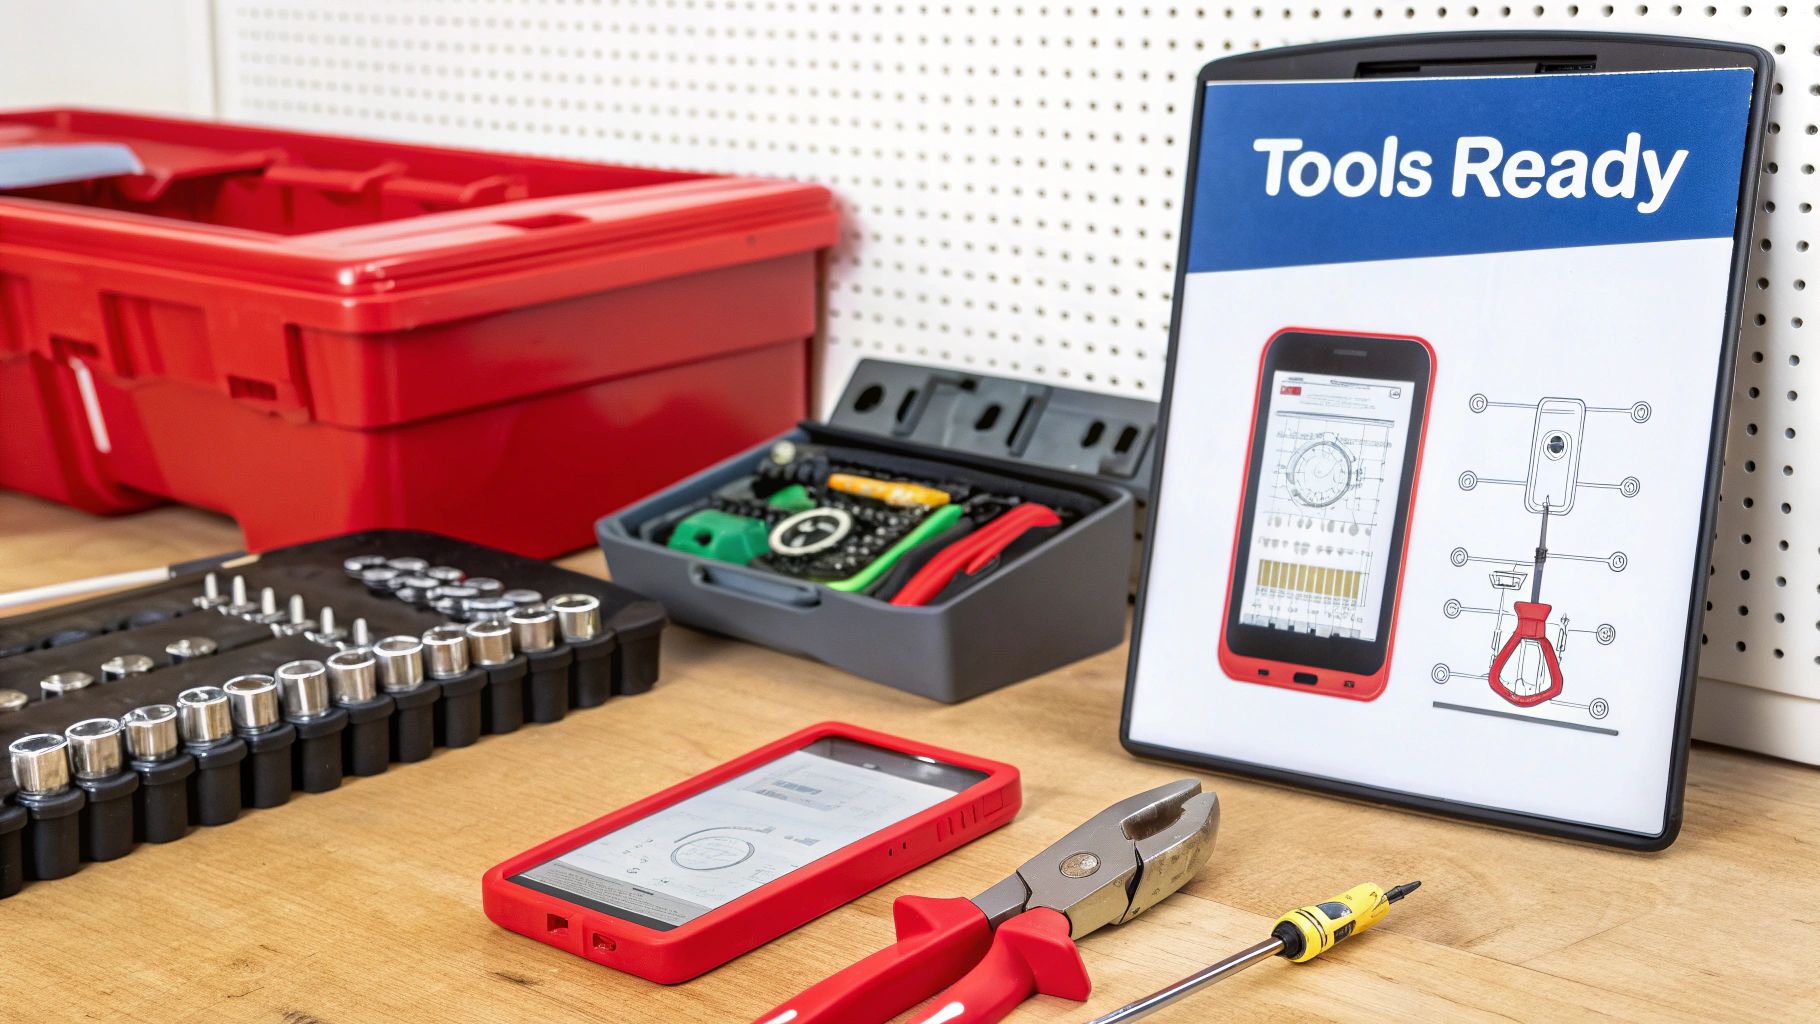
Essential Tools and Materials Checklist
I can't stress this enough: get all your tools ready before you start. There's nothing worse than having a door panel hanging off while you run to the auto parts store for a tool you forgot. You don’t need a massive professional toolbox, but a few specific items are absolutely essential for a clean job.
The table below breaks down exactly what you'll need to have within arm's reach.
| Tool/Material | Purpose | Pro Tip |
|---|---|---|
| Socket & Ratchet Set | For removing bolts on the door panel and regulator (typically 8mm, 10mm, 12mm). | An extension can be a lifesaver for reaching recessed bolts inside the door. |
| Screwdrivers | Phillips and flathead for various screws and sometimes for prying clips. | A magnetic tip screwdriver will prevent you from dropping screws inside the door panel. |
| Plastic Trim Tools | Crucial for prying off the door panel and trim pieces without causing damage. | Start with the widest, flattest tool to distribute pressure and avoid leaving marks. |
| Painter's Tape | To hold the window glass securely in the "up" position once it's loose. | Use several wide strips for a strong hold. Duct tape is too aggressive and can damage paint or tint. |
| Needle-Nose Pliers | Excellent for unplugging stubborn electrical connectors and manipulating small clips. | They're also great for retrieving any screws you accidentally drop inside the door. |
| Work Gloves | Protects hands from surprisingly sharp metal edges inside the door cavity. | A good-fitting pair will still allow you to handle small bolts and clips easily. |
With these tools laid out and ready to go, you're setting yourself up for a much smoother installation process from start to finish.
My Personal Tip: Seriously, don't try to use a flathead screwdriver to pop off your door panel. I've seen it a hundred times, and it almost always ends with a nasty scratch or a cracked piece of plastic. A dedicated set of plastic trim tools costs next to nothing and is the single best investment you can make for a damage-free repair.
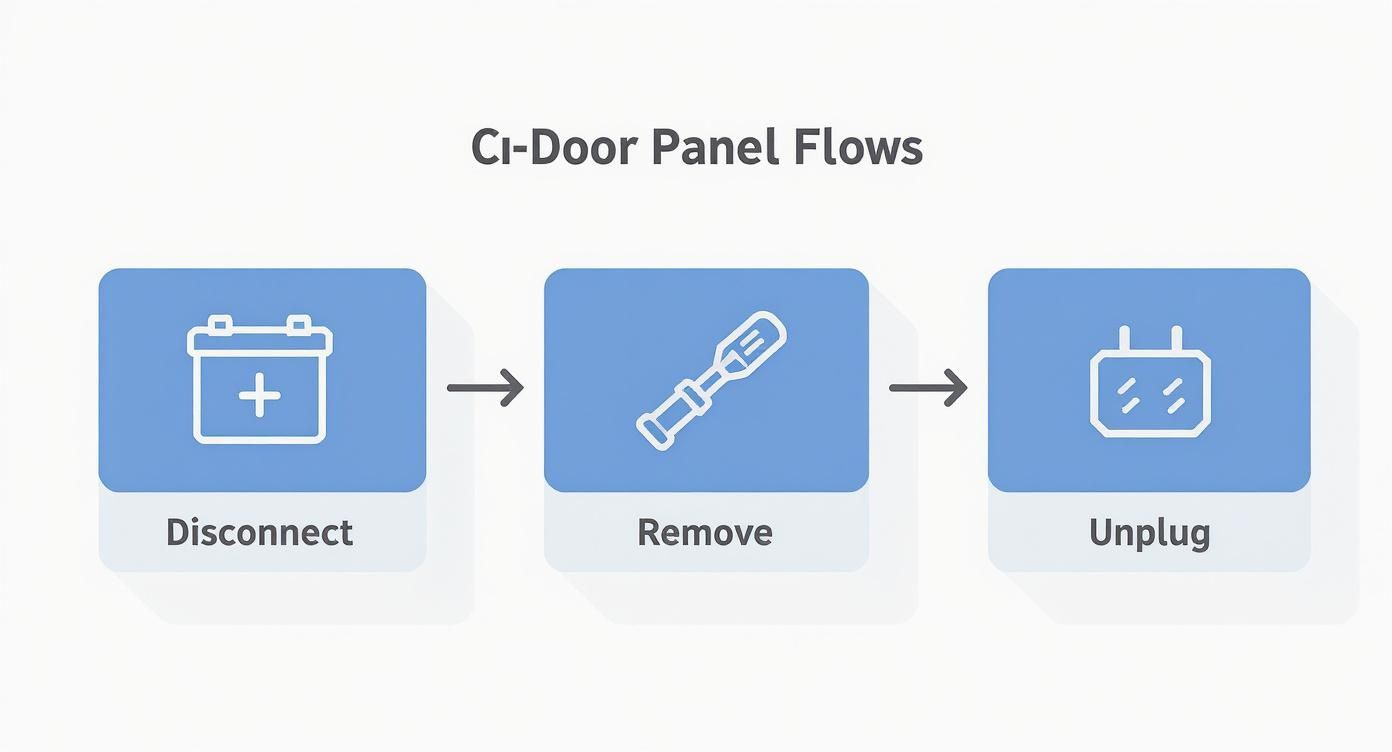
Getting Inside Your Car Door Panel Safely
Before we dive into the window regulator installation itself, let's talk about getting that door panel off without breaking anything—including yourself. Safety first, always.
The very first thing you should do is disconnect the negative battery terminal. This simple step is non-negotiable. It kills power to the whole system, which prevents accidental shorts and, more importantly, keeps the side airbag from deploying in your face. Trust me, you don't want that surprise. I also recommend throwing on a pair of gloves and some safety glasses. You'll be reaching into a space with plenty of sharp metal edges.
Finding All Those Hidden Fasteners
Car manufacturers love to hide screws. You'll almost never see them all in plain sight. Grab a small flashlight and start hunting. They're often tucked away under decorative caps, behind door pull handles, or deep inside armrest pockets.
A few common hiding spots include:
- Screws concealed by small covers in the door pull area.
- A fastener located behind the interior door handle trim.
- Bolts at the very bottom of the door map pocket.
Every car is a little different. For instance, a 2016 Honda Civic has three screws hiding right under the window switch trim piece. You have to pop that whole panel up to get to them. So take your time and inspect every inch before you start prying.
Releasing the Plastic Clips Without a Fight
Once the screws are out, the door panel is held on by a series of plastic clips. If you go at these with a screwdriver, you're almost guaranteed to snap a few and scratch your paint. This is where a set of plastic trim tools is worth its weight in gold.
These tools are designed to slide between the panel and the door frame, letting you apply gentle, even pressure to pop the clips free. You’ll feel a satisfying pop as each one releases. Start at the bottom of the door and work your way up the sides, saving the corners for last. This helps the panel keep its shape and prevents it from flexing too much.
Expert Tip: Before you start unplugging any wiring, make sure any electronic control modules associated with the door are fully powered down (which disconnecting the battery handles). This prevents any voltage spikes that could fry sensitive electronics.
Dealing with Wiring and the Vapor Barrier
With the panel loose, don't just yank it off. It’s still tethered to the door by a web of wires. Gently pull it away just enough to see what's connected. You’ll typically find plugs for the power windows, door locks, and speakers. I like to label each connector with a piece of painter's tape before I unplug it. It makes reassembly foolproof.
| Connector | Common Wire Colors | Label Example |
|---|---|---|
| Window Switch | Red/Black | “Front Left Window” |
| Door Lock | Blue/White | “Door Lock” |
| Speaker | Green | “Speaker Front Door” |
Behind the panel, you'll find a thin plastic or foam sheet glued to the door. This is the vapor barrier, and its job is to keep moisture out of your door panel and cabin. Peel it back carefully. You want to keep the sticky adhesive as intact as possible so you can press it right back into place later.
For a more comprehensive look at this process, check out our detailed guide on how to remove car door panel.
Preparing for the Regulator Swap
Now you have a clear view of the window regulator assembly. Before you unbolt a single thing, take a good look at it. Are the cables frayed? Is a plastic pulley broken? Seeing the exact point of failure confirms you're on the right track and gives you a mental map of how the new one will fit.
Check these key areas:
- The tension on the cables and any wear on the pulleys.
- Look for rust or dried-up grease on the metal tracks.
- Note the location of any alignment markers near the bolt holes.
Heads Up: Secure the window glass firmly in the "up" position before removing the regulator. If you don't, it can slide down and shatter. A couple of strips of strong painter's tape or a specialized suction cup holder will do the trick.
At this point, you've done all the prep work. The door is open, the glass is secure, and you're ready to get the old, busted regulator out of there and make way for the new one.
Getting the Old Regulator Out
Before you even think about grabbing a wrench, the very first thing you need to do is secure the window glass. This is non-negotiable. If you don't, that heavy pane of glass will come crashing down inside the door panel the second you unbolt it, and you’ll be dealing with a much bigger, more expensive problem.
I’ve seen it happen, and it’s not pretty. The easiest way to hold it up is with some wide painter's tape. Run a few strips over the top of the window and secure them to both sides of the door frame. Suction cup holders also work great if you have them.
- Use plenty of painter's tape; you want a strong hold that won't leave a sticky mess behind.
- If you're using suction cups, make sure they have a solid grip on a clean glass surface.
- Always wear gloves. The inside of a door panel is full of surprisingly sharp metal edges.
Detaching the Glass from the Regulator
Okay, with the glass safely taped up, it's time to separate it from the regulator clamps. Look at the bottom of the window, and you'll see where the glass is attached to the regulator's track. You're typically looking for a couple of bolts on each clamp.
Grab a 10mm socket and carefully loosen these bolts. It's a good idea to keep one hand on the glass just for extra support, even with the tape. Once the bolts are loose, you should be able to gently wiggle the clamps free from the track. Sometimes, sliding the glass up or down just a few millimeters helps release the tension and makes it easier to pop them off.
To give you a better idea of what you're working with, here's a look at a typical power window setup.
You can see how the glass sits in those tracks. Once you undo the clamps, it's completely free from the mechanism.
Unbolting the Regulator Assembly
Now for the main event: getting the regulator itself out of the door. The entire assembly—motor, tracks, and all—is usually held in by three or four main bolts.
Before you start, double-check that you've unplugged the motor's electrical connector. You don't want any accidental power surges or sparks. A pro tip is to use a bit of tape or a marker to note where each bolt goes; it just makes reassembly that much smoother. And trust me on this one, use a magnetic tray for your bolts. Dropping one inside the door cavity is a headache you don't need.
Wiggling the Assembly Out
This next part requires a bit of finesse. You have to guide the entire, often awkward, regulator assembly out through one of the access holes in the door panel. It can feel like playing a game of Operation.
The key is patience. Don't force it. You'll likely need to tilt and rotate the assembly to find the perfect angle to slide it out without scratching your paint or bending the regulator frame.
Take it slow, and it'll come out. Once it’s free, lay it on a clean workbench or a piece of cardboard.
Give Everything a Quick Inspection
Before you toss the old part, take a good look at it. This can tell you a lot about why it failed.
- Check the cables for any frays or snapped strands. This is a common point of failure.
- Look at the plastic pulleys and guide clips for any cracks or signs of wear.
- While you're at it, inspect the inside of the door frame itself. Clean out any gunk or debris where the new regulator will mount. If you see any paint chips or scratches on the metal, now is the perfect time to touch them up to prevent rust later on.
A little bit of prep work here goes a long way. Wiping down the mounting points and maybe even applying a thin layer of grease will ensure your new regulator fits perfectly and operates smoothly for years to come. With the old unit out and the door prepped, you're ready to start fitting the new part.
Fitting the New Window Regulator
Alright, this is where it all starts coming back together. With the old, broken regulator out of the way, you’re ready to get the new one in. The process is basically the reverse of removal, but a couple of key details will make this go much, much smoother.
Getting the new regulator assembly through the door's access holes takes the same bit of patience and finesse you used to get the old one out. Find the right angle, tilt it, and whatever you do, don't force it. The last thing you want to do is scratch your paint or bend the frame of your brand-new part.
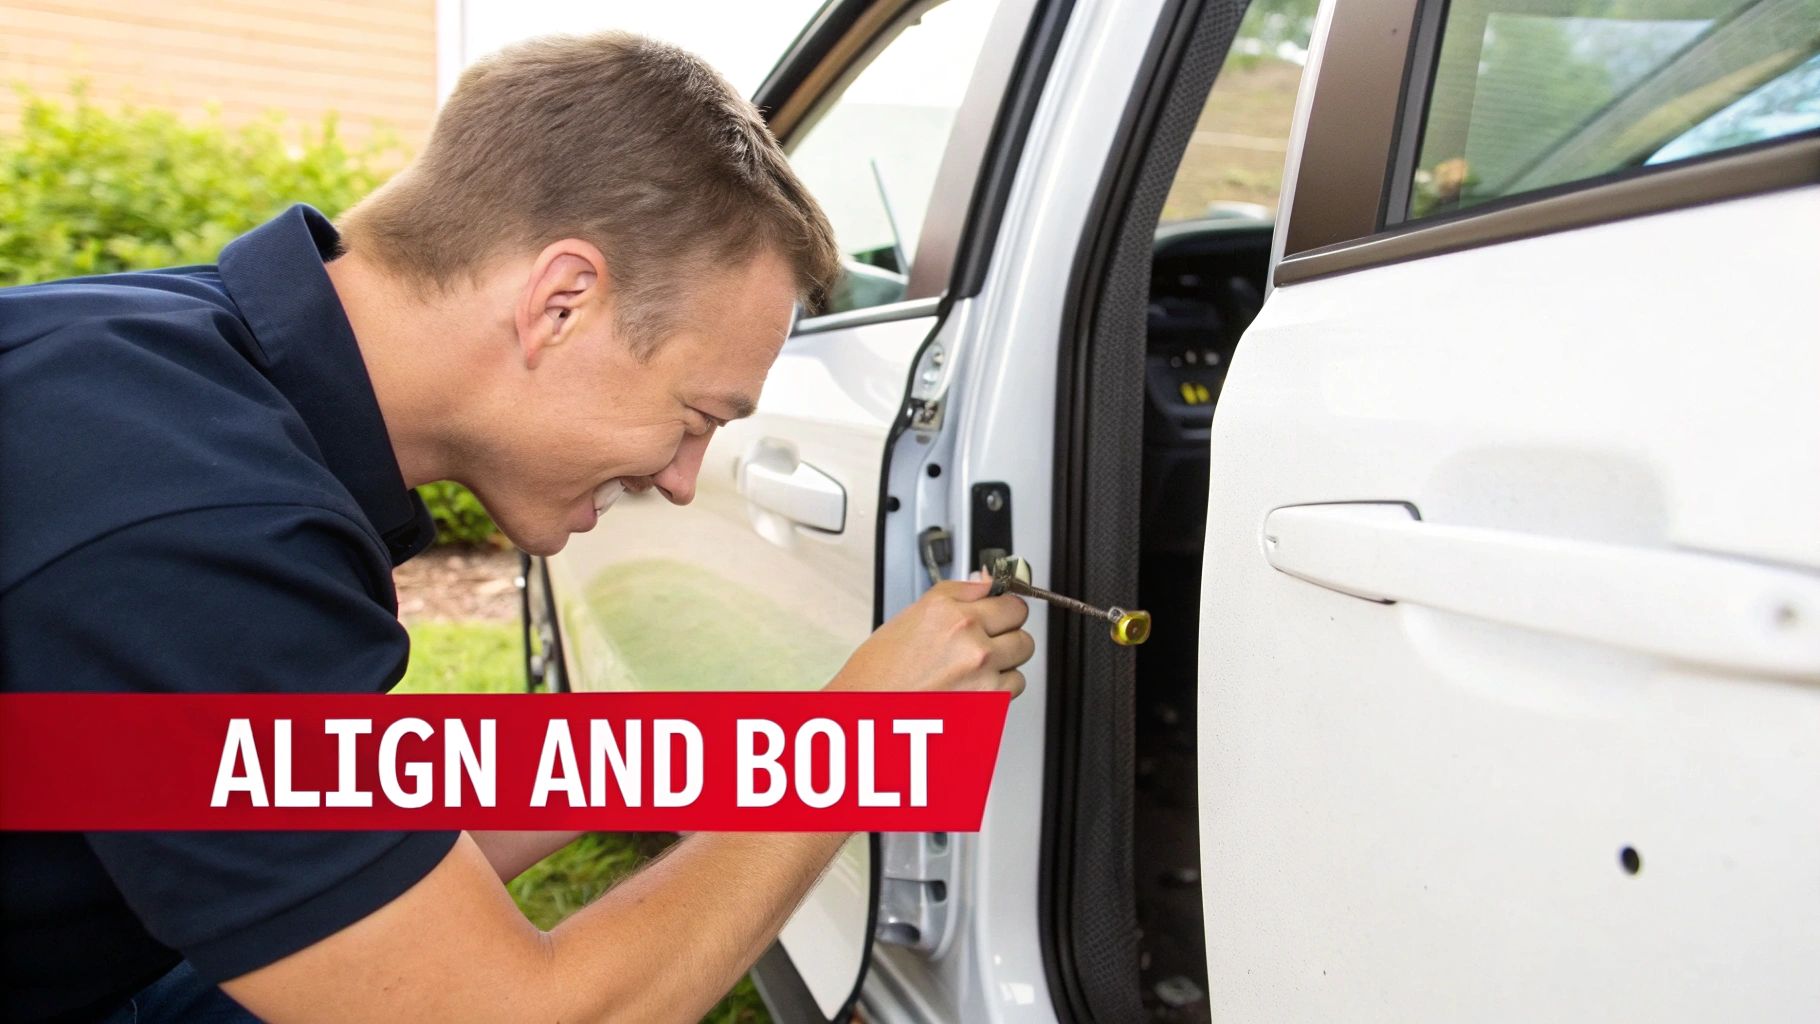
Securing the New Regulator in Place
Once the assembly is inside the door, your first job is to line up its mounting holes with the holes in the door frame. This can feel like fishing in the dark sometimes. A small flashlight is your best friend here, letting you peek through the access holes to guide everything into position.
Pro Tip: Start every single bolt by hand. I’ve seen people go straight for the impact gun and cross-thread a bolt, which can strip the threads in the door frame and turn a simple job into a nightmare. Hand-tighten all the bolts first, then you can snug them up with a ratchet.
Don't tighten the bolts all the way down just yet. Leave them just a little loose. This gives you some play, which you'll be thankful for in the next step.
Reattaching the Window Glass
Now it's time to bring the window glass back into the picture. This part requires a steady hand, so take your time. Carefully remove the painter's tape or suction cups holding the glass up and slowly lower it down until it sits in the regulator's clamps.
You'll need to line up the holes in the glass with the clamps on the new regulator. This is exactly why you left the main regulator bolts loose—it lets you shift the whole assembly just enough to get a perfect alignment.
With the glass seated properly, put the clamp bolts back in and tighten them until they're snug. Seriously, do not overtighten these. You can easily crack the glass. You're looking for a firm grip, not a death grip.
- Check for Level: Before you lock down the glass clamps, step back and make sure the window is perfectly level. If it’s crooked, it’ll bind in the tracks and wear out your new regulator fast.
- Even Pressure: Tighten the clamp bolts a little at a time, alternating between them to apply even pressure.
- Final Torque: Once the glass is secure, go back and fully tighten the main bolts holding the regulator to the door.
The demand for these systems has absolutely exploded. In 2023, the global automotive window regulator market was valued at a massive USD 15.23 billion and is expected to grow to USD 23.32 billion by 2032. This really shows you how power windows have become standard equipment, not a luxury.
This shift to more complex systems makes picking a quality replacement part more critical than ever. When you're looking for a powered window regulator, getting one from a supplier you trust means you're getting a part built to handle modern demands. At the end of the day, getting the alignment just right is the real secret to a window that glides smoothly for years.
Putting It All Back Together: The Final Test and Reassembly
Alright, the new regulator is in. I know it's tempting to slap that door panel back on and call it a day, but trust me on this—don't. This last part is where you make sure all your work was worth it. Skipping this check is the fastest way to find yourself tearing the whole door apart again in ten minutes.
First things first, let's give it a quick test. You'll need to temporarily reconnect the battery and plug the master window switch back into its harness. Just let it hang there for now; we're not making it pretty yet. This is just to get some power to your new part.
Running the Window Through Its Paces
Okay, with the switch plugged in, run the window all the way down and then all the way back up. Don't just do it once. Cycle it a good three or four times to be sure.
While you're doing this, you're not just watching—you're listening and feeling.
- Is the movement smooth? You're looking for a fluid, uninterrupted glide. Any jerking or hesitation is a red flag.
- What do you hear? A new, properly installed regulator should be almost silent. If you hear any grinding, clicking, or scraping, something's not right.
- How's the alignment? Watch the glass as it meets the top of the door frame. It should seat perfectly into the seal, with no gaps.
If you notice any binding or hear a noise that makes you cringe, now's your chance to fix it. Often, the solution is as simple as slightly loosening the regulator's mounting bolts, nudging its position by a tiny fraction, and then tightening everything back down. You'd be amazed what a one-millimeter adjustment can do.
Takeaway: This little test before you reassemble everything is your best friend. A few minutes spent here can easily save you an hour of frustrating rework.
The Final Reassembly
Once you're satisfied that the window is working perfectly, go ahead and disconnect the battery one more time for safety. Now you can reassemble the door with confidence.
Start by carefully pressing the plastic vapor barrier back into place. Make sure you get a good seal all the way around—this is what keeps moisture and road noise out of your car.
Next, reconnect any wiring harnesses you unplugged for the door locks, speakers, or mirrors. Then, it's time for the door panel itself. Line up the plastic clips with the holes in the door and give it a firm, steady push around the edges. You should hear a series of satisfying clicks as they pop into place.
Finish up by reinstalling any screws you removed, and you're officially done. It's a big job, but getting it right is what makes working on your own car so rewarding. The automotive window regulator market you just contributed to is a surprisingly large slice of the auto industry, valued at around USD 7.08 billion in 2022. You can dive deeper into its projected growth and market drivers over at this market research report.
Common Window Regulator Questions
Even the best guides can't cover every little hiccup you might run into. It's totally normal to have a few questions, especially on your first go. Let's tackle some of the most common issues people face when installing a new window regulator.
How Can I Tell If the Regulator or Motor Is Broken?
The best tool you have for this is your ears. Go ahead and press the window switch and listen carefully.
If you hear the motor whirring, grinding, or making any kind of noise but the glass isn't moving, the regulator is almost certainly the problem. The motor is trying to work, but a snapped cable, a broken plastic clip, or a bent guide rail is stopping it.
Now, if you hit the switch and get absolute silence? That points to an electrical issue. Your first suspects should be a bad window switch, a blown fuse, or a completely dead motor.
Can I Just Replace the Regulator Cable?
Technically, you can buy just the cable for some models, but I strongly advise against it for a home repair. Trust me on this one. Winding a new cable onto the drum with the right amount of tension is a nightmare without specialized equipment. Get it wrong, and it’s just going to fail on you again in a few weeks.
For a reliable, long-lasting fix that won't make you pull your hair out, always replace the entire regulator and motor assembly. These parts come ready to bolt in, saving you a massive headache and a lot of time.
My Window Is Stuck Down. How Do I Get It Out?
This is a classic problem and definitely a two-person job, so grab a helper. Once you have the door panel off, you'll likely need to unbolt the old, broken regulator from the door's inner frame to free up the glass.
With the regulator unbolted, have your friend carefully slide the window glass straight up, holding it on both sides. Once it’s all the way up, use several strips of strong painter's tape or duct tape over the top of the door frame to hold it securely in place while you work.
What Happens If I Don't Disconnect the Battery?
Please don't skip this step. It might seem like a small thing, but the risks are very real. You could easily short a wire while unplugging connectors, which can blow fuses or, even worse, fry an expensive computer module.
More importantly, most modern car doors contain side-impact airbags. If you accidentally bump a sensor or short a wire, you could trigger the airbag. An unexpected deployment is violent, can cause serious injury, and will lead to an incredibly expensive repair bill. It's not worth the risk—always disconnect the battery.
Once you feel confident with this repair, you might be ready to tackle other common DIY fixes, like fixing other common car issues such as a key that won't turn in the ignition.
At T1A Auto, we're all about providing top-tier aftermarket parts that you can count on. Our window regulators are built for a perfect fit and long-term durability, and we stand behind them with a lifetime warranty. Find the right part for your ride at https://t1aauto.com.