


If your truck has started feeling sluggish, guzzling gas like never before, or idling so rough you can feel it in your seat, you might have a failing Manifold Absolute Pressure (MAP) sensor on your hands. A MAP sensor replacement is a job most people can tackle in their own garage, and it's key to getting your engine running efficiently again. This little sensor has a surprisingly big job, feeding your vehicle's computer the data it needs for proper fuel injection.
Is a Bad MAP Sensor Tanking Your Engine Performance?
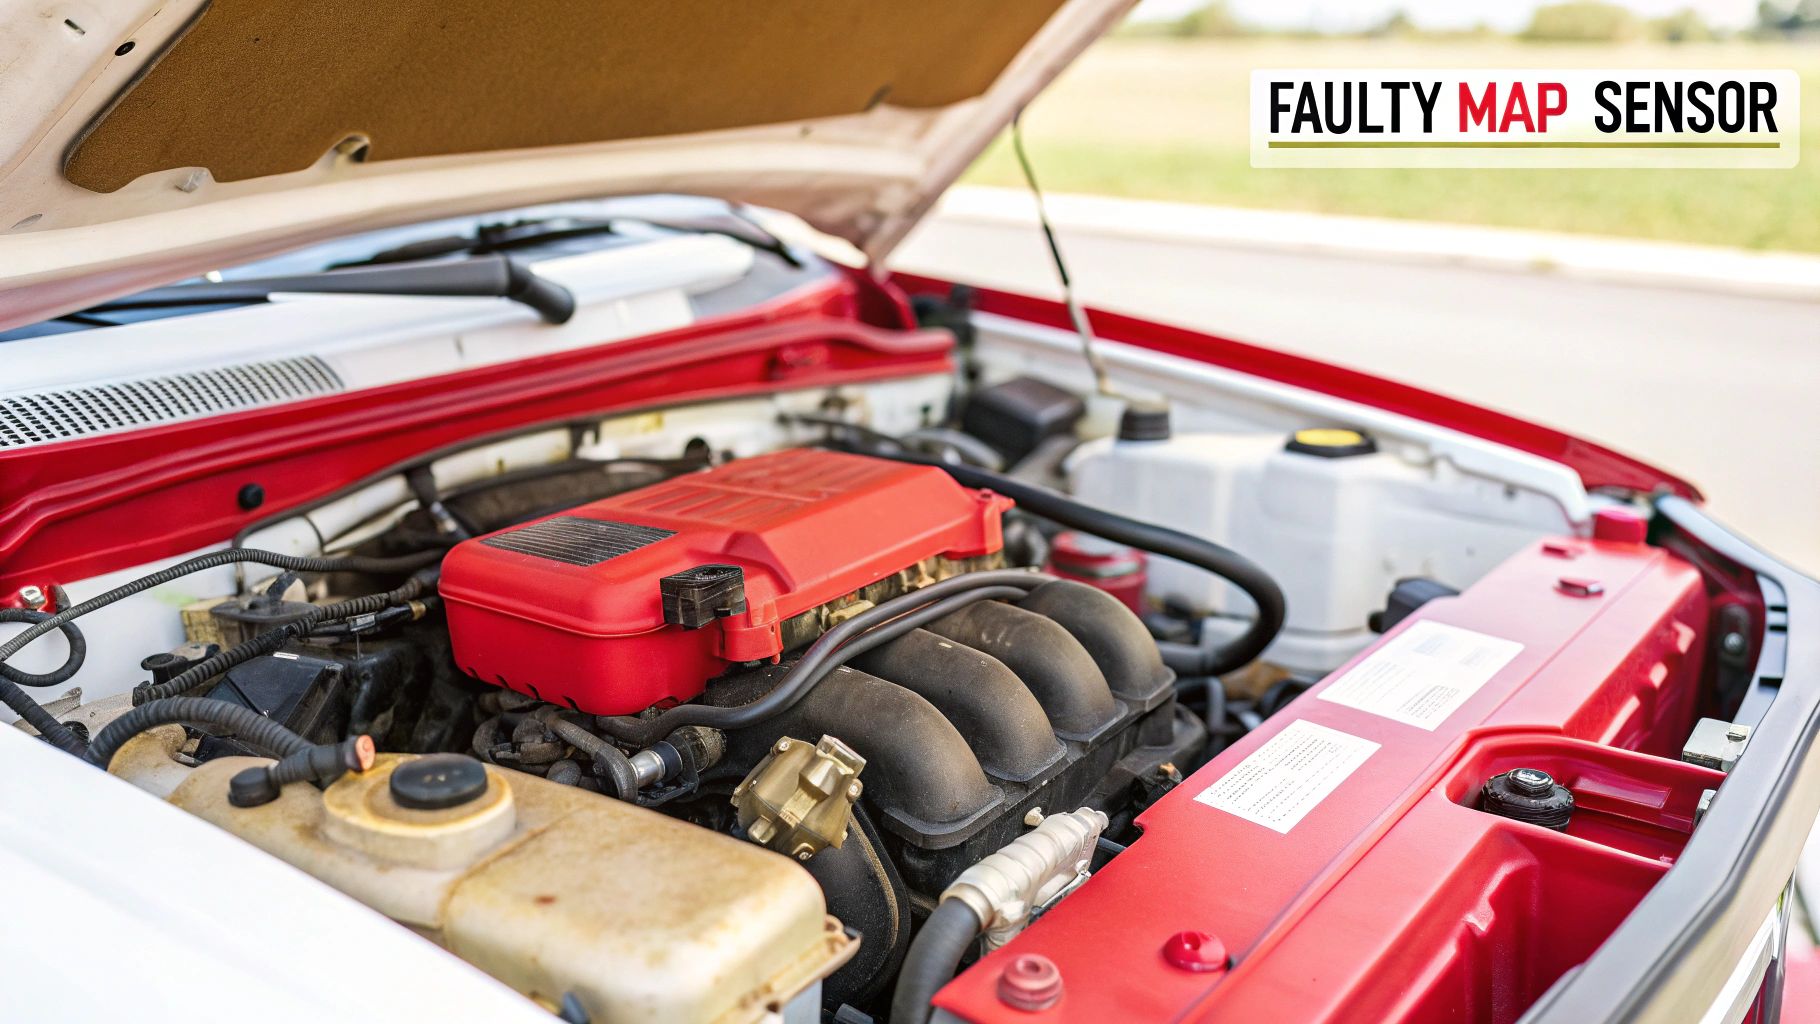
That glowing check engine light on your dash is never a welcome sight. While it can mean a lot of things, when you're also dealing with performance problems, the MAP sensor is one of the first places a seasoned mechanic would look. It's essentially the eyes and ears for your engine's computer, constantly measuring the pressure—or vacuum—inside the intake manifold.
Think of it this way: the MAP sensor tells the Engine Control Unit (ECU) exactly how hard the engine is working. Based on that single piece of information, the ECU adjusts how much fuel to inject and when to fire the spark plugs. If the sensor starts feeding it bad data, the whole system gets thrown out of whack, and you'll definitely feel the difference from behind the wheel.
Real-World Symptoms You Are Likely Seeing
You don't need a code reader to know something's wrong. The symptoms of a failing MAP sensor show up in your day-to-day driving, making your commute a real headache. Chances are, you're experiencing one or more of these tell-tale signs:
- Poor Fuel Economy: All of a sudden, your truck seems to have a drinking problem. A bad sensor usually tricks the ECU into running the engine "rich," which means it's dumping in way more fuel than it can actually burn.
- Rough Idling: When you’re stopped at a traffic light, does the engine sputter, shake, or feel like it’s about to die? That's a classic sign the air-fuel mixture is off.
- Engine Hesitation: You step on the gas, but there’s a noticeable lag or stumble before the engine actually responds. This hesitation is often caused by the ECU getting faulty pressure readings.
- Black Smoke from Exhaust: If you see puffs of black smoke coming from the tailpipe, especially during acceleration, that’s not just for show. It’s raw, unburned fuel being sent out the exhaust—a dead giveaway of a rich condition.
A failing MAP sensor can seriously cripple your engine's efficiency. It's a perfect example of why consistent care and a solid truck PM service schedule are so important. Fixing this one small part is a maintenance task that can prevent much bigger, more expensive problems down the line.
Putting off this repair does more than just hurt your wallet at the pump. Continuously running rich can foul your spark plugs and, even worse, destroy your catalytic converter over time. What starts as a simple sensor swap can quickly snowball into a major repair bill. A proactive MAP sensor replacement is a very doable DIY job that not only restores power but also prevents this kind of costly collateral damage.
Confirming A Faulty MAP Sensor Before You Replace It
Before you even think about picking up a wrench, let’s talk diagnosis. Jumping the gun and swapping out the MAP sensor without confirming it's the real problem is a classic, and often costly, mistake. I’ve seen it dozens of times. Guesswork just leads to frustration, so let's properly diagnose it first.
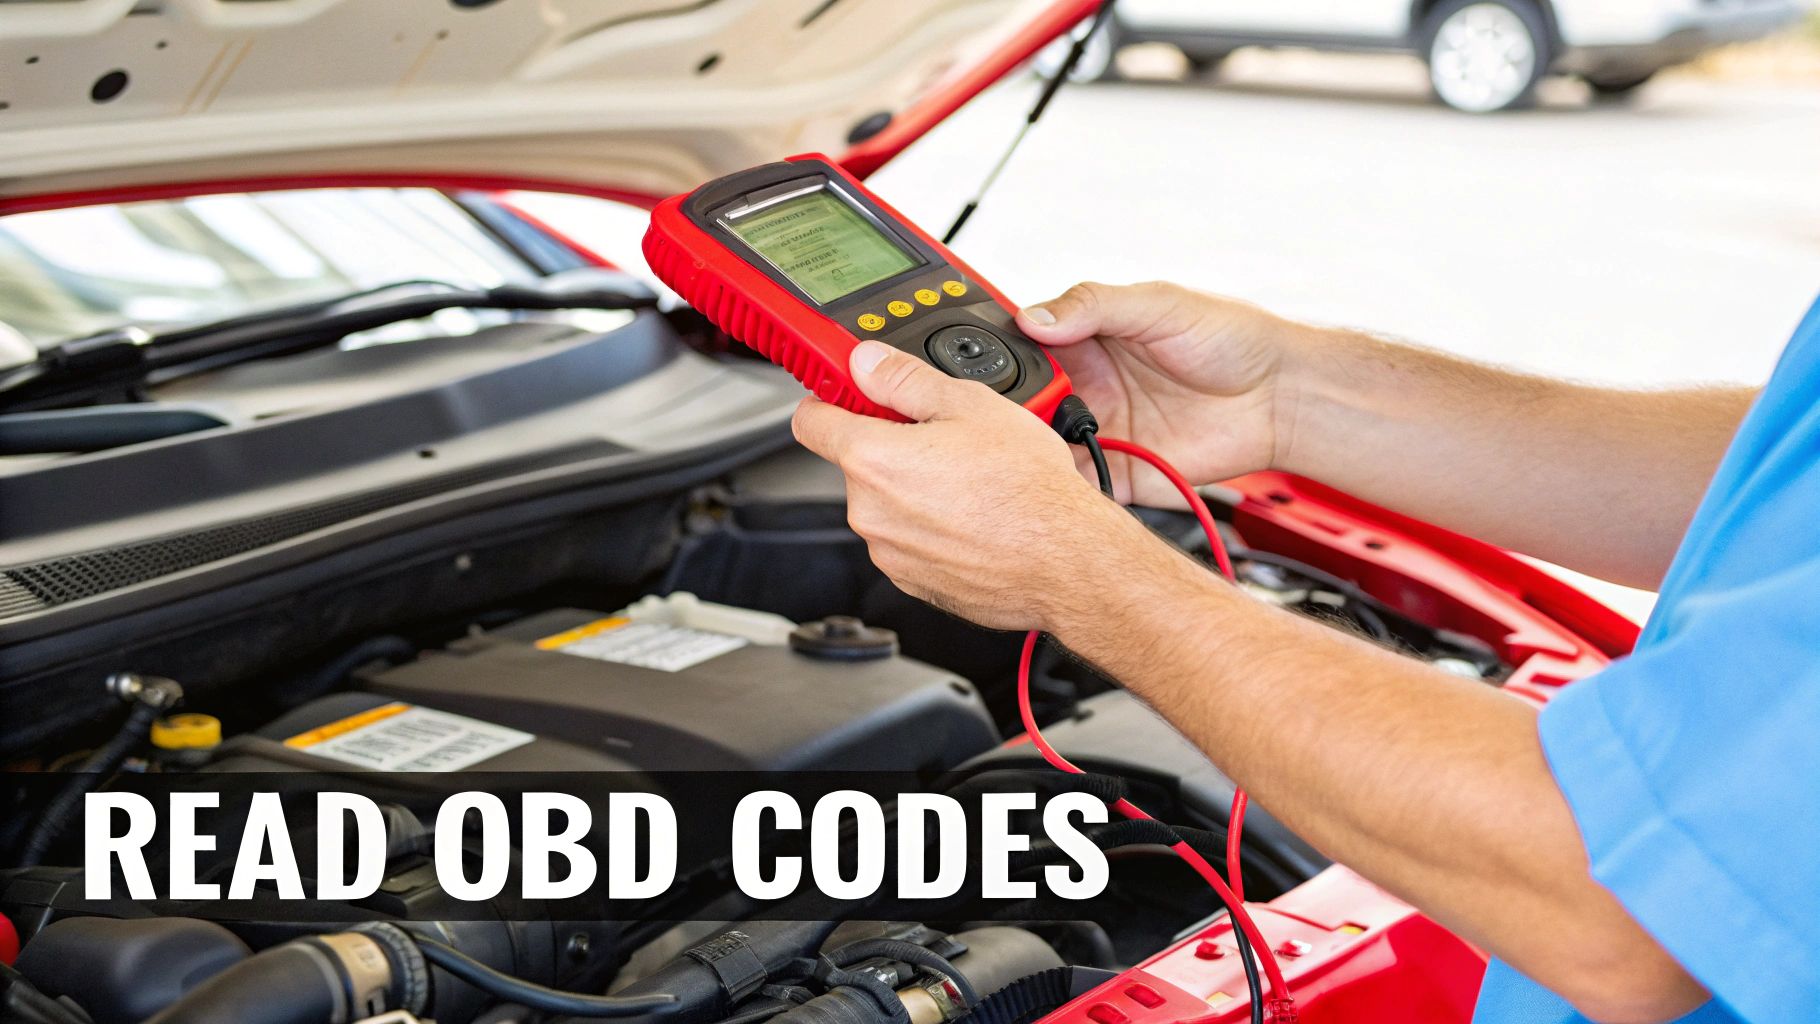
The most logical place to start is with an OBD-II scanner. This little tool plugs right into your vehicle's diagnostic port and talks directly to the computer. Understanding what triggers that Service Engine Light is key to making sure the MAP sensor is actually the part you need to replace.
Decode Your Check Engine Light
Once you're plugged in, you’re on the hunt for specific Diagnostic Trouble Codes (DTCs) related to the MAP sensor circuit. A code like P0105 (MAP Circuit Malfunction) or P0107 (MAP Circuit Low Input) is a huge clue, but it doesn't automatically mean the sensor is toast.
This is a critical distinction many DIYers miss. The code simply tells you the data the ECU is getting from the sensor is outside the normal range. For example, a hidden vacuum leak can cause the sensor to send a low voltage signal, triggering a P0107 code even when the sensor itself is working perfectly. Don't stop at just reading the code.
To help you narrow things down, here are some of the most common codes you'll see when a MAP sensor is acting up.
Common MAP Sensor Diagnostic Trouble Codes (DTCs)
This table is a quick reference for the most common OBD-II codes that point to a potential MAP sensor failure and what they typically mean for your vehicle.
| DTC Code | Meaning | Common Cause |
|---|---|---|
| P0105 | MAP/Barometric Pressure Circuit Malfunction | Faulty sensor, vacuum leak, wiring issue |
| P0106 | MAP/Barometric Pressure Circuit Range/Performance | Sensor performance is out of spec, often due to a leak or blockage |
| P0107 | MAP/Barometric Pressure Circuit Low Input | Low voltage signal, could be a bad sensor, short circuit, or large vacuum leak |
| P0108 | MAP/Barometric Pressure Circuit High Input | High voltage signal, often a faulty sensor, poor ground, or vacuum line issue |
| P0109 | MAP/Barometric Pressure Circuit Intermittent | Signal is inconsistent, suggesting a loose connection or failing sensor |
Remember, these codes are your starting point, not the final answer. They guide your diagnosis toward the right system.
Perform A Thorough Visual Inspection
After you've pulled the codes, get under the hood and put your eyes on the sensor and its connections. You’d be surprised how often the fix is something simple.
- Check the Vacuum Hose: This is a big one. Carefully trace the small rubber hose running to the MAP sensor. Look for any cracks, splits, or loose fittings. A compromised hose is probably the #1 cause of MAP sensor codes.
- Inspect the Electrical Connector: Wiggle the electrical plug to make sure it's seated firmly on the sensor. Unplug it and check for any green, fuzzy corrosion on the pins or any frayed wires in the harness.
This simple visual check takes just a couple of minutes but can save you from buying a part you don't need. If you do find a suspect wire and need some guidance, you can learn more about how to properly diagnose car electrical problems.
The gold standard for confirming a bad sensor is a voltage test. By carefully back-probing the signal wire with a multimeter while applying vacuum with a hand pump, you can see if the sensor's voltage output responds as it should. A healthy sensor shows a smooth, predictable change in voltage, while a faulty one will be stuck, erratic, or unresponsive.
Taking the time to do this right is what separates the pros from the parts-swappers. It ensures you're fixing the actual problem the first time around.
Getting Your Tools in Order
Every good mechanic knows that a smooth job starts with having everything you need within arm's reach. Before you even think about popping the hood to replace that MAP sensor, let's talk about getting your tools and workspace prepped. This simple step can turn a frustrating afternoon into a quick, satisfying fix.
First things first: safety. Always work on a cool engine. Let the car sit for a while, and then disconnect the negative battery terminal. This is a non-negotiable step that prevents accidental shorts, protecting both you and your car's sensitive electronics.
The Must-Have Tools
You don't need a professional-grade workshop to tackle this. For most vehicles, a few common hand tools will get the job done.
- Socket Set: You'll almost certainly need an 8mm or 10mm socket. I'd recommend having an extension handy, as MAP sensors are often tucked into some pretty tight spots.
- Screwdrivers: A good old flathead and a Phillips screwdriver will likely be needed for popping off plastic engine covers or gently prying a stubborn electrical connector.
- Pliers: A pair of needle-nose pliers is your best friend for dealing with small vacuum hose clamps.
- Shop Rags or Towels: You’ll need something to wipe down the mounting surface on the intake manifold. A clean surface is key to getting a good seal.
A word of caution from experience: don't just guess on bolt tightness. Overtightening can easily crack the plastic intake manifold, turning a $30 fix into a $500+ headache. That’s why a torque wrench is worth its weight in gold here.
Tools That Make the Job Go Smoother
Want to do this like a pro? A few extra items will make a world of difference and ensure a top-quality repair.
A torque wrench is probably the most important tool on this list. It allows you to tighten the new sensor's bolts to the exact factory spec, preventing leaks and damage.
I also keep a can of electrical contact cleaner in my toolbox. A quick spray into the wiring harness connector before plugging it in ensures a solid, corrosion-free connection. And finally, you’ll need an OBD-II scanner to clear the old fault codes from the ECU once the new sensor is in. If your toolkit is missing a few things, you can find a solid selection of automotive repair tools to get you fully kitted out.
A Practical Guide to Swapping Out Your MAP Sensor
Alright, you've got your tools lined up and you've confirmed the MAP sensor is the culprit. Now for the satisfying part: swapping it out. On most cars, this is a pretty straightforward job, but the difference between a quick fix and a lingering headache is all in the details. Let's walk through it, from spotting the old sensor to getting the new one seated perfectly.
This image shows the basic toolkit you'll want handy to make this go smoothly.
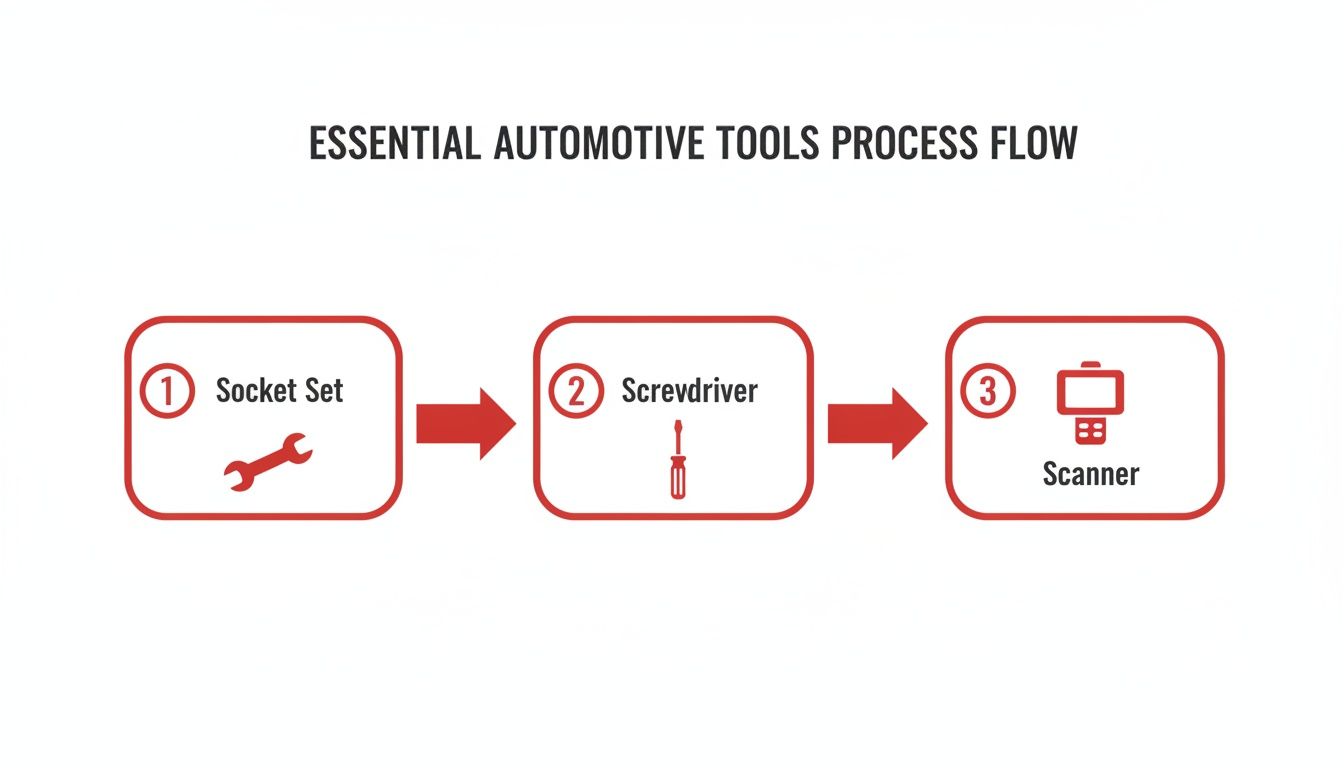
Honestly, with a decent socket set, a couple of screwdrivers, and a scan tool, you're equipped for the whole process—from the mechanical work to the final electronic handshake.
Finding and Removing the Old Sensor
First thing's first: you have to find the old sensor. It's almost always bolted directly onto the intake manifold or throttle body, but its exact spot can vary depending on your engine layout.
- For Inline-Four Engines: Check around the top of the engine. It's usually pretty visible, mounted on the plastic or aluminum intake manifold.
- For V6 or V8 Engines: You might have to hunt a little. Look toward the front or back of the intake manifold. Sometimes they're tucked away near the firewall.
Once you’ve got eyes on it, the removal is simple. The first step is to disconnect the electrical plug. There's a little plastic tab you'll need to press or lift to release it. Go easy here—years of engine heat can make these clips brittle, and snapping one is a real pain.
Next, grab your socket set and take out the one or two small bolts holding it down. With the bolts gone, the sensor should come out with a gentle twist and pull. If it feels a bit stuck, just give it a little wiggle.
Preparing for a Perfect Installation
This next part is something a lot of people skip, and it’s a huge mistake. Before you even think about putting the new sensor in, grab a clean shop rag and wipe down the mounting spot on the intake manifold.
You need that surface to be spotless—no grime, no oil, no bits of the old gasket. A clean, smooth surface is the only way the new O-ring can form that perfect, airtight seal. Any debris left behind is a vacuum leak waiting to happen, putting you right back where you started.
My Two Cents: Before you go any further, hold the old sensor and the new one side-by-side. Do the bolt holes line up? Is the electrical connector the same? This quick visual check takes five seconds and can save you from a massive headache down the road. It's the best way to confirm you've got the right part in your hand.
A good MAP sensor replacement is all about getting the prep work right.
Installing the New MAP Sensor
With the mounting surface clean, you're ready to go. Take a dab of clean engine oil and lightly lubricate the new O-ring on the sensor. This little step helps it slide into place without getting pinched or torn, ensuring a better seal.
Now, carefully press the new sensor into the intake manifold. Make sure it sits completely flat and flush. Start threading the bolts in by hand to make sure you don't cross-thread them—this is super important if you have a plastic intake manifold, which is easy to damage.
Once the bolts are snug by hand, don't just guess at the tightness. This is where a torque wrench is your best friend. The torque spec for these is usually very low, often around 8-10 ft-lbs (sometimes even measured in inch-pounds). Look it up for your specific vehicle.
Getting the torque right is non-negotiable. Overtighten, and you risk cracking the sensor or the manifold. Undertighten, and you'll have a vacuum leak. Last, plug the electrical connector back in and listen for that satisfying click. That's it—your new sensor is in.
Selecting a High-Quality Replacement MAP Sensor
Let's be honest, not all replacement parts are built the same. When you're dealing with something as important as a MAP sensor, the quality of the part you choose directly impacts how well your engine runs. It's tempting to grab the cheapest, no-name sensor off the shelf, but that's a shortcut that often leads to bigger headaches down the road.
A low-quality sensor can cause all sorts of phantom issues. It might send slightly off-kilter voltage signals—not wrong enough to trigger a check engine light, but just enough to mess with your fuel economy and performance. You end up right back where you started, scratching your head. Choosing a quality sensor isn't just about fixing the problem; it's about making sure it stays fixed.
What to Look for in a Dependable Replacement
When you're shopping for a new MAP sensor, look past the price tag and focus on what really matters. A good part will have a few clear signs of quality.
- Vehicle-Specific Fitment: This is non-negotiable. The sensor has to be designed for your exact make, model, and engine. A guaranteed fit means the bolt holes line up perfectly and the O-ring seals tight, preventing any vacuum leaks.
- Durable Materials: The engine bay is a rough neighborhood. Look for sensors built with high-grade plastics and solid internal electronics that can handle the extreme heat and constant vibration.
- A Solid Warranty: A strong warranty is more than just a piece of paper; it’s a manufacturer standing behind their product. At T1A Auto, we back our parts with a robust warranty because we're confident in their quality, giving you peace of mind.
The aftermarket is full of choices, and saving a few bucks is always tempting. But remember, the MAP sensor is one of your engine's key informants. A quality aftermarket part that meets or exceeds OEM specs will restore performance, while a cheap one can introduce a whole new set of confusing problems. For a deeper dive, check out our guide on the differences between aftermarket and OEM parts.
Matching the Right Technology to Your Vehicle
Beyond just the physical fit, you have to make sure the sensor's internal technology is what your vehicle's computer is expecting. Modern engines are incredibly sophisticated and need precise digital signals, a far cry from the older analog systems. Slap the wrong type in there, and you’ll get instant performance problems and a guaranteed check engine light.
Digital MAP sensors are the new standard for a reason. They provide cleaner, more accurate data, which is essential for today's fuel-efficient and turbocharged engines. In fact, it's projected that digital sensors will account for over 60% of the global market by 2031, with nearly 40% of new sensors featuring smart diagnostic capabilities. For truck and SUV owners especially, knowing this is crucial, as most modern vehicles absolutely require a digital sensor to run correctly. You can read more about this growing trend in MAP sensor technology if you want to dig into the details.
Final Checks to Complete Your Installation
With the new MAP sensor bolted in and plugged up, you’re almost at the finish line. But don't close the hood just yet. These last few steps are crucial—they're what make the difference between a completed repair and a comeback issue a week later.First things first, go ahead and reconnect the negative battery terminal. Once that's done, hop in the driver's seat and start the engine. It might stumble or run a little rough for a few seconds as it wakes up, which is perfectly normal.
Let the engine idle for at least a few minutes. This isn't just to warm it up; it gives the vehicle's computer, the Engine Control Unit (ECU), time to get acquainted with the new sensor. It's actively learning and recalibrating based on the fresh, accurate data it's now receiving.
Erasing Old Faults from Memory
Now for the step that many people miss. Grab your OBD-II scanner, plug it into the port under your dash, and find the option to clear Diagnostic Trouble Codes (DTCs).
Even though you’ve replaced the bad part, the memory of its failure is still logged in the ECU. Wiping the codes tells the computer, "Hey, we fixed that problem," so it won't keep the check engine light on for no reason.
Don’t just disconnect the battery and hope for the best. On most modern cars, that won't erase the "hard codes" stored in the ECU. Using a scanner is the only way to properly reset the system and confirm the repair is registered.
The All-Important Test Drive
With a clean slate in the computer's memory, it’s time for the real proof. Take your car for a spin around the block, and try to drive it in a few different situations—some city stop-and-go and maybe a short stretch at a higher speed.
Here’s what to pay close attention to:
- Smooth Idle: When you're stopped at a light, is the engine purring along nicely without the old sputtering or surging?
- Responsive Acceleration: Does the car accelerate cleanly when you press the gas, free of the old hesitation or bogging down?
- No Warning Lights: And the big one: does that check engine light stay off?
If everything feels good and the dashboard is clear, you can pop the hood one last time for a final visual check. Then, give yourself a pat on the back. You've just successfully replaced your MAP sensor and brought your engine's performance back to where it should be.
Got Questions About Your MAP Sensor? We've Got Answers.
Even a job as straightforward as a MAP sensor swap can leave you with a few questions. We've been there. Here are some quick, no-nonsense answers to the things we hear most often from fellow DIYers, so you can get the job done right.
Can I Get Away with Just Cleaning My MAP Sensor?
It's a tempting thought, and sometimes you'll hear people suggest it. The short answer? It's usually a waste of time.
Sure, if the sensor's port is just clogged with a bit of soot or oil, a blast of specialized electrical cleaner might bring it back to life for a little while. But here's the reality: this does absolutely nothing for an internal electronic failure, which is the most common reason these sensors die.
If you're seeing persistent trouble codes like P0107 or your multimeter shows it's out of spec, the electronics inside have failed. Cleaning the outside won't fix a fried circuit. In this case, a full map sensor replacement is the only real, long-term fix to get your engine's computer the accurate data it needs.
How Long Is This MAP Sensor Job Going to Take?
Good news: this is one of the faster repairs you'll do under the hood. For most cars and trucks where the sensor is sitting right on top of the intake manifold, you’re looking at 15 to 45 minutes, tops.
Of course, some engineers like to play hide-and-seek. If your sensor is buried in a tight engine bay, you might spend a little extra time just getting to it. Even in the worst-case scenarios, it's still a job most people can knock out in under an hour with basic tools.
A common mistake is treating a bad MAP sensor as a minor inconvenience. The truth is, driving with a faulty one sets off a chain reaction. It starts with terrible gas mileage and can end with a torched catalytic converter—turning a small repair into a massive, four-figure bill. This tiny part has a huge say in your engine's health and your wallet.
What's the Big Deal If I Ignore a Bad MAP Sensor?
Putting this repair on the back burner is a really bad idea. Your engine will keep running rich, which is like setting fire to your money every time you hit the gas pedal. That excess fuel doesn't just disappear—it fouls up your spark plugs and, worse, clogs your catalytic converter.
On top of the financial drain, you're dealing with an engine that runs poorly, hesitates, and might even stall at the worst possible moment. That's not just an annoyance; it's a safety risk. Fixing it now saves you a ton of cash and keeps you safe on the road.
For a MAP sensor that’s guaranteed to fit and restore your engine's performance, all backed by a solid warranty, trust T1A Auto. Find the right part for your truck at T1A Auto.