


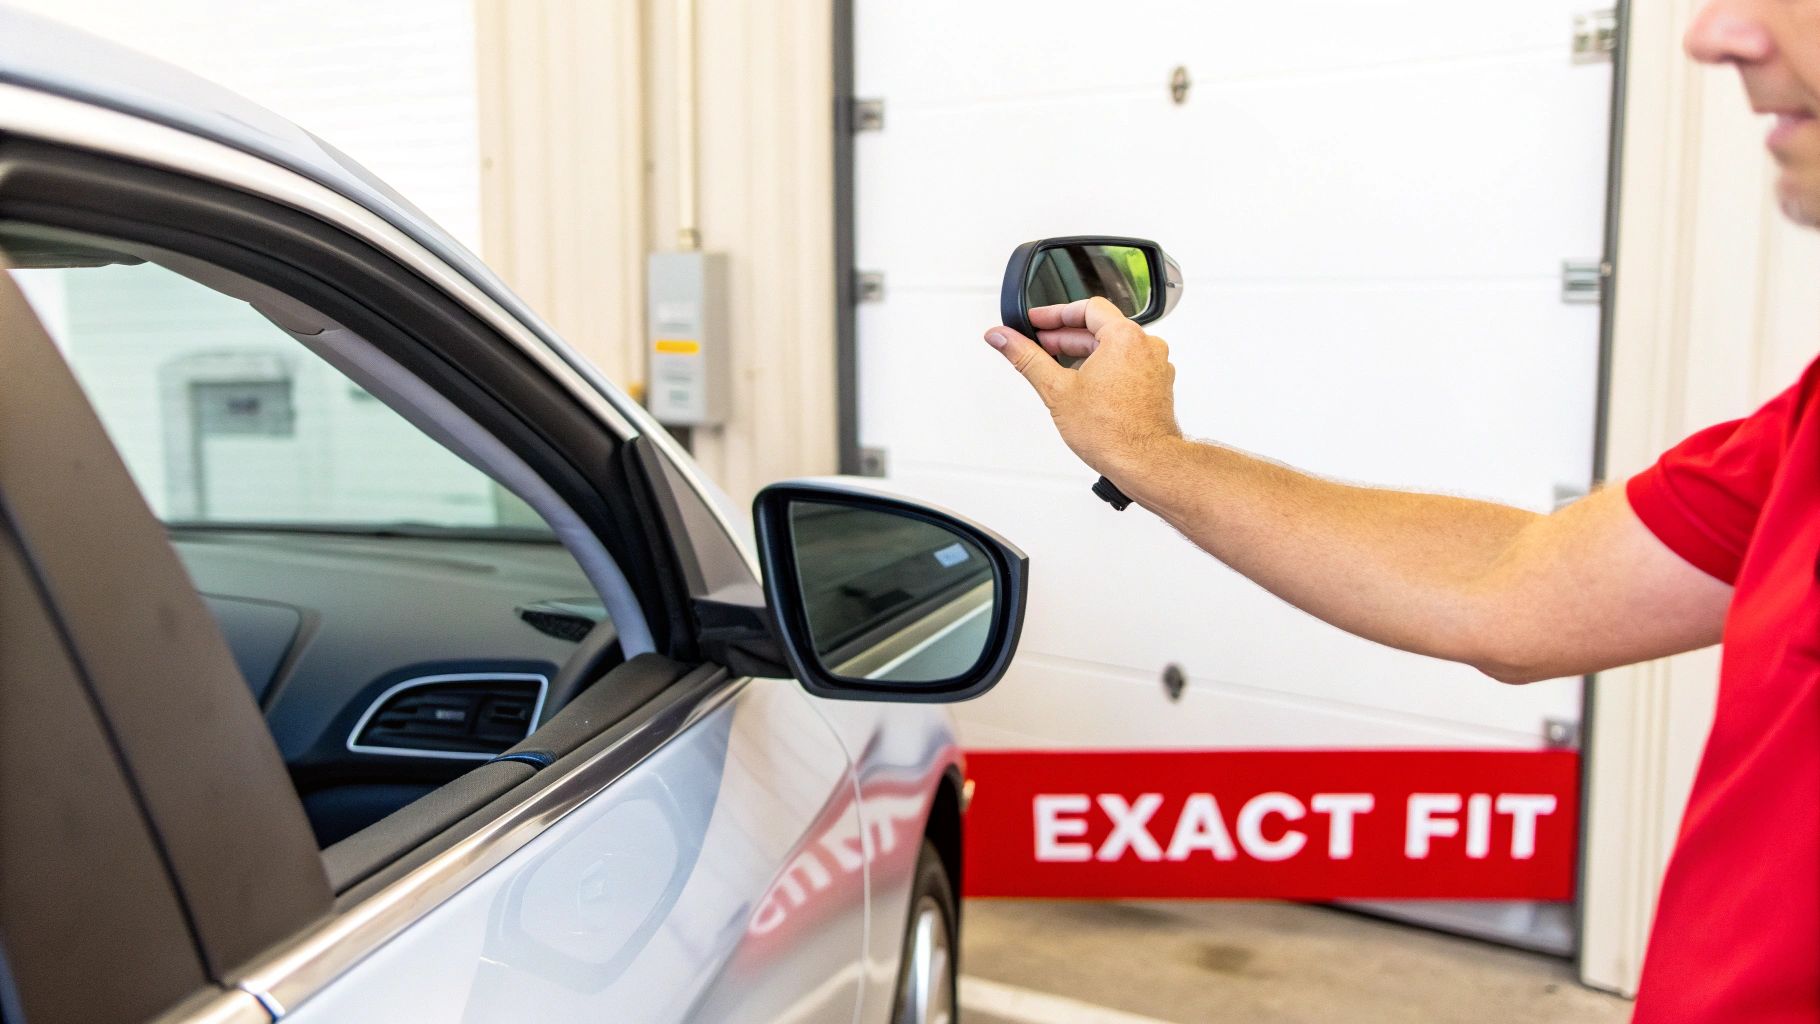
Before you even think about picking up a tool, the single most important step is getting the right replacement mirror. Trust me, there's nothing more frustrating than spending your Saturday afternoon with the door panel off, only to find the new mirror’s wiring plug doesn't match. Buying the wrong part is a fast track to wasted time and money. A perfect fit isn't just a "nice-to-have"; it's everything.
Matching the Right Mirror to Your Vehicle
Nothing kills a project faster than unboxing a manual mirror when your car has power controls. It’s an easy mistake to make. Modern cars and trucks, especially, have a dizzying number of side mirror options that can change dramatically between trim levels of the very same model year.
Take a Ford F-150, for example. A base model might have a simple, non-heated mirror you adjust by hand. But the Lariat trim could have a unit packed with features: power folding, heating, a built-in turn signal, a puddle light, and even a blind-spot camera.
Ordering the wrong one isn't just an inconvenience—it could mean critical safety features won't work. This is why a quick pre-purchase check is your best friend.
Decoding Your Mirror's Features
Before you add anything to your cart, take a minute to confirm exactly what your current mirror does. Don't guess—go out to your vehicle and check.
- Adjustment Type: Is it a manual lever inside the door, or do you have a power switch on the armrest?
- Heated Glass: Look for a tiny heat symbol etched right onto the mirror glass. That little icon means it has a defrost function and a specific electrical plug.
- Turn Signals: Does a light in the mirror housing flash when you hit your turn signal? This is a common feature on higher-end trims.
- Special Functions: Does it power-fold against the door? Is there a puddle light underneath that illuminates the ground? Do you have a blind-spot monitoring system with a camera or sensor?
A quick visual inspection and a flick of the switches from the driver's seat will tell you everything you need to know. Getting this part right is the key to ensuring the new mirror’s wiring harness plugs straight into your vehicle’s factory connector, no questions asked.
The Power of Your VIN
Your Vehicle Identification Number (VIN) is the secret code to your car's exact specifications. That 17-digit number tells a parts supplier everything about how your vehicle was built at the factory, including every option it came with.
Reputable suppliers like T1A Auto build their entire online catalog around a vehicle selector tool. You just punch in your year, make, and model—and sometimes your VIN—and it instantly filters out all the parts that won't fit. It completely removes the guesswork and all but guarantees a perfect match.
This simple step ensures the mounting points, the electrical plug, and all those extra features will line up perfectly with your car or truck.
Why Quality and Fitment Matter
When you're replacing a side mirror, you want the new one to look, fit, and work just like the original. This is where quality standards make a huge difference. Look for parts that are CAPA Certified. This means the Certified Automotive Parts Association has put them through the wringer, testing them to make sure they meet strict standards for fit, materials, and safety.
Choosing a direct-fit, OEM-quality part saves you from a world of installation headaches. You won't be drilling new holes, splicing wires, or staring at an ugly gap between the mirror and the door. If you're weighing your options, our guide on OEM vs. aftermarket auto parts breaks down how you can often get the same or better quality for a lot less than the dealership charges.
Ultimately, going with a trusted brand known for guaranteed fitment is what separates a frustrating afternoon from a smooth, professional-looking repair that will last.
Getting Your Tools and Safety in Order for the Job
A smooth, satisfying mirror replacement all comes down to having the right setup. The difference between a frustrating afternoon and a quick fix is usually just a bit of prep work. By gathering the right tools and thinking about safety first, you'll protect yourself and your vehicle.
The best part? You probably already own most of the tools you'll need. This isn't a repair that demands a pro-level workshop; for the most part, a basic socket set and a few screwdrivers will see you through.
The Must-Have Tools for a Mirror Swap
Before you even think about touching the car, lay out your tools so everything is at your fingertips. Trust me, there’s nothing worse than having a door panel hanging by a wire while you're scrambling to find the right socket. While every vehicle has its quirks, this core set of tools will handle almost any side mirror job.
- Socket Set with an Extension: Most mirror assemblies are secured with three bolts or nuts, usually between 8mm and 12mm. The extension is key here—it’s often the only way to reach fasteners tucked away inside the door frame.
- Screwdriver Set: You'll definitely run into a mix of Phillips and flathead screws holding the door panel and other trim pieces in place.
- Plastic Trim Removal Tools: This is the one specialty tool I consider non-negotiable. Trying to pry off an interior door panel with a screwdriver is the fastest way to scratch up the plastic and snap the delicate clips. A cheap set of plastic pry tools is a tiny investment that prevents a much bigger headache.
For a deeper dive into picking the right gear for any DIY project, especially when it comes to choosing the right power tools, this guide has some great advice.
Playing it Safe to Prevent Damage
Safety here isn’t just about keeping your fingers intact; it's also about protecting your car's paint and electronics. A few simple precautions can be the difference between a clean install and a costly error.
First things first, always put on safety glasses and gloves. That broken mirror glass is sharper than you think, and you never know what kind of dust and debris will fall out from inside the door panel.
Pro Tip: Before you start wrenching, apply painter's tape along the edge of the door and the body where the mirror mounts. This simple trick creates a buffer to protect your paint from accidental dings and scratches while you're maneuvering the old and new mirrors.
If your mirror has any power features at all—adjustment, heat, signals, or cameras—it’s a very smart habit to disconnect the negative battery terminal. This one step completely removes the risk of a short circuit, which could easily pop a fuse or even fry a sensitive electronic module.
Finally, make sure you can see what you’re doing. Working inside a dark door panel trying to find tiny clips and connectors is a recipe for frustration. A well-lit garage or a good work light helps you avoid forcing parts that aren't lined up just right. These little details are what make a DIY job look and feel professional.
Getting the Replacement Done Right
Alright, you've got your new T1A Auto mirror and your tools are ready to go. This is where the real work begins, but don't worry. We're going to walk through this step-by-step. You can get a professional result right in your own driveway, even if you've never tackled a job like this before.
The basic process is surprisingly similar whether you're working on a rugged Toyota Tacoma or a sleek Chevy Silverado, though we'll point out the little things to watch for. Taking this on yourself is a huge win. Minor collisions are the number one reason for body shop visits, making up about 70% of their business, and side mirrors are a common casualty, getting replaced in 25-30% of those repairs.
For truck owners—a core group we serve here at T1A Auto—the numbers are even more telling. Ford F-Series trucks, for example, see a 15% spike in mirror replacements during winter months thanks to ice and snow. The best part? An estimated 60% of these jobs are straightforward enough for a DIY fix, which can save you a solid $200-$500 per side compared to what a dealership would charge.
Before you start turning wrenches, take a look at this quick process map. It’s all about being prepared.
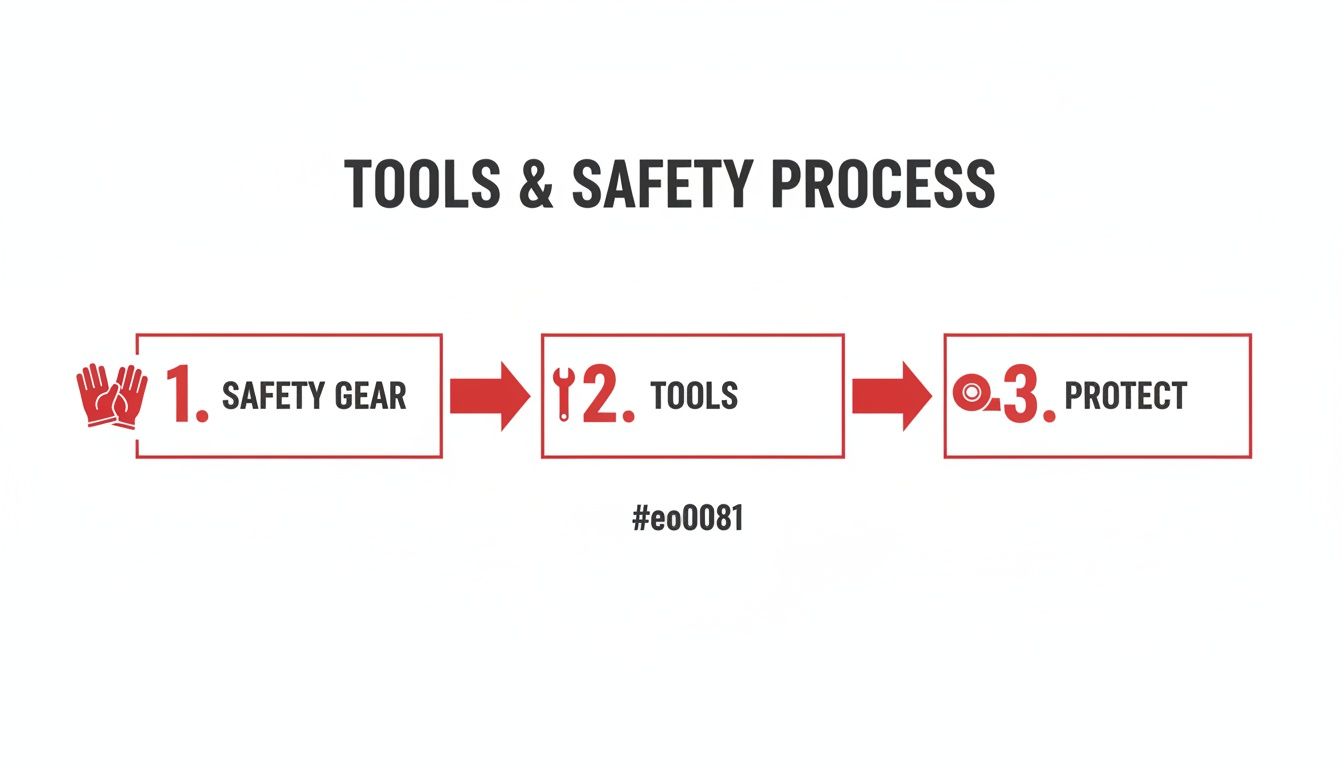
Getting your gear, tools, and vehicle protection sorted out first is the key to a clean, damage-free installation.
Replacement Time and Difficulty By Mirror Type
Not all mirror swaps are created equal. A simple manual mirror on an older truck is a quick job, but a modern mirror with a camera and blind-spot monitoring requires more patience. This table gives you a realistic idea of what to expect.
| Mirror Type | Estimated Time | Difficulty Level | Key Challenge |
|---|---|---|---|
| Manual | 20-30 minutes | Beginner | Simple mechanical unbolting and bolting. |
| Powered | 30-45 minutes | Beginner | Disconnecting and reconnecting a single electrical plug. |
| Heated/Signal | 45-60 minutes | Intermediate | Handling a more complex wire harness without damage. |
| Camera/Advanced | 60-90+ minutes | Intermediate/Advanced | Potential for module recalibration; extra delicate connectors. |
As you can see, the more features your mirror has, the more time you should set aside. The core steps remain the same, but the complexity of the electronics is the main variable.
Getting Behind the Door Panel
First things first, you need to get the interior door panel off. That's where the mirror's mounting bolts and wiring are hidden. It might sound like a big deal, but it's usually just a few screws and some plastic clips.
The trick is to be methodical. Hunt for those hidden screws. You’ll often find them:
- Tucked inside the door pull handle.
- Behind a small plastic cover near the interior door latch.
- Along the very bottom edge of the panel.
Once the screws are out, grab your plastic trim removal tools. Find a corner at the bottom of the door and gently pry the panel away from the metal frame. You'll hear a series of pops as the clips release—that’s totally normal. Just work your way around the edges.
Crucial Tip: Don't just rip the panel off. It's still connected! Wires for the window switches, locks, and speakers are attached to the back. Gently lift the panel up and away, then find a way to support it while you unclip these connections.
For a much more detailed breakdown, check out our guide on how to remove a car door panel. It has visuals and vehicle-specific tips that will make this part a breeze.
Disconnecting the Old Mirror
With the panel off, you'll see a plastic sheet—the vapor barrier. You'll probably have to peel back a corner to see what you're doing. Now you should have a clear line of sight to the mirror’s electrical plug and its mounting nuts.
Unplug the wire harness first. Most connectors have a small locking tab you need to press down on with your thumb or a small flathead screwdriver. Once you press it, the plug should slide out. Always pull on the plastic connector itself, never on the wires.
Next, find the three bolts or nuts holding the mirror assembly in place. This is where a socket set with an extension becomes your best friend.
Removing the Damaged Mirror
Before you loosen the last nut, get one hand on the outside of the door to hold the old mirror. As soon as that last fastener is off, the whole thing will be free, and you don't want it dropping and scratching your paint.
I always like to loosen the bottom two nuts first, then leave the top one barely threaded on. This holds the mirror steady while I get a solid grip on the outside, preventing any nasty surprises.
With the mirror held securely, spin off that final nut. Carefully guide the assembly away from the door, pulling the wiring harness through the opening as you go.
Mounting Your New Side Mirror
Time for the best part—putting the new mirror on. It’s pretty much the reverse of what you just did, but a couple of tips will guarantee a perfect fit.
Start by gently feeding the new mirror's wire harness through the hole in the door. Don't force it; you don't want to pinch or scrape any wires.
Line up the mounting studs on the new mirror with the holes in the door. While holding the mirror from the outside with one hand, use your other to start threading the nuts on. Always start them by hand to make sure they aren't cross-threaded.
Tightening and Final Checks
This is a step where people often make a critical mistake: do not crank down on the mounting nuts. The mirror's housing is usually plastic, and too much force will crack the base, leaving you with a wobbly mirror or a new water leak.
Snug them down evenly in a crisscross pattern, just like you would with lug nuts on a wheel. This ensures the mirror sits perfectly flush. A good rule of thumb is to tighten until they’re snug, then give them just a final quarter-turn.
Before you even think about putting that door panel back on, plug the new mirror in. Test every single one of its functions: power adjustment, heat, turn signal, puddle light, camera—everything. It’s a lot easier to fix a connection issue now than after you’ve put the whole door back together.
Once you’ve confirmed everything works, you’re on the home stretch.
Stick the vapor barrier back in place. Reconnect all the plugs to the switches on the back of the door panel. To reinstall the panel, hook the top lip over the window sill first, then line up the clips and give them a few firm thumps with the heel of your hand to pop them into place.
Finally, put the screws back in, snap on any plastic covers, and you’re done. You just did a pro-level job, saved yourself a pile of cash, and now your vehicle is safer and looks a whole lot better.
Getting the Wiring Right for Advanced Mirrors
Gone are the days when a side mirror was just a piece of glass in a plastic housing. Modern mirrors are packed with technology—power adjustment, heating elements, turn signals, and even cameras. When you're replacing one of these, you're not just doing a mechanical swap; you're working with a sophisticated electronic component. But don't let that intimidate you. With a little patience, it's a job you can definitely handle.
The secret is to work methodically. The main wiring harness coming through your door panel typically ends in a single large plug. This is your main connection point. From there, smaller wires branch out to power all the mirror's features. For instance, heated mirrors have two small wires that clip directly onto the back of the glass. You have to make sure those are snug to get the frost-clearing function working again.
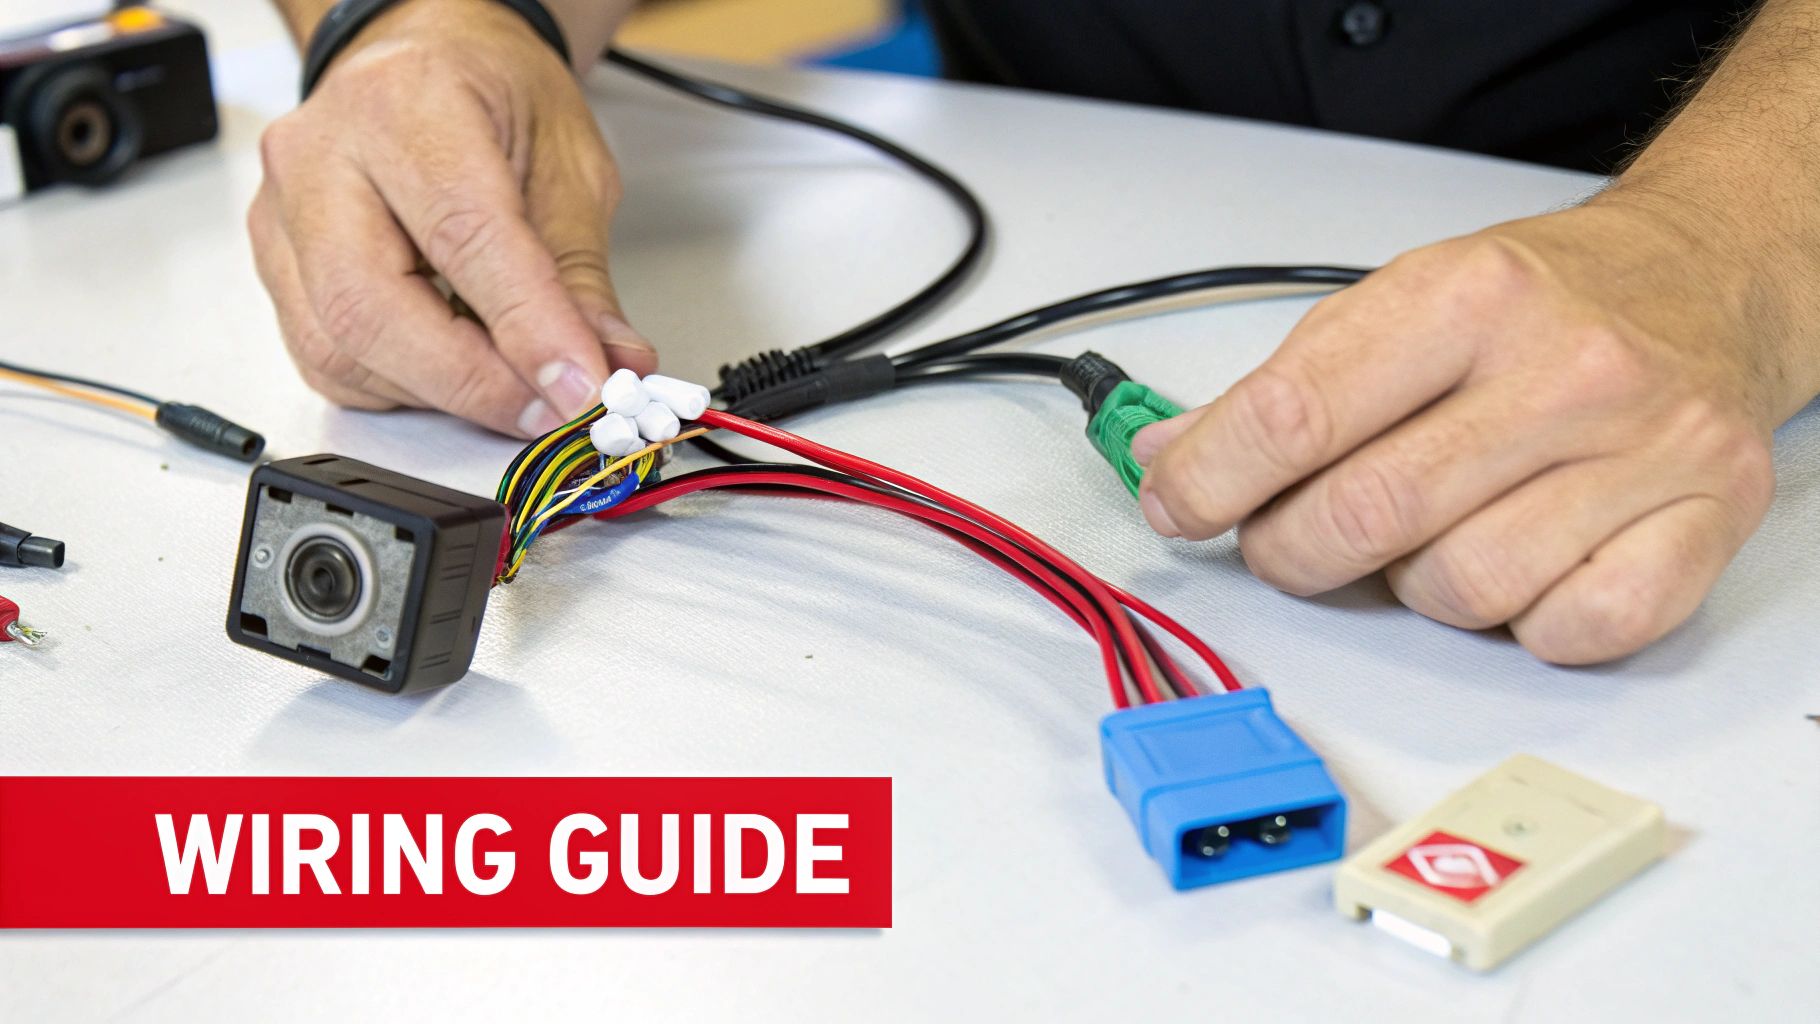
It's the same story for features like integrated turn signals or puddle lights—they each have their own dedicated connectors. The good news is that a quality replacement from T1A Auto is built to be a direct, plug-and-play fit. All the connectors are designed to match your car's factory wiring perfectly, so you won't find yourself stripping wires or breaking out a soldering iron.
Handling Mirrors with Integrated Cameras
If your mirror has a camera for a blind-spot monitor or a 360-degree view system, you need to be extra careful. These systems are sensitive and their connectors are often tiny and fragile. When you're removing the old mirror, don't just yank on the wires. Instead, use a small flat-head screwdriver or a trim tool to gently press the release tab on the connector.
One of the most common headaches after a swap is a new warning light on your dash for the blind-spot system. This usually means the camera's connector isn't clicked in all the way or the replacement part is using cheap electronics that can't communicate with your car's computer. A guaranteed-fit T1A Auto mirror solves this by using components that sync up correctly, avoiding those frustrating electronic gremlins. And if the power adjustment isn't working right after you're done, we've got a guide for that: https://www.t1aauto.com/blogs/t1-auto-blogs/power-mirror-not-working.
Why Tech-Heavy Mirrors Are Here to Stay
This trend toward high-tech mirrors is only getting bigger. In 2024, the global market for camera-based side mirrors was valued at USD 1.291 billion, and it's projected to explode to USD 5.489 billion by 2035. This growth is especially strong in North America, where safety regulations are pushing for more advanced driver-assistance features.
Right now, about 40% of mirrors on the road don't have these advanced features, but that's changing fast. Data shows that powered mirrors already account for 55% of aftermarket demand, often because the adjustment motors burn out over time.
What does this all mean for you? It means knowing how to handle these electronic connections is becoming a fundamental skill. A simple mirror replacement now requires you to make sure critical safety systems—like blind-spot detection—are working perfectly when you're finished.
For anyone diving into a job with complex wiring, having a basic knowledge of general automotive electrical systems is a huge plus. You'll understand the importance of routing the harness correctly to avoid pinching wires and making sure every connection is clean and secure. A loose plug can cause a feature to work intermittently or fail completely, so taking your time here really pays off.
Wrestling with Post-Installation Problems
So, you've wrapped up the installation, but something's not quite right. Maybe the power functions are dead, or the whole mirror housing feels a bit shaky. Don't worry—this happens. Most of the time, these are common hiccups with surprisingly simple fixes.
Let's walk through the most frequent issues. Think of this as your final quality check before you call the job complete.
Power Functions Aren't Working
You've plugged everything in, but the mirror won't adjust, the heater's cold, or the signal light is dark. Before you start thinking you got a bad part, know that 99% of the time, this is just a connection issue.
- The Main Connector: This is almost always the culprit. The plug might look like it's in, but it needs to be fully seated. Head back to the main wiring harness and give that connector a firm, confident push until you hear a solid "click." That's the sound of success.
- Bent Pins: It’s less common, but a pin inside the connector can get bent when you're plugging it in. Take a second to unplug the harness and give the pins a quick visual inspection. If one is out of line, you can gently straighten it with a small flathead screwdriver.
- Check the Fuse: If the connection is solid and the pins look good, the next logical step is the fuse box. It's possible the fuse for the mirrors blew during the swap. Your owner's manual will show you which one to check.
The New Mirror is Wobbly
If you hit the highway and the mirror is vibrating or it feels loose to the touch, the mounting nuts aren't torqued correctly.
A Word of Warning: Step away from the impact wrench. Over-tightening the mounting nuts is a fast way to crack the mirror's plastic or cast aluminum base. Stick with a hand ratchet for this job.
The fix is easy. Go back to the three mounting nuts and tighten them gradually in an alternating, star-like pattern. Get them snug, then give each one a final quarter-turn. This method applies even pressure and locks the mirror securely against the door.
There's a Gap or the Alignment Looks Off
Seeing a gap between the mirror base and the door? This usually means the rubber gasket got folded or pinched on its way in. It’s an easy mistake to make when you’re trying to align the bolts and hold the mirror steady.
Just loosen the mounting nuts until you can wiggle the mirror assembly a bit. That little bit of play is usually all it takes for the seal to pop back into its proper channel. Once it looks right, re-tighten the nuts using the star pattern, and you'll have a perfect, weatherproof fit.
It's little details like this that make all the difference when you replace side mirror parts. The huge demand for better aftermarket parts is driven by failure-prone OEM plastics, creating billions in annual sales. Aftermarket suppliers now account for 65% of this market because their components, like the metal-reinforced parts from T1A Auto, often outlast the originals.
Starting with a CAPA-certified mirror that guarantees fitment is the best way to sidestep these headaches. For a deeper look at industry trends, you can check out a recent industry report on automotive mirror systems.
Got Questions? We've Got Answers
Even after you've tightened the last bolt, a few questions might pop into your head. That's totally normal. Here are some quick, straightforward answers to the things we hear most often from people who've just swapped out a side mirror.
Can I Just Replace the Glass?
Absolutely. If it's only the glass that's shattered and the rest of the mirror—the housing, the motors, the heater—is working perfectly, just swapping the glass is the way to go. It's a smart, budget-friendly fix that you can usually knock out in under 20 minutes without having to take the door panel off.
But if the housing itself is cracked or any of the power functions are dead, you'll need to replace the entire assembly. A complete unit is the only way to guarantee everything works like new again.
Does a New Mirror Need to Be Painted?
That depends entirely on what you order. Most of our replacement mirrors come in one of two ways: a standard textured black that's a dead ringer for many factory trims, or with a paint-to-match (PTM) cap that's primed and ready for your vehicle's color.
Insider Tip: Take a close look at your old mirror. If the painted cap on it is still in good shape, you can often gently pry it off and snap it right onto your new T1A Auto mirror. It’s a great little trick that saves you both the time and expense of a trip to the paint shop.
Will Replacing the Mirror Myself Void My Car's Warranty?
Nope, it won't. This is a common worry, but you're protected by the Magnuson-Moss Warranty Act here in the U.S. A car manufacturer can't legally void your warranty just because you chose to use an aftermarket part for a repair.
For them to deny a warranty claim, they would have to prove that our specific part directly caused the problem you're having. When you install a high-quality, direct-fit mirror from a reputable supplier, you're getting a part designed to meet or even beat the original specs, keeping your car—and your warranty—safe.
What's the Real Difference: OEM vs. Aftermarket?
The main distinction is who makes the part. OEM (Original Equipment Manufacturer) parts come from the company that built your car. Aftermarket parts are made by other companies, like us, to do the same job.
But there's more to it than just the brand name. Smart aftermarket companies often see where the original parts fail—maybe a plastic gear that always strips or a motor that burns out—and they engineer their versions to be better. They might use stronger materials or beef up the internal mechanics. So, you often end up with a part that not only costs less but is actually built to last longer than the one it's replacing.
When you're ready for a replacement mirror that fits right, works perfectly, and is built for the long haul, T1A Auto has what you need. Check out our huge selection of premium, direct-fit side mirrors and get your vehicle looking its best again.
Find the exact part for your ride at T1AAuto.com.
