


Most RV storage latch failures start with misalignment or a worn striker plate, not a broken latch, so a careful adjustment may save you from buying a replacement. When replacement is necessary, measure the door and cam precisely, repair the mounting surface, and verify positive engagement before the RV travels.
You're probably dealing with this after the key turns but the compartment door still wiggles, or after the latch clicks while the lower edge remains loose. Sometimes the door has sagged, the gasket has compressed, or a screw has pulled out of the thin panel. Replacing the latch immediately can leave the underlying problem untouched.
That matters across a large installed base. The RV Industry Association's owner and shipment information reports 8.1 million U.S. households owning an RV, with 333,733 wholesale shipments in 2024. Those figures don't measure latch failures, but they show why practical fitment and repair guidance matter. Storage doors endure vibration, weather, repeated opening, and loading impacts every trip.
Table of Contents
- Why Your RV Storage Latch Is a Safety Priority
- Diagnosing the Real Problem Before You Buy Parts
- Choosing the Right Replacement Latch Hardware
- Removing the Old Latch and Preparing the Surface
- Installing the New Latch With Precision Alignment
- Sealing, Testing, and Ensuring Long-Term Reliability
Why Your RV Storage Latch Is a Safety Priority
A storage-compartment latch looks minor until it releases on the highway. Then the consequences can include lost equipment, a door flapping against the body, water entering the wall, or cargo becoming a road hazard. The latch isn't just there to keep a compartment tidy. It provides mechanical retention and weather protection.
Federal door-lock history explains why positive engagement deserves attention. Requirements amended on April 27, 1968 addressed inadvertent door openings caused by impact or movement of an interior or exterior handle. FMVSS No. 206 was later extended on September 28, 1995, to rear doors of certain passenger cars and multipurpose vehicles with gross vehicle weight ratings of 10,000 pounds or less, as described in this background on federal rear-latch safety requirements. RV storage doors aren't automatically passenger doors covered by that standard, and the cited safety history doesn't establish an RV compartment-latch failure rate. It does establish the principle: a door should resist accidental release during movement and impact.
Retention comes before convenience
A replacement latch should close fully around the keeper, remain engaged under a light pull, and keep the door gasket compressed without forcing the panel. A key that turns smoothly means little if the cam only catches the edge of the striker. Likewise, a heavy metal latch can worsen a weak installation if it transfers load into cracked fiberglass or stripped mounting holes.
For cargo planning, especially when storing food or equipment outdoors, pair secure compartment hardware with broader Counter Assault RV safety tips. The useful takeaway is simple: protecting an RV involves both what you store and how reliably the exterior openings close.
A practical overview of door hinges and latches also helps put the compartment latch in context. Hinges control the door's position, while the latch controls retention. If either side is loose or distorted, changing only the latch may not restore a dependable closure.
Diagnosing the Real Problem Before You Buy Parts
Start with the door open and the compartment empty. Turn the key or operate the handle slowly while watching the cam, latch body, and keeper. You're looking for movement that is smooth, complete, and consistent, not merely a click.
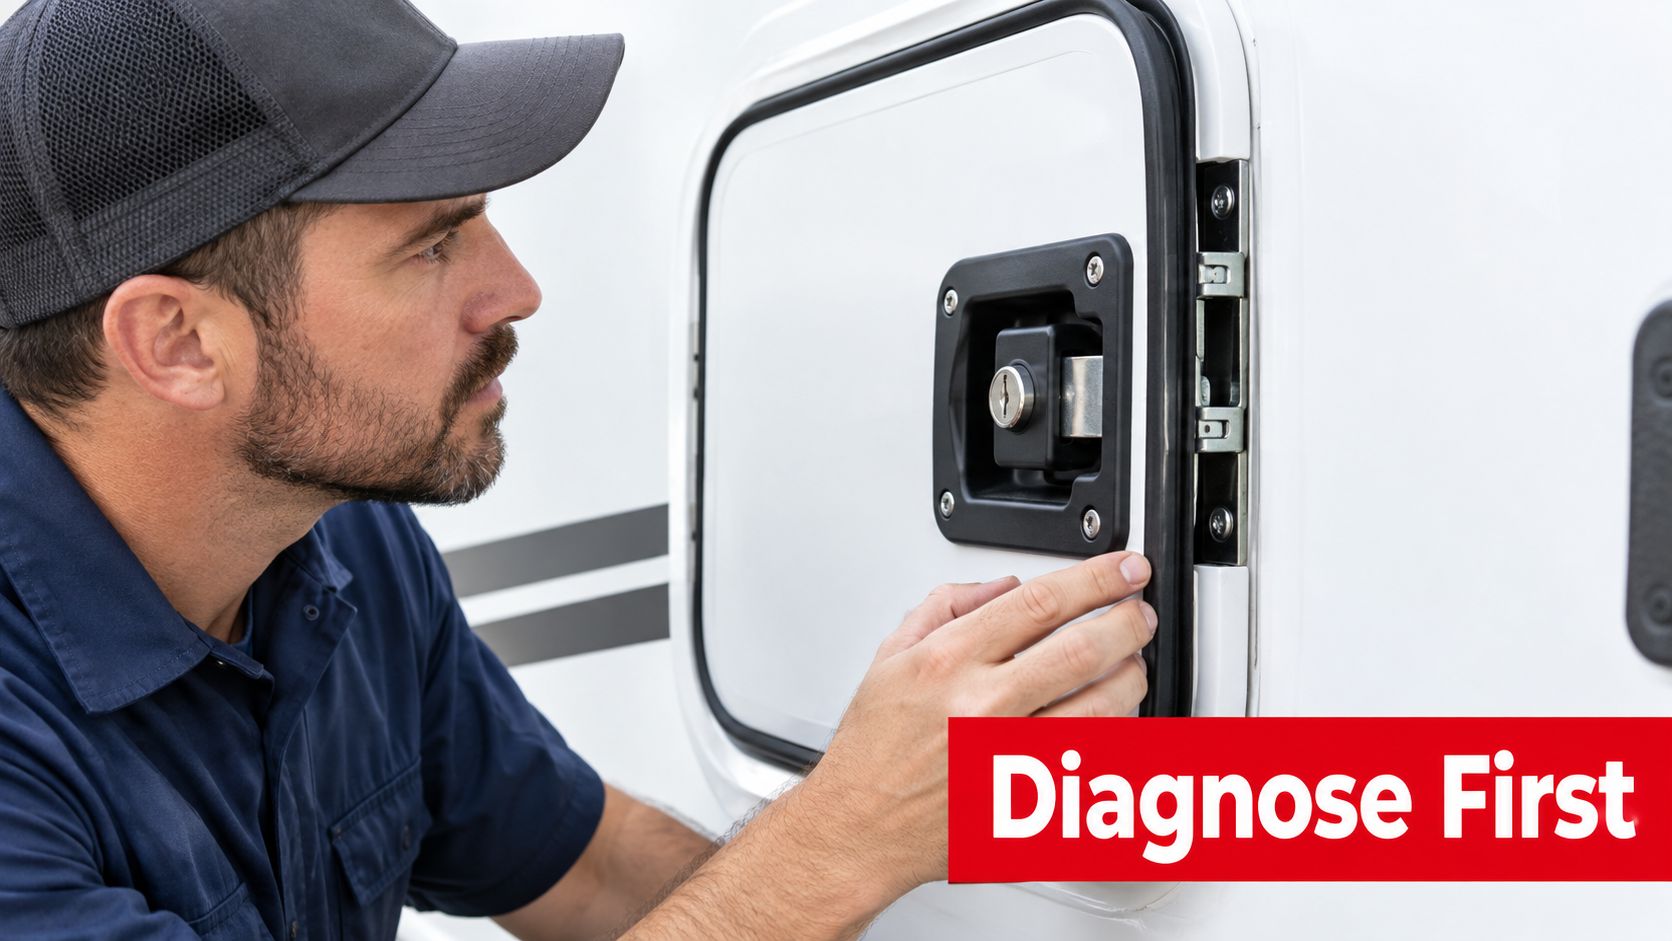
Separate latch faults from alignment faults
Use this sequence before ordering parts:
- Key or handle turns, but the cam doesn't move: The internal mechanism may be stripped or disconnected.
- Cam moves, but the door still shifts: Inspect the keeper, striker opening, and cam reach. The latch may be working while the receiving hardware is misplaced.
- Latch binds with the door closed: Check whether the door sits square, whether the gasket is pushing it outward, and whether the hinges have loosened.
- Latch flange flexes: Look for loose fasteners, enlarged holes, cracked fiberglass, or a thin backing area that no longer supports the assembly.
- Door closes only when slammed: Treat that as an alignment or seal problem, not proof that you need a stronger latch.
The striker or keeper is often the overlooked part. A few millimeters of displacement can turn full engagement into a shallow catch. A compressed or uneven gasket can create the same symptom by pushing the door away from the frame.
Practical rule: If the latch works normally with the door open but fails when closed, diagnose the door position, keeper, gasket, and mounting surface before condemning the latch.
Check every screw by hand. A screw that spins without tightening has probably lost its grip, and a screw head that looks intact can still be clamping a loose flange. A step-by-step RV door fix can provide useful broader repair context, but compartment-latch diagnosis should remain focused on engagement and substrate condition.
For component terminology, an RV door latch assembly diagram can help identify the cam, keeper, retaining hardware, and housing before you remove anything. Don't buy parts until you know which of those pieces is failing.
Choosing the Right Replacement Latch Hardware
The right replacement is determined by measurements, not by appearance. Two cam latches can look nearly identical while differing in cylinder length, cutout shape, cam reach, or offset. Those small differences decide whether the cam lands centrally on the keeper or barely touches it.
For most keyed compartment doors, compare these features first:
| Fit or material factor | What to record | Why it matters |
|---|---|---|
| Door thickness | Outer skin, core, and backing plate together | Determines whether the cylinder and retaining nut can clamp correctly |
| Cutout | Shape and diameter | A frequent 3/4-inch double-D pattern isn't universal |
| Cam length | Overall locking-arm reach | Controls whether the arm reaches the keeper |
| Cam offset | Bend or offset from the cylinder | Determines where the cam lands in relation to the frame |
| Housing material | Plastic, coated metal, or metal | Affects resistance to wear and weather, but not a damaged substrate |
Keystone's compartment-door lock replacement guidance identifies locking-arm length and offset as fit-critical measurements. Measure the full door thickness rather than only the exterior skin. An interior backing plate can change the required cylinder length enough to make a visually matching part unusable.
Choose construction without hiding the real trade-off
Metal hardware usually offers better resistance to repeated wear and corrosion than failure-prone plastic, but it isn't a cure for a distorted frame. A stronger latch can put more force into a weak fiberglass or composite panel. If the wall flexes, repair or reinforce the mounting area before upgrading the latch material.
Magnetic and gravity-style hardware may suit specialized doors, but don't assume a different latch type will solve a poor keeper position. A cam-action latch remains the practical choice when the original door uses a keyed rotating cam. Preserve the original operating geometry unless you're prepared to modify the strike and mounting arrangement.
Before ordering, place the old latch on a workbench and record the cutout, mounting-hole spacing, cam profile, and open orientation. A hinge and latch set can be useful when the door position itself is part of the failure, but replacing both components isn't necessary when the hinge remains tight and the door sits square.
Removing the Old Latch and Preparing the Surface
Remove the retaining screws or interior nut from the inside of the compartment door. Support the exterior latch with your other hand so it doesn't fall, twist, or drag the sealant across the panel. Use a correctly sized screwdriver and steady downward pressure. Stripped screws are far more likely when the bit is undersized or held at an angle.
Once the assembly is out, stop and inspect the opening. Remove old brittle sealant, dirt, and corrosion from the flange area, then check whether the cutout has become oval, cracked, or crushed. A distorted opening can let the new latch rotate under load, which eventually moves the cam out of alignment.
Repair the mounting surface before adding hardware
Stripped holes need a real repair. Filling them with a compatible structural material or reinforcing the backing area may be necessary, depending on the panel construction. Don't drive a larger screw into a weakened hole and assume the problem is solved. That can leave a poor clamp, crack the panel, or create a leak path.
Keep fastener length under control. A screw that is too long can contact interior components or damage the opposite surface. A screw that is too short may hold briefly and then loosen under vibration.
Dry-fit the replacement without sealant first. Confirm that the body sits flat, the key or handle has room to operate, and the cam reaches the keeper without forcing the door. Only after the surface and fit check out should you prepare the weather seal or compatible sealant required by the original design.
Installing the New Latch With Precision Alignment
Keep the cylinder in the open position while installing it. Align the flat sides of the body with the cutout, set the exterior collar or seal in place, and hand-start the retaining hardware. Hand-starting matters because it keeps the threads straight and leaves enough movement for alignment.
Don't tighten the latch fully yet. With the door open, cycle the key or handle several times and watch the cam travel. It should move freely without rubbing the door skin, seal, or housing.
Adjust the latch and keeper as separate parts
Close the door gently and check engagement. Apply a light pull at the lower edge. You want the cam to remain captured by the keeper without needing a slam or excessive force.
Use the symptom to choose the adjustment:
- Latch misses the keeper side to side: Loosen the latch fasteners and shift the latch laterally.
- Keeper sits above or below the cam: Adjust the keeper vertically or toward the door edge.
- Cam contacts the frame before the door closes: Check the cam offset, door thickness, and latch orientation.
- Door closes but remains loose: Inspect the cam reach, keeper opening, gasket compression, and substrate flex.
Make small adjustments, then test again. Incremental movement beats guessing, especially on thin panels where overtightening can distort the cutout. Once the latch catches consistently, tighten the fasteners evenly while holding the body flat.
The click is only the beginning of the test. The real test is whether the cam stays engaged when the door is pulled lightly from the lower edge.
This latch installation video can reinforce the general sequence, but your RV's cutout and keeper geometry still control the final adjustment. Work with the door open whenever possible so an accidental lockout doesn't turn a small repair into a larger problem.
Sealing, Testing, and Ensuring Long-Term Reliability
A latch can be mechanically correct and still fail the repair if water reaches the wall cavity. Use a thin weather seal or compatible sealant beneath the exterior collar where the original design calls for it. Keep sealant away from the key cylinder, cam path, and moving interfaces. Excess material can squeeze into the mechanism or prevent the collar from sitting flat.
The mounting surface carries the load, while the seal blocks water. Treat both as part of the same repair. Reusing stripped holes without filling or reinforcing them allows the latch to move, breaks the seal, and can pull water directly into the panel.
Run a complete final check
Test the installation in this order:
- Cycle the mechanism: Operate the key or handle repeatedly with the door open.
- Check the keeper: Close the door gently and confirm the cam captures it fully.
- Test retention: Apply a light pull at the lower edge. The latch shouldn't release or allow obvious movement.
- Inspect compression: Look for even gasket contact around the latch side without a crushed or folded seal.
- Check fasteners: Confirm the hardware is snug without crushing fiberglass, aluminum, or composite material.
- Perform a hose test: After the sealant has cured according to its product instructions, direct a controlled stream around the exterior collar and inspect the inside for moisture.
If the door binds, don't force the key. Recheck whether the keeper is too far inward, whether the gasket is pushing the door outward, or whether the cam offset is wrong. If the latch releases during a light pull, stop using the compartment until engagement is corrected.
A new metal latch won't compensate for a weak wall, loose hinge, distorted keeper, or damaged seal. Long-term reliability comes from the combination of accurate dimensions, sound substrate, measured fastener pressure, correct alignment, and a weather-tight seal. Before travel, confirm that the door closes without slamming and that the mechanism remains secure after repeated operation.
If your RV needs more than a generic hardware swap, T1A Auto offers premium aftermarket handles, hinges, latches, and related replacement parts selected for durable fitment. Visit the store to compare replacement hardware, review vehicle-specific options, and choose components backed by warranty support for repairs that need to hold up beyond the driveway.
