


Imagine your engine is a symphony. Every part—pistons, valves, fuel injectors, spark plugs—has a specific role to play, and they all need to perform in perfect harmony to create power smoothly and efficiently. The conductor of this intricate mechanical orchestra? That's the crankshaft position sensor (CKP).
This small but mighty sensor is the master timekeeper for your vehicle's engine management system.
Its job sounds simple, but it’s absolutely critical: it constantly monitors both the rotational speed and the precise position of the crankshaft. This single stream of data is the most important signal your engine's computer, or Engine Control Unit (ECU), receives. The ECU relies on the CKP signal to know the exact moment to trigger the spark plugs, pulse the fuel injectors, and fine-tune ignition timing for peak performance.
If that signal is weak, erratic, or gone completely, the ECU is left guessing. The engine’s timing collapses, leading to all sorts of frustrating problems—stalling, a rough idle, poor acceleration, or the engine refusing to start at all. Without its conductor, the orchestra is just noise.
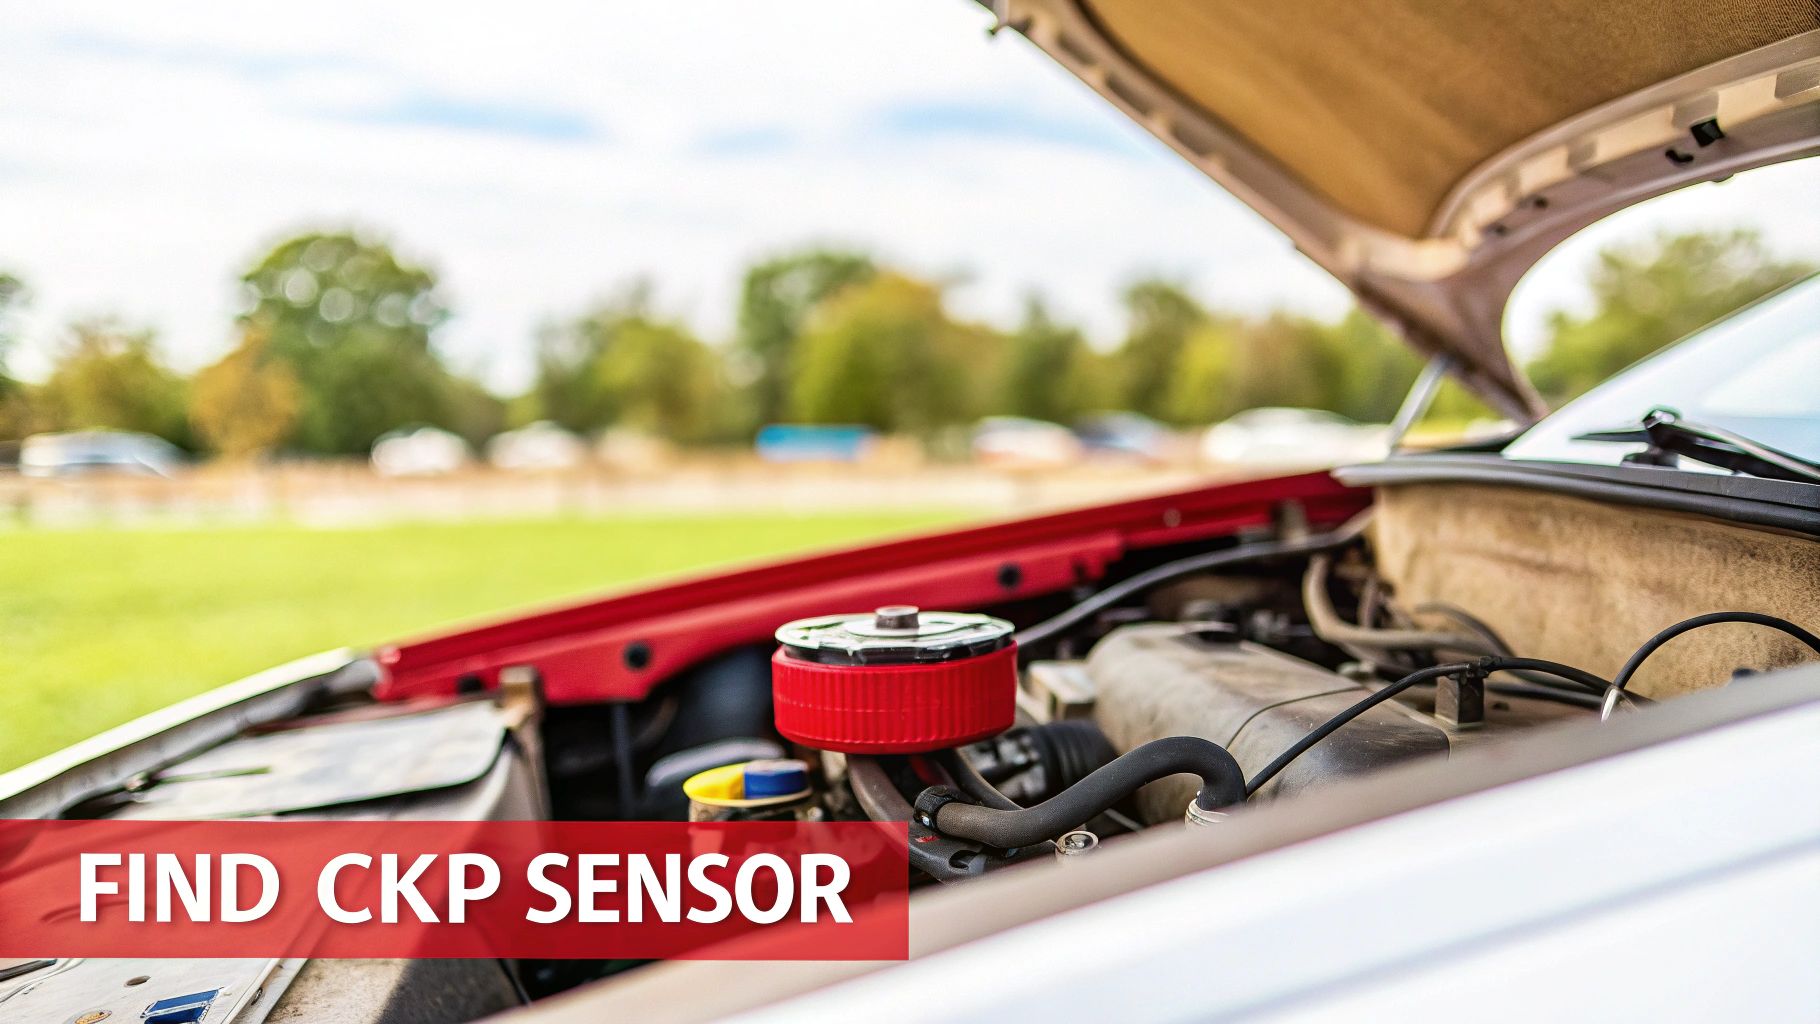
The Three Hotspots: Where to Look for the CKP Sensor
So, where is this critical sensor hiding? While every engine bay is laid out a bit differently, engineers almost always place the CKP sensor in one of three logical spots to get a clean reading from the crankshaft or a related component.

As the diagram shows, you’ll typically find it:
- Near the main crankshaft pulley (also called the harmonic balancer) at the front of the engine.
- Mounted on the side of the engine block, where it can read notches on the crankshaft itself.
- At the rear of the engine near the flywheel or flexplate, often accessible through a small port in the bell housing where the engine meets the transmission.
The key thing to remember is that the sensor must read a toothed reluctor wheel (or notches) on the crankshaft, harmonic balancer, or flywheel to generate a signal. This physical need is what dictates its placement. Once you grasp that, finding the sensor becomes a much more intuitive process—you just have to follow the crank.
Crankshaft Sensor Locations on Popular Trucks
Trucks often have more room to work, but the sensor can still be tucked away. Here’s a quick reference guide to help you pinpoint the CKP sensor on some of the most common trucks on the road.
| Vehicle Model (Example Year Range) | Common Sensor Location | Visual Cues and Access Notes |
|---|---|---|
| Ford F-150 (2011-2017) | Front of the engine, near the A/C compressor and main pulley. | Look down the front passenger side of the engine. It's often black plastic, held by one 8mm or 10mm bolt. Access can be tight. |
| Chevy Silverado 1500 (2007-2013) | Passenger side of the engine block, above the starter. | You'll often need to access it from underneath. Removing the starter may be required for easier access. |
| Ram 1500 (2009-2018) | Lower passenger side of the engine block, behind the A/C compressor. | Usually mounted directly into the block. Follow the wire harness down from the front of the engine to spot it. |
| Toyota Tacoma (2005-2015) | Front of the engine, on the timing cover, passenger side. | Very easy to spot near the crankshaft pulley. It reads the teeth on the pulley itself and is secured with a single 10mm bolt. |
| GMC Sierra 1500 (2007-2013) | Identical to the Chevy Silverado; passenger side, above the starter. | Access from below is your best bet. It’s a tight squeeze, so having a good light and a few different ratchet extensions helps. |
This table should give you a solid starting point, but always remember to consult a vehicle-specific repair manual if you’re unsure. Sometimes, what looks like the CKP sensor could be a knock sensor or oil pressure switch, so confirming its identity is key.
Recognizing the Symptoms of a Failing Crankshaft Sensor
A failing crankshaft position sensor rarely just quits without warning. Instead, it sends out a series of distress signals that can throw your engine's performance into chaos. Think of it as the engine's timing belt conductor suddenly giving all the wrong cues—when the Engine Control Unit (ECU) gets bad information, the whole system starts to falter. Learning to spot these symptoms is the first step to getting things back on track.
One of the most maddening signs is intermittent stalling. The engine might seem perfectly happy when it's cold, but as things heat up, the sensor’s electronics can start to break down. The signal drops out, leaving the ECU in the dark and causing the engine to shut off at the worst possible moments, like at a stoplight or while cruising down the road.
The opposite problem, a complete no-start, is another classic tell. If the ECU doesn't get any signal from the CKP sensor, it has no idea the engine is even trying to turn over. As a safety measure, it won't fire the spark plugs or send fuel. You can crank the engine all day, but it will never catch.
Common Performance Issues to Watch For
Beyond the dramatic no-start or stalling issues, a dying sensor can slowly chip away at your vehicle's performance. These symptoms often start small but get progressively worse as the sensor fails completely.
Keep an eye out for these signs:
- Engine Misfires and Rough Idling: An inconsistent signal from the sensor can cause the spark plugs to fire at the wrong time. This leads to misfires that feel like a shudder or a stumble, especially when you're stopped and the engine is idling.
- Poor Acceleration: Without accurate timing data, your engine simply can't generate power efficiently. You'll likely notice a sluggish response or hesitation when you step on the gas.
- Decreased Fuel Economy: When spark and fuel timing are off, your engine starts wasting fuel. You'll find yourself visiting the gas station a lot more often than you used to.
Your check engine light is the number one way your car asks for help. A failing crankshaft sensor will almost always trigger it. Don't ignore that little light—it's your ECU telling you to run a diagnostic check.
Connecting Symptoms to Diagnostic Codes
When that light on your dash pops up, it’s time to figure out why. Understanding What Your Check Engine Soon Light Means is key, as it's often the first solid clue you have.
An OBD-II scanner is your best friend here. Plugging one in will let you read the Diagnostic Trouble Codes (DTCs) your ECU has stored. If the crankshaft sensor is the culprit, you'll most likely see code P0335, which means "Crankshaft Position Sensor 'A' Circuit Malfunction." Other related codes, like P0336 through P0339, can point to issues with the signal's range or intermittent dropouts. These codes are the smoking gun, confirming that the symptoms you're feeling are almost certainly tied to the CKP sensor or its wiring.
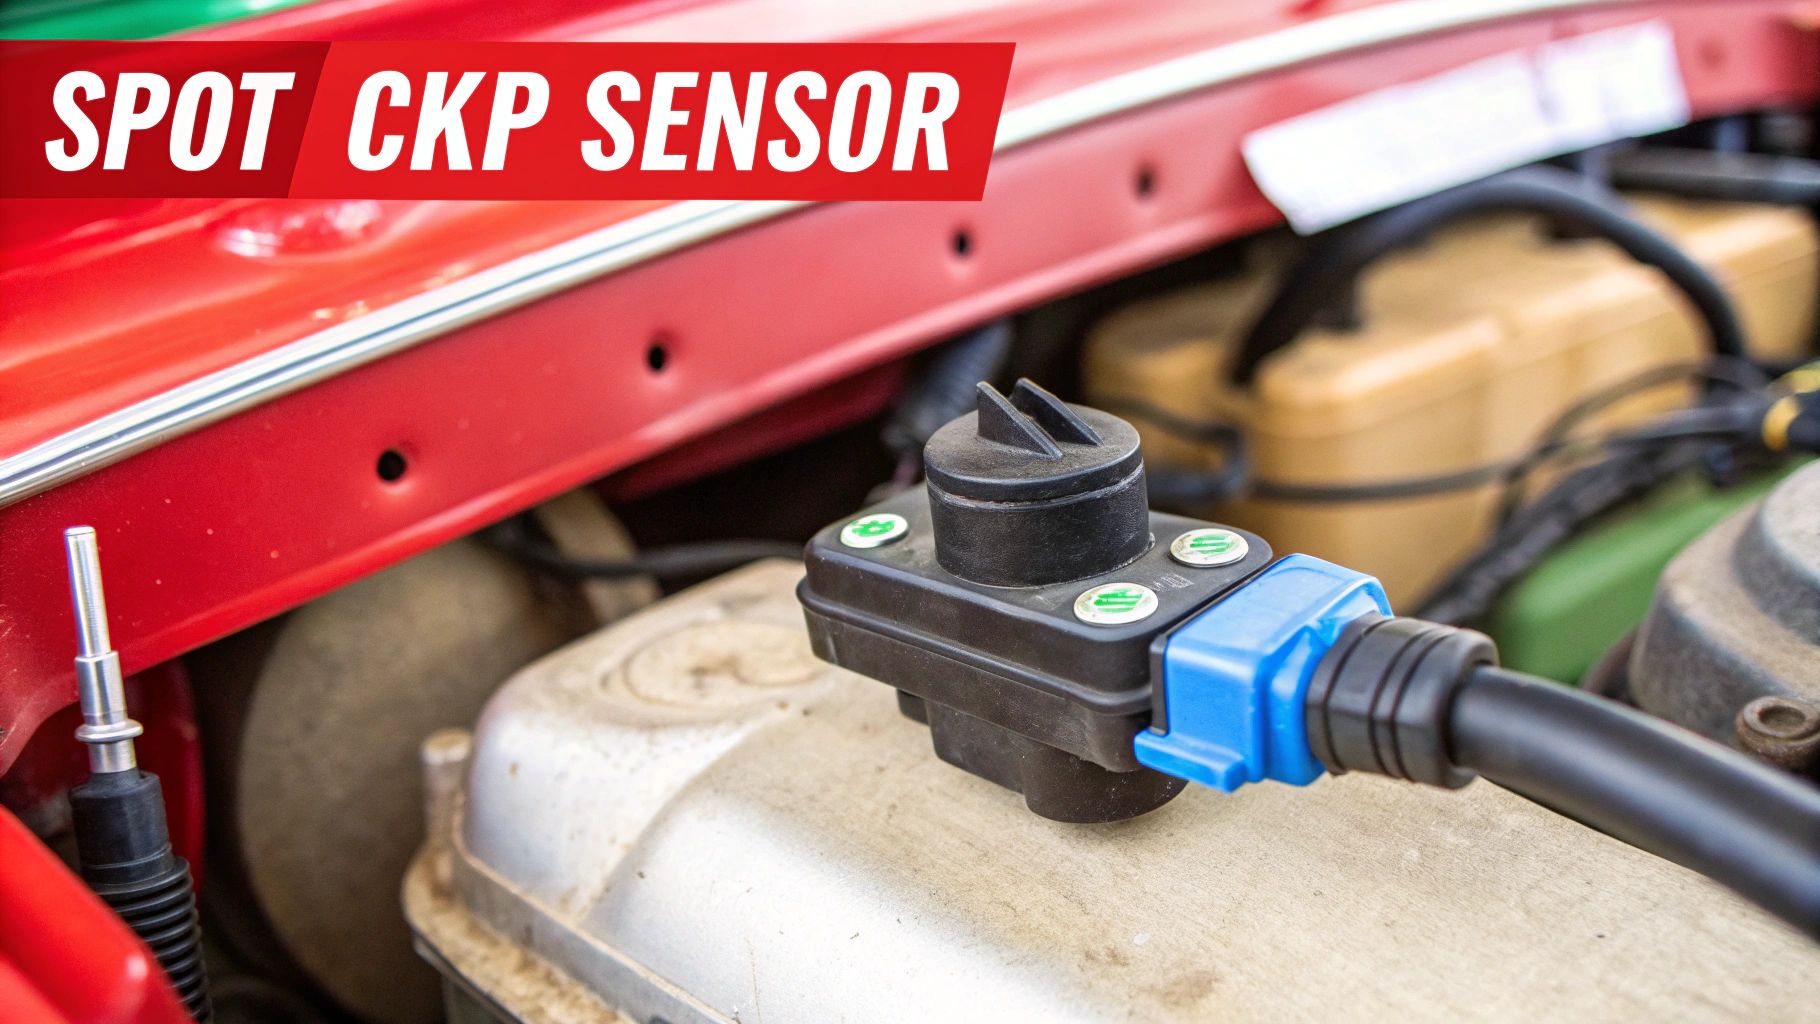
How to Visually Identify the Correct Sensor Every Time
Staring into a cramped engine bay, it’s easy to feel overwhelmed. A lot of sensors look frustratingly alike, and the last thing you want is to waste time and money replacing the wrong part. The trick to finding the crankshaft position sensor is knowing exactly what to look for and how it differs from its common lookalike, the camshaft position sensor (CMP).
Your first and biggest clue is always location, location, location. Think about its job: it has to read the crankshaft's rotation. That means it will always be mounted somewhere on the lower half of the engine, close to a spinning part of the crank assembly like the main pulley (harmonic balancer) or the flywheel. In sharp contrast, the camshaft sensor will always be up high, typically mounted on the cylinder head or poking through the valve cover.
Another dead giveaway is the physical shape of the sensor itself. While both are usually small plastic sensors held in by a single bolt, the crankshaft sensor often has a longer "snout" or probe. This design is purely functional—it lets the magnetic tip get just close enough to the spinning reluctor wheel to pick up a clean signal without touching it.
Key Visual Identifiers
Once you’ve narrowed down the general area, you can zero in on the details. Keep an eye out for these tell-tale signs to be 100% certain you've got the right component in your sights.
- The Wiring Connector: Most crankshaft sensors have a straightforward two or three-wire connector. Follow the wiring harness; it should route directly down toward the lower engine block, not up toward the top of the engine.
- The Mounting Bolt: You're almost always looking for a single, small bolt holding the sensor in place. It's usually an 8mm or 10mm head, designed for quick and simple removal.
- Proximity to the Crankshaft: This is the final confirmation. The sensor's tip will be aimed directly at the crankshaft pulley, the flywheel (often visible through a small port in the bell housing), or a notched ring on the crank itself. No other sensor has a reason to be in these specific, low-slung spots.
A common rookie mistake is confusing the CKP sensor with the oil pressure sensor, since they're both located on the engine block. The difference is in the details. The oil pressure sensor is typically bulkier, has a different style of electrical connector, and actually threads into an oil passage. The CKP sensor just mounts flat against a surface. Learning to spot these little distinctions will make your diagnosis much faster and more accurate.
Essential Tools and Safety Steps for Your Repair
 Any good repair starts with two things: having the right tools on hand and putting safety first. Before you even think about crawling under the car to find that sensor, it pays to get your gear organized. Trust me, it beats making a last-minute, grease-covered trip to the auto parts store.
The good news is that you probably won't need anything too exotic for this job. For most crankshaft sensor swaps, a well-stocked DIY toolkit should have everything you need to get it done right.
Your Essential Toolkit
Let's get your gear lined up. Having these items ready will make the whole process go a lot smoother.
- Socket Set and Wrenches: The sensor is usually held on by a single bolt, but it can be tucked away in a tight spot. A good socket set with a few different extensions is your best friend here. An 8mm or 10mm socket will handle most of them.
- Flashlight or Headlamp: Engine bays are dark, shadowy places. You absolutely need a good light source to properly identify the sensor and see what you're doing. A headlamp is great because it leaves both hands free.
- Jack and Jack Stands: If you have to get under the car, proper support is non-negotiable. You must use jack stands to secure the vehicle. Never, ever work under a car that’s only held up by a jack.
- Gloves and Safety Glasses: Simple but important. Keep your hands clean and, more importantly, protect your eyes from any dirt or debris that might fall while you're working.
Your Safety-First Checklist
More important than any tool is your approach. Rushing a job is the fastest way to get hurt or cause expensive damage to your car's sensitive electronics. Take a few extra minutes and run through this list every single time.
Safety isn't just a suggestion; it's a requirement for any DIY auto repair. Taking a few extra minutes to secure your vehicle and disconnect power can prevent serious accidents.
- Work on a Cool Engine: Let the car sit for at least an hour before you start. Engine blocks and exhaust parts get incredibly hot and can give you a nasty burn in an instant.
- Disconnect the Battery: Always, always disconnect the negative battery terminal first. This simple step prevents electrical shorts that could fry your car's computer (ECU) or other expensive components. If you're unsure about this, our guide on how to diagnose car electrical problems can help.
- Use Wheel Chocks: If you're jacking up the car, block the wheels that are staying on the ground. This is your backup to prevent the vehicle from rolling.
- Confirm the Location: Before you unbolt anything, double-check that you've got the right sensor. It's an easy mistake to make, and it's much easier to fix before you start taking things apart.
Choosing a Replacement Sensor You Can Trust

So you’ve found the sensor. Great! Now for the most important part of the job: picking a replacement that won’t have you doing this all over again in a few months.
It’s tempting to grab the cheapest part you can find, but installing a low-quality sensor is a surefire way to end up stranded with the exact same no-start or stalling problems. That's why getting the fitment right is non-negotiable. Always use your vehicle's specific year, make, and model to find the correct part. A sensor that's even a millimeter off can hit the reluctor wheel or have the wrong electrical plug, and you'll be right back where you started.
The Value of Quality Aftermarket Parts
Sure, you can always go to the dealership for an OEM part, but that's not your only choice. Today’s top-tier aftermarket parts often deliver incredible value, and in some cases, are built to last even longer than the original. Many are beefed up with better internal electronics and tougher housing materials to handle the brutal heat and vibration inside an engine bay.
If you're weighing your options, understanding the real differences between OEM vs. aftermarket parts can save you a lot of headache and money down the road.
Pay close attention to the warranty. A manufacturer's confidence in their product shows up here. A flimsy 90-day guarantee isn’t good enough. You want a solid warranty that protects your purchase for years to come—that’s the sign of a part built to last.
At the end of the day, you're not just trying to solve a problem for today. You're trying to prevent it from coming back tomorrow. Investing in a quality sensor with a strong warranty is about restoring your engine's performance and, more importantly, your peace of mind. It’s the smart play for a lasting repair that keeps your car reliable.
Got More Questions? We've Got Answers
Once you've wrapped up the replacement, you might still have a few things on your mind. Let's tackle some of the most common questions that pop up after a crankshaft sensor job so you can finish with total confidence.
Is It Safe to Drive with a Failing Crankshaft Sensor?
Honestly, it's a really bad idea. You're taking a big risk.
If the sensor is just starting to fail, you might get away with it for a short time, but the engine could stall without warning. Imagine that happening in the middle of a busy intersection. If the sensor fails completely, the engine won't get a signal and won't start at all, leaving you stranded. It's best to address it immediately.
What's the Real Difference Between a Crankshaft and a Camshaft Sensor?
Think of them as two musicians playing in a band. Both are essential for timing, but they watch different parts of the engine.
- The crankshaft sensor is like the drummer, setting the fundamental rhythm. It watches the crankshaft at the bottom of the engine to know its exact speed and position.
- The camshaft sensor is like the lead guitarist, handling the melody. It monitors the camshaft at the top to time when the valves open and close.
They have to work in perfect harmony. While a bad cam sensor can cause poor performance, a failed crank sensor is a show-stopper—the engine simply won't run.
Does a New Crank Sensor Need a "Relearn" Procedure?
Yes, for a lot of modern vehicles, this is a critical step. After installing a new sensor, the engine's computer (ECU) needs to be formally introduced to it through a "relearn" or "re-sync" procedure. This process calibrates the ECU to the new sensor's specific signal, which is vital for precise ignition timing.
The exact steps vary from one manufacturer to another, so checking a repair manual for your specific car is the best way to do it right. Skipping the relearn can lead to a check engine light that won't go away, rough idling, or poor performance.
What Should I Expect to Pay for a Replacement?
The cost can be all over the map, depending on your vehicle and whether you're paying for labor.
- The Part: A new crankshaft position sensor typically costs anywhere from $25 to over $150.
- Labor: If you're doing it yourself, the only cost is the part and your time. A shop will likely charge $100 to $300 for labor, sometimes more if the sensor is buried deep in the engine bay and hard to reach.
You can definitely save a good chunk of money on the part itself by shopping around and finding the best online auto parts retailer.
For a guaranteed fit and lasting performance, trust T1A Auto for your next repair. We offer premium aftermarket parts engineered for durability, backed by an industry-leading warranty and expert support. Shop now at t1aauto.com to get the right part the first time.