


When your car door lock starts acting up—maybe the key fob is unresponsive, the lock works one day but not the next, or you hear strange noises from inside the door—it's a sign that the lock actuator assembly might be on its way out. Replacing it involves taking off the interior door panel to get to the guts of the system. While that might sound intimidating, it's a job many DIYers can handle with the right know-how.
Diagnosing a Failing Car Door Lock
Before you even think about ordering a new part or picking up a screwdriver, you need to be absolutely sure what you're fixing. Jumping to conclusions is the fastest way to waste an afternoon and a hundred bucks. A door lock system isn't just one part; it's a team of components, and you have to pinpoint the lazy player.
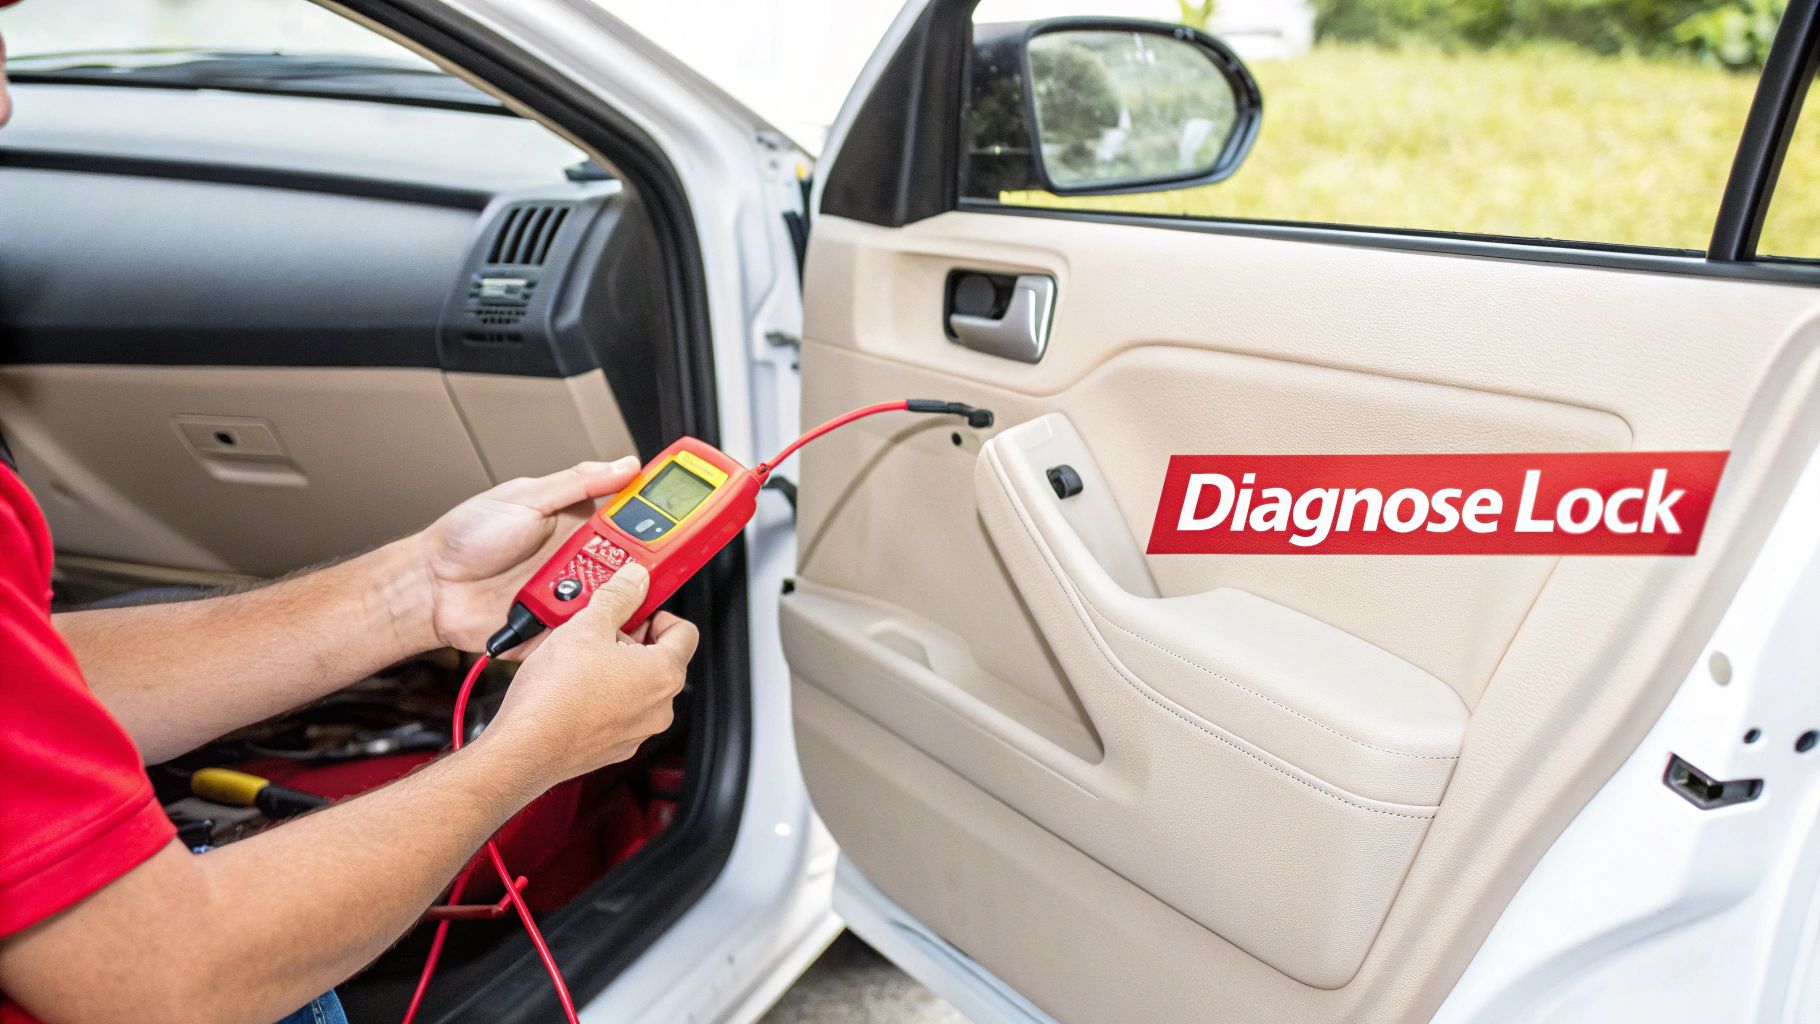
Sometimes, the simplest things are the problem. A weak key fob battery can make a lock seem sluggish, and a single blown fuse can knock out all your power locks at once. Always check the easy stuff first. Put a fresh battery in your fob and take a peek at the fuse box before you assume the worst.
Listening for Audible Clues
Believe it or not, your ears are one of the best diagnostic tools you have. Hit the lock or unlock button and get close to the door that's giving you trouble. What do you hear?
- A weak buzzing or grinding noise? That's a classic sign. It means the little electric motor inside the actuator is trying its best but can't finish the job, likely because of worn-out internal gears. This almost always means the assembly is toast.
- A fast, repetitive clicking sound? This can point to an electrical snag where the actuator gets the signal but something is preventing it from completing the mechanical motion.
- Total silence? If the other doors make a satisfying "clunk" and this one does nothing, you're likely dealing with a dead actuator or a break in the wiring leading to it.
Pro Tip: Grab a friend and have them work the locks while you stand right next to each door. It's much easier to isolate exactly which door is making—or not making—a noise and confirm where the problem is.
Checking for Intermittent Failures
Locks rarely just die. More often, they'll start failing sporadically, which is beyond frustrating. Maybe it only works on cold mornings, or perhaps it gives up after a long drive. These on-again, off-again problems are hallmark symptoms of a failing motor or a tiny crack in a solder joint inside the actuator that only causes issues when temperatures change.
The global market for automotive door lock components has boomed, hitting USD 15.5 billion by 2025. For home mechanics, this growth is great news—it means high-quality aftermarket parts are easier to find and more affordable than ever, offering a solid alternative to expensive dealer parts.
Door Lock Failure Symptom Checker
To help you narrow down the issue, this quick table connects common symptoms to their most likely causes.
| Symptom | Potential Cause | Recommended Action |
|---|---|---|
| All door locks fail at once | Blown fuse or faulty Body Control Module (BCM) | Check the fuse box first. If fuses are good, a BCM scan may be needed. |
| One lock makes grinding/buzzing noise | Failing motor or stripped gears in the actuator | Prepare for a full lock actuator assembly replacement. |
| Lock works with key but not electronically | Dead actuator, bad wiring, or faulty door switch | Test for power at the actuator connector; if power is present, the actuator is bad. |
| Lock works intermittently | Failing motor, cracked solder joint, or a loose connection | These are tough to pin down but usually require replacing the actuator assembly. |
| No noise or movement from one lock | Dead actuator or a break in the wiring harness | Confirm power and ground at the connector before condemning the actuator. |
This table is a starting point, but physical and electrical tests will give you the definitive answer.
Performing Physical and Electrical Tests
If listening doesn't give you a clear answer, it's time for some hands-on checks. First, use the physical key in the door. If it turns and operates the lock mechanism manually without any trouble, the mechanical parts are probably fine. The problem is almost certainly electrical, pointing right back at the actuator.
Of course, before you can fix the lock, you might just need to get in your car. There are some clever tips for unlocking a car door if you're in a jam.
Once you have access, you can grab a multimeter to confirm if power is even reaching the actuator. For a step-by-step guide on this, check out our article that details how to test a door lock actuator. A few minutes with a multimeter will tell you for sure if the actuator is the problem, giving you the green light to start the replacement.
Alright, you've pinpointed the bad lock assembly. Now comes the part that can make or break the whole job: choosing the right replacement. This isn't just about grabbing something that looks close enough. Getting this wrong can mean hours of frustration, electrical issues, or a door that stubbornly refuses to lock.
First things first, you absolutely have to nail the compatibility with your car's year, make, and model. Don't eyeball it. Reputable suppliers like T1A Auto have vehicle fitment tools right on their website that take all the guesswork out of the equation. Just punch in your car's info, and you'll get a list of parts guaranteed to fit your specific ride.
Matching Features Beyond the Basics
Today's door lock assemblies are a far cry from the simple mechanical latches of old. They're complex little hubs that talk to several of your car's systems. When you're picking out a replacement, you need to make sure it's a perfect twin to the original, feature for feature.
Pay close attention to these details:
- Power Lock Motor: If your car has power locks, the replacement has to have that motor built-in. Otherwise, your fob and interior switches won't do a thing.
- Keyless Entry Compatibility: The new part must be designed to sync up with your vehicle’s remote keyless entry system.
- Child Safety Latch: For rear doors, this is a critical safety feature. If your old lock had it, the new one must, too. No exceptions.
- Connector Type: The electrical plug on the new assembly needs to be a perfect match for your car's wiring harness. The last thing you want is to be cutting and splicing wires inside a door panel.
I always tell people it's like buying a phone charger. Dozens might look similar, but only the one with the right plug and power rating is going to work. Car parts demand that same precision.
The Advantage of Upgraded Components
Here's a silver lining to a failed part: you get the chance to install something better than what the factory gave you. A lot of original (OEM) door locks have plastic internal bits that get brittle and just give up after years of use. This is where a good aftermarket part really shines.
Smart suppliers re-engineer those weak points. For example, many T1A Auto parts swap out those flimsy plastic pieces for durable metal components. It's a simple change, but it dramatically boosts the part's lifespan and reliability. You end up with a repair that’s genuinely better than the original.
This shift to stronger materials is a big deal in the industry. The market for automotive door lock motors, which are the heart of these assemblies, was valued at US$ 3.4 billion in 2024 and is projected to hit US$ 5.2 billion by 2035. That growth is fueled by people like us who want reliable security features. You can actually dig into more of this data over at Transparency Market Research. When you choose a replacement with beefed-up metal internals, you're not just fixing a problem—you're investing in a more durable solution.
Ultimately, getting the right part boils down to three things: confirming the fitment, matching the features exactly, and opting for upgraded materials. Get those right, and your new lock will be a smooth, successful repair that brings back your car's security and convenience for years to come.
Your Toolkit for a Smooth Replacement Job
Let's be honest, having the right tools laid out before you start is the difference between a two-hour fix and an all-day nightmare. A successful car door lock replacement is all about preparation. Nobody wants to be that person making a frantic trip to the auto parts store with a half-disassembled door.
Think of it like a surgeon laying out their instruments. You want everything within arm's reach. Find a clean, well-lit spot to work and lay down a blanket or a big piece of cardboard. This gives you a safe, scratch-free place to set the door panel when you get it off—a simple step that protects both the panel and your garage floor.
The Essential Tools You'll Need
While every car has its quirks, the basic tool list for a door lock actuator is pretty consistent. Chances are, you already have most of this stuff sitting in your garage.
- Socket and Ratchet Set: A standard metric set is your best friend here. It'll handle the bolts securing the lock assembly and other bits and pieces inside the door.
- Screwdriver Set: You'll definitely need a mix of Phillips and flathead screwdrivers for various screws and for popping open those little plastic covers hiding fasteners.
- Trim Removal Tools: These are non-negotiable. Seriously. Trying to pry off your door panel with a metal screwdriver is the fastest way to leave ugly, permanent gouges in your interior plastic. A cheap set of plastic pry tools is worth its weight in gold.
- Needle-Nose Pliers: Invaluable for getting a grip on stubborn electrical connectors and manipulating tiny clips without snapping them in two.
Pro Tip: Always disconnect the negative terminal on your car battery before you begin. It's a critical safety step that takes 30 seconds and prevents you from accidentally shorting something out while working with the door's wiring.
Keeping Your Parts Organized
The moment you start pulling screws and clips, it's easy to create a pile of chaos. One of the biggest rookie mistakes is throwing everything into a single heap, which turns reassembly into a frustrating puzzle.
Save yourself the headache with a simple system. A magnetic parts tray is great, but even an old muffin tin or a few labeled sandwich bags will do the trick. As you pull fasteners from the armrest, put them in one cup. The screws from the door handle bezel? They go in another. This little bit of organization makes putting it all back together almost effortless.
For an extra layer of defense against accidental dings and scratches, stick some blue painter's tape around the door frame and painted body where you'll be working. It acts as a buffer if a tool slips. Taking these few extra minutes to prep your space and organize your parts will pay off big time, making the whole job feel less like a chore and more like a win.
Installing Your New Door Lock Assembly
Alright, with your new T1A lock assembly in hand, it's time to get to work. This is where all that prep really starts to matter. What seems like a daunting task is really just a series of smaller, manageable steps. We'll walk through it together, from popping off the door panel to testing the final installation.
First thing's first: you have to get that interior door panel off. It's your only way to access the guts of the door where the lock lives. The panel is usually held on by a mix of hidden screws, a few bolts, and a bunch of plastic clips.
For a deep dive into that process, our complete guide on how to remove a car door panel is your best friend. It’s packed with vehicle-specific tips that can save you a ton of headaches.
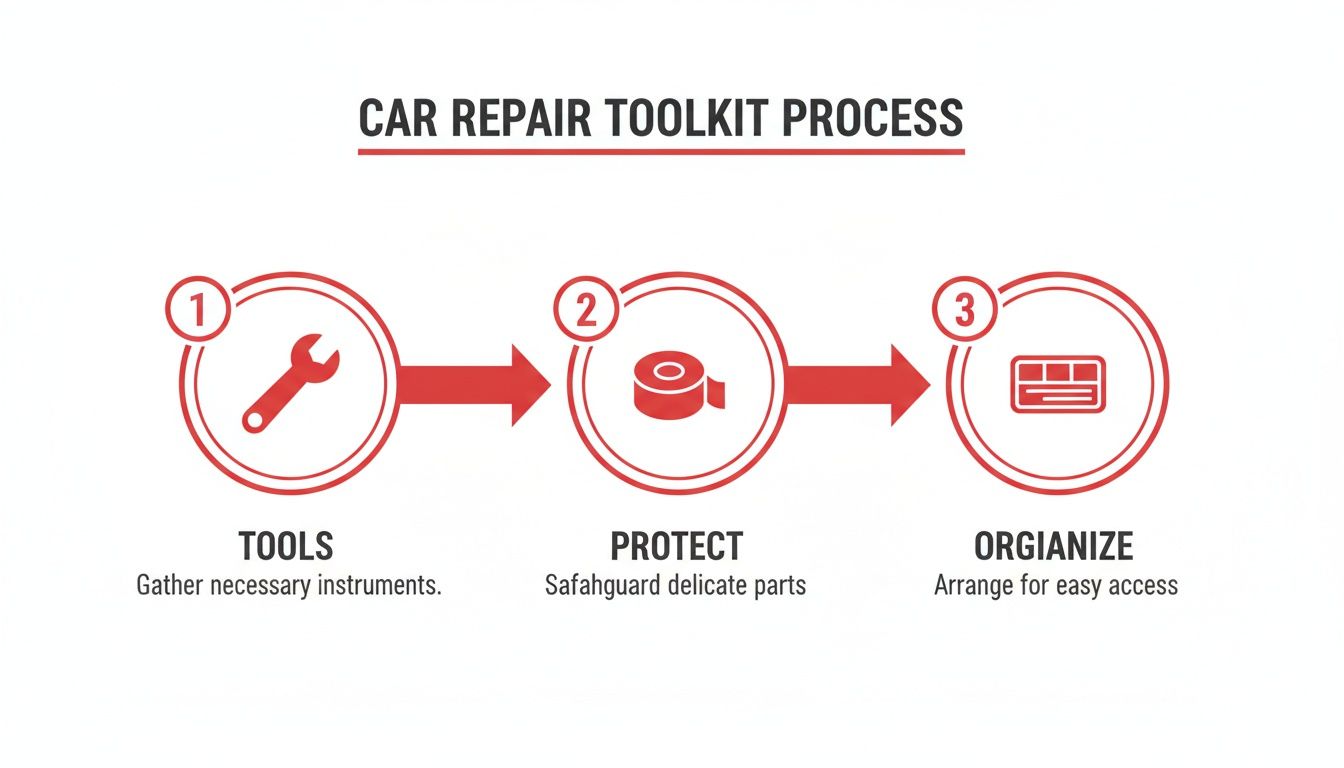
As you can see, getting the job done right starts long before you pick up a wrench. Good prep is half the battle.
Getting Behind the Curtain: Accessing the Door's Insides
Once the door panel is safely out of the way, you'll be looking at a sheet of plastic or foam. That’s your weather barrier, or vapor shield. It’s a critical part that keeps moisture, wind, and road noise out of the cabin, so you want to treat it gently.
This barrier is stuck on with a thick, gummy black adhesive called butyl tape. Start at a corner and begin peeling it back slowly and carefully. You're not trying to rip it off completely, just create a large enough opening to work through.
If it’s a cold day, that butyl can be a real pain. A quick blast from a heat gun on a low setting will soften it right up, making the barrier peel away much more easily. With it pulled back, you'll finally see the lock assembly. Take a second to look at how everything is hooked up—a quick photo on your phone can be a lifesaver later.
Unhooking the Old Lock Assembly
The old lock is connected in three ways: an electrical plug, mechanical rods, and the mounting bolts holding it to the door. You’ll need to disconnect them in that order.
First, tackle the electrical connector. Look for a small release tab you need to press. These can be stubborn, especially if they're full of dust. A small flathead screwdriver can help, but be gentle—you don't want to snap the plastic clip.
Next are the mechanical rods that link the lock to your door handles and the lock knob. Each rod is secured by a small plastic clip, often brightly colored, that acts like a little gate.
- Flip the gate: Use your fingertip or a pick to swing the plastic clip away from the rod.
- Slide the rod out: With the clip open, the rod will pop right out of its hole.
Be warned: these little clips get brittle with age. If you try to force them, they will break, and finding a replacement can be a pain. Go slow.
Pro Tip: If a clip won't budge, try jiggling the corresponding door handle. This often relieves just enough tension on the rod to let the clip swing free without a fight.
The Old Out, The New In
With all the connections free, the last step is to unbolt the lock from the edge of the door. These are typically Torx or standard hex-head bolts. Once they're out, the assembly is free.
Now for the fun part. Getting the old lock out of the door opening can feel like a puzzle. You’ll have to twist and angle it just right to maneuver it past the window guide rail and other internal parts. Find the path of least resistance; don't just yank on it.
Once the old unit is out, do a quick side-by-side comparison with your new T1A replacement. Make sure every mounting point, lever, and the electrical plug is an exact match. This is your last chance to catch a problem before you're halfway through the install.
Sliding the new assembly in is just the reverse. Find that same magic angle and carefully guide it into position, making sure not to snag any wires or bend the rods. Get the mounting bolts started by hand to hold it in place, but don’t tighten them down just yet.
Hooking It All Up
Time to reconnect everything to the new lock. Start by re-inserting the mechanical rods into their designated spots and snapping the little plastic clips firmly shut. You should feel a satisfying click.
Next, plug in the electrical harness. It should go in smoothly and click securely, confirming a good connection. With all the rods and wires back in place, go ahead and tighten down the mounting bolts. Get them nice and snug, but don’t go crazy and strip them out.
If you’ve ever done a similar job, like replacing a car window regulator, you'll notice the process feels very familiar. A lot of interior door work involves these same basic steps.
Before you even think about sealing everything up, you have to test it. Reconnect the battery if you disconnected it, and temporarily plug in the main switch cluster from the door panel. Now, test every single function. Use the key fob, the interior lock switch, and the manual knob. Pull both the inside and outside handles. Make sure everything works smoothly.
If you get a green light on all functions, you're in the home stretch. Carefully press the weather barrier back onto the sticky butyl, running your hand along the edge to get a good seal. Reinstall the door panel, hook up any final wires for speakers or window switches, and pop all the clips back into place before putting the last screws in.
Final Checks and Troubleshooting Your Work
You’ve got the new lock assembly in place and everything is hooked up. It's so tempting to just slap that door panel back on and call it a day, but don't. This last part is what separates a decent repair from a truly professional one. A few minutes of thorough testing now will save you the massive headache of having to rip that door apart all over again.
Before you even think about reinstalling the door panel, it’s time for a full systems check. If you disconnected the battery earlier (which is always a good idea), go ahead and reconnect the negative terminal. You'll need to temporarily plug in the door panel's main switch cluster to get power to the locks and windows for the test.
Now, be methodical. Grab your key fob and lock and unlock the doors a few times. You want to hear a solid, crisp thunk from the new lock—no hesitation, no weird grinding sounds. Then, do the same thing using the interior power lock switch. Finally, test it the old-fashioned way by manually flipping the lock tab or knob inside the door.
Perfecting the Mechanical Feel
Once you've confirmed the electronics are working perfectly, it’s time to check the physical handles. Pull the exterior handle, then the interior one. How do they feel? A properly installed lock should feel just like the other doors on your car—smooth and predictable.
If a handle feels stiff, has too much play, or just doesn't seem to be engaging the latch correctly, a mechanical rod is probably a little out of whack.
- Check the clips: Every one of those little plastic rod clips needs to be snapped completely shut. Even a partially open clip can create slack or cause the rod to bind.
- Look for obstructions: Peer inside the door and make sure the rods have a clear path. They shouldn't be rubbing against the window, the window regulator tracks, or any wiring harnesses. Sometimes, just nudging a rod a few millimeters over is all it takes.
Making these tiny adjustments now is critical. It ensures there's no unnecessary stress on the mechanical parts, which is a major cause of premature failure down the road.
Takeaway: Don't just check if it works—check how it feels. The whole point of a car door lock replacement is to get back that factory-smooth operation. Any stiffness or weird feedback is your cue to take another look before sealing things up.
Post-Installation Troubleshooting Guide
Even the most seasoned pros run into snags sometimes. If something isn't working right, don't sweat it. Most post-installation problems are the result of simple, easy-to-fix oversights.
Here’s a quick-glance table to help you systematically figure out what’s wrong and how to fix it.
| Problem | Likely Cause | Solution |
|---|---|---|
| Power lock doesn't work at all. | The electrical connector isn't fully seated. | Unplug the connector and check for bent pins. Plug it back in firmly until you both hear and feel it click into place. |
| Lock works, but a rattle is heard. | A mechanical rod is vibrating against the door frame. | Find the loose rod and double-check its clips. You can also wrap a small piece of foam tape around the rod where it's making contact. |
| Door handle feels loose or doesn't open the door. | The handle's mechanical rod has popped out of its clip. | Go back into the door panel and securely re-attach the rod to the lock assembly. Make sure the plastic clip is fully closed. |
| Lock works manually but not with the key. | The key cylinder linkage is not correctly attached. | Double-check the connection between the physical key cylinder and the lock assembly. That small lever or arm must be seated properly. |
Most of the time, one of these simple fixes will solve the problem.
Keep in mind, on rare occasions, a stuck lock might be a symptom of a different issue. If you find your car door lock is stuck and the new assembly didn't fix it, you might need to investigate other components like the door latch or handle mechanisms.
Once you’ve confirmed that every single function is flawless and feels right, you can finally reinstall the vapor barrier and put the interior door panel back on for good. Line up the clips, tighten the screws, and step back to admire a job well done.
Answering Your Top Car Door Lock Replacement Questions
Even with the best guide in hand, a few questions are bound to pop up when you're staring down a car door lock replacement. That's perfectly normal. We see the same queries come up time and time again, so we've put together some straight answers to help you tackle this job with confidence.
Getting these details sorted out before you start pulling the door panel off can save you a ton of headache mid-repair.
How Long Does This Job Usually Take?
If this is your first time doing this repair, be kind to yourself and block out 2 to 4 hours. This isn’t a race. Giving yourself a decent window of time takes the pressure off, lets you work methodically, and helps you avoid the simple mistakes that happen when you're rushing.
Sure, a seasoned mechanic who's done this a hundred times might get it done in 90 minutes. But every car is different. The complexity of your specific door panel, the way the wiring is routed, or how the window regulator is positioned can all add unexpected time. Patience is your best tool here.
Can I Just Replace the Little Motor Inside?
I get why people ask this—it seems like an easy way to save a few bucks. But trying to replace just the small electric motor inside the lock actuator is almost always a bad idea. These little motors are sealed and deeply integrated into the plastic housing of the lock mechanism.
More often than not, attempting to pry the assembly apart leads to cracked plastic and broken clips, leaving you with a useless part. Even if you manage to swap the motor without breaking anything, the other plastic and mechanical components in the assembly are just as old and likely not far from failing themselves. Just replace the entire unit. It's a much more reliable and permanent fix that ensures every part is fresh and ready to go.
My Two Cents: Think of it like a watch. You wouldn't try to replace just one tiny gear; you replace the whole internal movement. The door lock assembly is a single, complex unit. Swapping the whole thing is the only way to guarantee it'll work reliably for years to come.
Does a New Lock Need Key Fob Programming?
This is a huge point of confusion for a lot of people, but the answer is a simple no. Your new door lock assembly is a "dumb" part; it doesn't need to be programmed to your key fob. It’s a purely mechanical and electrical component that just follows orders.
Your key fob is paired with your car's main computer—the Body Control Module (BCM)—not with the individual locks. As long as you install the correct, compatible lock assembly for your vehicle, the BCM will tell the new lock what to do, and your existing fob will work just like it did before. No programming needed.
Are Aftermarket Parts as Good as OEM?
Absolutely, and in many cases, they’re actually better. High-quality aftermarket parts are reverse-engineered to meet or exceed the original equipment manufacturer (OEM) specs. The goal isn't just to match the original, but to improve upon its weaknesses.
For example, many T1A Auto lock assemblies are built with robust metal gears to replace the failure-prone plastic ones used in the OEM parts. This means you’re often getting a more durable part that will outlast the one that came from the factory, all at a better value.
The aftermarket is a massive part of the auto industry for a reason. In fact, the car door latch market alone was valued at USD 5.34 billion in 2024 and is expected to grow to USD 8.22 billion by 2032. This growth is driven by demand for quality alternatives, making reliable parts more accessible than ever. You can dig into some of the market trends and their drivers if you're curious.
Ready to get the right part for the job? At T1A Auto, we offer premium aftermarket door lock assemblies with upgraded components and a guaranteed fit for your vehicle. Restore your car's security and convenience with a part built to last. Browse our selection now at https://t1aauto.com.
