


That high-pitched squeal you hear when you start your car? That’s not just an annoying noise—it’s your engine’s way of telling you it’s time to think about changing the serpentine belt. This one crucial belt drives everything from your alternator to your power steering. If you ignore its cries for help, you're setting yourself up for a sudden and inconvenient breakdown.
Catching the problem early is everything. It can mean the difference between a simple, inexpensive fix and a major, wallet-draining headache.
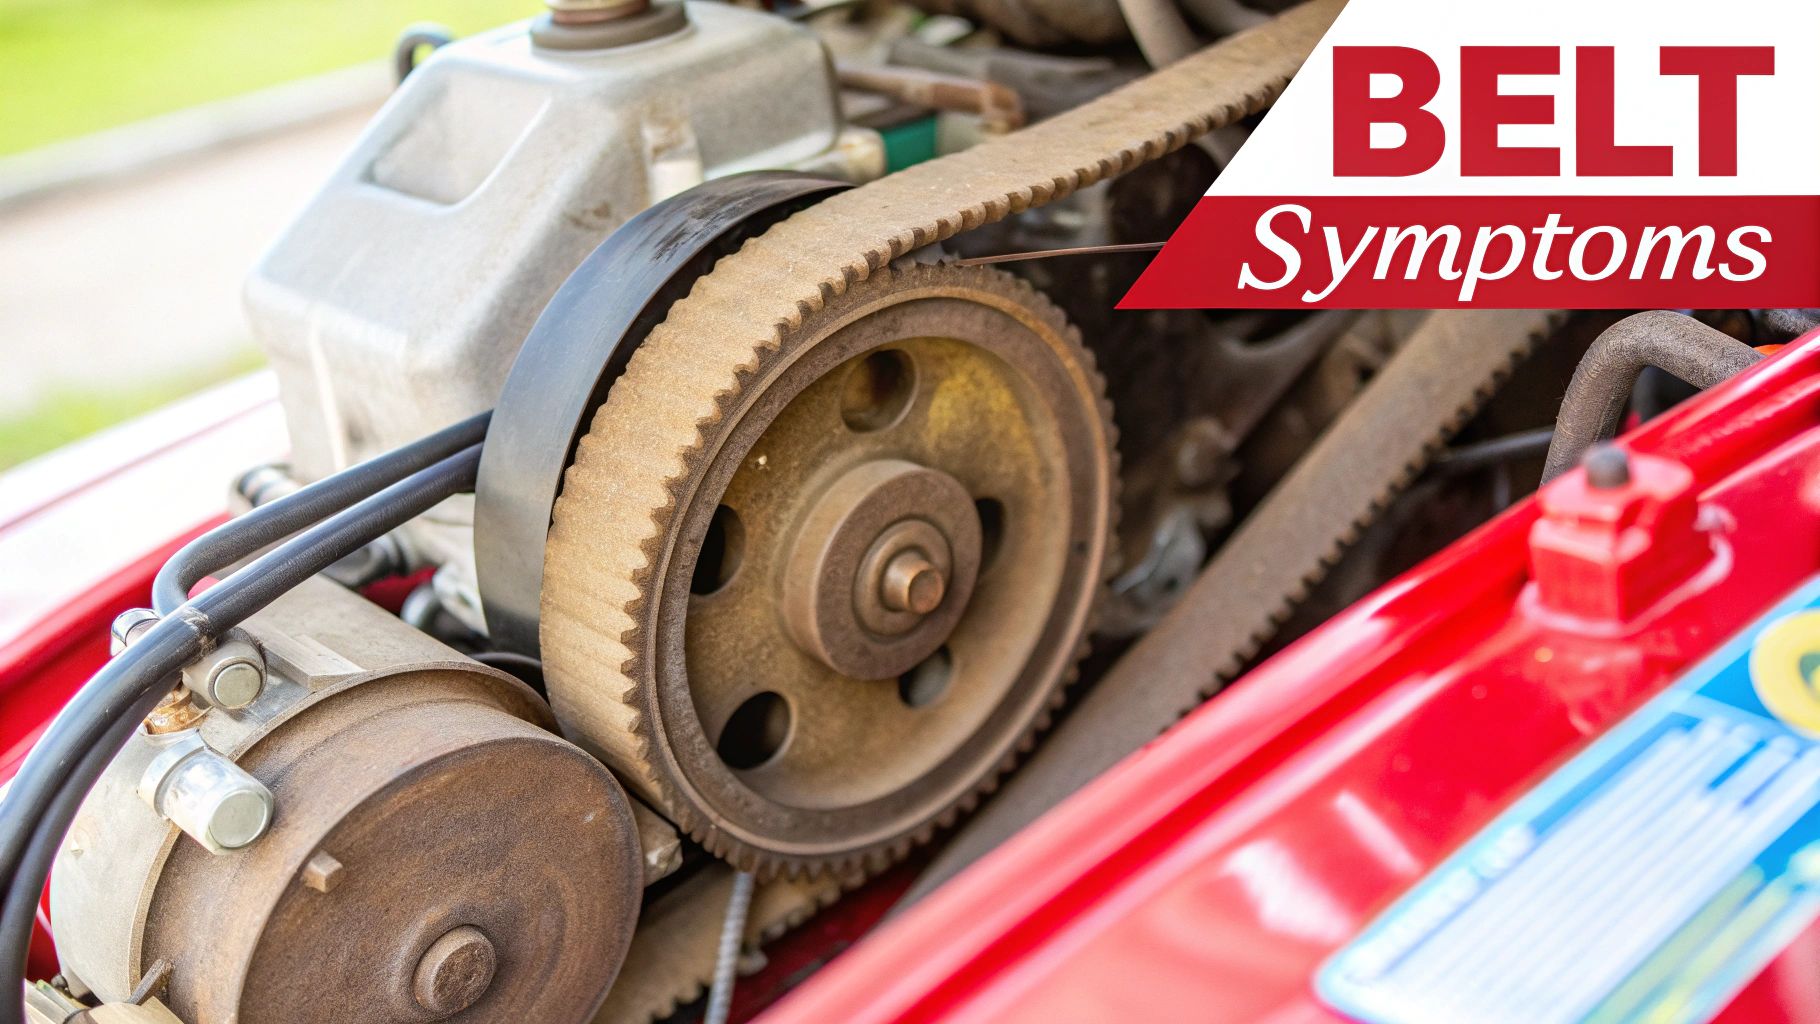
How to Spot a Failing Serpentine Belt
Before you grab a single tool, you need to become a bit of a detective. A serpentine belt on its way out rarely fails silently. It sends out plenty of clues, both through sounds and visible wear, that it's about to give up the ghost. Learning to read these signs means you’ll be fixing the right problem, not just chasing symptoms around the engine bay.
Listen for Telltale Noises
Honestly, your ears are often the best diagnostic tool you have. The sounds a bad belt makes are pretty distinct and can change with the weather or how hard the engine is working.
- Squealing on Startup: This is the classic symptom. That sharp, high-pitched shriek, especially on cold or damp mornings, is a dead giveaway. The rubber on the belt has hardened and is slipping on the pulleys until it warms up enough to get a decent grip.
- Persistent Chirping: A rhythmic chirp that gets faster as you accelerate usually points to a misaligned pulley or a bad bearing in the tensioner. It can also be a sign that the belt itself is starting to fray.
- Grinding or Rumbling: If you hear a low-pitched grinding, the problem might be more than just the belt. This often means a bearing is failing in one of the accessories the belt powers, like the alternator or water pump. A seized bearing will shred a belt in seconds.
Look for Visual Signs of Wear
A quick look under the hood can usually confirm what your ears are suspecting. Just make sure the engine is off, then grab a flashlight and give the entire length of the belt a close inspection. You’re looking for obvious signs of aging and decay.
A new belt is flexible with clean, deep grooves. A worn one, on the other hand, will show its age in a few key ways:
- Cracks and Missing Chunks: Scan the ribbed side for cracks running across the belt. If you see chunks of the ribs missing or the surface looks chewed up, that belt is living on borrowed time.
- Fraying Edges: The sides of the belt should be smooth and straight. If you see threads hanging off, it’s a sign the belt is rubbing against something and wearing unevenly.
- Glazing or Shininess: A smooth, glossy finish on the ribs means the rubber has hardened from countless heat cycles. This glazed surface can't grip the pulleys properly, which is what causes that annoying slipping and squealing.
Pro Tip: Don't just look at the top of the belt that's easy to see. With the engine off, twist the belt a little to get a good look at the ribbed underside—that's where the real business happens and where most wear occurs. One or two tiny cracks might be fine, but if you can count three or more in a one-inch span, it's definitely time for a replacement.
This quick-reference table breaks down what to look and listen for when you suspect belt trouble.
Common Symptoms of a Worn Serpentine Belt
| Symptom | What to Look or Listen For | What It Could Mean |
|---|---|---|
| High-Pitched Squeal | A loud squealing noise, especially when starting the engine on a cold or wet day. | The belt is old, hardened, and slipping on the pulleys. It could also be a sign of low tension. |
| Rhythmic Chirping | A consistent "chirp...chirp...chirp" that changes with engine RPM. | Could be a misaligned pulley, a worn tensioner bearing, or contamination on the belt. |
| Grinding or Rumbling | A low-pitched, metallic grinding sound coming from the front of the engine. | This often points to a failing bearing in an accessory pulley (alternator, power steering pump, etc.). |
| Visible Cracks/Fraying | Cracks across the ribs, missing pieces, or threads hanging off the sides of the belt. | The belt's material is degrading and is at high risk of snapping. |
| System Malfunctions | Dimming headlights, overheating engine, or difficulty steering. | The belt is no longer effectively powering the alternator, water pump, or power steering pump. |
Remember, these symptoms are your engine’s warning system. Ignoring them can lead to a sudden breakdown when the belt finally fails.
Performance Problems Linked to a Bad Belt
Since the serpentine belt runs so many critical systems, a problem with it can show up in unexpected ways. If you notice any of these performance issues along with the noises or visual signs, a bad belt is almost certainly the culprit.
- Flickering Lights or Battery Issues: The alternator, which keeps your battery charged, relies on the serpentine belt. A slipping belt means the alternator isn't spinning consistently, which can cause your headlights to flicker or your battery to die.
- Engine Overheating: That same belt powers your water pump. If the belt slips or breaks, coolant stops circulating, and your engine temperature will shoot up dangerously fast.
- Stiff Power Steering: If you suddenly feel like you're wrestling a bear to turn the steering wheel, the belt probably isn't driving the power steering pump correctly.
Being proactive is the best approach. In the aftermarket, which handles 40-50% of demand, most belts get replaced after 5-7 years when they start showing their age. It’s a smart move, as failure rates can actually double after 100,000 miles. Keeping up with a regular inspection schedule, like the one we detail in our Toyota Tacoma maintenance guide, will help you spot these problems long before they leave you stranded on the side of the road.
Getting Your Tools and Parts Ready
Trust me, there’s nothing worse than getting halfway through a job only to realize you’re missing a specific tool or have the wrong part. A little prep work turns this project from a potential headache into a smooth, satisfying fix. Let's make sure you have everything you need on the workbench before you even pop the hood.
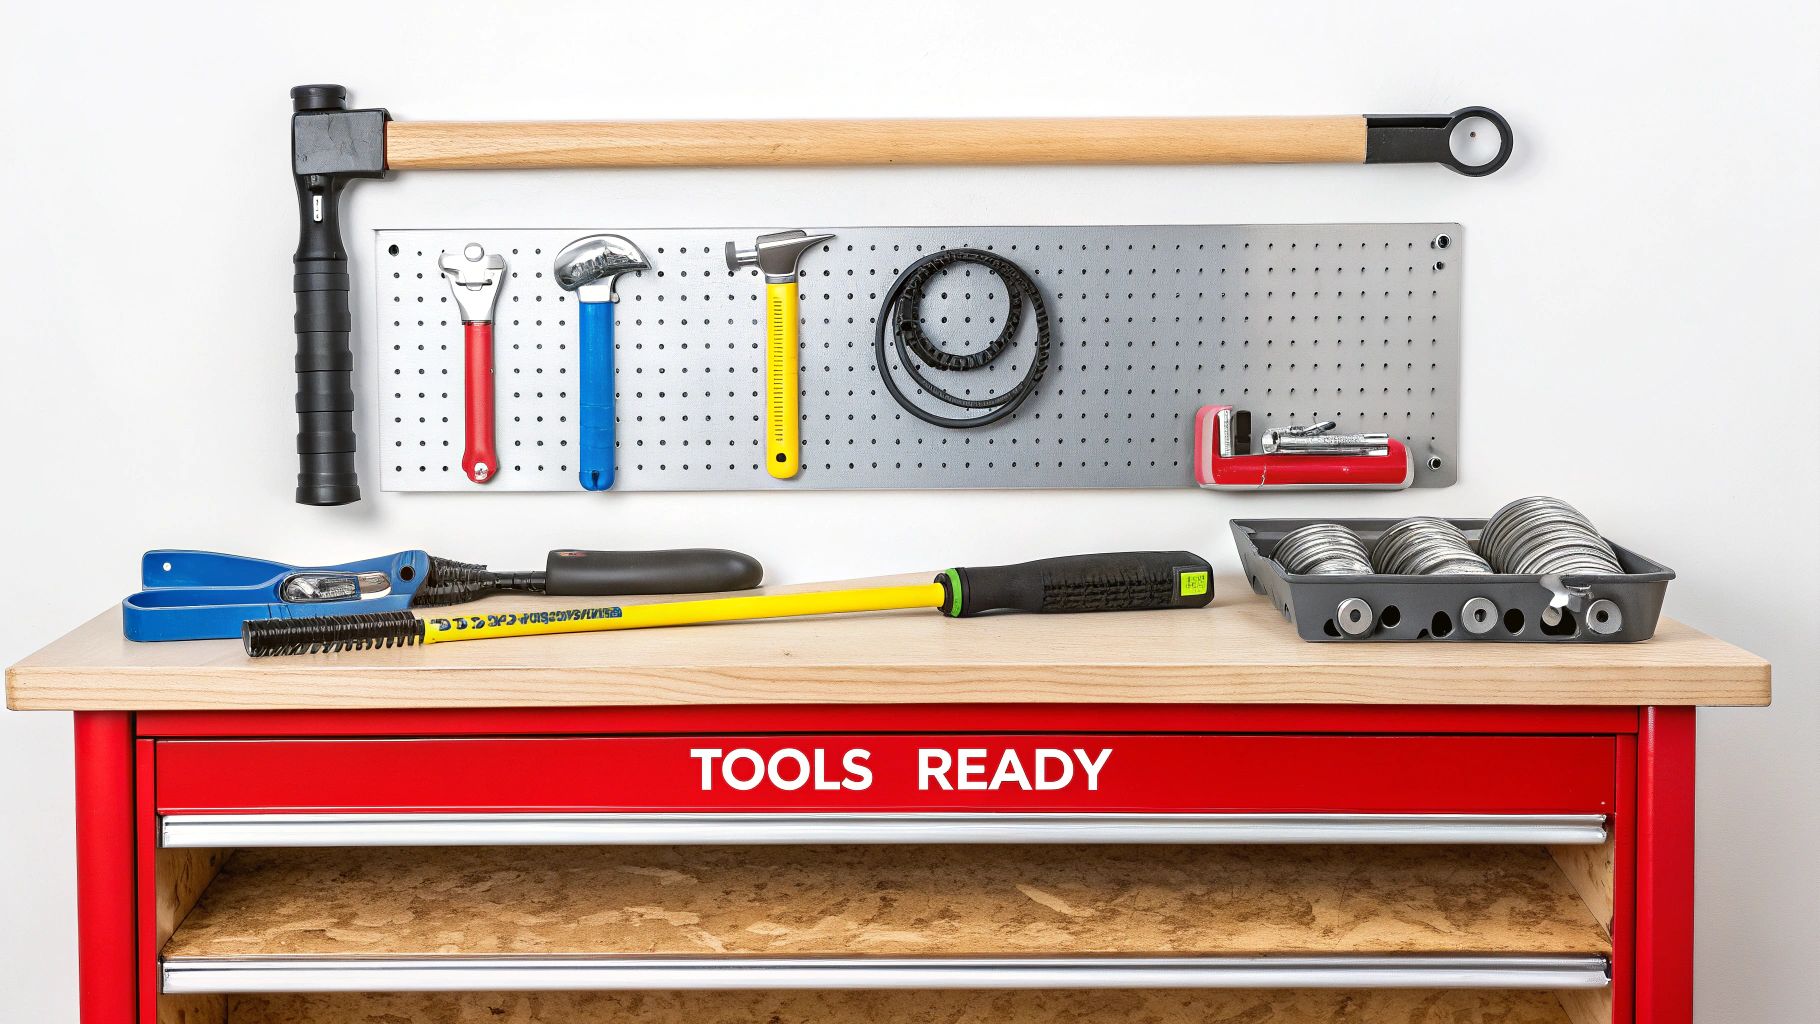
The Tools You'll Actually Need
You don't need a massive roll-away chest for this, but a couple of key items are essential for dealing with the belt tensioner. Depending on how tight the space is in your engine bay, you’ll want one of these:
- Serpentine Belt Tool Kit: This is the gold standard. These kits are designed specifically for this job, with a long, flat handle and low-profile sockets that can sneak into places a normal ratchet can't.
- Long-Handled Breaker Bar or Ratchet: If you've got decent access, a standard long-handled 3/8" or 1/2" drive ratchet often does the trick. That extra length gives you the leverage you need to move the tensioner without busting a knuckle.
- Socket and Wrench Set: A basic set is a must-have for removing any plastic covers or guards that might be blocking your view.
The whole point is to get enough leverage to safely and slowly release the tension. A dedicated tool is purpose-built for this, but a good breaker bar can work just as well if you have the room to swing it.
Finding the Right Parts
This is the most critical step of your prep work. A serpentine belt that’s even a little too long or too short is completely useless.
The absolute best way to guarantee you get the right one is to use your car's Vehicle Identification Number (VIN) when you buy it. This cuts through any confusion about different engine options or mid-year changes the factory made. You'll also have a choice to make about parts. Knowing the differences between OEM and quality aftermarket parts will help you decide what’s best for your car and budget.
Pro Tip: Before you loosen a single thing, pull out your phone and take a few clear photos of how the belt is routed around all the pulleys. Even better, look for a sticker under the hood (usually on the radiator support) that shows the belt routing diagram. This little step is a lifesaver when it's time to put the new belt on.
Inspecting Pulleys and Tensioners
This is what I call a "while you're in there" moment. It’s your chance to prevent another repair down the road. The belt relies on a tensioner and one or more idler pulleys to keep it running true. These parts have bearings that wear out over time.
Once the old belt is off, check each pulley.
- Give each pulley a spin. It should turn smoothly and quietly. If you hear grinding or feel a gritty resistance, the bearing is on its way out.
- Try to wiggle each pulley. Grab it and see if there's any side-to-side play. There should be none. Any wobble at all means the bearing is shot.
If you find a noisy or wobbly pulley, replace it now. It's so much easier to do while the belt is already off, and it ensures your brand-new belt will last for tens of thousands of miles without issue.
Alright, let's get our hands dirty. This is the part where all that prep work really shines, turning what looks like a complicated job into a pretty simple process. You’ll have that old belt off in a few minutes once you know the trick.
The whole magic behind this system is the automatic tensioner. Think of it as a spring-loaded arm that's constantly pushing on the belt to keep it tight and grippy. Our job is to find that tensioner and safely convince it to relax for a moment.
Finding and Releasing the Tensioner
Every engine bay is laid out a little differently, but the tensioner assembly is usually easy to spot. You're looking for a pulley on a spring-loaded arm. The dead giveaway is either a square hole (usually 3/8" or 1/2") or a hex-shaped nut right in the middle of the pulley or on the arm itself. That’s our leverage point.
If you’re staring into the engine bay and nothing is jumping out at you, grab that belt routing diagram you made. It'll point directly to the tensioner pulley and take all the guesswork out of it.
Once you’ve found it, fit your serpentine belt tool or a long-handled breaker bar onto that spot. Now, you’ll need to apply slow, steady pressure. You want to move the pulley away from the belt, which will compress the spring inside the tensioner.
A Quick Word on Safety: That tensioner is under a lot of spring pressure. It wants to snap back into position the second you let go. Keep your fingers clear of any pinch points between the belt and pulleys. A slip here can really ruin your day.
You'll feel plenty of resistance, but just keep that steady pressure on until the belt becomes noticeably loose. You don't need a huge range of motion—just enough slack to get the belt off one of the pulleys.
Slipping the Old Belt Off
With the tensioner held back, the belt is ready to come off. The key is to work smart.
Don't go for the big crankshaft pulley at the bottom first; it’s often the hardest to get to and has deep grooves. Your best bet is to target a pulley that's smooth, without any grooves, and easy to reach.
- Idler Pulleys: These are perfect candidates. They're just smooth wheels designed to guide the belt, making them easy to slip the belt off of.
- Alternator Pulley: This is another great option. It’s usually right up top and easy to get your hands on.
Keep one hand holding the tool on the tensioner and use your other hand to simply slide the belt off the easiest pulley you can reach. As soon as it's free from one, you can slowly release the pressure on your tool. Now the old belt is loose, and you can wiggle it out from around the other pulleys and fan blades.
This is one of the most common jobs in any garage, and the numbers prove it. Serpentine belt kits are a USD 1.18 billion market for a reason—everyone has to do this eventually. Mechanics consistently list it as a top 10 repair. While modern EPDM belts last longer, they need perfect tension, which is why the tensioner itself is part of a massive USD 3.71 billion global market. You can see more data about the growing serpentine belt and tensioner markets if you're curious.
Final Inspection Before You Install the New Belt
Hold on—don't just throw the new belt on yet. With the old one out of the way, you have a perfect, unobstructed view of all the pulleys. This is your chance to prevent future problems.
Grab your flashlight and give every single pulley a quick inspection. You're looking for two things:
- Debris: Tiny rocks or bits of old rubber love to get stuck in the pulley grooves.
- Damage: Look for any chips, deep rust, or cracks on the pulley surfaces.
Use a small pick, a wire brush, or a flathead screwdriver to carefully clean out anything you find. A damaged or dirty pulley can chew up a brand-new belt in no time, so making sure they’re clean and smooth is a critical final check.
Getting the New Serpentine Belt On Correctly
With the old belt out of the way and the pulleys cleaned up, you’re ready for the main event. Threading the new serpentine belt can feel like a game of cat's cradle, but with a bit of strategy, it’s a straightforward process. Don't even think about winging it—a mistake here will have you doing the entire job over.
This infographic lays out the removal process, which is the mirror image of what you're about to do. It sets the stage for a smooth installation.
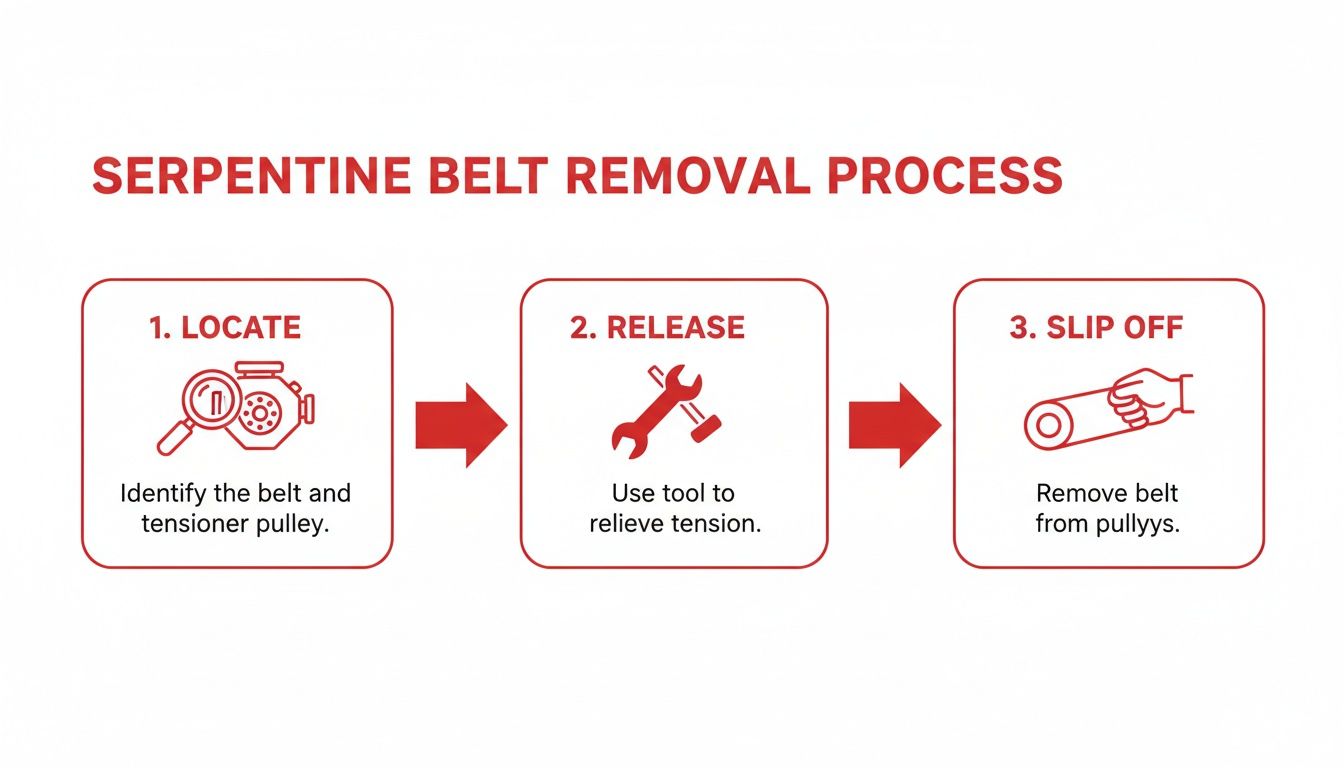
As you can see, it all comes down to locating the tensioner, releasing the pressure, and slipping the belt off. We'll essentially reverse this to get the new one on.
The Belt Routing Diagram Is Your Best Friend
Your absolute number one tool for this part of the job is the belt routing diagram. You can usually find it on a sticker somewhere under the hood—check the radiator support, the fan shroud, or the underside of the hood itself. This is the manufacturer's official map, and you need to follow it exactly.
If that sticker is long gone or unreadable, a quick online search for your vehicle's year, make, model, and engine size will almost always turn up the right diagram. Resist the urge to rely on memory or what looks right. The path often takes counterintuitive turns to keep everything spinning correctly.
A Smart Strategy for Routing the New Belt
To save yourself the headache of the belt constantly slipping off one pulley while you're fighting with another, you need a plan. The idea is to get the belt mostly in place, saving the pulley with the least resistance for last.
- Start at the bottom. Begin by looping the belt around the main crankshaft pulley. It's usually the biggest one and serves as a great anchor point.
- Work your way around the grooved pulleys. Following your diagram, methodically wrap the belt around all the other grooved pulleys, like the ones for the alternator and power steering pump.
- Use a helper. Here's a little trick I've used a thousand times: the belt will want to pop off the lower pulleys as you work your way up. A small spring clamp or even a sturdy clothespin can be used to lightly hold the belt in place on a lower pulley, freeing up your hands to focus on the top half.
- Save a smooth pulley for last. Your final move should be getting the belt onto a smooth idler pulley or the tensioner pulley itself. Since they don't have grooves, it’s much easier to slide the belt over them once the tension is released.
Following this order means you're not fighting gravity or the belt’s own stiffness. You're working with it, getting everything seated until only one simple move is left.
Slipping the Belt Over the Final Pulley
With the belt threaded around everything except your final target, it’s time to grab your breaker bar or serpentine belt tool again. Get it seated back on the tensioner.
Apply slow and steady pressure, just like you did to get the old belt off. As the tensioner arm moves, you'll see the slack appear. While holding the tensioner with one hand, use your other to carefully slide the back (the smooth side) of the belt over that last pulley.
Crucial Checkpoint: Before you let that tensioner go, stop and look. Does the path match your diagram perfectly? Is the belt sitting more or less centered on every pulley? A quick scan right now can save you a world of hurt.
Once you’re sure it’s right, slowly and carefully release the pressure on your tool. You'll feel the tensioner spring take over, pulling the new belt tight across the entire system.
The Final, Can't-Skip Inspection
You might be tempted to call it a day, but this last step is what separates a good repair from a comeback job. A misaligned belt can shred itself in minutes or get thrown from a pulley, leaving you stranded.
Grab a flashlight and get up close with every single pulley.
- Check the Ribs: Make sure the ribs of the belt are sitting perfectly inside the grooves of every ribbed pulley. There should be no overhang on either side.
- Verify Alignment: The belt needs to run dead center on all the smooth idler pulleys.
- Change Your Angle: Get your head down low and look from the side. This is often the only way to spot a rib that has climbed up onto the edge of a pulley groove.
If you find even one spot where the belt is off-kilter, you have to release the tension again, fix the alignment, and re-check everything. Taking an extra five minutes now ensures your new belt will run quietly and last for tens of thousands of miles, which is the whole point of changing the serpentine belt in the first place.
Final Checks and Troubleshooting Common Problems
You’ve got the new belt routed and the tensioner is holding it snug. You're in the home stretch, but don't slam the hood just yet. These last few checks are what separate a weekend warrior from a pro, ensuring your work translates into thousands of miles of quiet, reliable driving. A few extra minutes now buys you a lot of peace of mind down the road.
First thing's first: slowly and smoothly release the tensioner. Let it do its job and apply even pressure to the new belt. Once it settles, grab your flashlight for one last, thorough visual inspection. I mean it—get in there and look at every single pulley from different angles. You're confirming that the belt's ribs are sitting perfectly inside every groove.
"The New Belt Is Too Short!" (It Probably Isn't)
This is a classic moment of panic for any DIYer. You're wrestling with the new belt, sweating, and absolutely convinced the parts store sold you the wrong one. Before you march back there, take a breath. In over 95% of cases, a belt that seems too short is just a simple routing mistake.
- Check Your Diagram Again: Pull out your diagram or photo and trace the belt's path, pulley by pulley. It’s incredibly easy to loop the belt over the top of an idler when it should have gone underneath, or miss a small pulley tucked away.
- Look for Wrong Turns: A common slip-up is going around the wrong side of the water pump or tensioner pulley. This small error can eat up just enough slack to make the job feel impossible.
- Verify the Part Number: While it’s less common, mistakes do happen. Double-check that the part number on the belt's sleeve matches what your specific engine calls for.
We've all been there. It's a humbling moment when you find that one little routing mistake, but it's also a huge relief. Fix the path, and you'll suddenly have all the slack you need to finish the job without a fight.
What's That Noise? Diagnosing Post-Installation Sounds
Okay, so you fire up the engine and hear something new. A squeak, a chirp, a whine—your engine is trying to tell you something isn't quite right. Don't just turn up the radio; investigate it immediately.
A steady chirp often points to a misaligned pulley. If one is even slightly off-axis, it can cause the edge of the belt to rub and make a rhythmic sound. A high-pitched squeal? That could be a weak tensioner that isn't applying enough force, or maybe some grease or oil got on a pulley during the install.
If you hear a grinding or rumbling, shut the engine off right away. That’s the classic sound of a failing bearing in a pulley, one you might have missed during your initial inspection. Sometimes these sounds can mimic other issues, so knowing how to diagnose car electrical problems can help you rule out a noisy alternator.
The All-Important Test Run
With all the visual checks done, it’s time for the moment of truth. Make sure you’ve removed all your tools from the engine bay.
Start the car and let it idle for just 15-20 seconds while you watch the belt like a hawk. It should run straight and true, with no wobbling or trying to "walk" off the edge of a pulley. Listen carefully for any of those strange noises we just talked about. If everything looks and sounds good, turn the engine off for one final look to make sure the belt hasn't shifted.
It’s a simple job, but it’s one that’s done millions of times a year. The serpentine belts market recently hit USD 5.2 billion, all because the 1.4 billion cars on the road need this routine maintenance every 60,000 to 100,000 miles. Getting this right prevents system failures that can lead to average repair bills of $1,500. You can see just how critical this part is when you check out these market insights on serpentine belts.
By completing this final check, you can be confident in your work. Your car is ready to hit the road, with all its critical accessories powered by a fresh, perfectly installed belt.
Your Top Serpentine Belt Questions Answered
Even after a successful repair, a few questions might still be bouncing around in your head. Let's tackle some of the most common ones I hear from people doing this job for the first time.
How Often Should I Replace My Serpentine Belt?
Most carmakers will tell you to swap out the serpentine belt somewhere between 60,000 and 100,000 miles. But honestly, mileage is only half the story.
Think of it as a guideline, not a hard rule. The real enemy of rubber is time and extreme temperatures. If you live somewhere with brutal summers and frigid winters, your belt is going to age much faster than one on a car that lives a pampered life in a mild climate.
A much better habit is to give it a quick visual check every time you change your oil. Keep an eye out for any cracks, frayed edges, or if the belt looks glazed and shiny. If you spot any of that wear or hear a squeal that just won't quit, it's time for a new belt, no matter what the odometer says.
Is It Safe to Drive with a Broken Serpentine Belt?
Let me be blunt: absolutely not. Driving with a snapped serpentine belt is one of the worst things you can do to your engine. We're talking catastrophic damage in just a few minutes.
The moment that belt lets go, a bunch of critical components shut down instantly:
- Water Pump: No more coolant circulation. Your engine will overheat almost immediately.
- Alternator: The battery stops charging, and your entire electrical system will die.
- Power Steering: The wheel will become incredibly heavy and hard to turn, which is a massive safety risk.
If your belt ever breaks while you're on the road, your only move is to get to the shoulder safely, kill the engine, and call for a tow. Don't even think about trying to limp it home.
Do I Really Need to Replace the Tensioner, Too?
I know it’s tempting to save a few bucks and just slap the new belt on, but it’s a shortcut that almost always comes back to bite you. The answer is yes, you should highly consider replacing the tensioner and idler pulleys at the same time.
Here's the logic: the tensioner has a spring and a bearing that have endured the exact same amount of work and heat cycles as your old belt. When that spring gets weak, it can't keep the new belt tight enough, leading to slipping and premature wear. Even worse, if a pulley bearing seizes up, it will shred your brand-new belt to pieces in seconds.
Think of it as preventative maintenance. You've already got everything taken apart. Replacing these parts as a kit now is the smartest, most cost-effective way to avoid doing this whole job again in a few months when a pulley fails.
Sometimes, a job just doesn't go as planned, and that's okay. If you decide you'd rather have a pro handle it, taking a moment to research online reviews is key when choosing a reputable auto repair shop that you can trust.
At T1A Auto, our goal is to give you the confidence to tackle these projects with reliable, guaranteed-fit parts. From tough serpentine belts and tensioners to all kinds of other high-wear components, we offer premium aftermarket parts that stand up to OEM quality. Find the exact parts for your vehicle today. https://t1aauto.com
