


You press the key fob, hear a buzz inside the door, and watch the lock stay put. The other doors work, so ordering an actuator feels like the obvious next move. But a jammed latch, broken wire, or loose connector can leave you with the same symptom and a replacement part that fixes nothing.
Door actuator replacement starts with proving the failure, not pulling the trim panel. Once you know the motor is receiving the right command, you can choose the correct part, remove the old assembly without damaging the door hardware, and test the repair before putting everything back together.
Table of Contents
- Confirm the Actuator Is Really Failing
- Check Fitment and Costs Before You Order the Part
- Tools, Parts and Prep Before You Start
- How to Remove the Old Door Actuator
- How to Install and Test the New Actuator
- Fixing Problems That Appear After Installation
Confirm the Actuator Is Really Failing
Symptoms and what they usually point to
| Symptom | Likely cause | First check |
|---|---|---|
| Buzzing or clicking, latch does not move | Stripped gears, seized latch or failed actuator | Move the latch by hand; if it moves freely, suspect the actuator |
| One door only, other doors work | Actuator, latch or door-jamb harness | Back-probe the connector while commanding lock and unlock |
| All doors fail together | Fuse, relay, body control module or shared wiring | Check the fuse and relay before buying any part |
| Works from key fob, not interior switch | Interior switch or switch wiring | Test switch continuity and the harness at the door jamb |
| Remote-only failure | Fob battery, receiver or door module | Try a spare fob and check the fob battery |
| Manual lock works, power does not | Actuator or its connector | Measure the voltage pulse at the motor terminals |
| Dash shows wrong lock status but door locks | Latch-position microswitch | Inspect the microswitch before replacing the motor |
Treat these as diagnostic starting points, not verdicts. Compare the suspect door with a working door, using both the interior switch and key fob. Then check that the mechanical lock and linkage move without binding.
Measure the command at the motor
Identify the actuator motor terminals from the vehicle wiring diagram. Integrated latch connectors may also contain sensor circuits, so don't guess which pins power the motor.
Set a multimeter to DC volts and back-probe the motor terminals with the connector attached. On many reversing-polarity systems, commanding lock and the opposite function produces a brief pulse of approximately 12 volts, with the polarity changing between commands, as described in TP Auto Repair's actuator diagnostic guide. Keep the probes clear of adjacent terminals and your fingers clear of moving linkage.
A digital meter may miss a short command. Use its capture function if available, and compare the reading with the working door rather than holding the switch repeatedly until the motor overheats.
Buying rule: A correct electrical command, freely moving linkage, and a motor that remains silent, weak, or stalled justify replacing the actuator or integrated latch assembly.
Missing voltage means you haven't proved actuator failure. Inspect the fuse, connector, switch or door module, and flexible wiring inside the door-jamb boot. Multiple doors failing together makes a shared electrical fault more likely than simultaneous motor failures.
For a closer walkthrough of probe placement and diagnosis, use the door-lock actuator testing guide. Never condemn the part from buzzing alone.
Check Fitment and Costs Before You Order the Part
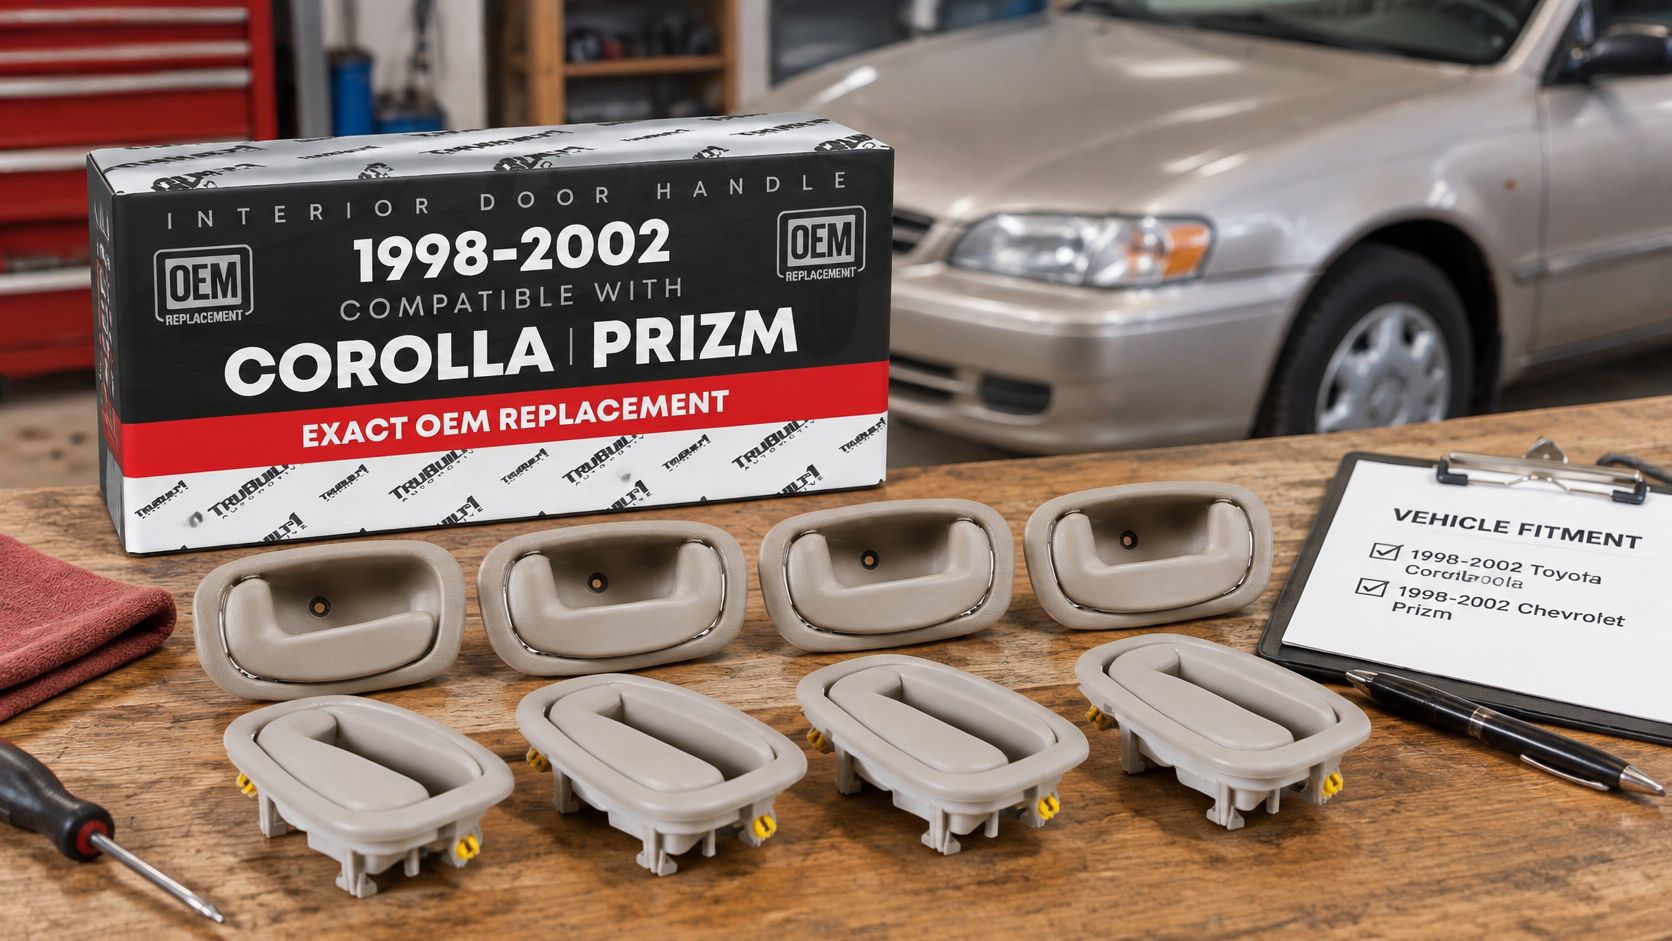
The cheapest repair is the one that fixes the failed component without forcing another round of door disassembly. A separate actuator is appropriate when the motor has failed and the latch still works. Choose a complete latch-and-actuator assembly if the latch mechanism, sensor, or integrated linkage is also defective. For example, a powered sliding-door latch may package the actuator with the latch, so check the vehicle's service information before ordering a motor alone.
Compare the installed repair, not just the part
A 2025 PartsTech survey reported by MOTOR found that nearly half of responding U.S. general repair shops charged $120–$159 per labor hour, or $240–$318 for two hours before parts. These figures are labor benchmarks, not an actuator-specific estimate. Use them to compare the full repair cost, including the correct part and the possibility of replacing an integrated assembly.
Labor benchmarks, parts and warranty coverage
| Item | Cost or coverage | Notes |
|---|---|---|
| Shop labor, 1 hour | $120–$159 | Survey benchmark above, before parts |
| Shop labor, 2 hours | $240–$318 | Illustrative allowance for access, installation and testing, not a quoted job time |
| Motor-only actuator | Vehicle-specific part quote | Confirm separate serviceability and fitment |
| Full latch-and-actuator assembly | Vehicle-specific assembly quote | Needed when the latch or integrated linkage has failed |
| Warranty on metal components | Lifetime, T1A Auto | Confirm applicable product terms |
| Warranty on standard items | 3 years, T1A Auto | Confirm applicable product terms |
| Returns | Free 90-day returns, T1A Auto | Check eligibility and condition requirements |
Check the applicable product-page warranty and return terms before buying. Warranty coverage does not confirm fitment or cover every installation circumstance.
Match the part to the VIN, model year, trim, door position, connector configuration, and keyless-entry equipment. A van's sliding door or a pickup's rear door can use a different application from the front door, even when the vehicle name is the same. Confirm the exact part number and connector against the vehicle information, not just a similar-looking listing.
For an aftermarket option, use this OEM versus aftermarket parts comparison to weigh fit and warranty alongside price. Prioritize matching electrical functions and mounting geometry. A lower-priced universal part is a poor buy if its connector or mounting points do not match.
Tools, Parts and Prep Before You Start
Gather the tools before opening the door. Leaving the panel hanging while you search for a driver bit risks strained wiring, damaged trim, and lost hardware.
Tools and parts checklist
| Item | Why it matters | Notes |
|---|---|---|
| Plastic trim tools | Lift the door panel without cracking clips | Replace broken clips |
| Socket and driver set | Remove door fasteners | Confirm sizes in service information |
| Torque wrench | Tighten fasteners to the stated value | Use a suitable low-range wrench |
| Multimeter with back-probe pins | Check the command at the connector | Fine pins help prevent terminal damage |
| Replacement actuator or latch assembly | Replaces the failed component | Match vehicle configuration and door position |
| New fasteners | Secure the replacement where specified | Reuse only where permitted |
| Moisture-barrier repair tape | Restore the water seal | Replace badly torn sheeting |
| Labeled tray and painter's tape | Preserve fastener order | Photograph routing before disconnecting anything |
Set up the door and workspace
Park on level ground with enough room to open the door fully. Protect nearby paint and lay the removed trim on a padded surface, not face-down on concrete.
Read the vehicle's removal procedure before touching the battery. Door-mounted airbags, powered sliding doors, and electrical initialization requirements can change the preparation sequence. Follow the specified battery-disconnection and waiting procedure where applicable.
Photograph concealed screw locations, cable retainers, and wiring routes. Label similar-looking fasteners rather than assuming they're interchangeable, because a longer screw in the wrong location can damage something behind the panel.
Keep the old assembly until the replacement passes its complete functional test. It's your reference for brackets, connector orientation, and linkage attachment.
Inspect the replacement through its packaging where possible, then compare it directly with the old assembly once removed. Check mounting points, connector keying, cable seats, and lever orientation before transferring hardware.
Wear eye protection when releasing clips, and keep your hands away from the mechanism during powered tests. Don't loosen hinges or support a raised door only with a jack for a repair that should normally leave the door mounted. If access requires moving glass or regulator hardware, obtain that procedure before proceeding.
How to Remove the Old Door Actuator
A latch assembly can be awkward to guide through a door opening, and a bent rod or broken cable retainer can leave the door difficult to operate. Work in a controlled sequence, and stop to identify any attachment that still holds the assembly.
The VehicleRuns replacement procedure covers preserving the moisture barrier, documenting linkage routing, and checking operation before the panel goes back on. Use the vehicle's service information to confirm the access path, fastener locations, and the order for releasing the linkage.
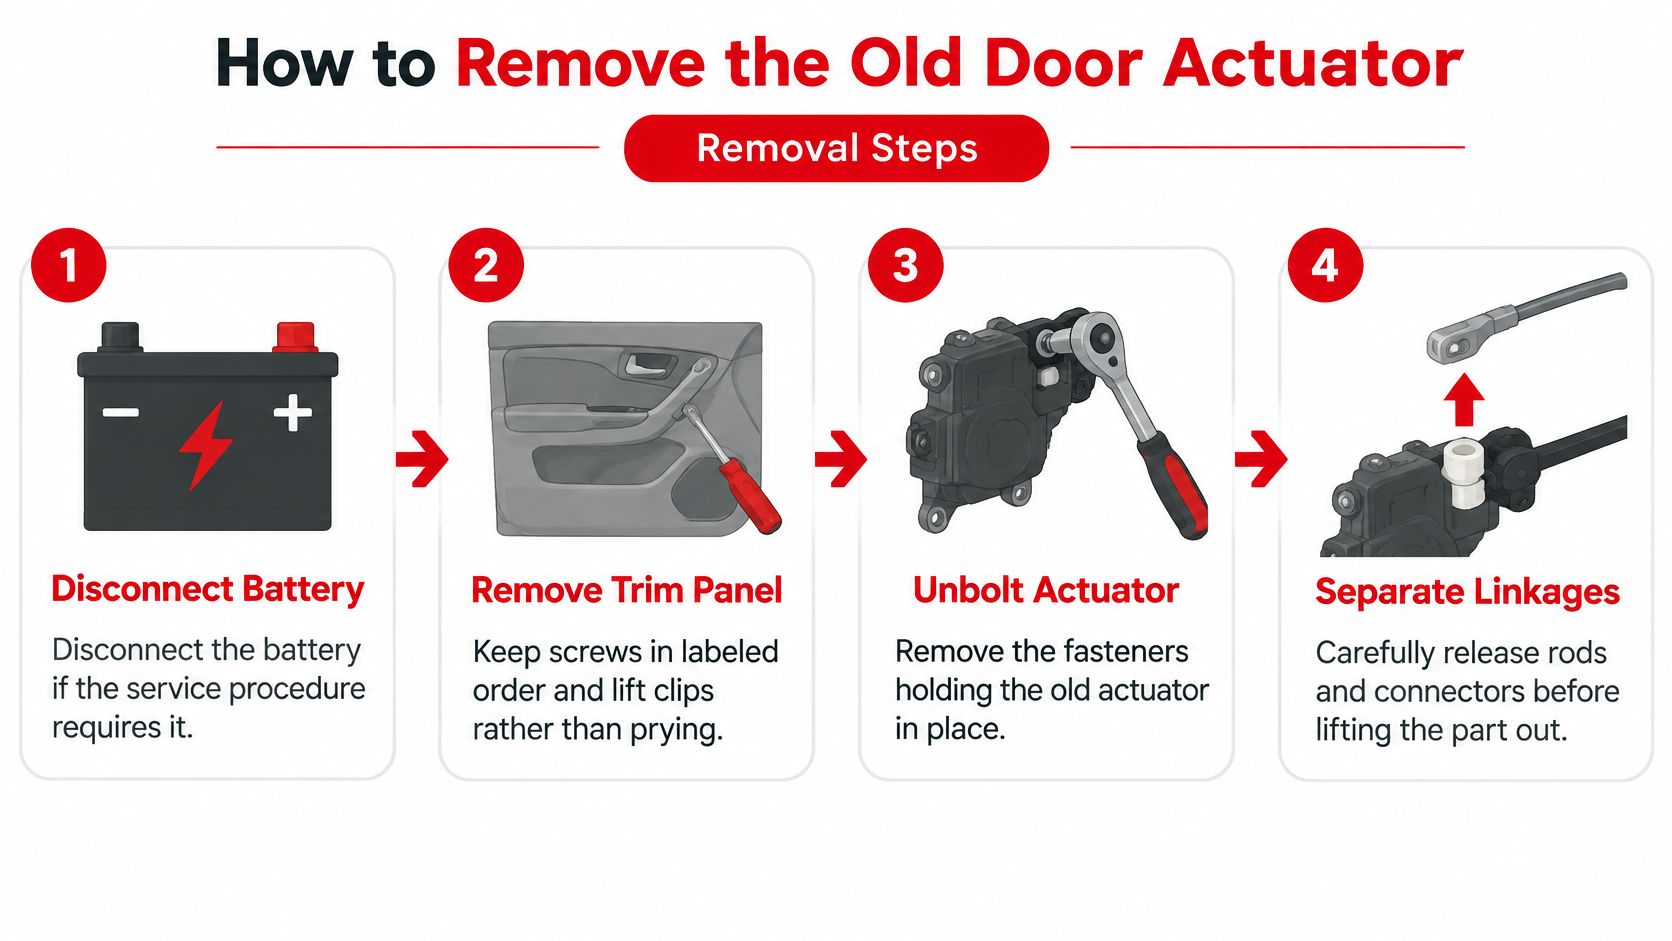
Follow the removal sequence
- Isolate electrical power where required. Follow the vehicle procedure for battery disconnection. This prevents an accidental command from moving the mechanism while you're handling it.
- Remove the trim panel. Check behind covers, in the pull handle, and around switch trim for concealed screws before releasing clips. Place the trim tool beside each clip and lift locally to avoid bending the panel. For panel-specific screw locations and clip technique, use this car door panel removal guide.
- Preserve the moisture barrier. Slowly peel back its adhesive edge and expose only the area needed for access. Keep the sheet intact so it can be resealed.
- Photograph rod and cable attachments. Take close-ups showing each rod's passage, the direction its retaining clip opens, and the seating of each cable housing. These details help identify the correct attachment when the old actuator is out.
- Disconnect plugs and linkages. Release connector locks before pulling on the plug body, never the wires. Open rod retainers in their release direction, then lift cable housings from their seats without levering against brittle plastic.
- Remove the actuator or latch assembly. Support its weight as you remove the specified fasteners, then guide it through the access opening. If it catches, stop and inspect the remaining attachments before moving it again.
- Transfer reusable hardware. Move only the brackets, clips, or shields required by the replacement. Replace damaged retainers rather than relying on a loose connection.
Linkage release order varies by vehicle. Check whether rods or cables must come off before unbolting the assembly, since a linkage still attached can keep the latch from clearing the opening.
Watch for vehicle-specific access problems
Pickups: Rear-door access panels and handle arrangements may conceal cable retainers away from the latch. Check for attached cables before moving the panel far enough to strain them.
Vans: Keep sliding-door cable routing in view and follow the specified method for disabling powered movement. Avoid disturbing rails or unrelated adjustment points to gain working room.
Riveted assemblies: If the service procedure calls for drilling or replacing structural retainers, confirm the drilling location, what lies behind the fastener, and the approved replacement hardware before starting.
Leave latch alignment adjustments alone unless the vehicle procedure calls for them. Changing alignment can mask a routing issue and make the door harder to close.
How to Install and Test the New Actuator
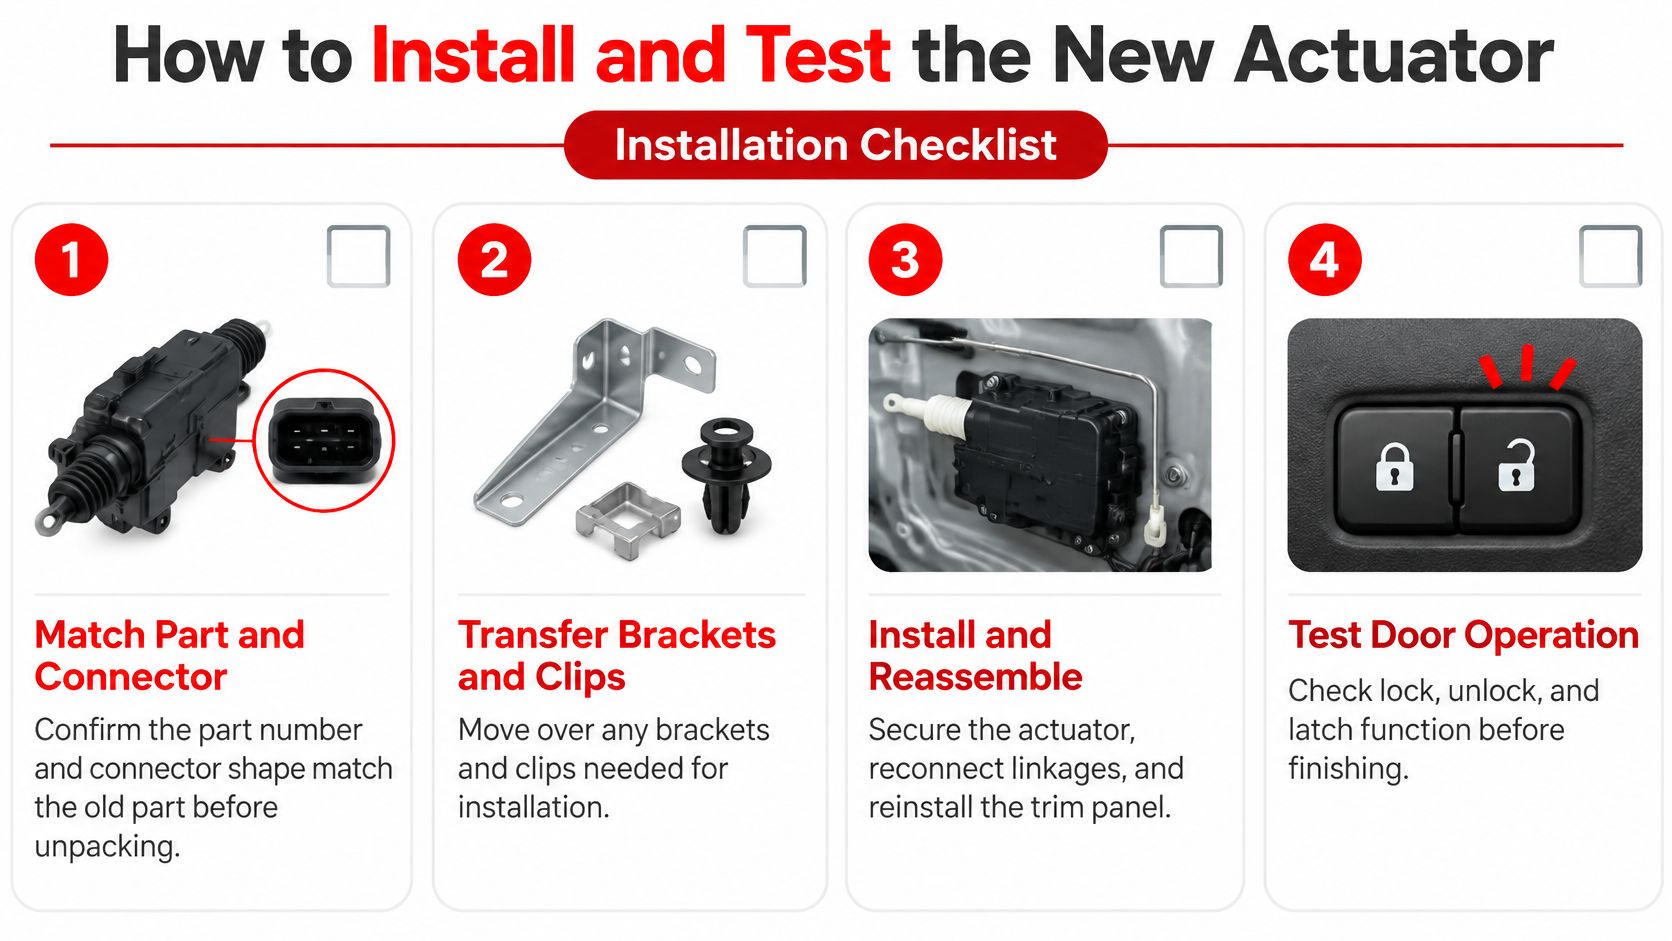
Installation needs more care than removal because cable seating, fastener choice, and release function determine whether the latch works. Before fitting the replacement, compare it with the old assembly. Check the connector shape, mounting pattern, lever positions, and required brackets.
Transfer the clips and route each cable as documented. Seat the cable housing fully in its bracket before engaging the end fitting. A cable end can appear connected even when the housing is loose, leaving the handle unable to release the latch.
Start fasteners by hand, then tighten them in the specified sequence and to your vehicle's torque specification. An NHTSA-hosted latch service document specifies 6.5 N·m and replacement fasteners for that repair only. Use your vehicle's specification and fastener-reuse rules.
The installation overview shows the main steps. Complete the functional checks before reinstalling the trim panel.
Prove mechanical and electrical operation
Reconnect electrical power when it is safe. Keep tools and fingers clear, then operate the locks and releases with the interior switch and key fob. Check manual release before closing the door, following the service procedure if it calls for simulating a closed latch while the door is open.
If you trip the latch manually, return it to the open position before closing the door. Never slam the door against a closed latch.
Check whether the vehicle requires initialization, scan-tool verification, or fault clearing. Requirements vary by vehicle, so record relevant fault information before clearing codes.
Use this acceptance checklist:
- Mechanical access: The key cylinder, where fitted, and both inside and outside handles operate correctly.
- Powered commands: Remote and interior-switch commands complete without hesitation.
- Status reporting: Door-ajar and lock indications match the actual door state.
- Safety functions: Child locks and alarm behavior match the vehicle's intended operation.
- Final sealing: Wiring is secured, the moisture barrier is sealed, and panel clips are intact.
Vehicle latches and gate operators share the practical need for correctly seated linkages and reliable release operation. That same mechanism concept matters when retrofitting legacy gate operators, though vehicle fitment must follow the vehicle's own procedure.
Reinstall the panel only after the door passes its checks. Test the lock and release again with the trim fitted to catch a pinched cable or disturbed connector.
Fixing Problems That Appear After Installation
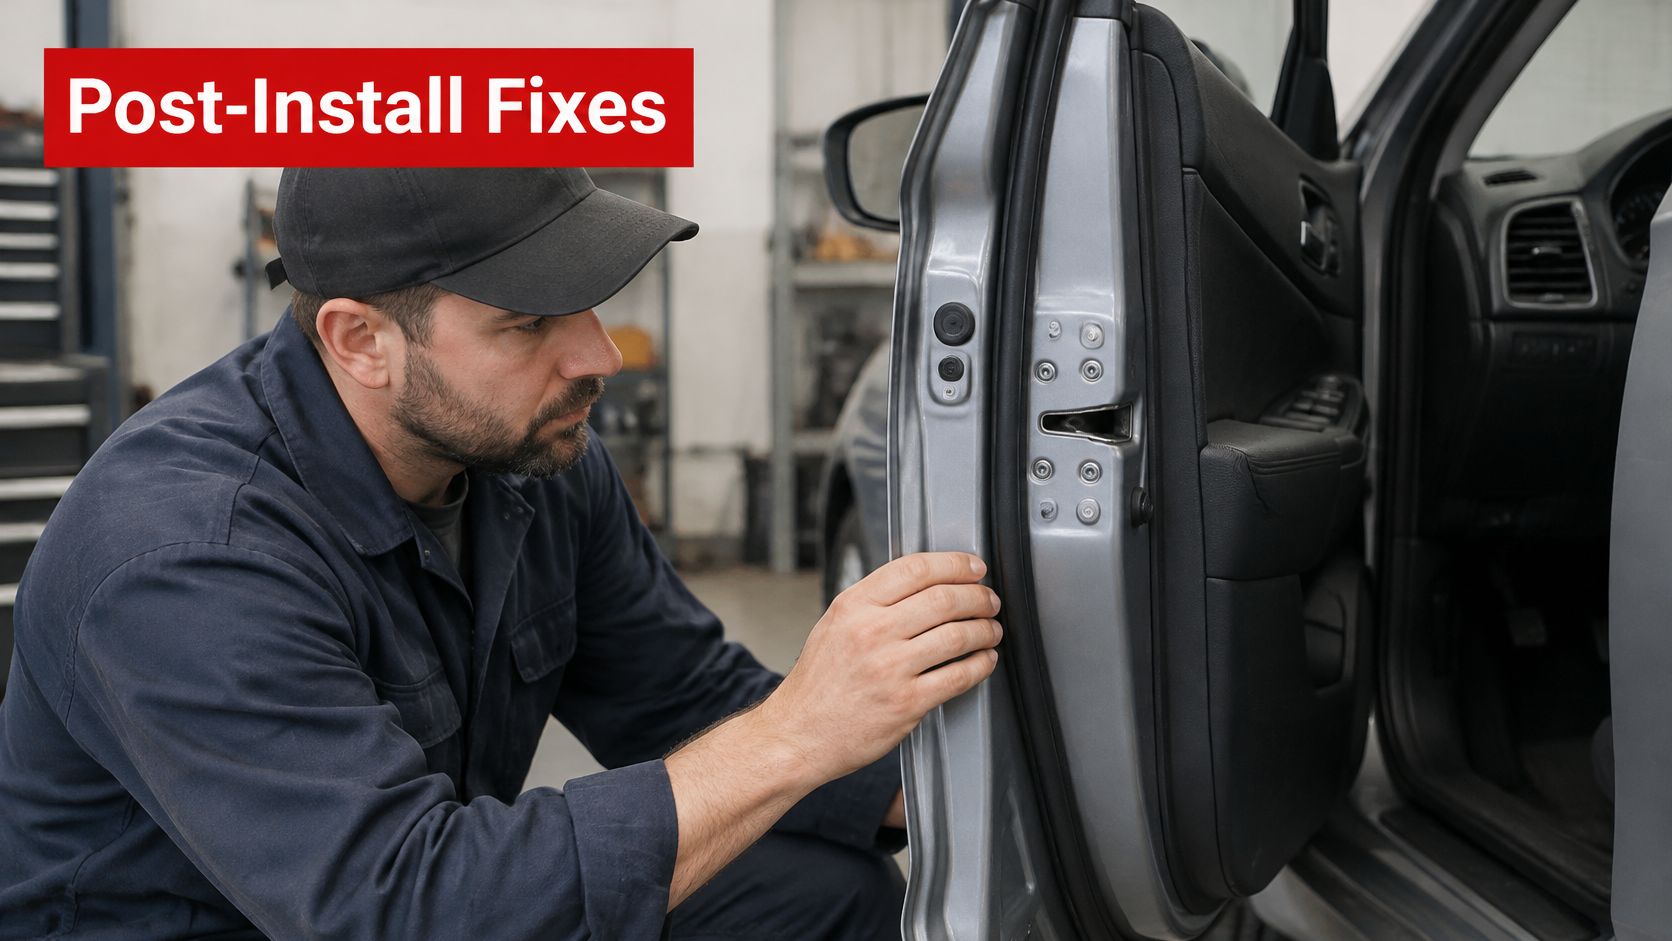
Treat a disappointing first test as a diagnosis problem. Isolate mechanical binding, an electrical fault, or a problem elsewhere in the door before removing the panel again.
With the panel off, watch the linkage during a lock command. A professional mechanic performing post-install fixes on a car door in an automotive repair shop garage.
Motor movement without proper latch operation
If the motor runs but the lock stops short, check the rod clips and cable housings. Look for a rod caught behind wiring, a cable pulled tight, or a retainer that has not snapped fully closed. Correct the linkage routing before testing again.
If the door will not catch or release smoothly, do not close it until the mechanical fault is fixed. Moving the striker to compensate for incorrectly routed linkage can create a second problem.
Correct locking with incorrect dashboard status
If the lock works but the displayed door state is wrong, check the sensor connector and terminals. Revisit the latch-position microswitch and status checks from the earlier installation steps, especially if the repair replaced only the motor and left the original latch electronics in place.
BitAuto's central-locking troubleshooting guidance covers actuator, wiring, switch, and latch-position problems. Use the vehicle's service information for connector assignments and adjustments.
No response from the replacement
Check that the connector is fully latched and that no terminal has pushed back into its housing. If the actuator still does not respond, inspect the flexible door-jamb harness for damaged conductors. Record relevant body-control-module faults before clearing them. If the vehicle is not supplying the electrical command, replacing the actuator again will not solve the fault.
For water entering the door, inspect the moisture-barrier seal and replace damaged material. For wind noise, check panel seating and weatherstrips as well as the barrier.
T1A Auto offers vehicle-specific aftermarket door handles, latches, related fasteners, and other high-wear door components. Compare parts using your vehicle details and confirmed diagnosis, then check fitment before ordering from T1A Auto.
