


You've been opening the passenger door from the inside for weeks, or yanking a loose exterior pull twice before the latch lets go. The replacement finally arrived, it's sitting on the passenger seat, and Saturday looks clear. Don't rush the trim panel off yet. A handle that bolts up and moves isn't automatically a handle that releases, locks, and holds correctly under load.
Table of Contents
- Why a Door Handle Installation Kit Is More Than a Cosmetic Swap
- Choosing the Right Kit and Laying Out Your Tools
- Installing an Exterior Door Handle Step by Step
- Interior Handles and Tailgate Handle Assemblies
- Torque, Fasteners, and Trim-Clip Discipline
- Electronic Handles, Keyless Entry, and ADAS-Adjacent Risks
- Common Installation Problems and How to Fix Them
Why a Door Handle Installation Kit Is More Than a Cosmetic Swap
A Tacoma owner with a snapped driver pull and a Silverado owner with a floppy tailgate bezel run into the same trap. The new part looks like trim, so they treat it like trim. It's not. A door handle installation kit transfers your pull to rods, cables, levers, or an electronic release that operates the latch and lock.
That latch system sits under Federal Motor Vehicle Safety Standard No. 206, which governs door locks and door retention components on side and back doors that lead directly to a seating compartment. The standard applies to passenger cars, multipurpose passenger vehicles, trucks, and buses up to 4,536 kg (10,000 lb) gross vehicle weight rating, and its purpose is to reduce occupant ejection through unintended door opening during crashes, as described in NHTSA's FMVSS 206 interpretation.
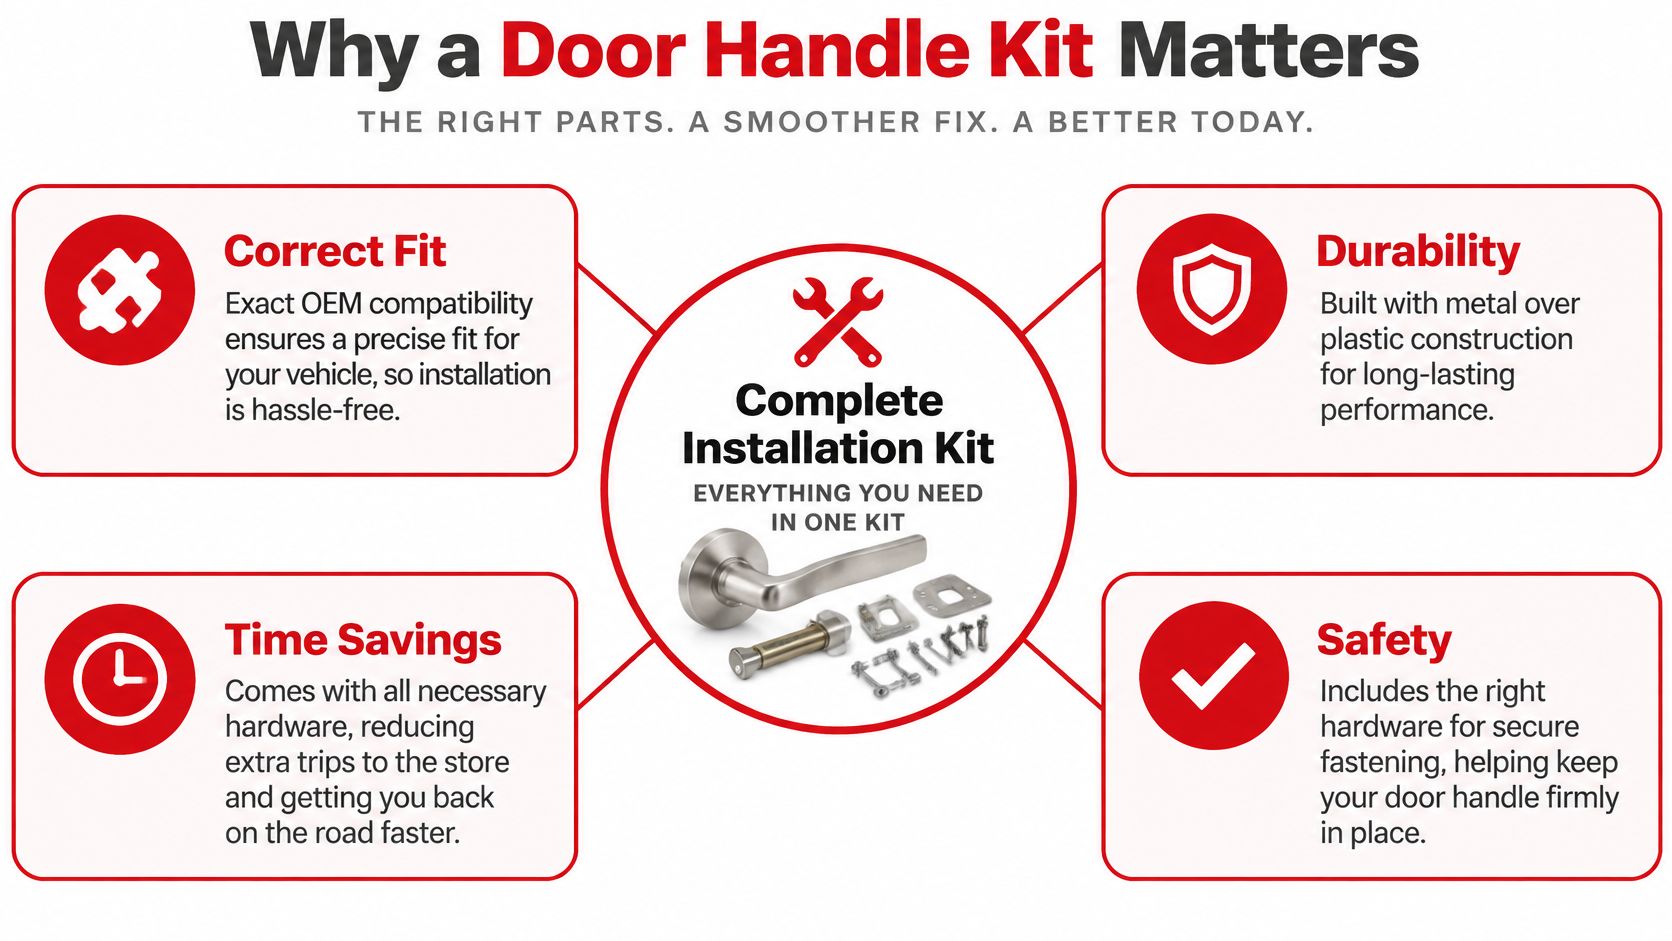
What the standard demands from your repair
Each latch and striker system and hinge system must resist 2,500-pound longitudinal force and 2,000-pound transverse force, and latch systems must stay engaged under 30-g inertial loading, per that same NHTSA interpretation. You're not testing those loads in a driveway. You are preserving the geometry that lets the factory latch meet them.
Practical rule: If the new handle changes rod travel, cable tension, or lock behavior, it hasn't passed, even if it looks flush.
That logic covers all three jobs in this guide: exterior handles, interior handles, and tailgate assemblies. Each uses different access and linkage, but each must preserve full latch release, clean return, and correct locking. The kit is the easy part. What it does after you bolt it on is the repair.
Choosing the Right Kit and Laying Out Your Tools
Open the box on a bench, not on the door sill. Lay every piece next to the old handle once it's out, and compare pivot points, lever arms, connector shape, and retainer style before you commit. A handle-only listing that reuses a cracked gasket or worn clips often costs you a second disassembly.
| Component | Purpose | Verify Before Install |
|---|---|---|
| Handle and bezel or cover | Provides the pull and exterior finish | Side, position, keyhole, sensor cutouts |
| Gasket | Seals the handle to the door skin | Full perimeter, no tears or flat spots |
| Retainer clips | Lock rods or cables to levers | Correct style, not brittle or stretched |
| Mounting nuts or screws | Clamp the handle or carrier | Thread, quantity, single-use requirement |
| Latch rod or cable | Transfers pull to the latch | Length, end fitting, routing path |
Verify fitment before you pay
Cross-check the OEM part number, cab and trim sub-model, door position, and whether your truck has keyless entry or a smart key sensor in the handle. Left and right handles often mirror each other just enough to waste an afternoon. If you're comparing replacement options while you also see available cars for sale for a second vehicle, keep the same discipline: confirm the exact application, don't buy on appearance.
For background on how aftermarket handles differ in construction and fit, read this breakdown of aftermarket auto door handles before ordering. Metal upgrades make sense where the original plastic lever snapped at the pivot. They don't fix a wrong connector.
Stage the bench
Set out sockets, Torx bits, a plastic trim tool set, a magnetic pickup, painter's tape, and a small torque wrench that reads in newton meters. Add a flashlight, replacement trim clips, and a container for fasteners. A borescope helps when a clip drops inside the door, but tape over the cavity openings and careful hands prevent most of that.
Installing an Exterior Door Handle Step by Step
Roll the window up before you start on most doors, disconnect what the service procedure tells you to disconnect, and photograph connector routing. Memory fails fast once three harnesses hang loose.
Work starts inside the door, as shown in the workshop photo below.
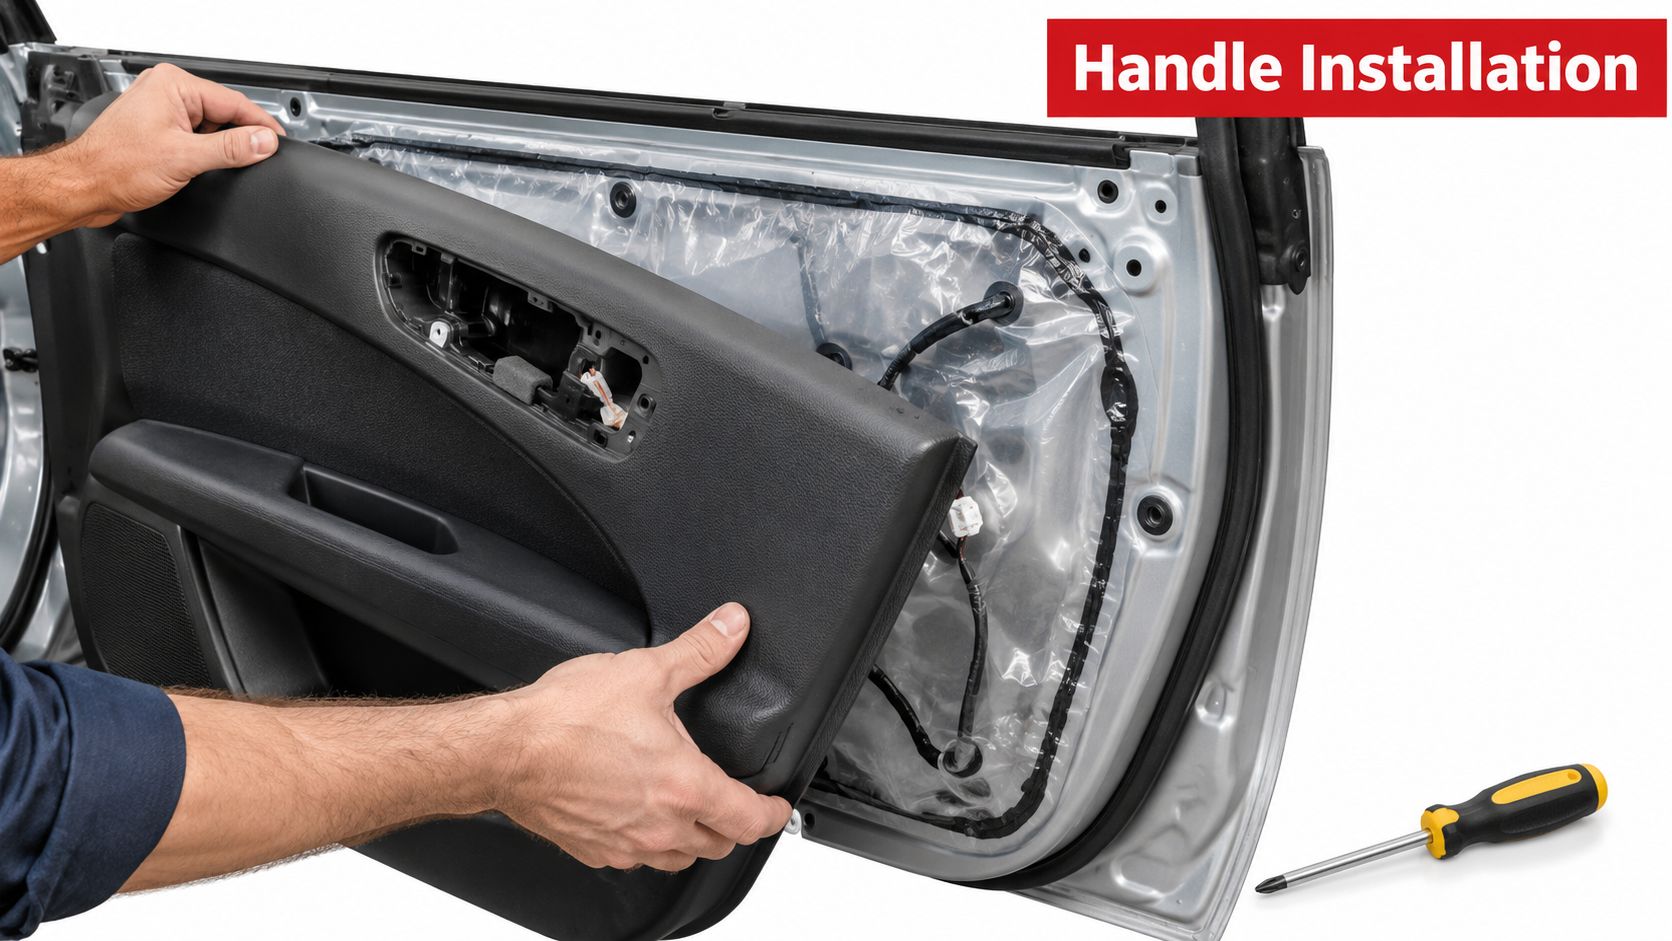
Remove the trim panel and peel back the vapor barrier without tearing it. Support the panel on a stool or your knee so the wiring isn't carrying its weight. Expose the handle fasteners, disconnect the electrical connector if equipped, and remove the assembly without forcing the linkage, following the controlled sequence in Tesla's exterior handle service procedure.
Seat linkage before you tighten anything
Connect the latch rod or cable to the replacement handle and confirm the retainer is fully locked before final tightening. That's the moment that decides the job. A rod that's clipped but not seated will pull free or short-stroke the latch. Use the vehicle-specific alignment procedure where one exists. One manufacturer procedure specifies an alignment tool before tightening handle nuts to 9 N·m, with regulator fasteners at 10 N·m. Another rear-handle procedure specifies 7 N·m and requires replacing the attachment nuts.
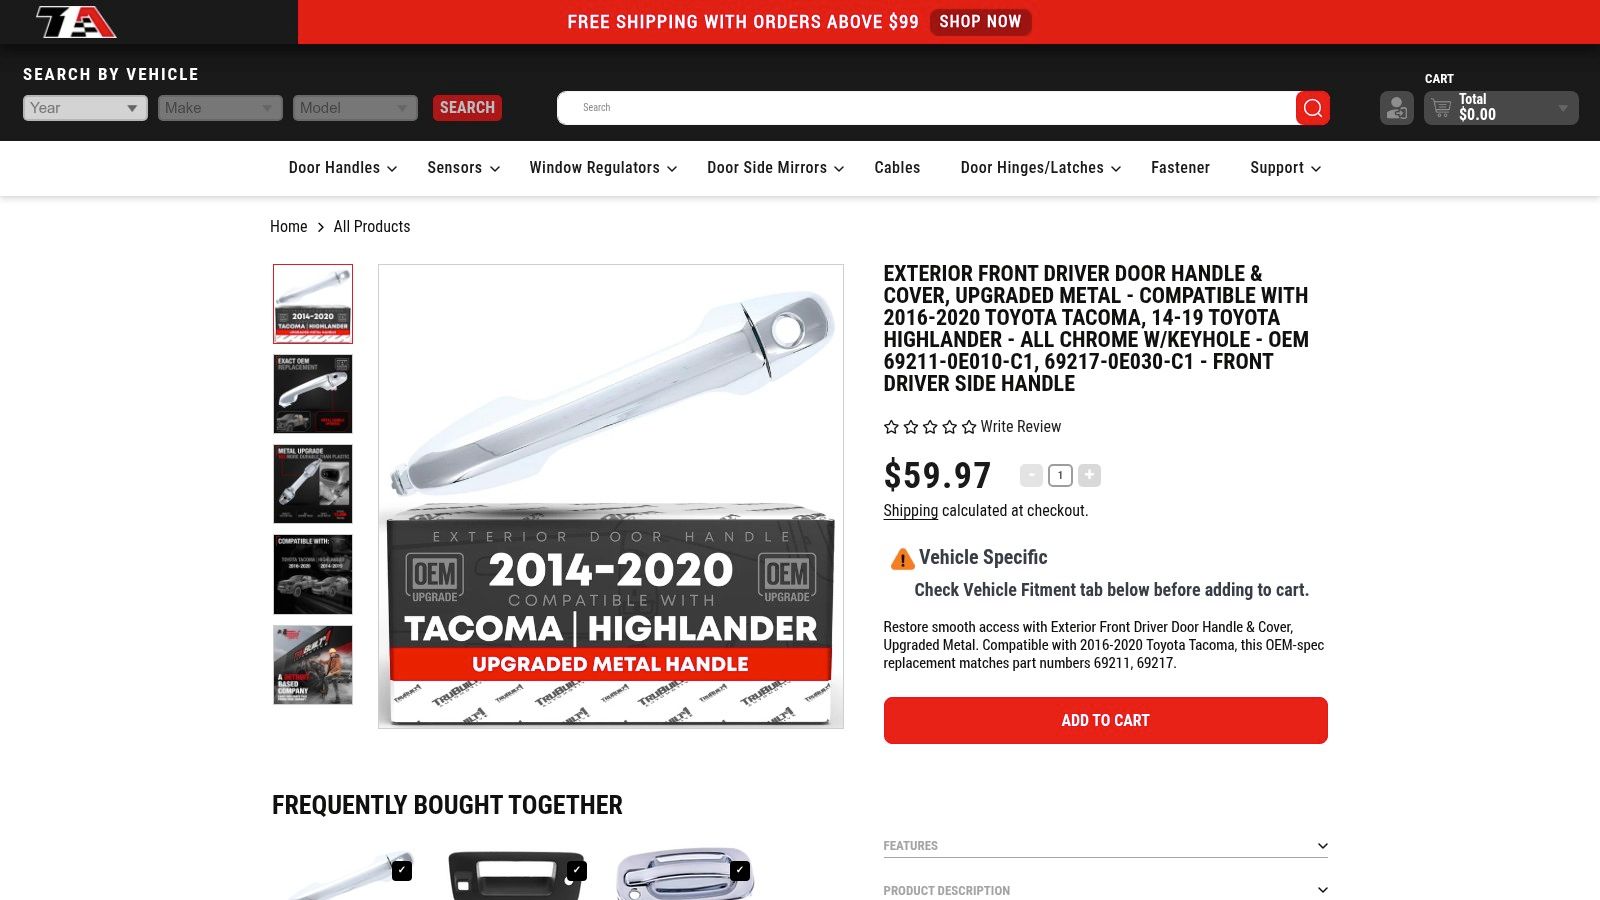
As a concrete fitment example, the Exterior Front Driver Door Handle & Cover, Upgraded Metal - Compatible with 2016-2020 Toyota Tacoma, 14-19 Toyota Highlander - All Chrome w/Keyhole - OEM 69211-0E010-C1, 69217-0E030-C1 - Front Driver Side Handle matches OEM numbers 69211-0E010-C1 and 69217-0E030-C1 for the front left door. Even with a direct match, you still verify keyhole and smart key compatibility against your truck.
Watch the sequence once before you pick up the ratchet, then work from your own vehicle's procedure.
Dry-test with the door open
Operate the handle and lock several times before the barrier goes back. Confirm full latch release, strong return spring action, and smooth lock cylinder or power release operation. Close the door gently and check flushness and perimeter gaps. Trapping the harness, omitting the gasket, or tightening before alignment produces binding, looseness, or water intrusion. Fix it now, while access is free.
Interior Handles and Tailgate Handle Assemblies
Pull a new interior handle twice and it feels fine. Route its cable on the wrong side of a guide and it starts dragging on the fourth or fifth pull, which is usually after you have already refitted the vapor barrier. Interior handles connect by cable or rod through the door cavity, and the part you cannot see is the part that causes trouble.
Interior and rear-door specifics
Seat the cable end fully in the handle lever, lock the outer sheath into its bracket, and confirm there is no slack kink at the latch end. The handle itself is only the trigger; the latch it releases is what carries the door's retention load. On rear side doors, test the child lock in both positions. Updated FMVSS 206 rules require a locking arrangement that, when engaged, prevents operation of the interior handle and requires separate actions to release, as noted in NHTSA's 1995 Federal Register assessment. If the child lock does not block the inner handle, the linkage is wrong.
That assessment also estimated side-door ejections would produce approximately 1,475 fatalities and 1,925 seriously injured survivors classified as AIS 3+ in 1995 and later years. A rear door that only sort of locks is not an acceptable outcome.
Tailgate assemblies on pickups
On Tundra and Tacoma, F-Series, Silverado, and Sierra trucks, the tailgate handle drives two latch rods, one to each side. Unequal rod engagement leaves one latch holding while the other releases, so the gate twists or pops under load. Center the handle, clip both rods, then pull slowly and watch both latches trip together. The walkthrough on how to replace a tailgate handle covers bezel removal and rod access on common trucks.
If you are renewing rear hardware at the same time, route the backup camera and power lock harness away from the handle linkage and confirm connector seating through several open and close cycles. Finish by checking full handle return, balanced release on both sides, and no interference with the camera wiring or key cylinder.
Torque, Fasteners, and Trim-Clip Discipline
Hand-tight isn't a specification. It's a guess, and door hardware punishes guesses in both directions.
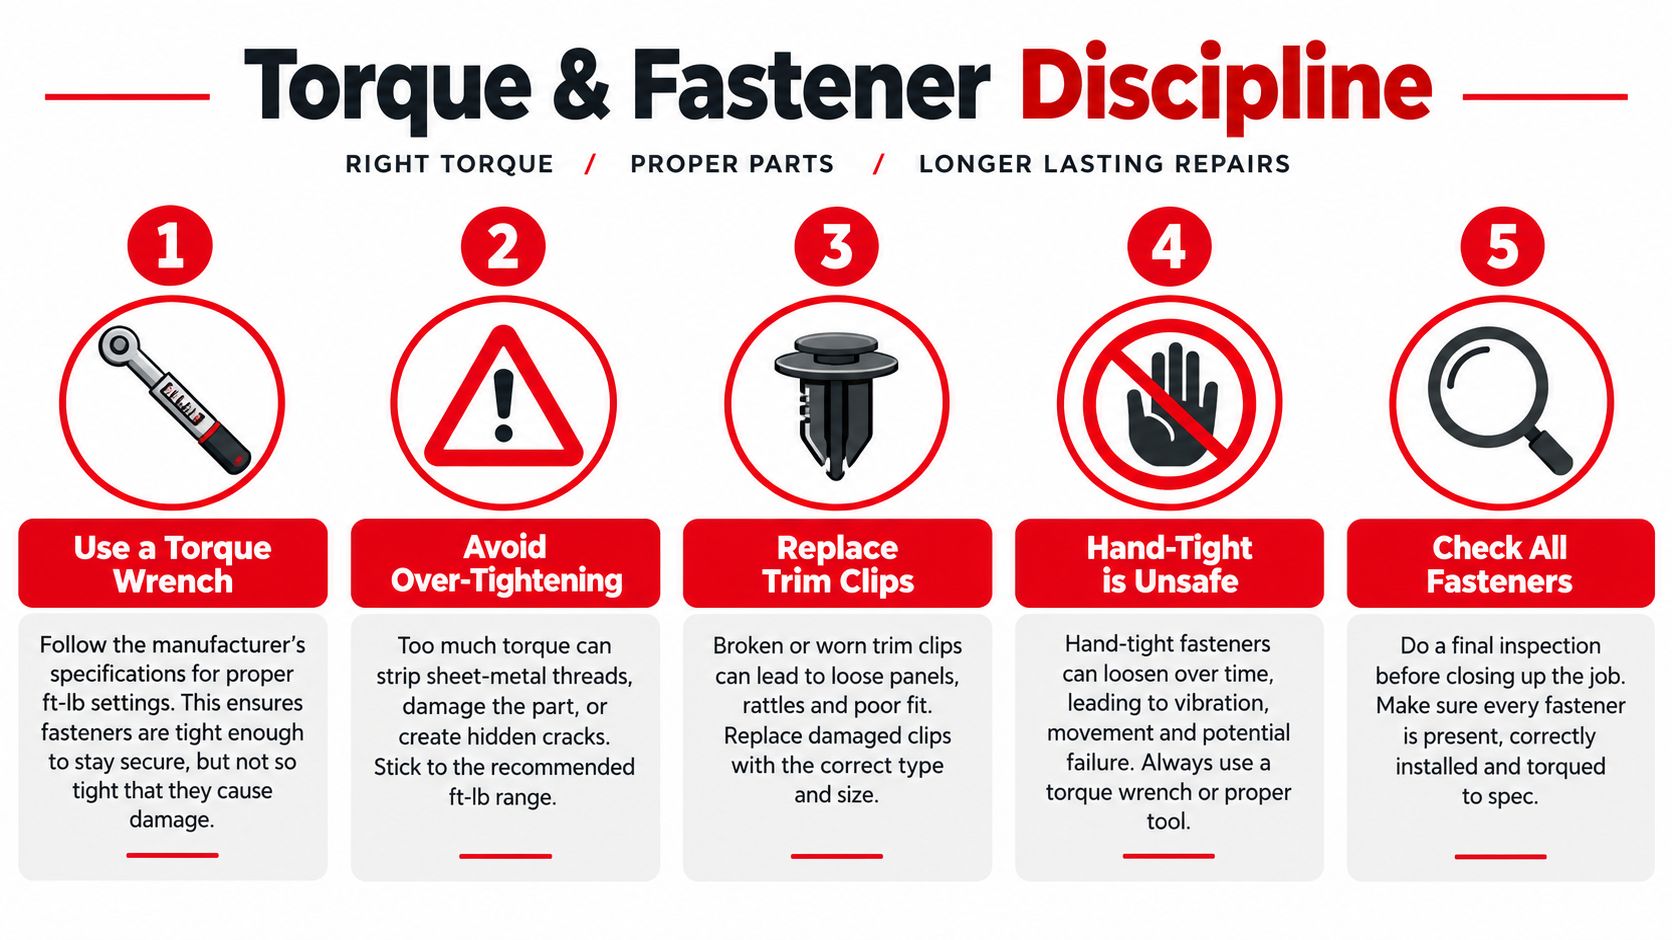
Over-tightening distorts a plastic carrier, strips sheet-metal threads, cracks trim, or stops the handle returning. Under-tightening permits movement, rattles, and water paths past the gasket. Small fasteners make this worse because a quarter turn too far is a big percentage of their clamp load.
One manufacturer procedure tightens small handle-motor screws to 1 N·m, and its interior-handle procedure specifies 3 N·m for three screws and one nut, according to Tesla's door carrier service procedure. Those are finger-and-wrist numbers on a small driver, not ratchet numbers.
| Fastener | Example Specification | Handling |
|---|---|---|
| Handle-motor screws | 1 N·m | Small driver, stop at spec |
| Interior handle screws and nut | 3 N·m | Even seating, no distortion |
| Designated single-use fasteners | Vehicle-specific | Discard and replace |
Clips and panels
Use a plastic trim tool to release clips, never a metal screwdriver against painted edges or brittle trim. The panel removal guide on how to remove a car door panel shows clip locations and pry points worth copying. Guide harness wires through carrier tabs with a plastic tool, support the panel so wiring isn't pulled, and mark regulator or carrier positions before removal when the procedure calls for it.
Replace questionable clips while the panel is off. A clip that half-seats today is a rattle and a wind leak next month.
Recheck that every clip seats and the vapor barrier seals continuously. Torn barrier material creates the leaks owners later blame on the handle.
Electronic Handles, Keyless Entry, and ADAS-Adjacent Risks
Plenty of modern handle failures aren't mechanical at all. The pull feels solid, the linkage moves, and the door still won't open because a touch sensor, antenna, or body control module never got the message.
A 2025 NHTSA investigation describes electronic door handles becoming inoperative after low 12-volt battery voltage, potentially impeding vehicle reentry, in NHTSA's PE25010 investigation opening. That changes your diagnosis. Before you condemn a new handle, verify battery voltage and charge state.
A short electronic decision tree
- Opens with the key, not by touch: Check the handle connector, sensor compatibility, and harness routing for pinched wires.
- Won't release electronically at any door: Test the 12-volt battery first, then scan for body control module faults where applicable.
- Works intermittently after rain: Inspect connector seals and corrosion protection, not just the lever.
- Dead after battery discharge: Restore voltage, then confirm the emergency mechanical entry path still works.
Preserve emergency mechanical entry on every electronic handle job. Test lock, latch, alarm, keyless entry, and interior release before the vehicle goes back into service.
When a handle job touches driver assistance hardware
Replacing a handle alone may not require calibration. Removing a mirror, unplugging nearby wiring, altering door alignment, or repairing collision damage can trigger scans, relearns, or camera aiming. CCC data showed calibrations on 35.6% of direct-repair-program appraisals in Q3 2025, up from 26.9% one year earlier, as reported in Autobody News coverage of ADAS calibration growth.
Identify cameras and blind-spot hardware before disassembly, photograph routing, and scan before and after if you're working near that equipment. The best door handle installation kit for a newer vehicle isn't the fastest one to fit. It's the one whose connector and sensor compatibility don't risk breaking something next door.
Common Installation Problems and How to Fix Them
Most comebacks trace back to a short list of installation errors. Work symptom to cause before you order another part.
Symptom, cause, fix
- Handle feels loose: Fasteners under-torqued, wrong nuts reused, or the carrier isn't seated. Pull the panel, seat the assembly, replace single-use hardware, and torque to spec.
- Handle binds or won't return: Rod retainer misaligned, cable kinked, or fasteners over-tightened and distorting the carrier. Free the linkage, reroute the cable, and retest before tightening.
- Latch won't release: Linkage connected after the handle was bolted down, so travel falls short. Unclip, seat the rod or cable first, lock the retainer, then align and tighten.
- Water at the door corner: Gasket omitted or vapor barrier torn and unsealed. Fit the gasket, repair the barrier, and confirm a continuous seal.
- Rattle over bumps: Missing or half-seated trim clips, or a loose bezel. Replace damaged clips rather than forcing old ones.
- Power lock works intermittently: Trapped harness or a connector that clicked without fully seating. Reroute clear of the linkage and reseat until the lock tab engages.
A snapped fastener inside the door
Stop before you drill blindly. Fish the broken piece out with a magnetic pickup, and tape off the door cavity so hardware doesn't drop where you can't reach it. If threads in sheet metal are stripped beyond a correct replacement fastener, a thread repair insert or a short body-shop visit is the honest answer. Forcing an oversized screw through a carrier usually cracks it and turns a handle job into a carrier job.
Shop habit: Test everything twice, once with the panel off and once after it's on. The second test catches cables the panel itself is pinching.
Final go or no-go checklist
Run the outer handle, inner handle, child lock, key cylinder or power release, alarm re-arming, and keyless entry. Close the door slowly and check flushness and gaps against the opposite side. If any function needs a harder pull than the other doors, don't button it up and hope it beds in. It won't.
When you're sourcing the next kit, T1A Auto backs metal components with a lifetime warranty and standard items with 3-year coverage, offers free standard shipping on orders over $75, free 90-day returns, and customer support targeting 24-hour resolution. Use the vehicle search to confirm fitment before checkout, so the part that arrives matches the door you're opening up.
Order your door handle installation kit by vehicle, OEM cross-reference, and door position, then verify latch, lock, and keyless functions before the panel goes back on for good. Visit T1A Auto to find exterior, interior, and tailgate handle assemblies matched to your truck or car, with the fitment details laid out before you buy.
