


Ready to swap out that busted side mirror? It’s a job you can definitely handle yourself. The basic game plan is pretty straightforward: you'll disconnect the battery for safety, pop off the interior door panel to get to the hardware, unplug the mirror’s wiring, and then unbolt the old unit. With some basic tools and a bit of patience, you’ll have it done in no time.
Your Essential Guide to Side Mirror Removal
Whether your mirror lost a fight with a tight garage opening or the power functions just died, replacing it yourself is a satisfying fix that saves you a good chunk of money. We're going to break down the whole removal process into simple, manageable tasks. Forget complex mechanic-speak; this is a step-by-step guide for the real world.
The real key to a smooth job is walking into it prepared. Having everything you need on hand from the start saves you from those frustrating mid-project runs to the auto parts store and helps you avoid breaking a clip or scratching your door panel. Before you even pick up a screwdriver, you should have a clear picture of what you're about to do.
What to Expect in This Guide
This guide is designed to give you that clarity. We'll walk you through:
- Safety First: Why disconnecting the battery is the one step you absolutely can't skip.
- Gaining Access: The right way to remove an interior door panel without snapping any of those fragile plastic clips.
- The Final Steps: How to properly release the electrical connector and unbolt the mirror assembly for a clean removal.
- Smart Sourcing: The advantage of starting with a quality, guaranteed-fit replacement from a trusted source like T1A Auto.
A successful side mirror replacement isn't about speed; it's about being methodical. Taking an extra five minutes to find a hidden screw or gently work a trim piece loose is always better than rushing and causing more damage.
To help you stay organized, I've put together a quick checklist that breaks down the entire process. It outlines the tools you’ll need and the main goal for each stage of the job.
Side Mirror Removal Quick Reference Checklist
| Phase | Required Tools & Materials | Key Objective |
|---|---|---|
| Preparation | Socket/wrench set, screwdrivers, plastic trim removal tools | Ensure vehicle safety and gather all necessary equipment before starting. |
| Access | Trim removal tools, Phillips/flathead screwdrivers | Safely remove the interior door panel to expose the mirror's mounting hardware. |
| Disconnection | Socket set, needle-nose pliers (optional) | Unplug any electrical connectors and unbolt the mirror from the door frame. |
| Installation | Your new T1A Auto mirror and existing tools | Mount the new mirror, reconnect wiring, and reassemble the door panel. |
Use this table as your road map. When you’re ready for the final step, having a direct-fit component from a reliable supplier like T1A Auto makes all the difference, ensuring the installation is just as hassle-free as the removal.
Get Your Gear Together for a Clean Mirror Swap
Any seasoned mechanic will tell you that the real work starts before you even lay a wrench on the vehicle. Getting your tools and workspace organized is the difference between a quick, satisfying fix and a whole afternoon of frustration. This isn't just about saving time; it's about doing the job right.
Think of it as your pre-flight check. You don't want to be halfway through pulling off a door panel, precariously balancing it with one hand, only to realize the socket you need is buried at the bottom of your toolbox. A few minutes of prep now will save you a world of hurt later.
The Must-Have Tools
While every car has its own little quirks, this list covers the essentials for about 99% of side mirror jobs. These are the non-negotiables if you want to get that mirror off without leaving behind a trail of scratches and broken clips.
- Socket and Wrench Set: Most mirror mounting bolts are between 8mm and 12mm. A basic socket set is a must.
- Plastic Trim Removal Tools: Seriously, don't skip this. Prying on your interior with a screwdriver is a recipe for disaster. A $15 set of plastic pry tools will save your door panel from ugly gouges and is worth every penny.
- Screwdriver Set: You'll almost certainly need a Phillips head screwdriver, and maybe a flathead, for screws tucked away inside the door handle or armrest.
- Needle-Nose Pliers: Perfect for convincing a stubborn electrical connector to let go or for grabbing a clip that’s just out of finger-reach.
My Two Cents: Grab a magnetic tray or even just an old yogurt cup before you start. Toss every screw, bolt, and clip in there as it comes off. This one simple habit eliminates the "mystery hardware" problem when it's time to put everything back together.
The Two Most Important Steps Before You Start
Okay, listen up. Before you even think about popping a single clip, there are two things you absolutely have to do. Skipping them can turn a simple job into an expensive electrical headache.
First, disconnect the negative battery terminal. This is non-negotiable. It's the only way to guarantee you won't accidentally short something out when you're unplugging the mirror's wiring. It takes 60 seconds with a wrench and protects you, your tools, and your vehicle's computer. Just do it.
Second, do a quick search for your specific vehicle. A "2015 Ford F-150 door panel removal" will likely have different steps than a 2015 Chevy Silverado. You might find there's a sneaky hidden screw behind a piece of trim you wouldn't have noticed otherwise. A little bit of homework ensures your new T1A Auto replacement mirror will be a perfect fit, with no surprises along the way.
Getting Inside: A Pro’s Guide to Safely Removing the Door Panel
For a lot of people, the idea of popping off an interior door panel is where a weekend project comes to a screeching halt. I get it. It looks like a sealed unit, full of delicate plastic and hidden clips just waiting to snap. But trust me, it’s usually much simpler than it appears. The whole trick is to work smart, not hard.
Forget brute force. This is more like a treasure hunt for a few strategically hidden screws. Once you find them, the panel will practically ask to come off. You'll quickly notice that most car manufacturers have a few favorite hiding spots they use over and over again.
This diagram nails the right mindset: get your safety, tools, and vehicle info sorted out before you even think about touching the panel.
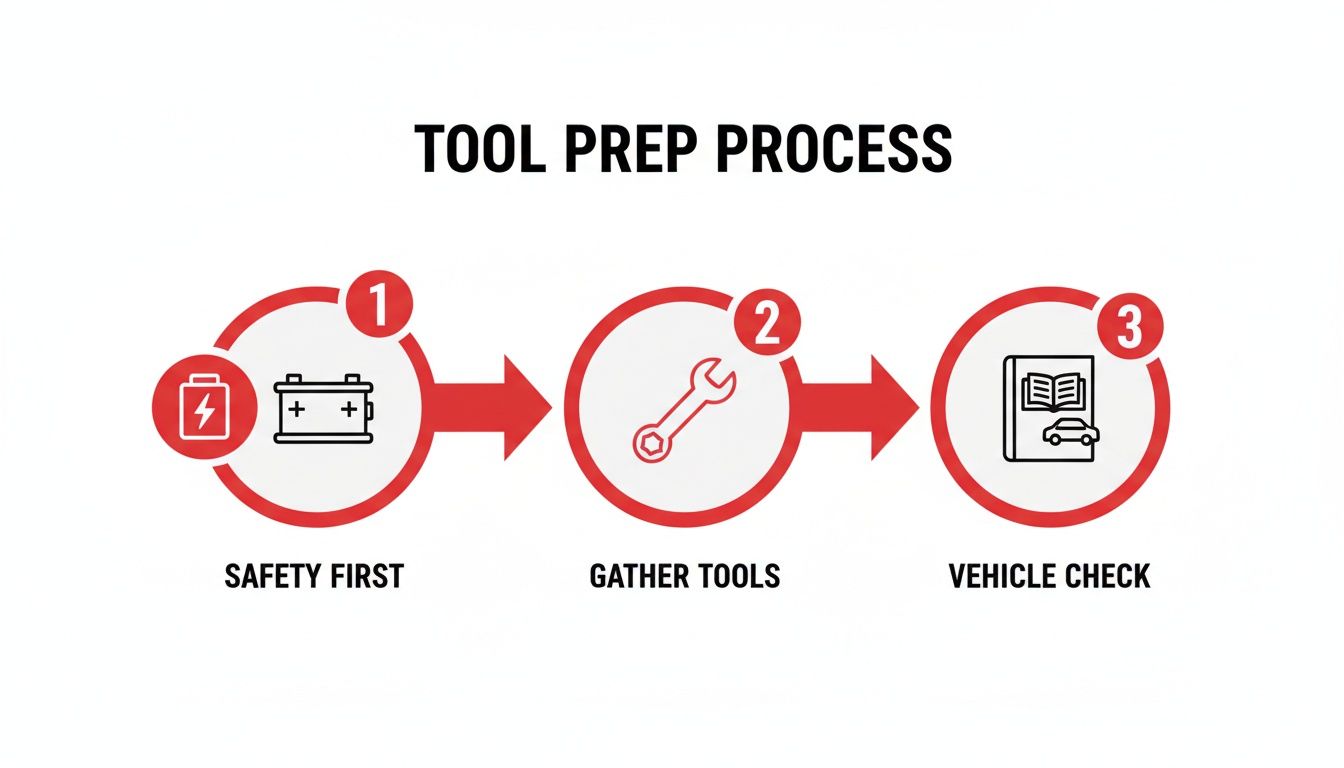
Following this workflow is key. A successful job starts with good prep, long before the first clip pops loose.
Locating Hidden Fasteners
Okay, first things first: you have to find every single screw holding that panel to the door. If you start prying before they're all out, you're guaranteed to break something. So, take a minute and carefully inspect the panel.
- Door Handle Area: Check behind the interior door handle. There’s almost always a small plastic cover you can pop off with a trim tool or a tiny flathead screwdriver to expose a screw.
- Armrest/Pull Handle: Feel around inside the cup where you grab to pull the door shut. You’ll usually find one or two screws at the bottom, sometimes hiding under a small rubber mat.
- Window Switch Panel: The master switch panel for your windows and locks can often be gently pried straight up. Once it’s loose, unplug the wiring harness underneath, and you might just find another fastener hiding there.
Once you’re positive all the screws are out, it's time to deal with the clips.
Using Trim Tools the Right Way
This is where a good set of plastic trim tools really earns its keep. Metal tools will scratch and gouge your panel, so stick with plastic.
Start at one of the bottom corners and slide a forked trim tool between the door panel and the metal frame. Gently work it in until you feel it hit one of the plastic clips.
Don't just yank on it. Instead, give the tool a firm, deliberate twist or a short pry. You're looking for a clean pop as the clip releases. From there, just work your way around the sides and bottom of the door, releasing one clip at a time. The top of the panel is usually hooked over the window sill, so save it for last—you'll lift the whole panel up and away to free it.
A Quick Tip from Experience: Patience is everything here. If a clip is putting up a fight, don’t force it. Reposition your tool or even use a second one to spread the pressure. A broken clip will turn into a permanent, annoying rattle you'll hear on every single drive.
With all the clips free, the panel will feel loose. But hold on—it's still tethered to the door by electrical connectors and the door handle cable. For a much more in-depth look at getting those disconnected, check out our guide on how to remove a car door panel. Whatever you do, don't pull the panel far away from the door until everything is safely unplugged.
Getting the Old Mirror Off the Door
Alright, with the door panel out of the way, you're on the home stretch. This is where the careful prep work really pays off. The mirror is only held on by a few fasteners and maybe one electrical plug, but you still need a bit of finesse to get it off without a hitch.
Look behind where the door panel was, and you'll probably see a plastic weather barrier or a sheet of foam insulation. The mirror's wiring harness is tucked behind this, so you might have to gently peel back a corner to access the connector. Go easy here—you don't want to rip it, since that barrier is what keeps water and road noise out of your car.
Finding and Unplugging the Connector
The wiring connector is usually a small plastic plug secured by a locking tab. That little tab is designed to keep it from rattling loose. To get it apart, you'll need to press down on that tab while pulling the two halves of the connector away from each other.
Don't be surprised if it's stiff. After years of collecting dust and grime, they can be a real pain. If you can't get it with your fingers, a small flathead screwdriver can give you the leverage you need to gently depress the tab. Just be careful not to pry too hard; breaking that clip will cause headaches later with a loose connection.
If the wiring looks like a rat's nest or you spot something that just doesn't seem right, it could point to a bigger problem. When in doubt, it’s always better to get a professional electrical system service to take a look rather than risk making things worse.
Modern car mirrors are getting more and more complex. In fact, the market for electrically adjustable side mirrors was valued at USD 3 billion back in 2023 and is only getting bigger. This means more vehicles have these advanced systems, so knowing how to disconnect and reconnect them properly is more important than ever.
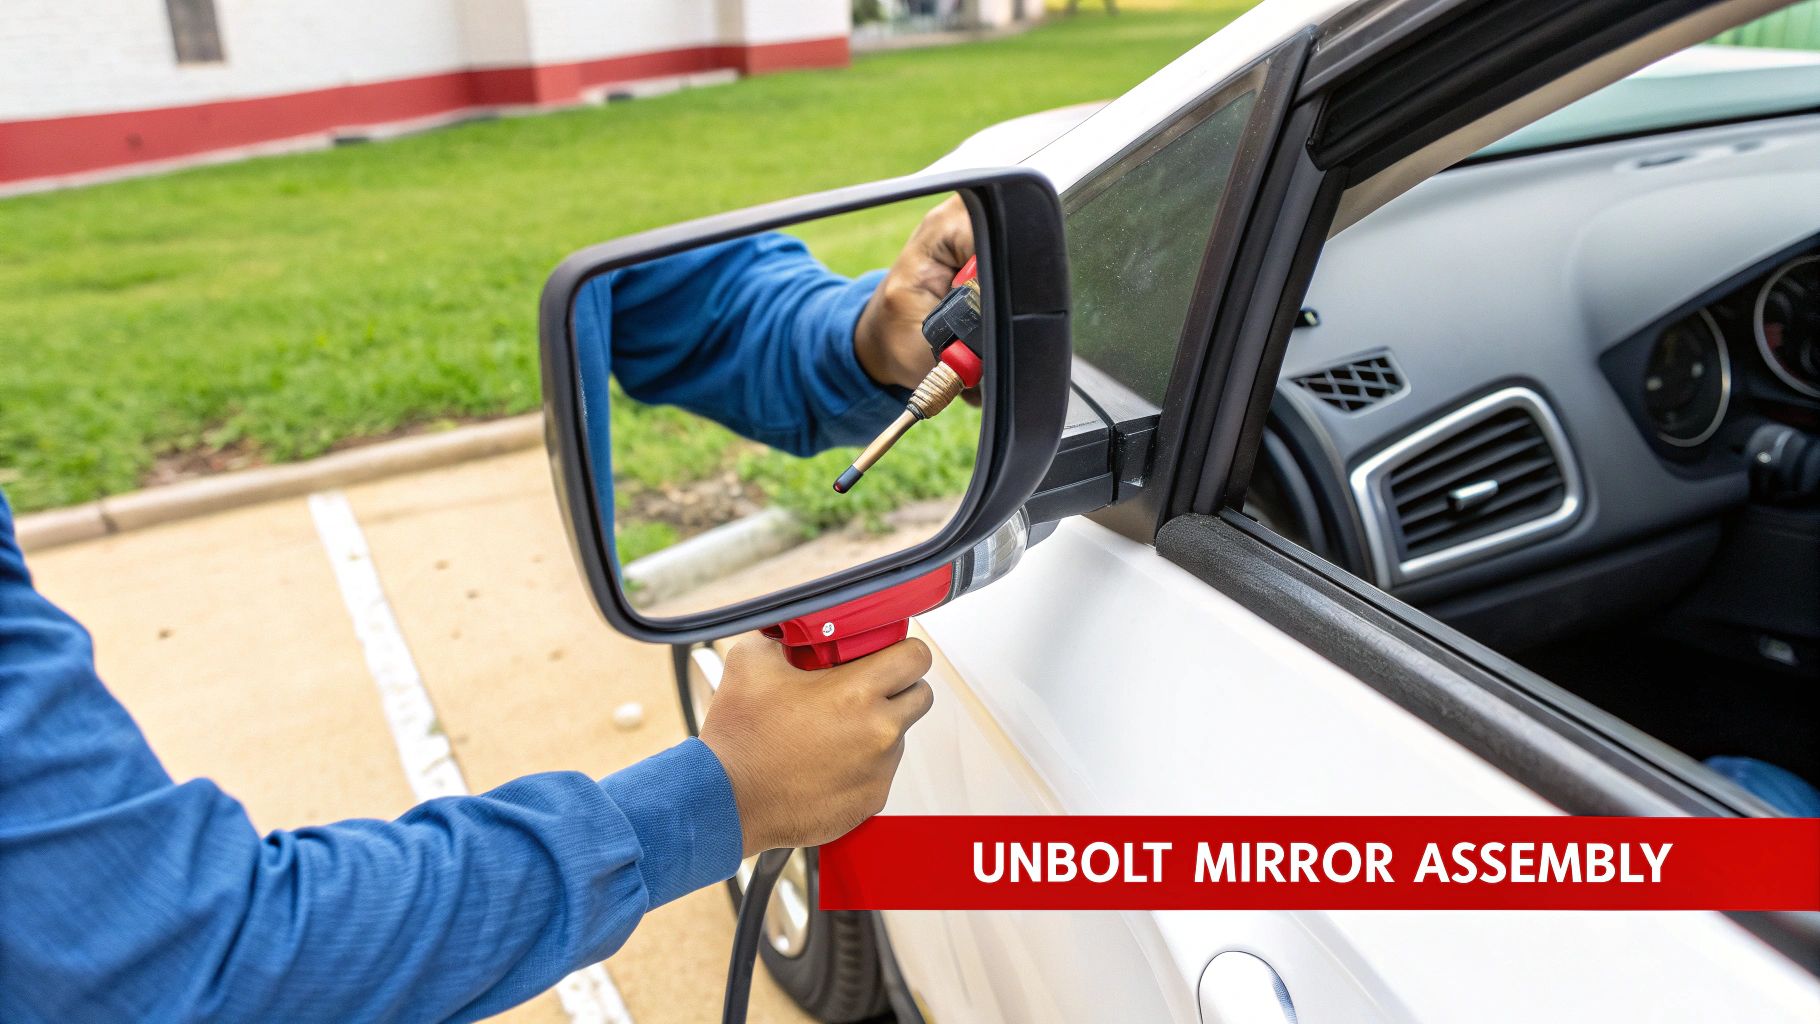
Unbolting the Assembly for a Clean Break
Now, it's time for the main event. Find the fasteners holding the mirror to the door frame. You're usually looking for three nuts or bolts in a triangular pattern. They're often hidden behind that little black plastic triangle trim piece in the corner of your window.
Before you even think about putting a wrench on that first nut, do this one thing: put a hand on the outside of the mirror and hold it steady against the door. This simple move is the difference between a smooth job and a disaster.
Pro Tip: The second you remove that last bolt, the only thing holding your mirror is you. Supporting it from the outside keeps it from dropping, scratching your paint, or worse, shattering on the ground. It’s a rookie mistake that’s incredibly easy to avoid.
Go ahead and loosen and remove the top two fasteners completely. When you get to the last one on the bottom, loosen it almost all the way, then spin it off the rest of the way with your fingers. As you take it off, carefully guide the mirror assembly and its wiring harness away from the door.
Of course, if your only problem is cracked glass, you might not need to do all this. Check out our guide on just replacing side view mirror glass for a potentially quicker fix.
Troubleshooting Common Issues You Might Face
Even when you've done all your homework, a DIY project can still throw you a curveball. That's just how it goes sometimes. Knowing how to handle these little snags is what separates a frustrating afternoon from a successful repair. Think of this section as your problem-solver for the common hang-ups you might hit when removing a side mirror.
Things don't always come apart as nicely as they do in the videos. You might find a screw head that starts to strip the second you look at it, a door panel clip that refuses to let go, or an electrical connector that seems fused together from years of dirt and heat cycles.
Dealing with Stubborn Components
Let's walk through these common headaches one by one. The key is usually patience and a bit of finesse, not just more muscle.
-
Stripped Screw Head: The moment a Phillips head screw starts to round out, stop what you’re doing. A great trick is to place a wide rubber band over the screw head before putting your screwdriver back in. That little bit of rubber can provide just enough extra grip to break it loose without destroying it.
-
Stuck Panel Clip: Whatever you do, don't just yank on the panel. You’ll probably break the clip or the panel itself. Instead, try using a second trim tool to apply gentle, even pressure on both sides of the stubborn clip. A slow, steady pull is way more effective than a sharp jerk.
-
Uncooperative Connector: A small flathead screwdriver can be your best friend here. Use it to gently depress the locking tab while you pull the two halves of the connector apart. The trick is to be careful not to pry on the wires or the plastic housing too hard.
Sometimes, the mirror itself isn't the only problem. If the motor stopped working long before you decided to replace the mirror, there might be a deeper electrical issue at play. It's worth learning how to diagnose why a power mirror not working to make sure your brand-new part actually works once it's installed.
Why Quality Parts Prevent Future Headaches
This is where the quality of your replacement parts really makes a difference. A cheap, poorly made aftermarket mirror can turn a simple reinstallation into a total nightmare. You'll find yourself fighting with bolt holes that don't quite line up or an electrical connector that's just a little bit different from the factory harness.
Choosing a direct-fit replacement from a trusted source like T1A Auto gets rid of those frustrations before they even start. When your new part is engineered to match the original specs, you can be confident that every bolt will thread in smoothly and every connector will click securely into place. This attention to detail is what makes the final steps of your project go just as smoothly as the first.
Got Questions? We've Got Answers
Alright, let's wrap up by tackling a few of the most common questions that pop up during a side mirror swap. Getting these cleared up beforehand can save you a headache and make sure the job goes smoothly.
Think of it this way: knowing the common pitfalls is half the battle. For instance, nothing is more frustrating than discovering your new mirror has the wrong electrical plug. This is a classic issue and exactly why we stress getting a part you can trust from a place like T1A Auto. It just eliminates that "will it or won't it fit?" anxiety from the start.
Can't I Just Replace the Glass?
You bet, but only sometimes. If your mirror housing and all the power functions are still in perfect shape and it’s just the glass that's cracked, replacing only the glass is a great, quick fix. You usually don't even have to pull the door panel off for that.
But that's where the good news ends. If the plastic housing is busted, the power-adjust motor has given up, or the built-in turn signal is dead, you're looking at a full assembly replacement. Trying to patch that up is just asking for more trouble down the road.
What Happens If I Snap One of Those Door Panel Clips?
First off, don't sweat it. It happens to everyone, even seasoned pros. Those little plastic clips get brittle with age, and no matter how careful you are, one is bound to snap.
The fix is simple and cheap. Any auto parts store will have packs of these clips. It's actually a pro tip to grab a few before you start the job. Leaving a clip broken or missing will almost guarantee you'll be chasing down a new, incredibly annoying rattle from your door panel.
A properly secured door panel does more than just stop rattles. It makes sure everything from your window switches to your door handle sits flush and works without feeling loose or flimsy.
Do I Really Have to Disconnect the Battery?
Yes. This one isn't optional—it's a critical safety step. It takes all of 60 seconds with a small wrench to pop the negative terminal off, and in doing so, you completely remove the risk of shorting something out. Cars today are packed with sensitive electronics.
Skip this step, and you could be in for a bad time. You might:
- Blow a fuse (the best-case scenario).
- Fry a control module (a very expensive mistake).
- Even risk deploying an airbag if you jostle the wrong sensor.
It's the cheapest insurance policy you can get. Just disconnect it.
Is an OEM Part Really Better Than Aftermarket?
Not always. While an OEM (Original Equipment Manufacturer) part comes straight from the dealer, a high-quality aftermarket part can be just as good, if not better. The secret is to buy from a reputable brand that actually cares about fit and finish.
A good aftermarket mirror is engineered to be a direct-fit replacement. That means the bolt holes line up perfectly, the electrical plug clicks right in, and the mirror functions just like the original. You get the same result without the hefty dealership price tag.
When you're ready to finish the job, grab a replacement mirror you know you can count on. T1A Auto is all about premium aftermarket parts that are guaranteed to fit right and built to last. Check out our selection of side mirrors and get your vehicle looking new again at https://t1aauto.com.