


When your car window gets stuck, starts moving at a snail's pace, or makes a terrible grinding sound, the window regulator is almost always the part to blame. Tackling this replacement yourself involves removing the interior door panel, carefully securing the window glass, swapping out the old regulator, and putting in the new one. For a first-timer, this project usually takes about 2-3 hours and can save you a bundle on labor costs.
Your Guide to Window Regulator Replacement
A window that won't cooperate is more than just annoying—it's a security risk and a daily headache. Whether the glass has completely dropped inside the door, struggles to move, or is just plain stuck, the root cause is typically a failed window regulator. This is the mechanism inside your door that does all the heavy lifting, and its parts—cables, pulleys, and plastic guides—are well-known for wearing out.
This guide is designed to be a real-world walkthrough, not just a generic list of steps. We'll share insights gained from experience to help you sidestep the common pitfalls of the job.
What to Expect from This Guide
You'll learn how to pinpoint the exact problem, pick the right replacement part, and confidently handle the repair from start to finish. We'll cover everything from the must-have tools to the little tricks that make the process go a lot smoother.
Here's what we'll focus on:
- Diagnosing the Problem: You'll learn how to tell if it's a bad motor or a snapped regulator cable.
- Picking Quality Parts: We'll explain why many aftermarket regulators with metal components are a smart upgrade over the brittle plastic ones from the factory.
- Getting the Job Done: You'll get a clear, step-by-step plan for disassembly and reassembly without breaking those fragile plastic trim clips.
By the time you're done, you'll not only have a fully functional window but also the satisfaction that comes with doing it yourself. Forget the expensive shop bill; this is one of those projects that's definitely within reach for a motivated DIYer.
One of the most common failures we see is when the plastic pulley guides crack. This makes the lift cable go slack and get tangled, often resulting in a loud "pop" as the window glass drops into the door. Choosing a replacement regulator assembly with metal pulleys is a great way to prevent this from happening again down the road.
The thought of taking your door apart can seem daunting, but it's manageable when you break it down into smaller tasks. We'll walk you through how to safely get the door panel off, secure the glass (a critical step!), and wiggle the old regulator assembly out of the tight space inside the door. After that, putting the new part in is pretty straightforward. Let’s get to it.
Gathering Your Tools and the Right Parts
Jumping into a window regulator replacement is a great weekend project, but you can't just wing it. Before you even think about popping off that door panel, you need to have the right gear and the correct part sitting on your workbench. Trust me, trying to tackle this without the proper tools is a surefire way to break a few clips, scratch your paint, and turn a simple job into a massive headache.
Think of it like cooking: you wouldn't start making a complex dish without all your ingredients prepped and ready to go. For this repair, your "ingredients" are a handful of specific tools and a quality regulator that's an exact match for your car.
The Tools You'll Actually Need
The good news is that most of the tools for this job are probably already in your toolbox. There is, however, one specialty tool that I can't recommend enough—it makes a world of difference.
- Socket Set and Ratchet: You’ll be removing bolts holding the door panel, speaker, and the regulator itself. Most cars use common sizes like 8mm, 10mm, and 13mm, but it's always smart to double-check what your specific model requires.
- Screwdriver Set: You'll want a good mix of Phillips and flathead screwdrivers. They’re essential for getting at those little screws often hidden behind switch panels or trim pieces.
- Plastic Trim Removal Kit: This is the one tool I consider non-negotiable. Prying on your plastic door panel with a metal screwdriver is a guaranteed way to leave ugly gouges and snap the clips that hold it on. A dedicated plastic trim kit lets you pop everything apart safely and cleanly.
- Painter's Tape or Strong Duct Tape: This is crucial. You must secure the window glass in the fully raised position before you unbolt the old regulator. Painter's tape is perfect because it holds strong but won't leave a sticky mess on your glass and door frame when you're done.
Once you have these tools lined up, you're in great shape for a smooth repair.
Selecting the Right Replacement Regulator
Now for the star of the show: the new regulator. This is not the place to cheap out. Going with a low-quality part often means you'll be tearing that door apart again in a year or two.
First things first, you need to nail the fitment. Use your vehicle's Year, Make, and Model to pinpoint the exact part number. Pay close attention to the details—are you working on the front-left (driver's side) or the rear-right? They look similar but are not interchangeable.
Pro Tip: As soon as you unbox the new part, hold it up right next to the old one before you start the install. A quick side-by-side comparison to verify the mounting points, the electrical plug, and the overall shape can save you from a world of hurt halfway through the job.
Look at the quality of the materials, too. A lot of original factory regulators fail because they use brittle plastic for key parts like pulleys or cable guides. Many top-tier aftermarket parts actually improve on the original design by using upgraded metal components in these high-stress areas, which makes for a much more durable, long-lasting repair. It's one of those cases where aftermarket can be a real upgrade. If you want to dive deeper, you can learn more about OEM vs aftermarket parts in our comprehensive guide. Finding a part with a lifetime warranty is a huge plus, giving you real peace of mind.
This focus on durable, well-fitting parts is more important than ever. The global market for automotive window regulators was valued at around USD 15.64 billion and is expected to hit nearly USD 25.89 billion by 2035. That growth shows just how many cars out there need this fix, especially since the average vehicle age is now over 12 years. By choosing an upgraded part, you're investing in a fix that’s designed to outlast the factory original and keep you from doing this job twice.
Removing the Door Panel and Old Regulator
Alright, you've got your tools laid out and the new regulator is waiting. Now for the fun part. Getting the interior door panel off is where this job really begins, and trust me, a little patience here goes a long way. The goal is to get it off without breaking any of those brittle plastic clips or scratching the trim—a mistake I've seen plenty of first-timers make.
Let's walk through this process in a few key stages, from hunting down hidden screws to making sure the window glass doesn't come crashing down. Think of it as a bit of automotive surgery. Precision and a steady hand are your best friends. Rushing this is the fastest way to turn a simple repair into a weekend-long headache.
Locating and Removing Hidden Fasteners
Car manufacturers love to play hide-and-seek with door panel screws. To keep the interior looking slick, they tuck them away in the most unassuming places. A common culprit is a small plastic cover hidden inside the door pull or armrest.
You'll almost always find one hiding underneath the window switch panel. Grab your plastic trim tool and gently pry that panel up. I usually start at an edge and work my way around until I feel the clips pop free. Once it's loose, unplug its electrical connector, set the panel aside, and you'll see the screw you're looking for.
A few other classic hiding spots include:
- Behind the trim piece (the bezel) that surrounds the interior door handle.
- Under a small, round plastic cap, often near the side mirror housing.
- Sometimes, they're just screwed in along the very bottom or sides of the panel.
Before you start prying, take a good look over the entire panel. A few seconds of inspection now can save you from cracking a piece of trim later.
Safely Releasing the Door Panel Clips
With all the screws out, the only thing holding the panel on is a series of plastic clips, usually 8 to 12 of them, running along the perimeter. This is where your plastic trim removal tool becomes non-negotiable. If you try to use a metal screwdriver, you will gouge the panel or scratch the paint on your door.
I always start at a bottom corner. Slide your trim tool between the panel and the metal door frame until you feel it bump against a clip. Apply gentle, steady pressure until you hear a satisfying "pop." That's your first one down. Now, just move along to the next clip and do the same, working your way around the bottom and up both sides.
Pro Tip: Whatever you do, don't just grab a corner and yank. You'll put too much stress on the remaining clips and snap them right off the panel. It’s a methodical process—pop one clip at a time to keep the force evenly distributed.
Once the sides and bottom are free, the panel will be hanging from a lip at the top of the window sill. To release it, lift the whole panel straight up an inch or two. Don't pull it away from the door yet! It's still tethered by wires and cables. For a closer look at this part of the job, our dedicated guide on how to remove a car door panel has plenty of photos and model-specific tips.
Disconnecting and Accessing the Door's Interior
With the panel hanging loose, you can now see what's connecting it to the door. You’ll typically find a main wiring harness for the switches, a speaker wire, and the cable for the interior door handle. These connectors all have small release tabs you need to press before they'll pull apart.
Once the panel is completely free, find a safe place to put it where it won't get scuffed or stepped on. Behind it, you'll find a plastic or foam sheet stuck to the door—that's the vapor barrier. It's held on with a ridiculously sticky black goo.
Carefully peel back the vapor barrier just enough to get a clear shot at the regulator's mounting bolts inside the door. Try your best not to tear it; this sheet is your first line of defense against moisture and road noise. The good news is that the original adhesive is usually tacky enough to reuse when you're reassembling.
This infographic breaks down the basic workflow for this stage of the project—from prepping your tools to securing the glass and finally removing the old part.
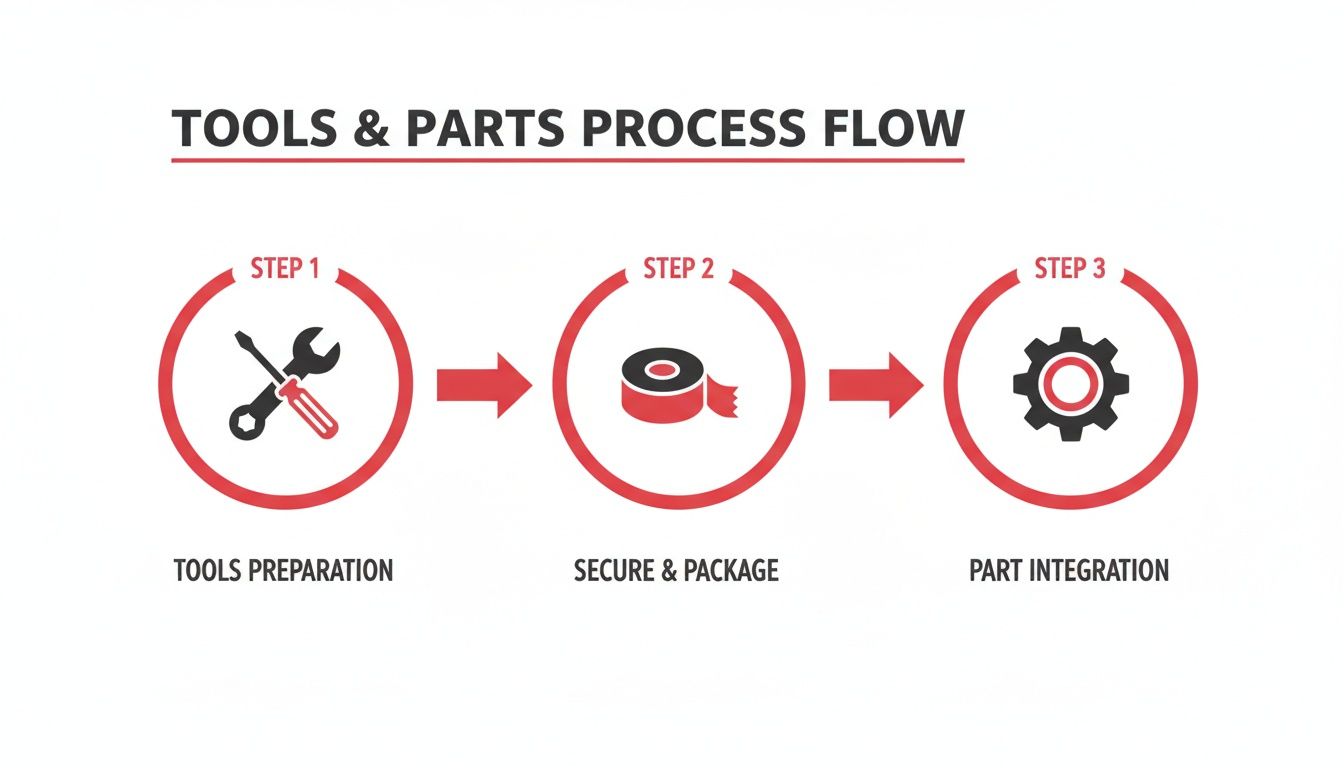
It really just highlights that this is a linear process: get ready, make the work area safe, and then get the part out. Follow the steps, and you'll be fine.
Securing the Glass and Removing the Old Regulator
This next step is critical: before you touch a single bolt on the old regulator, you must secure the window glass. If the window still moves, run it all the way up. Grab some strong painter's tape and run several strips from the glass over the top of the door frame. Don't be shy with the tape—the last thing you want is for that heavy piece of glass to drop inside the door.
With the glass taped securely in place, you can unbolt it from the regulator. Look for access holes in the door's inner metal skin. You might have to temporarily plug the window switch back in and move the regulator up or down until the two bolts clamping the glass line up with those holes. Once they're visible, loosen and remove them.
Finally, it's time to unbolt the old regulator assembly itself. You'll find several bolts—usually four to six of them—holding the tracks and motor to the door. Once they're all out, the whole thing will be loose inside. Unplug the motor's electrical connector. Now comes the puzzle: wiggling the old regulator out of the access hole. It takes a bit of tilting and turning to find just the right angle, but it will come out. With the old part on the ground, you're officially halfway there.
Installing the New Regulator and Reassembling the Door
Alright, with that old regulator out of the way, you're on the home stretch. This is where your patience during disassembly really pays off, since putting it all back together is pretty much the reverse of what you just did. Let's focus on getting the new part in, lining up the glass, and running a few crucial tests before you button everything up.
Before we dive in, take a second to clean out the inside of the door. It's a space that rarely sees the light of day, and it's probably full of dust, leaves, and other gunk. A quick wipe-down with a shop towel can prevent that stuff from getting into your new regulator's tracks.
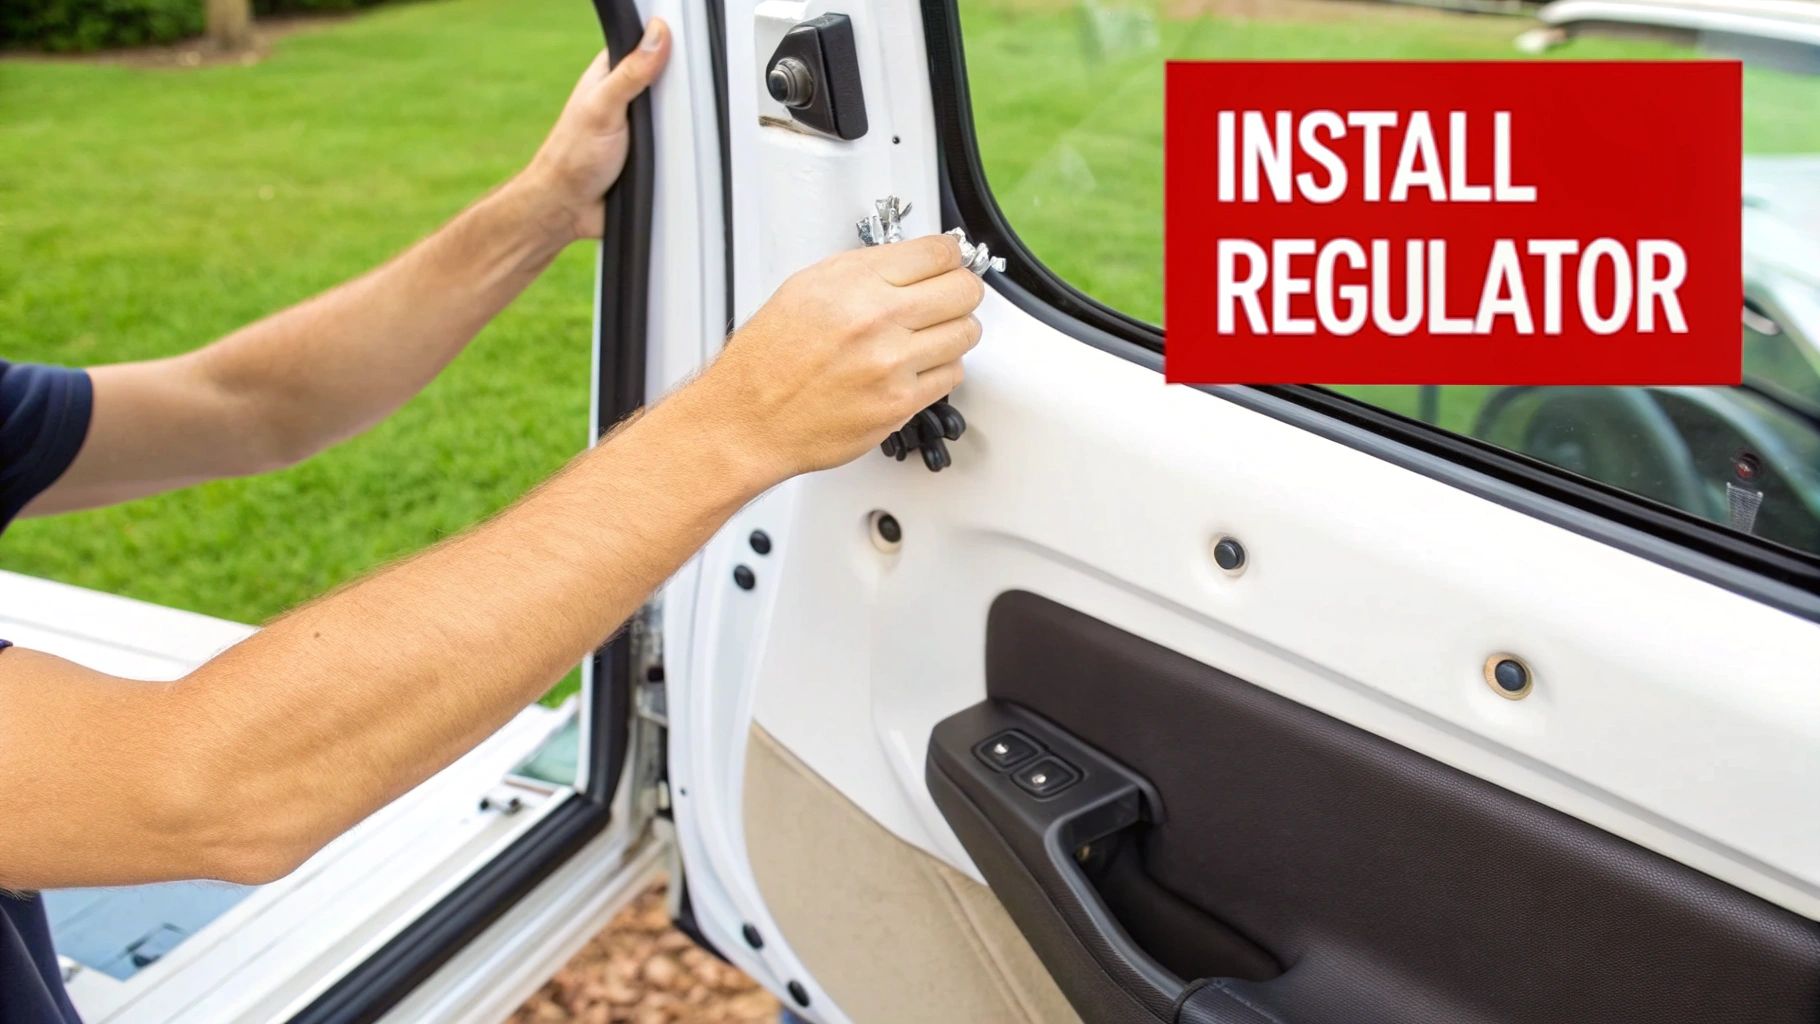
Getting the New Assembly in Place
Getting the new regulator assembly into the door is a bit like a game of Tetris. You'll need to use the same careful angling you used to get the old one out. Find the largest access hole and gently feed the unit inside, making sure not to snag any wires or damage the new part on its way in.
Once it's inside, line up the mounting holes on the regulator with the holes in the door frame. Don't start tightening bolts just yet. Instead, get all the mounting bolts started by hand. This leaves you some wiggle room, which is absolutely essential for getting the glass aligned perfectly.
Pro Tip: Before you start bolting anything, plug in the new motor's electrical connector. It’s way easier to do this now while you have open access than it is to fumble with it blindly after the regulator is mounted.
Attaching the Window Glass
With the regulator loosely mounted, it's time to bring the glass back into the picture. Carefully peel back the tape holding the window up and slowly lower it by hand until it makes contact with the regulator's glass clamps.
You'll need to line up the holes in the glass with the clamps on the new regulator. This is exactly why you left the regulator bolts loose—it lets you shift the whole assembly just enough to get that alignment spot-on.
Once aligned, thread the glass clamp bolts in and tighten them down. You want them snug, but do not overtighten. Cranking down on these bolts is a classic rookie mistake that can easily crack the glass, turning a $150 job into a $500 headache. Most service manuals recommend a torque setting around 7 lb-ft (9.5 Nm), which is basically just a little more than hand-tight with a small ratchet.
After the glass is secure, go back and fully tighten all the regulator mounting bolts.
The Pre-Flight Check: Don't Skip This!
This next step is what separates a frustrating afternoon from a successful repair. Before you even think about putting the vapor barrier and door panel back on, you have to test your work.
Temporarily plug the window switch panel back into its harness. Keeping your fingers clear of all moving parts, run the window all the way up and all the way down a few times.
Here’s what you're watching for:
- Smooth Travel: Does the window move evenly? Any binding, stuttering, or weird grinding noises are a red flag.
- Good Sealing: Does the glass sit flush in the channel at the top of the door when it's fully closed?
- Full Range: Does it go all the way down without bottoming out and all the way up to create a tight seal against the weatherstripping?
If it's running smoothly, congratulations—the hard part is over. If something feels or sounds off, now is the time to figure it out while everything is still wide open.
Reattaching the Vapor Barrier and Door Panel
With a successful test in the books, you can start putting the door back together. First up is the vapor barrier. The black, gummy adhesive is usually tacky enough to reuse; just press the plastic sheet firmly back into place and run your finger along the edges to get a good seal. This is your main defense against water leaks and road noise, so don't rush it.
Next, reconnect any remaining electrical connectors to the door panel—speaker, door lock switch, courtesy lights, etc. And don't forget that little door handle cable; it usually just snaps back into a plastic clip.
To get the door panel back on, hang it from the top lip of the window sill first. Once it's sitting right at the top, line up the plastic clips with their holes in the door. Starting from the top and working your way down, give the panel a few firm smacks with the heel of your hand right over each clip. You'll hear a satisfying "pop" as each one seats.
Final Checks and Finishing Touches
With the panel snapped on, reinstall all the screws you took out, including the hidden ones in the armrest and behind trim pieces. Pop those trim covers back on, and you're almost done.
The very last step is a final function check of everything.
- Window: Test it again from the driver's master switch and the switch on the door you just worked on.
- Locks: Make sure the power locks work as they should.
- Handles: Pull both the inside and outside handles to ensure the door opens smoothly.
- Electronics: Check that the speaker is working and any courtesy lights are coming on.
If everything checks out, that's it! You just saved yourself a hefty labor bill and got your window working like new.
Troubleshooting Common Issues and Pro Tips
Even when you follow a guide to the letter, car repairs can throw you a curveball. That's just the nature of the beast, especially when you're working in the tight, cramped space inside a car door. If you’ve got the new regulator installed but the window still isn’t cooperating, don't throw in the towel just yet. Most of the time, these post-install headaches are common issues with pretty straightforward fixes.
This is where you'll learn to diagnose those frustrating little problems, from electrical gremlins that play dead to a window that just won't seal right. I'll also share a few hard-won tips that will make the job smoother and help you understand why these parts fail in the first place.
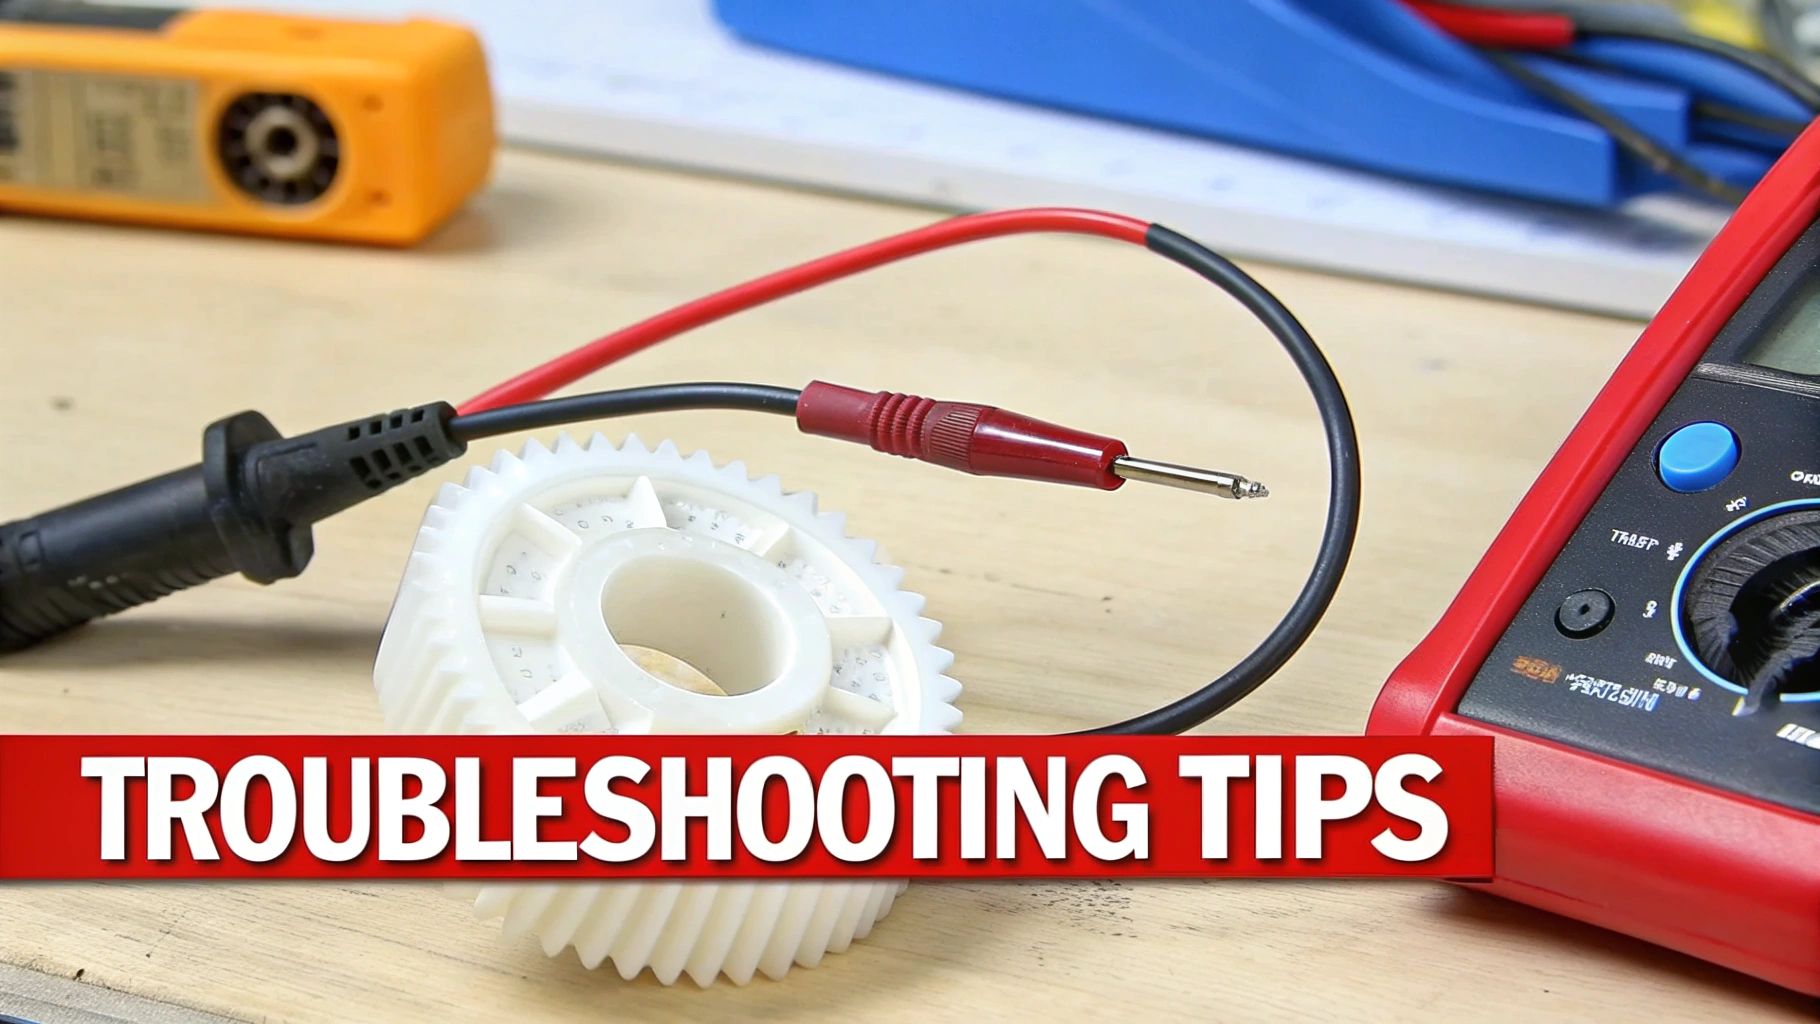
When the New Regulator Doesn't Fix the Problem
This is the most common heart-sinking moment for a DIYer. You've bolted everything in, plugged it all back together, and... nothing. Maybe you hear a faint click from the switch, but the window itself is dead to the world. Before you start questioning the new part, remember this: it’s almost always an electrical issue, not a faulty regulator.
Always start with the simple stuff first.
- Check the Fuse: Your car has at least one fuse box, often one in the cabin and another under the hood. Pop open the owner's manual to find the diagram and locate the fuse for the power windows. Pull it out and inspect it. If that tiny metal strip inside is broken, you've found your culprit. This is a 5-minute, $1 fix.
- Inspect the Switch: The window switch gets a lot of use and can simply wear out. A good tell is if the other windows operate fine from the driver's master switch, but the one you just worked on doesn't.
- Verify the Connection: That electrical connector for the motor can be tricky. It's incredibly easy for it to feel like it's seated when it hasn't actually "clicked" into place. Give it a firm push to make sure it's fully connected.
If you’ve run through these checks and still have no luck, the motor itself could be the issue. For a deep dive into diagnosing it correctly, our guide on https://www.t1aauto.com/blogs/t1-auto-blogs/how-to-test-window-motor has a complete walkthrough using a basic multimeter.
Adjusting a Misaligned Window
Okay, so the window moves, but now it doesn’t seal correctly at the top. You might notice wind noise on the highway or, worse, a potential water leak. Sometimes it'll bind up or move painfully slowly because it's not sitting perfectly straight in its tracks.
This is a classic alignment problem. The fix is usually to slightly loosen the bolts holding the glass to the regulator's clamps. With the pressure off, you can physically nudge the glass forward or backward, or tilt it just a hair, until it lines up perfectly with the weatherstripping. Once you’re happy with the fit, carefully snug the bolts back down—just don't go crazy and crack the glass.
Pro Tip: A tell-tale sign of misalignment is when the window seems to "rock" or wobble as it goes up. By adjusting its position in the clamps, you ensure it travels straight and true within its guide channels, giving you that factory-perfect seal.
While you're working on the glass, it's not a bad time to think about other improvements. For instance, exploring the benefits of car window tinting can be a great next step for boosting comfort and aesthetics.
Preventing a Repeat Failure
To make sure you're not doing this job again in a year, it helps to understand why the original part failed. Power window regulators are high-wear items. The most common points of failure are frayed steel cables, stripped plastic gears, and motors that just burn out from strain.
This is a huge deal for car owners. A typical shop replacement can set you back anywhere from USD 160 to USD 500, with a huge chunk of that being labor costs. By doing it yourself with a quality part—especially one that comes with a lifetime warranty—you sidestep the biggest pain points of cost, fitment, and longevity.
When you're shopping for a replacement, look for aftermarket parts that upgrade weak points. Finding a regulator that uses metal components where the factory part used cheap plastic is a fantastic investment in durability. This simple choice can dramatically lower the total cost of ownership over your vehicle's life.
In the end, knowing how to replace a regulator and troubleshoot the common hiccups empowers you to handle one of the most frequent (and annoying) automotive repairs. You save a ton of money and get the satisfaction of keeping your car in top shape.
Frequently Asked Questions About Window Regulators
When you’re gearing up to replace a window regulator, a few questions always pop up. It’s one of those jobs that feels just complicated enough to make you pause before diving in. It’s smart to get your questions answered before you have a door panel in one hand and a tool in the other.
Let's walk through some of the most common things people ask when they're tackling this for the first time.
Should I Replace Just the Motor or the Whole Assembly?
I get this question all the time. It seems like a good way to save a few bucks, but honestly, it's usually a bad idea in the long run. More often than not, the motor isn't even the part that failed. It's the other stuff—the plastic pulleys crack, the guides get brittle and break, or the steel cable finally gives up and snaps.
Here’s why swapping the whole assembly is the only way I recommend doing it:
- You Fix Everything at Once: A brand-new assembly comes with a new motor, fresh cables, and all-new guides and pulleys. You’re not just fixing the broken part; you're replacing every potential weak link.
- It’s Genuinely Easier: Most modern regulators are designed as a single, riveted unit. Trying to Frankenstein a new motor onto an old, worn-out assembly can be a bigger headache than just replacing the whole thing.
- It’s a Permanent Fix: When you replace the entire unit, you're not going to be back inside that door panel in six months because another old part failed.
Think of it as the difference between patching a tire and buying a new one. The complete assembly gives you the confidence that the job is done right.
Most DIYers find that the peace of mind from a complete assembly replacement is well worth the minor difference in cost. It’s the most direct path to a durable, lasting fix.
How Long Does This Job Usually Take?
Time is always a big consideration. If you've never done this before, I’d recommend blocking out 2 to 3 hours. That gives you a comfortable window to work without rushing, which is exactly when you end up breaking a delicate plastic trim clip.
Could an experienced mechanic do it in an hour? Sure, but they've got the muscle memory from doing it hundreds of times. Your biggest variable is the car itself. Some door panels pop off in minutes, while others are a maze of hidden screws and wiring harnesses. The key is to be patient and methodical.
What Is the Hardest Part of This Repair?
From my experience, two steps tend to trip people up the most.
First, getting the interior door panel off without breaking the clips. This is where a cheap set of plastic trim removal tools is worth its weight in gold. Don't use a screwdriver—you'll just scratch your paint and snap the clips.
The second challenge is the awkward dance of getting the old regulator out and the new one back in. The space inside a door is tight, and the assembly is bulky. It feels like a bad game of Tetris, but if you take a breath and find the right angle, it will slide right into place.
My Window Still Won't Work. What Should I Check Now?
Okay, this is a frustrating moment. You did all the work, and... nothing. Don't pull your hair out just yet. Before you assume the new part is bad, run through these electrical checks. It's almost always one of these three things:
- The Fuse: This is culprit number one. It's the easiest thing to check and the most common reason for a dead window. Pop open your fuse box and look for the power window fuse.
- The Window Switch: Switches get a lot of use and they absolutely wear out. If your fuse is good, the switch is the next logical suspect.
- The Wiring Connector: Did you hear a solid "click" when you plugged the motor in? It's easy to think it's connected when it's only partially seated. Give it a firm push to make sure it's secure.
Working through these simple electrical steps will almost always uncover the real problem without you having to take that new regulator back out.
When you need a replacement part that’s built to last, T1A Auto has you covered. We offer premium aftermarket window regulators with upgraded metal components and a lifetime warranty, ensuring a perfect fit and a durable repair. Get the right part for your vehicle at https://t1aauto.com.
