


Before you even think about grabbing your tools, let's make sure the window regulator is actually the culprit. Trust me, there's nothing worse than spending an afternoon with your door panel in pieces, only to find out the problem was a ten-cent fuse. A few simple tests can save you a world of frustration and make sure you're fixing the real problem.
Diagnosing a Failed Window Regulator
Jumping straight into the repair is a classic rookie mistake. Getting the diagnosis right from the start is 90% of the battle. We need to listen to the car and observe its behavior to be certain the regulator has failed before we commit to the replacement.
Most of the time, a bad regulator gives you some pretty clear clues. The signs can range from dramatic to subtle, but they almost always point to a mechanical breakdown happening deep inside your door panel.
Telltale Signs of Failure
The most dramatic—and undeniable—sign is the window suddenly dropping into the door, usually with a loud THUNK. When this happens, it’s a near-certainty that a cable has snapped or one of the plastic guides on the regulator has shattered. The regulator is what holds that heavy pane of glass up, and when a key part breaks, gravity wins every time.
A more common symptom is a grinding or clicking sound coming from inside the door when you hit the switch. Pay close attention here: if you can hear the motor whirring away but the window is barely moving (or not at all), the motor itself is probably okay. That awful noise is likely the motor's gear chewing up a broken or jammed part of the regulator's cable or track.
Keep an eye and an ear out for these key indicators:
- The Window Drop: The glass falls completely and unexpectedly into the door frame.
- Weird Noises: You hear grinding, clicking, or popping when you use the switch, but the window doesn't move properly.
- Slow or Crooked Travel: The window really struggles to go up or down, or it tilts to one side as it moves.
- The Window is Stuck: The glass is totally frozen in place, but you can still hear the motor trying to do its job.
Pro Tip: If you hit the switch and hear absolutely nothing—no click, no whir, just silence—your problem is almost certainly electrical, not mechanical. Before tearing the door apart, check the fuse box and test the switch. This simple five-minute check can save you hours of work.
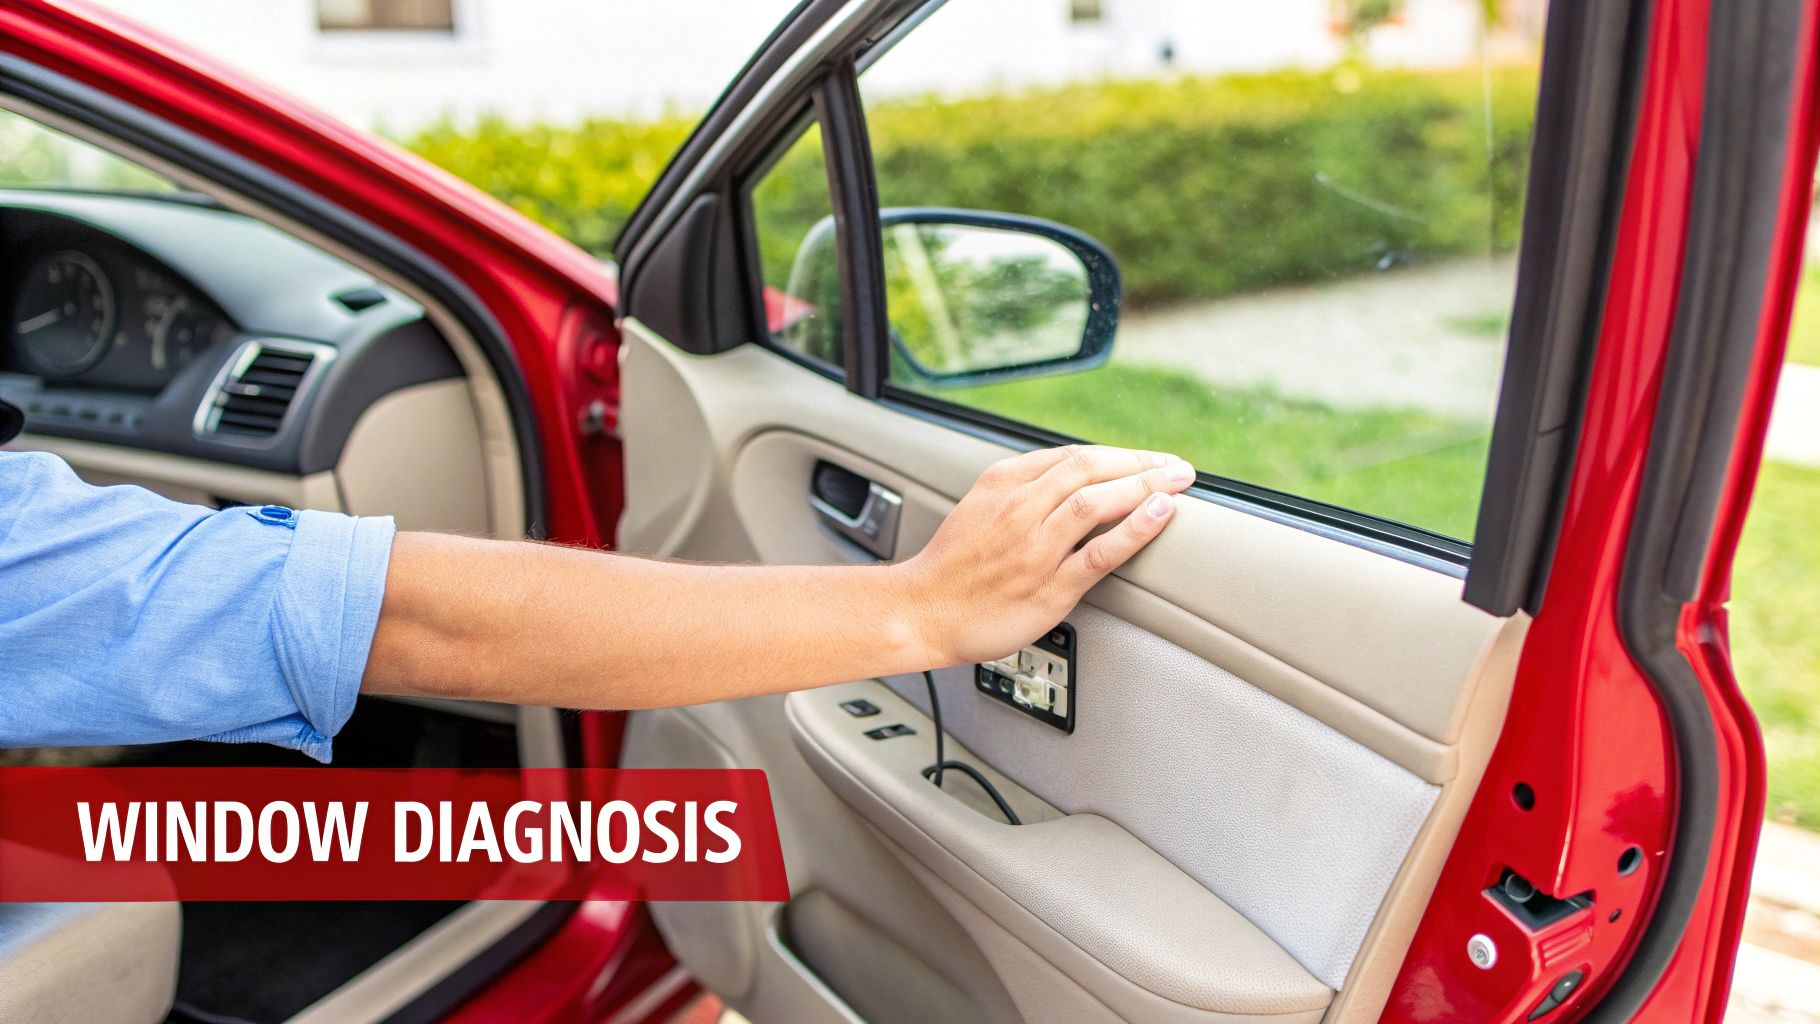
Performing a Quick Physical Test
Here’s a quick hands-on check you can do. If you can get the window to go down even a little bit, grab the top edge of the glass with your hands and try to gently wiggle it up and down. A good, healthy regulator will hold that glass rock steady with almost no play.
If you can easily move the glass more than a quarter-inch, that's a dead giveaway. It tells you the regulator’s support structure is broken or worn out and can no longer hold the window securely.
While these steps cover the most common regulator failures, it never hurts to understand the bigger picture. For a more comprehensive look at the entire system, you can learn more about how to fix a power window and troubleshoot other potential issues. Nailing the diagnosis is the most important part of the job.
Your Toolkit and the Right Replacement Part
Trying to tackle a window regulator replacement without the right tools is a recipe for frustration. You might get the job done eventually, but it’s going to be a painful process, and you’ll probably leave a few scratches behind. A successful repair starts with having everything you need laid out and ready to go before you even touch the car.
The good news is, you don't need a professional-grade workshop for this. Most of what you’ll need are basic hand tools you probably have in your garage. But there are one or two specific items that really separate a clean, professional job from one that looks like a wrestling match took place.
Assembling Your Essential Tools
Your success here really hinges on having the right gear, especially when it comes to popping that door panel off without breaking anything. Trust me, a flathead screwdriver wrapped in tape isn't a substitute for a proper trim tool. Go ahead and invest in a cheap set of plastic pry tools—they’ll save your door panel’s finish and your sanity.
Here’s a quick rundown of the must-haves for this project. Getting these organized first will make everything else go much more smoothly.
Essential Toolkit for Window Regulator Replacement
This checklist covers the tools you'll need to ensure a successful DIY repair. Having these on hand will prevent unnecessary trips to the hardware store mid-job.
| Tool | Primary Use | Pro Tip |
|---|---|---|
| Socket/Wrench Set | Removing bolts that hold the door panel, speaker, and the window regulator in place. | Have both metric and standard sizes handy. You never know what a previous owner or mechanic might have used inside a door. |
| Screwdrivers | Removing various screws, often Phillips head, that secure the door handle and other components. | A magnetic tip screwdriver is a lifesaver. It keeps you from dropping tiny screws down into the door cavity, which is a real headache. |
| Plastic Trim Removal Tools | Safely prying off the door panel and other delicate plastic trim without scratching or breaking clips. | Seriously, don’t use metal. A good nylon or plastic set gives you the leverage you need without marring the surfaces. |
| Painter's Tape | Temporarily securing the window glass in the full "up" position once it's detached from the old regulator. | Blue painter's tape is perfect for this. It’s strong enough to hold the glass but peels off cleanly without leaving sticky gunk behind. |
| Work Gloves | Protecting your hands from sharp metal edges inside the door frame. | The inside of a car door is full of unfinished, sharp metal. It’s incredibly easy to get a nasty cut if you’re not careful. |
Once you've gathered your tools, the next major step is to get the replacement part itself.
Choosing the Right Replacement Regulator
With your toolkit ready, your next big decision is the replacement part. This choice is a big deal, as it directly affects how long your repair will last and how well it performs. You basically have two paths: OEM (Original Equipment Manufacturer) parts from the dealer, or aftermarket parts from retailers like us at T1A Auto.
OEM parts are the exact same ones your car was built with. They guarantee a perfect fit, but that guarantee comes with a much higher price tag. For most people doing this job at home, that cost is a significant downside.
Aftermarket parts, on the other hand, are made by other companies to do the same job. They are almost always more affordable, but the quality can be all over the place. This is where it pays to buy from a supplier who backs their products with a real warranty. To dig deeper, check out our guide on OEM vs. aftermarket parts.
Here’s something to keep in mind: a high-quality aftermarket part can often meet or even exceed the original's performance. This is especially true if the part was redesigned to fix a known flaw, like replacing a failure-prone plastic piece with a stronger metal one.
Finding the Perfect Match
To make sure you get the right part on the first try, you'll need your vehicle's Year, Make, and Model. Sometimes you might need the VIN or production date, too. Most online auto parts stores have a vehicle finder that filters out the wrong parts for you. Just be sure to double-check that the regulator is for the correct door, like "Front Driver Side."
A ton of vehicles out there still use the classic x-arm type window regulator, which looks like a big pair of scissors and is one of the most common designs on the road. This mechanism uses two hinged arms to lift and lower the window smoothly. Getting the exact match for your car's system is non-negotiable for a successful swap.
Removing the Old Window Regulator
Alright, here’s where the real work begins. With your new regulator and tools laid out, it's time to get inside that door and pull out the old, faulty part. This is the part of the job where a little patience goes a long way. Take your time, and you'll find it's more satisfying than frustrating.
We're going to tackle this in a few key phases. First, we’ll get access to the guts of the door, then we'll make sure the window glass is secure so it doesn't come crashing down. After that, it’s just a matter of unbolting the old assembly and pulling it out.
This visual guide gives you a great high-level look at the process, so you know what's coming.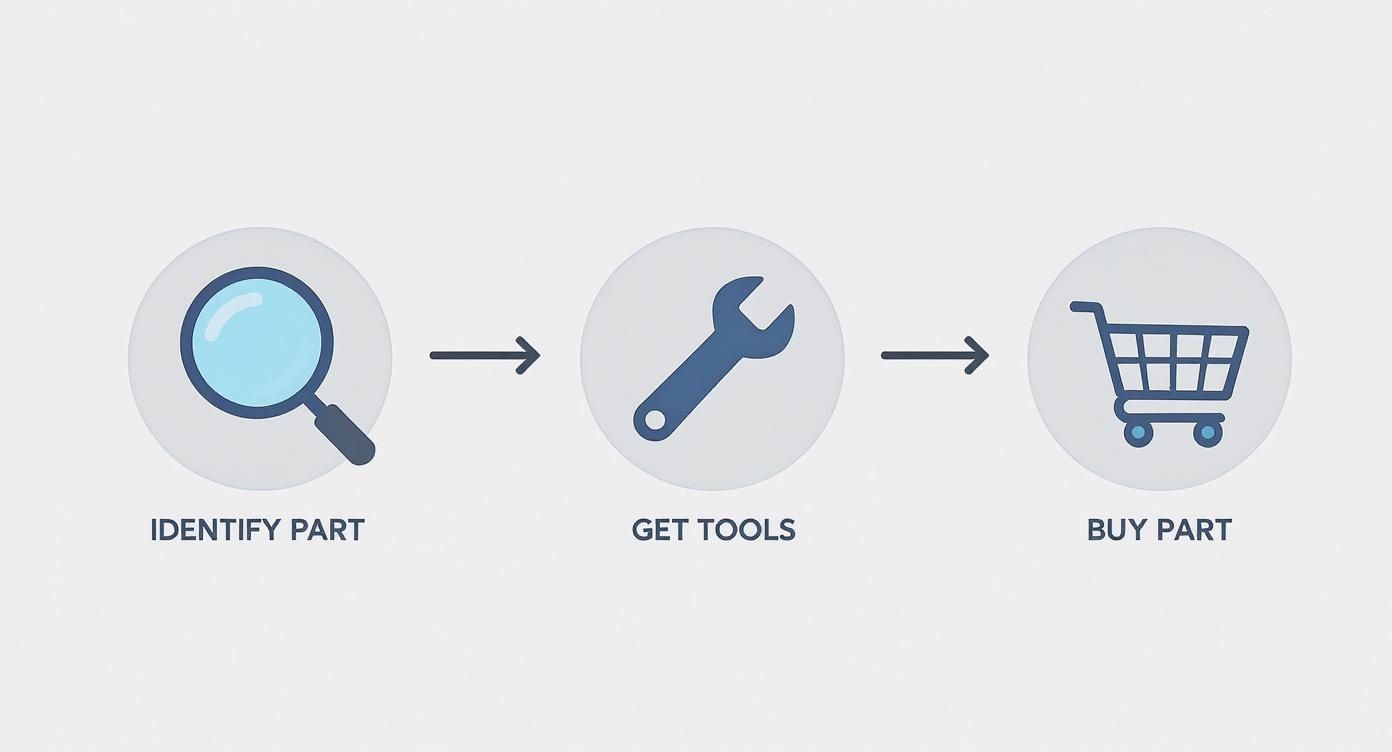
Notice how much of the work is preparation. Getting the diagnosis right and having the tools ready beforehand is half the battle.
Safety First: Disconnect the Battery
Before you touch a single screw, stop and disconnect the negative terminal on your car’s battery. This isn't optional; it's a critical safety step. It completely cuts the power, preventing any accidental short circuits when you start unplugging wires. More importantly, it eliminates the risk of accidentally deploying the side airbag—a very real and dangerous possibility.
Just loosen the nut on the negative (-) terminal, slide the cable off, and tuck it somewhere safe where it can’t accidentally touch the post again.
Gaining Access Behind the Door Panel
With the power off, you can now focus on getting the interior door panel off. Honestly, this can be the most intimidating part for a lot of people. Car makers have gotten pretty clever at hiding the screws and clips that hold everything together.
Your trim removal tools are your best friend here. Start hunting for screws, which usually hide in a few common spots:
- Down inside the door pull handle.
- Behind the interior latch handle, often under a small plastic cap.
- Along the very bottom edge of the panel.
Once you’re sure all the screws are out, slide a plastic pry tool between the panel and the metal door frame. Work your way around the edge until you find the first clip. Give it a firm but gentle pry, and you'll hear a "pop" as it releases. Just continue this process around the perimeter of the door.
If you want a more detailed breakdown, our guide on how to remove a car door panel has a ton of great, model-specific tips. With all clips free, you'll need to lift the panel straight up and off the door, as it usually hooks over the top of the window sill.
Managing the Vapor Barrier and Wiring
Once the panel is off, you’ll see a sheet of plastic or foam stuck to the door. This is the vapor barrier, and its job is to keep moisture out and road noise down. You'll need to peel it back, but do it carefully to avoid tearing it. It's held on by a very sticky, tar-like adhesive. I usually use a utility knife to slice through the adhesive, peeling back just enough to give myself a window to work through.
You'll also see a few wiring harnesses for the window switch, speaker, and maybe the door locks. Each connector has a little release tab that you need to press before you pull it apart. Whatever you do, don't just yank on the wires.
Crucial Tip: Before you unplug a single thing, pull out your phone and snap a quick photo of the wiring layout. Trust me, this simple picture can save you a massive headache later when you're trying to remember where everything goes during reassembly.
Secure the Window Glass Properly
This is, without a doubt, the most important step of the whole removal process. If the window isn't already stuck in the up position, you need to get it there. Once it's fully raised, you have to secure it so it can't fall.
I always use several long strips of painter's tape for this. Run the tape from the outside of the glass, up and over the top of the door frame, and stick it firmly to the inside of the glass. Use at least 2 or 3 strips to be safe.
Why painter’s tape? Because it’s strong enough to hold the heavy glass but comes off clean without leaving a sticky mess or ruining your paint. This simple trick is what stands between you and a shattered window.
Unbolting and Removing the Old Regulator
With the window taped securely in place, you can finally get to the regulator itself. You'll see the metal tracks and motor assembly bolted to the inner door. Your first task is to separate the glass from the regulator.
Peer through the access holes in the door. You should see the clamps or bolts that hold the bottom edge of the window. Loosen these fasteners just enough to release the glass. You’ll feel it come free.
Next, find all the mounting bolts that hold the entire regulator assembly to the door—there are usually between four and six of them. As you remove the last one, be ready to support the assembly so it doesn't drop inside the door.
Now for the fun part. You have to carefully wiggle the entire assembly out through one of the larger access holes. It can feel a bit like a game of Tetris. You'll likely have to tilt and rotate it just right to find the angle to pull it out. Once it’s out, take a breath—you’re officially halfway done.
Installing the New Window Regulator
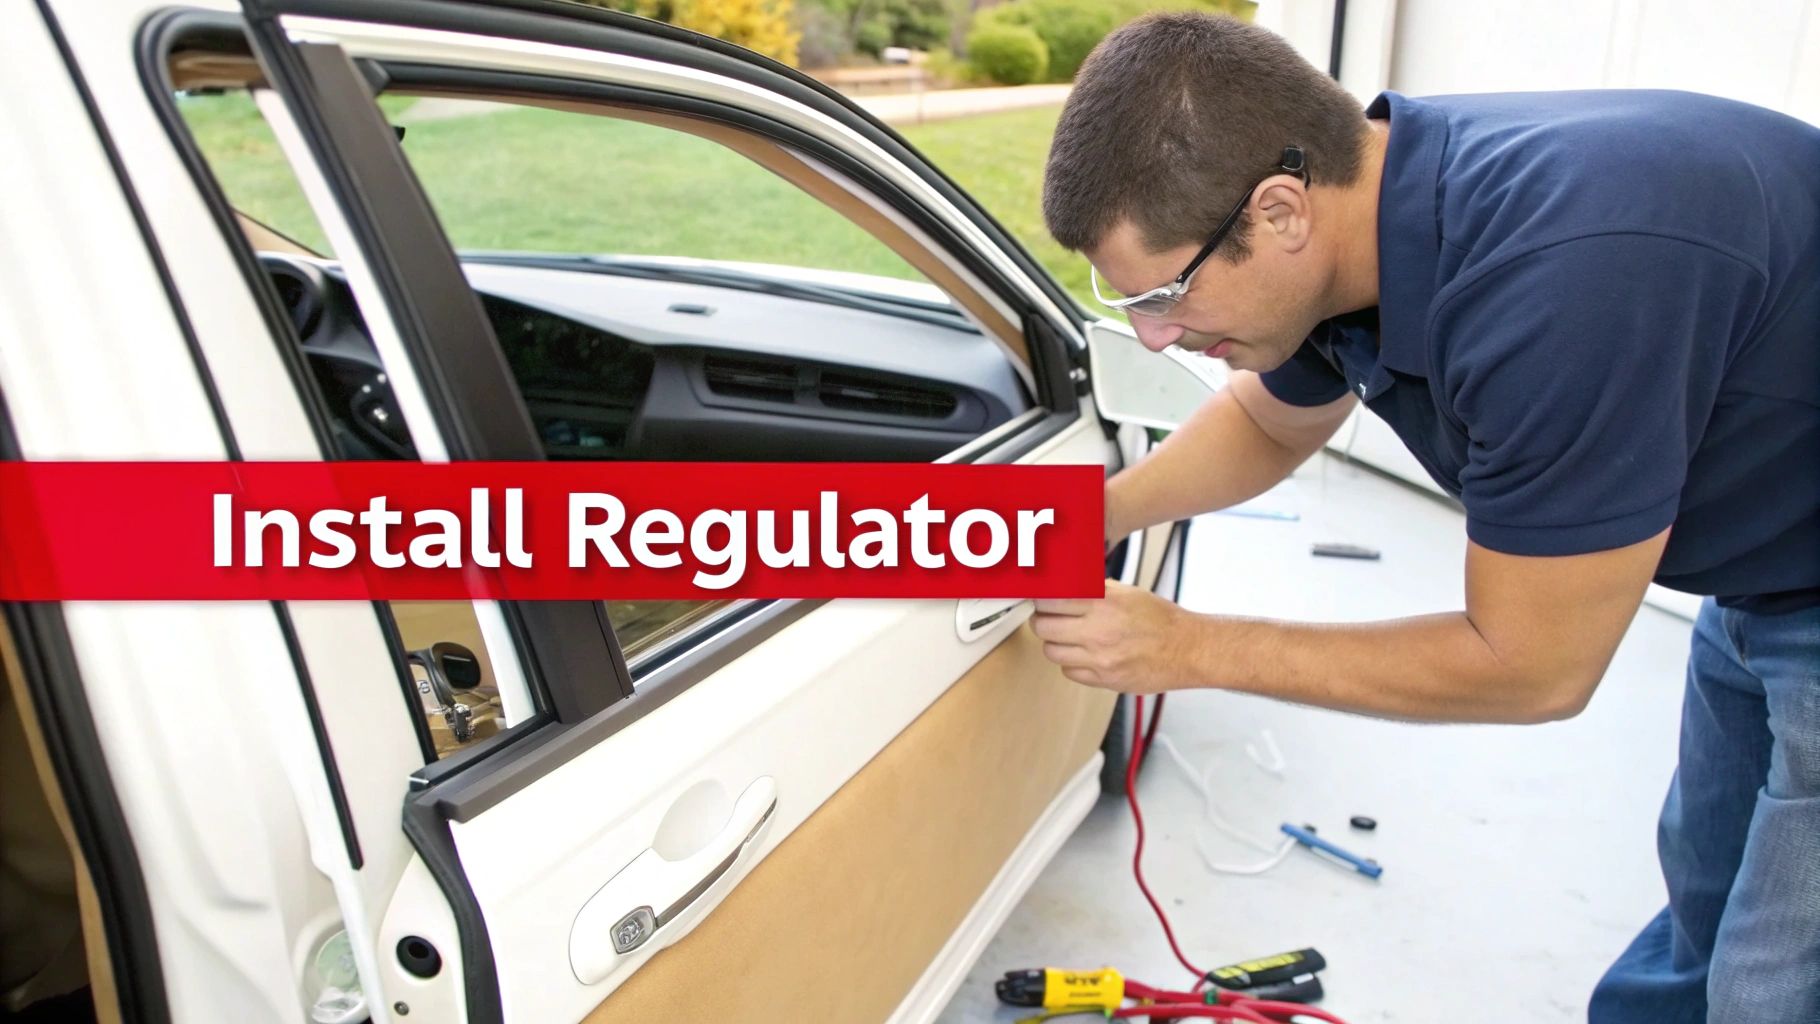
With the old, broken regulator out of the way, you're on the home stretch. This is where you see your work pay off as everything starts coming back together. We’re going to focus on getting this installation just right so your window works as smoothly as it did from the factory.
Patience is still the name of the game. If you rush this part, you'll end up with annoying rattles, a window that binds in the track, or even worse, you'll be tearing this door panel off all over again. Let’s do it right the first time.
Positioning the New Regulator Assembly
Before you even think about sliding the new part into the door, give it a quick once-over. Make sure the tracks are clean and, most importantly, properly lubricated. A surprising number of brand-new regulators come out of the box a little dry.
Pro Tip: Don't be shy with white lithium grease. If the new regulator's sliding parts look sparse, add a healthy amount. Proper lubrication is the single best thing you can do to extend its life and prevent that awful grinding sound down the road.
Now, carefully feed the new regulator assembly back through the same access hole you used to pull the old one out. This can feel like a bit of a puzzle, requiring some tilting and turning, just like it did on removal. Watch out for the wiring harness and try not to snag it on any sharp metal edges inside the door.
Once the assembly is inside, line it up with the mounting holes in the door frame. Don't tighten anything down yet. Just get each mounting bolt started by hand for a few turns to hold the regulator loosely in place. This bit of play is essential for the next step.
Securing the Window Glass to the Carrier
This is where your attention to detail really matters. Getting the glass properly attached to the regulator’s carrier is the most critical part of the job. A poor alignment here is the number one cause of a slow, crooked, or binding window.
Start by lining up the regulator's glass clamps or mounting points with the holes at the bottom of the window glass. You'll likely need to slide the regulator's carrier up or down its track by hand to get it positioned perfectly.
With everything aligned, insert the bolts or engage the clamps that hold the glass. Here’s the key: tighten them evenly and snugly, but do not overtighten. Cranking down too hard can create stress points and crack the glass. You want it held securely, not crushed. Once the glass is set, you can finally—and carefully—remove the tape that's been holding it up.
Performing a Critical Test Run
Do not, under any circumstances, put the door panel back on without testing your work first. This one step can save you from a massive headache. Reconnect the negative battery terminal, then temporarily plug the main window switch into its harness.
It's the moment of truth.
- Roll the window all the way down.
- Now, roll it all the way up.
- Listen closely. Do you hear any grinding, popping, or scraping?
- Watch its movement. Does it travel smoothly and evenly, or does it hesitate or tilt?
If it looks and sounds good, run it up and down a few more times to be sure. If you notice any binding, stop immediately. It usually means the glass isn't perfectly seated or the regulator is slightly misaligned. Just loosen the bolts, make small adjustments, and test again. This quality check is non-negotiable.
Final Torque and Electrical Connections
Once you're 100% happy with how the window operates, it's time to button it all up. Unplug the window switch and disconnect the battery's negative terminal again for safety.
Now you can go back and fully tighten all the regulator mounting bolts. If you have a torque wrench, use the manufacturer's spec. If not, just get them good and snug—firm enough that they won’t vibrate loose, but not so tight that you risk stripping the threads.
Finally, reconnect the motor’s electrical harness. You should hear and feel a solid "click" as the connector seats. A loose connection will make you think the new part is dead on arrival, so be sure it’s secure. That solid click ensures the motor gets consistent power for years to come.
Replacing a window regulator is an incredibly common repair, which speaks to a huge global demand. The power window regulator market is estimated to produce over 1 billion units annually, with a market valuation hovering around USD 5 billion. This growth is largely fueled by rising car production in developing economies. For a closer look at the numbers, you can explore the full power window regulators market analysis. The sheer size of this market shows just how often these parts fail, making this a seriously valuable DIY skill to have.
Putting It All Back Together (and What to Do If It Goes Wrong)
Alright, you're on the home stretch. The new regulator is in, the window goes up and down—now it's time to put it all back together. This is where patience pays off, turning a decent repair into a professional, rattle-free job. It's not just about looks; a proper reassembly is key to sealing out wind and water.
First things first, let's get that vapor barrier back on. This plastic or foam sheet is your first line of defense against moisture and annoying wind noise sneaking into the cabin. Carefully press it back onto that sticky black goo around the door frame. Run your hand firmly along the entire edge to make sure you get a good, solid seal. If the original adhesive is shot, don't try to fake it—grab a roll of butyl tape and lay down a fresh bead.
Getting the Door Panel on Just Right
With the vapor barrier secure, you can grab the door panel. Start by reconnecting all the electrical plugs for your window switches, speakers, and any little lights. Listen for that satisfying click as each one seats—it's your confirmation that the connection is solid.
Now, lift the door panel and hang it from the top lip of the door, right by the window. Once it's resting there, you can line up the plastic clips with the holes in the door.
Here’s a little trick I’ve picked up for a clean finish:
- Start at a corner and give the panel a firm thump with the side of your fist. You should hear a solid pop as the clip snaps into place.
- Just work your way around the panel, methodically popping in each clip.
- Finally, put all the screws back in. Be careful not to crank down on them too hard, as it’s surprisingly easy to strip the plastic they screw into.
Common Headaches After the Job Is Done
Even when you do everything by the book, sometimes things don't go perfectly. Don't sweat it. Most post-install issues are simple fixes and just part of the learning process.
A common one is a slow-moving window. If the glass looks like it's struggling, it’s probably binding in the rubber channels it slides in. A quick shot of silicone spray lubricant into those channels usually solves the problem instantly, letting the glass glide like new.
Another frequent snag is the "auto-up" or "one-touch" feature not working. This almost always happens if you disconnected the battery, and the car's computer just needs a quick reset.
The fix is usually dead simple. Roll the window all the way down and keep holding the button for a few extra seconds. Then, roll it all the way up and again, hold the button for another 5-10 seconds. This typically reteaches the system its limits.
When you run into something unexpected, having a good diagnostic mindset is a huge help. You can explore some effective maintenance problem-solving strategies to build those skills for any project. Honestly, learning to troubleshoot is what makes you a truly capable DIYer.
Taking a few minutes for these final checks ensures your hard work pays off with a perfectly working window. And you're not alone in this—the global market for these parts hit USD 7.75 billion in 2024, which shows you just how common this exact repair is.
A Few Common Questions You Might Have
No matter how good a guide is, you're bound to run into a few head-scratchers when you're in the middle of a project. I've been there. Let's tackle some of the most common questions that pop up when you're swapping out a window regulator.
How Long Does This Job Usually Take?
If this is your first time digging into a door panel, I’d block off a good 2-4 hours. That might sound like a lot, but it gives you plenty of breathing room. An experienced tech can probably get it done in about an hour, but there’s no prize for speed here.
Giving yourself that extra time means you can work at a comfortable pace, double-check your connections, and not feel rushed. Rushing is how you end up with broken trim clips, scratched paint, or a window that’s still not working right.
Can I Just Replace the Motor Instead of the Whole Assembly?
You can, but I usually advise against it. On most modern cars, the regulator (the cables and tracks) and the motor come as one unit for a reason—the regulator is the most common failure point. The plastic pulleys and cables wear out far more often than the motor itself burns out.
The real work is getting the door panel off and accessing the assembly. Since you're already in there, replacing the entire unit is the smart move. It ensures all the components are fresh and saves you from the headache of tearing it all apart again in a few months when an old cable finally snaps.
What Happens if I Break a Door Panel Clip?
First off, don't sweat it. It happens to the best of us. Those little plastic clips get brittle with age and a few are almost guaranteed to snap, no matter how careful you are.
Here’s a pro tip: before you even start, buy a small bag of replacement clips for your specific vehicle. They're cheap, you can find them online or at any auto parts store, and having them ready turns a project-halting problem into a two-second fix. No rattling door panel for you.
Does Window Tint Affect the New Regulator?
That's a great question, and yes, it absolutely can. Thicker aftermarket window films add a bit of extra resistance as the glass slides up and down in its channels. It might not seem like much, but that added friction puts a constant, low-level strain on the new motor.
It's not a dealbreaker, but it's something to keep in mind. Over time, this can shorten the life of the new regulator. If you have tinted windows, it becomes even more crucial to keep those window channels clean and give them a quick spray with a silicone lubricant to help things slide smoothly.
For a guaranteed fit and parts designed to last, trust T1A Auto for your next repair. Find the exact window regulator for your vehicle and get back on the road with confidence. Explore our full catalog at https://t1aauto.com.