


We've all been there. You hit the window switch, and... nothing. Just a frustrating silence where the smooth hum of moving glass should be. It's a common headache, and this guide is here to walk you through a fix, starting with the most likely culprit: the power window motor.
We'll break down the entire system into simple, no-nonsense terms.
What to Do When Your Car Window Won't Budge
That dead-in-the-water window is more than just an annoyance—it's your car's way of telling you a key part has finally given up. While a few different components could be at fault, a worn-out power window motor is at the top of the list for most stuck windows.
This guide will give you the confidence to tackle the problem head-on. We'll show you how to spot the early warning signs of a dying motor, accurately pinpoint the issue, and choose the right replacement part for your car or truck.
Your Path to a Solution
Before you start pulling off door panels or ordering parts, taking a methodical approach will save you time and money. The goal is to fix the right problem the first time around. Here's what we'll cover:
- Identify Symptoms: You'll learn the difference between the sounds a bad motor makes versus a faulty switch or a broken regulator.
- Diagnose the Cause: We'll share some simple, effective tests you can do right in your driveway to confirm if the motor is truly the issue.
- Choose the Right Part: Find out what really matters when selecting a replacement to ensure it fits perfectly and lasts for years to come.
- Decide on DIY vs. Professional Repair: We'll help you weigh the pros and cons of doing it yourself versus handing the keys to a mechanic.
A window that won't move isn't just about convenience. It's a real security risk. A window stuck open is an invitation to thieves and rain, while one stuck shut could be a serious safety hazard in an emergency.
If troubleshooting and tearing into a door panel sounds like more than you want to handle, getting professional help is a perfectly valid option. You can explore a range of maintenance options, including professional dealership services, for a hands-off solution.
For those ready to dive in, our guide on how to fix a stuck car window offers a more detailed walkthrough. By the time you're done here, you'll know exactly what to do to get that window gliding smoothly again.
How Power Window Motors Bring Your Windows to Life
Ever wonder what’s actually happening inside your car door when you press that window switch? It’s a pretty neat little system, and the star of the show is the power window motor. Think of it as a small but mighty engine with just one job: moving that heavy pane of glass up and down, smoothly and precisely.
This little motor is the heart of the whole operation. It takes electrical juice from your car's battery and turns it into the raw mechanical force needed to move the window. Without it, the switch and the regulator are just sitting there waiting for something to happen. Getting a handle on how this motor works is the first step to figuring out what’s wrong when your window eventually gets stuck.
The Team Inside Your Door
A power window motor doesn't go it alone. It’s part of a three-piece band, and they all have to be in sync for the window to move. Picture a small crew working together to lift something heavy—each member has a specific role.
- The Switch: This is your command center. Press it, and you close an electrical circuit, sending a "go" signal and power directly to the motor.
- The Motor: This is the muscle. It gets that signal and springs into action, creating a powerful spinning motion.
- The Regulator: This is the lifting hardware. It's a system of tracks or arms that the motor drives, converting the motor's spin into the steady up-and-down movement of the glass.
When you push the button down, the motor spins one way. Push it up, and the electrical polarity flips, making the motor spin the other way. It’s a straightforward and effective system that’s become totally standard in just about every car on the road today.
A Look Inside the Motor
So how does such a small device create enough torque to lift a 15-pound pane of glass? The magic is all about basic electromagnetism. If you were to crack open the motor's casing, you'd find a few key parts turning electricity into motion.
First, you have a set of powerful magnets lining the inside of the motor housing. In the middle, there’s an armature, which is basically a shaft wrapped in coils of copper wire. When you hit the window switch, electricity flows through a set of carbon brushes to these coils, turning the armature into a temporary electromagnet. This newly created magnetic field pushes and pulls against the permanent magnets, forcing the armature to spin like crazy. That rapid spinning is the raw power the system needs.
The importance of this technology is huge. The automotive power window motor market was valued at $9.4 billion in 2023 and is expected to climb to $15.4 billion by 2035. That's a clear sign of how essential this feature has become for driver comfort and convenience worldwide. You can dive deeper into this trend by checking out market insights from Future Market Insights.
Translating Spin into Lift: The Worm Gear
All that high-speed spinning from the motor is great, but it can’t lift a window on its own. It needs to be converted into slow, strong, and controlled motion. This is where the most ingenious part of the design comes into play: the worm gear.
Think of a corkscrew (the worm) turning a bottle cap (the gear). The worm gear is attached right to the motor's spinning shaft. As it rotates at high speed, its spiral threads mesh with the teeth of a much larger, flat gear.
This gear setup is a force multiplier. It trades the motor’s high speed for a massive increase in torque. That’s the secret to how a small motor can lift a heavy window without breaking a sweat.
This design also has another brilliant advantage. The worm gear can easily turn the flat gear, but the flat gear can't turn the worm. This creates a natural lock. It’s the reason your window stays exactly where you leave it and doesn’t slowly slide down on its own. From the flick of a switch to the final push of the regulator, every piece works together in a perfect chain of events to give you effortless control.
Pinpointing the Problem with Your Power Window
Before you even think about buying parts, it’s time to play detective. A faulty power window system leaves a trail of clues, and your job is to follow them to the source. By running through a few simple diagnostic tests, you can move from guessing to knowing, ensuring you replace the right component the first time.
This process isn't about getting greasy just yet; it's about observation and a bit of logical deduction. We’ll start with the easiest checks and work our way toward a confident diagnosis, helping you figure out if the power window motor is truly the culprit.
Start with the Simple Stuff
Jumping straight to the motor is a rookie mistake. More often than not, the real problem is much simpler and cheaper to fix. Always begin your troubleshooting by ruling out the easy stuff first. This approach can save you a ton of time, money, and frustration.
-
Check the Fuses: Your car’s fuse box has a specific fuse dedicated to the power window circuit. A blown fuse will knock out power to all the windows. If swapping in a new one solves the problem, you’re done! But if the new fuse blows immediately, you've got a deeper electrical short that needs attention.
-
Test All the Switches: Try operating the stubborn window from both its own door switch and the master switch on the driver’s side. If it works from one but not the other, the problem is almost certainly a bad switch, not the motor. If neither switch does the trick, the motor or its wiring remains a strong suspect.
Listen for a Story
The sounds—or lack thereof—coming from inside your door panel are some of your best diagnostic clues. Each noise tells a different story about what’s going on in there. Roll up your other windows, kill the radio, and listen carefully as you press the switch.
- Complete Silence: If you hear absolutely nothing when you press the switch, it’s a strong sign of an electrical issue. Either the switch is dead, the wiring is damaged, or the power window motor simply isn't getting any juice.
- A Faint Hum or Whir: Hearing a quiet humming sound means the motor is getting power and is trying to do its job. If the window doesn’t budge, the motor is likely too weak to lift the glass anymore, or something is jamming up the regulator mechanism.
- A Loud Grinding or Clicking: This is the classic, tell-tale sign of a failed motor. That awful racket is usually caused by stripped or broken plastic gears inside the motor's gearbox. The motor has power, but its internal parts are so mangled they can't transfer that force to move the window.
A grinding sound is your strongest indicator that the power window motor itself has failed internally. The motor is trying to engage, but the stripped gears are just slipping and clattering against each other, unable to produce any movement.
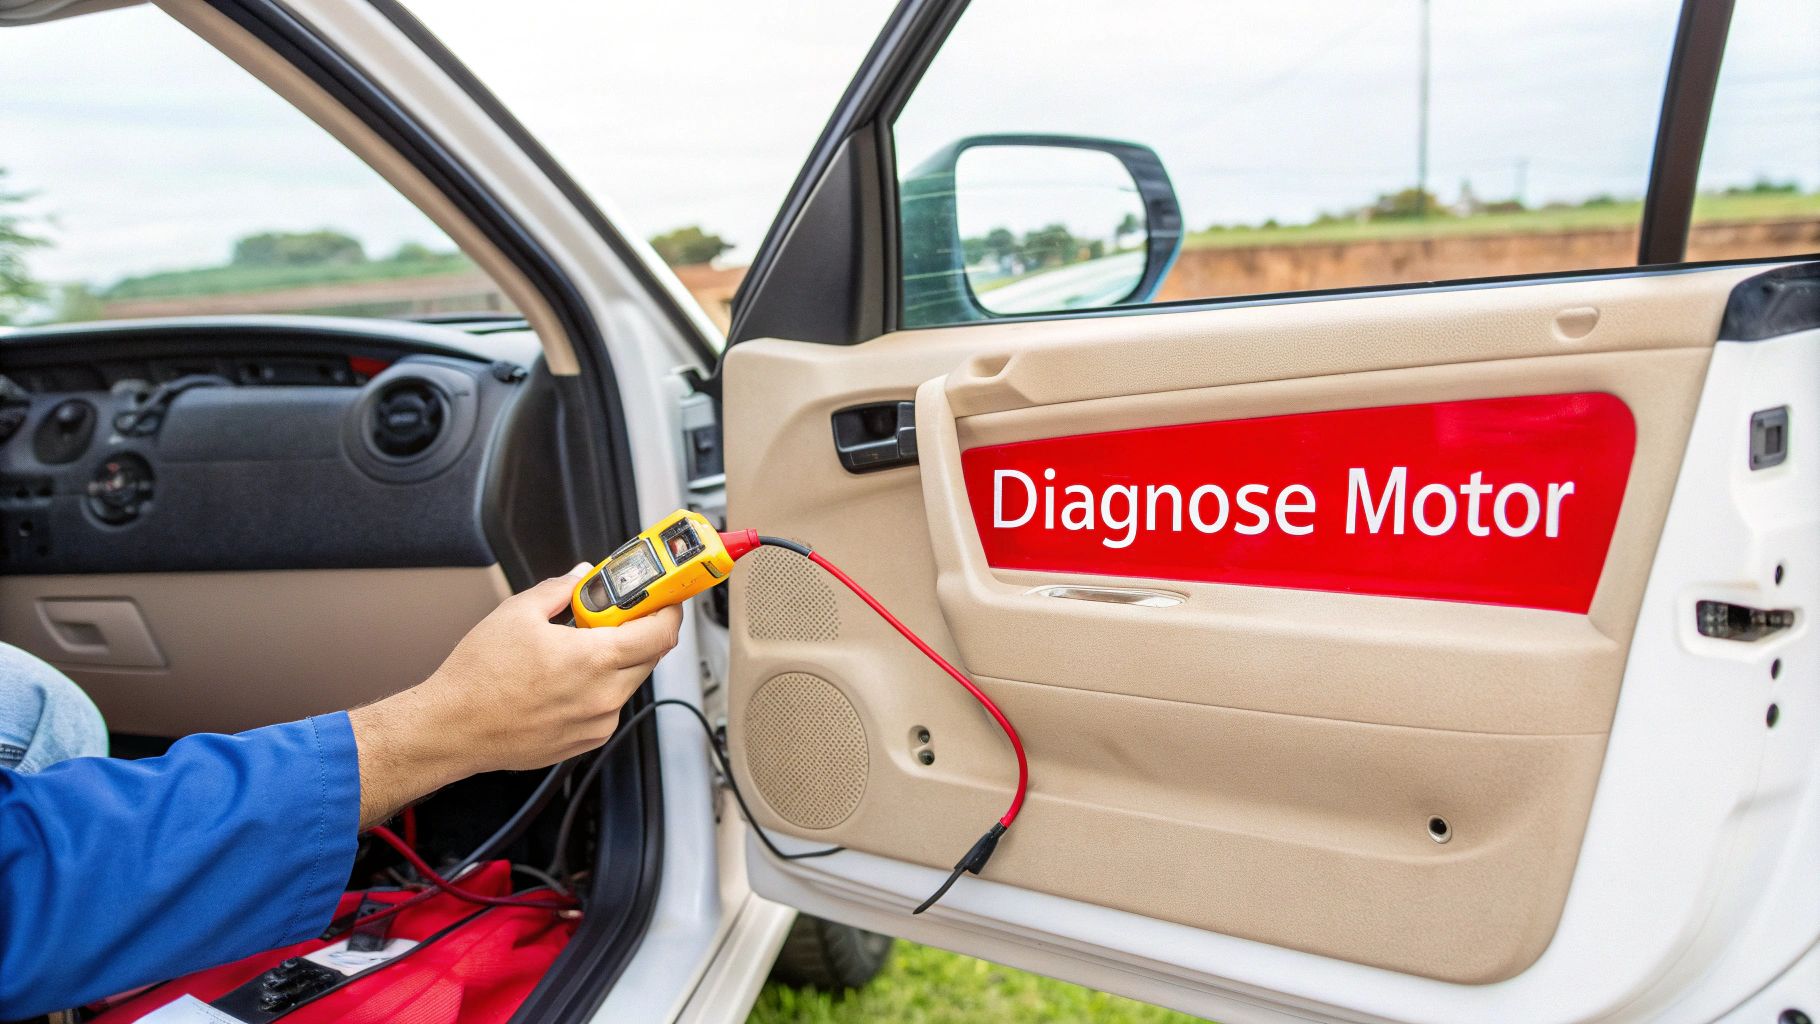
Hands-On Diagnostic Tests
If the initial checks are pointing toward the motor, a couple of hands-on tests can help you confirm your suspicions before you even think about taking the door panel off. These simple tricks can provide that final piece of the puzzle.
One of the most effective is the "tap test." While holding down the window switch, use the heel of your hand to give the interior door panel a few firm whacks right around where the motor lives (usually in the lower half of the door). Sometimes, the motor’s worn-out internal brushes just need a little jolt to make contact again. If the window suddenly lurches to life, you’ve almost certainly confirmed a dying power window motor. This fix is temporary at best, but it's a fantastic diagnostic trick.
For those comfortable with basic auto electrics, using a multimeter gives you a definitive answer. You'll need to get the door panel off for this one. Disconnect the motor’s wiring harness and probe the connector while a helper presses the window switch. If you get a 12-volt reading, you know the switch and wiring are perfectly fine—the motor is getting the power it needs. Since it’s getting power but not moving, the motor itself is officially toast.
To help you sort through the symptoms, here's a quick reference guide.
Troubleshooting Common Power Window Symptoms
| Symptom | Likely Cause | Recommended Action |
|---|---|---|
| All windows stop working at once | Blown fuse or a faulty master window switch | Check the main power window fuse first. If the fuse is good, inspect the driver's side master switch. |
| Window only works from one switch | A faulty switch (either the master or the individual door switch) | Test both switches. Replace the one that doesn't work. |
| Window goes down but not up (or vice-versa) | Faulty window switch or a worn-out motor | The switch is the most common culprit here. If a new switch doesn't fix it, the motor is the next suspect. |
| Window moves very slowly or struggles | Weak motor, aging regulator, or dry/binding window channels | Lubricate the window channels first. If there's no improvement, the motor and regulator assembly is likely worn out. |
| Loud grinding or clicking when pressing the switch | Stripped gears inside the power window motor | This is a clear sign of internal motor failure. The motor and regulator assembly needs to be replaced. |
| Nothing happens (no sound at all) | Blown fuse, bad switch, or broken wiring connection | Start with the fuse, then check for power at the switch and motor with a multimeter to trace the electrical fault. |
By following these logical steps—checking the easy stuff, listening for clues, and performing a simple test or two—you can confidently figure out what's wrong. This methodical approach empowers you to buy the right parts and tackle the repair with certainty.
How to Choose the Right Replacement Motor
Alright, you've done the hard work of troubleshooting and you're sure the power window motor is the problem. Now for the next big step: picking out a replacement. It’s easy to get lost in a sea of online options, but if you know what to look for, you can find a part that drops right in, works like a charm, and won't have you tearing the door apart again anytime soon.
The absolute number one thing to get right is guaranteed vehicle fitment. A motor that just looks right isn't good enough. The mounting points have to line up, the electrical connector has to click into place, and the gear needs to mesh perfectly. The easiest way to sidestep any fitment headaches is to use a vehicle search tool. Punch in your year, make, and model, and it'll filter out everything that won't work, leaving you with only the parts designed specifically for your car.
OEM vs Aftermarket Parts
Once you have a list of parts that actually fit your vehicle, you’ll hit a fork in the road: do you go with an Original Equipment Manufacturer (OEM) part from the dealer, or a quality aftermarket one?
-
OEM Parts: These are the exact same parts that were in your car when it rolled off the assembly line. You know they'll fit and the quality is a known quantity, but that peace of mind comes with a hefty price tag. You're paying a premium for the car brand's logo on the box.
-
Aftermarket Parts: These are made by other companies, and the quality can be all over the map. That’s why sticking to a trusted brand is so important. The best aftermarket power window motors don't just meet OEM standards—they often exceed them by fixing known design flaws with better, more durable materials.
At the end of the day, you just want a repair that lasts. A top-tier aftermarket part can give you the same fit and reliability as an OEM component for a fraction of the cost, which is a pretty smart way to go.
If you want to get into the nitty-gritty of this choice, our guide on aftermarket vs. OEM parts breaks it all down so you can feel confident in your decision.
Evaluating Quality and Warranty
Look past the brand name and pay attention to what the part is actually made of. A good product description will tell you about the materials. For example, some of the best aftermarket motors will swap out the factory's weak plastic internal gears for sturdier metal ones, addressing one of the most common reasons these things fail in the first place.
This drive for better quality is part of a huge global industry. The Asia-Pacific region is a powerhouse in this market, accounting for 49.18% of the global share in 2024. The competition there has pushed manufacturers to build better parts for both new cars and the replacement market. You can see more on the automotive power window market on Fortune Business Insights.
The easiest way to judge quality? Look at the warranty. A company that offers a multi-year or even a lifetime warranty is telling you they believe in their product. If a part has a short warranty—or none at all—it's a red flag that it was likely built with cheap materials and isn't expected to last.
Motor Only or the Full Assembly
One last decision: are you replacing just the motor, or the entire motor and regulator assembly?
-
Motor Only: This can be a good way to save a few bucks, but only if you're 100% certain the rest of the regulator (the tracks, cables, and pulleys) is in great shape. Be warned, though: wrestling the old motor off the regulator can be a real pain.
-
Motor and Regulator Assembly: This is usually the best move. The regulator is full of moving parts that wear out, too. By replacing the whole unit, you get a faster, easier installation and avoid the frustration of having the regulator fail just a few months after you replaced the motor. It’s a fresh start for the whole system.
A Look at the Motor Replacement Process
Alright, you've figured out the problem and have the right part on the way. So, what does the actual replacement job look like? Let's walk through a high-level roadmap of what it takes to swap out a power window motor. Think of this as a general game plan to help you see the scope of the work before you even pop the hood.
Every car is a little different, of course, but the basic steps are surprisingly consistent across most makes and models. Getting a feel for this workflow is the best way to decide if this is a Saturday project for your garage or a job better left for your trusted mechanic.
This flowchart breaks down the first part of the journey—making sure you get the right component for your specific vehicle.
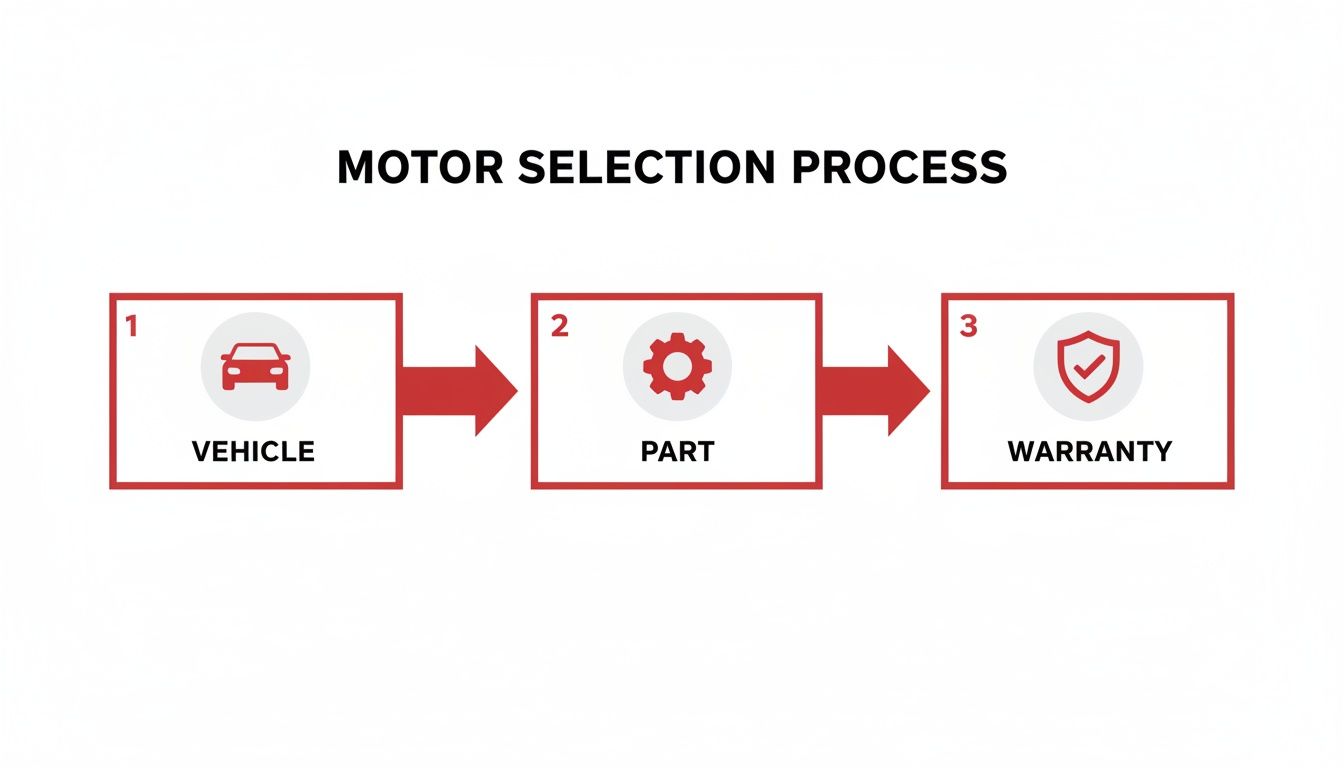
Starting with your vehicle details, moving to part selection, and finishing with warranty confirmation is the proven path to getting a reliable part that fits perfectly.
Phase 1: Prepping for the Job
Any mechanic will tell you that good prep work is half the battle. Diving in without the right tools or taking basic safety steps can turn a simple fix into a massive headache. Before you touch a single screw, take a few minutes to get organized.
First, round up your tools. You'll definitely need a basic socket set and some screwdrivers. A plastic trim removal kit is also a must-have—it’ll save you from scratching your door panel or breaking fragile clips. Depending on your vehicle, you might also need a drill if the old motor is held in by rivets.
Next up, safety. The most important first step is to disconnect the negative terminal of your car battery. Seriously, don't skip this. It prevents accidental shorts that can fry your car’s electronics or give you a nasty surprise.
Phase 2: Getting to the Old Motor
With your tools ready and the battery safe, it's time to get inside the door panel. This part calls for a bit of patience. Door panels are usually held on by a mix of obvious screws and hidden plastic clips that love to snap if you force them.
- Remove Trim and Screws: Look for small trim pieces that hide screws, typically around the door handle and armrest. Pop those off carefully and remove any screws you find.
- Release the Panel Clips: Grab your plastic trim tool and gently work it between the door panel and the metal door frame. Pry carefully, and you’ll hear a series of pops as the clips release. Just work your way around the entire edge of the panel.
- Disconnect Wires and Cables: Don't just yank the panel off! It’s still connected by wires for the window switch, speaker, and maybe door locks. You’ll need to unplug these connectors and unhook any mechanical cables for the door handle.
With the panel off, you'll see a plastic or foam weather barrier. Peel this back carefully to finally get a look at the window regulator and motor assembly.
Phase 3: Swapping Out the Parts
Now for the main event. The goal here is to get the old motor out and the new one in, and that means dealing directly with the window glass.
The single most important step in this phase is securing the window glass. If you don't support it, the glass will fall and could shatter inside the door. Use strong tape, like duct tape, to secure the glass to the top of the door frame.
Once the glass is taped up securely, you can unbolt it from the regulator. Next, you'll unbolt the entire regulator assembly (which holds the motor) from the door itself. Unplug the old motor's electrical connector, and the whole unit will come right out.
Putting the new part in is just doing everything in reverse. Bolt the new motor and regulator into the door, re-attach the glass to the regulator, and plug in the new motor. For a more detailed guide, check out our step-by-step instructions on how to replace a power window motor.
Phase 4: Testing and Reassembly
You're in the home stretch, but don't start putting the door panel back on just yet. You have to test your work first. Reconnect the battery temporarily and plug the window switch back into the new motor. Run the window up and down a few times. Make sure it travels smoothly without any weird noises or hesitations.
If it works like a charm, disconnect the battery one last time and start putting things back together. Smooth the weather barrier back into place, plug in all the panel’s wires and cables, and carefully snap the door panel back on. Put the screws and trim pieces back, reconnect the battery for good, and you're done. Enjoy that perfectly working window
Keeping Your New Power Window Motor Healthy
You just finished installing your new power window motor, and it's a great feeling to watch that glass glide up and down so smoothly. So, how do you keep it that way? A little bit of preventative maintenance can go a long way in making sure this repair lasts for the long haul.
The number one enemy of a power window motor is friction. Over the years, the window channels—those rubber and felt tracks the glass rides in—get caked with dirt, road grime, and pollen. All that grit creates resistance, forcing your new motor to work much harder than it should have to.
Simple Steps for Long-Term Health
You don't need a garage full of special tools to keep things running right. These simple habits will drastically reduce wear and tear, preventing the kind of premature failure that sends you right back to the auto parts store.
- Clean the Window Tracks: A couple of times a year, grab a soft cloth and a gentle cleaner and just wipe down the channels. Getting that built-up grime out is the single best thing you can do to reduce drag.
- Lubricate the Seals: Once they're clean, a quick spray of silicone lubricant on the rubber seals is a great follow-up. It keeps the rubber from getting dry and sticky, letting the glass slide like it's on ice.
Think of it this way: a gritty, sticky window track is like making your new motor do a heavy workout every time you use it. Clean, lubricated tracks let the motor do its job without breaking a sweat.
What to Avoid at All Costs
Knowing what not to do is just as important. There’s one common bad habit that can wreck even the toughest motor in a heartbeat.
Never, ever try to force the window down when it’s frozen shut. Hitting that switch over and over when the glass is locked in ice is a surefire way to strip the motor's gears or burn it out completely. Let your defroster thaw things out first—it’s worth the wait.
By pairing these good habits with a quality replacement part, you can be confident that your power window system will work reliably for years to come.
Your Top Questions About Power Window Motors, Answered
Working on your car always brings up questions. When it's a power window motor, most people have the same concerns running through their minds: how much is this going to set me back, what parts do I actually need, and what’s the worst that can happen if I just leave it?
Let's cut to the chase and get you some straightforward answers. This will give you the confidence to make the right call for your repair.
How Much Does It Typically Cost to Replace a Power Window Motor?
The final bill can swing pretty wildly depending on what you drive and who's turning the wrenches. For the part itself, you’re usually looking at anywhere from $50 to over $300. As you'd expect, parts for luxury cars or heavy-duty trucks tend to live on the pricier end of that spectrum.
Now, if you take it to a shop, tack on another $100 to $300 for their time. That puts the total cost somewhere in the $150 to $600 ballpark. This is exactly why doing it yourself is so appealing—you can pocket that labor charge, saving a good chunk of cash.
Should I Replace Just the Motor or the Whole Regulator Assembly?
This is a great question, and the right answer really comes down to how your car was built. On some vehicles, the motor and regulator are separate pieces, and you can just unbolt the motor and swap it out. Easy enough. But on a lot of newer cars, the two are fused together into one complete unit.
Honestly, it’s usually smarter and safer to replace the entire motor and regulator assembly at once. Think about it: the regulator's cables, pulleys, and tracks have been working just as long as the motor has. Replacing the whole unit means everything is fresh, so you won't find yourself tearing the door panel off again in six months because a worn-out cable finally snapped.
What Happens If I Ignore a Failing Power Window Motor?
It might seem like a minor annoyance now, but letting a bad window motor go can create some real headaches. A motor that's on its last legs will eventually give up completely, and you can bet it won’t happen on a sunny day in your driveway.
More likely, your window will get stuck all the way down, leaving your car vulnerable. An open window is a welcome sign for thieves and lets rain, dirt, and critters right into your interior. On top of that, a struggling motor can pull too much power, straining your car’s electrical system and potentially blowing fuses or causing other issues.
Is a Clicking Sound Always a Sign of a Bad Motor?
That loud, repetitive clicking or grinding noise is definitely the classic sign of a motor with stripped internal gears. It’s the most common culprit, for sure. However, it's not the only possibility.
Sometimes, that sound can come from a bent regulator track that's causing things to bind up, or maybe a frayed cable is snagging on a component inside the door. That's why running through the diagnostic steps we covered earlier is so crucial. A few simple tests will help you pinpoint the sound's origin and confirm the power window motor is the real problem before you start buying parts.
When you're ready for a lasting fix with a guaranteed fit, T1A Auto has you covered. Our premium aftermarket power window motors and assemblies are built with tough, durable materials designed to outlast the original factory parts, and we back them with a lifetime warranty. Find the perfect part for your ride at T1AAuto.com and get that window rolling smoothly again.