


A dead button is not proof the switch failed. The popular fix is to order a rocker the same day the glass stops. That advice treats the switch as the only part in the door, and it is the reason good switches get returned while the underlying fault stays in the car.
Power window switch replacement pays off only after you separate one dead window from every window, then prove the circuit with a meter. A pane that ignores both its door switch and the driver master is usually a motor, a seized regulator, or a broken wire in the rubber boot. A pane that still runs from the master but ignores its own door switch is the strongest switch case. Every window dead together points at a fuse, a relay, the ignition-run feed, or the master pack. Grinding, slow travel, or a crooked pane is mechanical. One-touch that quit right after a battery disconnect is a lost index, not a failed rocker.
I would start with the cheapest checks, not the part. The prices below show why that order matters.
Table of Contents
- Cost and Symptom Checks Before You Buy
- Tools Safety and the Three Meter Tests
- Vehicle Variations and Matching the Switch
- How to Remove and Install the Switch
- Testing and Fixes After the Install
- Confirm the Repair or Start the Return
Cost and Symptom Checks Before You Buy
Shop power window switch replacement typically costs $150-$375 including parts and labor, while a DIY replacement switch generally costs $20-$100, according to Engineer Fix in 2025. That spread is the whole reason to diagnose first. Spend the low end on the wrong rocker and you still owe the shop the high end for the motor or regulator.
The pattern matters more than how dead the button feels. Run the glass from the door switch and from the driver master before you add anything to a cart.
Read the pattern, then the price
Both switches ignore one window. The likely fault is the motor, the regulator, or a broken wire where the harness flexes in the door boot. Do not buy a switch as the first part. If parts and labor stack at a shop, the bill often lands in that same $150-$375 band, and a new rocker will not free a seized track.
The master still runs it, the door switch does not. Contacts in the local switch, or a bad terminal in that connector, are the usual cause. This is the row where a switch is the right purchase, and only after power and ground are proven. The DIY part stays in the $20-$100 range.
Every window is dead at once. Look at the fuse, the relay, the ignition-run feed, or the master pack. Buy a master only if the fuse is good. A DIY master is still $20-$100. A shop repair is $150-$375.
The glass is slow, grinding, or crooked. That is a regulator, a tired motor, or a glass channel. It is not a switch price.
One-touch vanished after the battery came off. The module lost its index. If the relearn restores it, the cost is $0.
One rocker is intermittent and power is already present. Worn or contaminated contacts fit this row. A DIY switch at $20-$100 is often the right part.
| Symptom pattern | Likely fault | Buy a switch? | Typical cost |
|---|---|---|---|
| One window dead from door switch and master | Motor, regulator, or door-jamb wire | No, test first | Shop repair often $150-$375 if parts and labor stack up |
| Works from master, dead at the door switch | Local switch contacts or connector | Yes after power and ground checks | DIY switch $20-$100 |
| Every window dead at once | Fuse, relay, ignition feed, or master switch | Only the master, and only if the fuse is good | DIY master $20-$100; shop $150-$375 |
| Slow, grinding, or crooked glass | Regulator, motor, or glass channel | No | Regulator job, not a switch price |
| One-touch lost after battery disconnect | Lost initialization | No | $0 if relearn restores it |
| Intermittent from one rocker, power present | Worn or contaminated switch | Often yes | DIY switch $20-$100 |
Practical rule: "The button does nothing" is not a diagnosis. One window versus every window decides whether a switch belongs in the cart.
Match year, make, model, body style, trim, driver or passenger side, and the connector shape before you pay. A listing that only names the vehicle will sell the wrong generation. The meter comes next, and it is what keeps that $20-$100 part from becoming a second order.
Tools Safety and the Three Meter Tests
Lay the tools out before the first clip pops. You want a trim-tool set, Phillips and Torx drivers, a 10 mm socket, needle-nose pliers, painter's tape for clip locations, electrical tape, a digital multimeter, and a fused jumper with a 10 A or 15 A inline fuse. Keep the vehicle wiring diagram, or VIN service information, on the bench. Generic pin charts lose every argument with that diagram.
The checklist below is the bench layout, not a suggestion to skip the battery step.
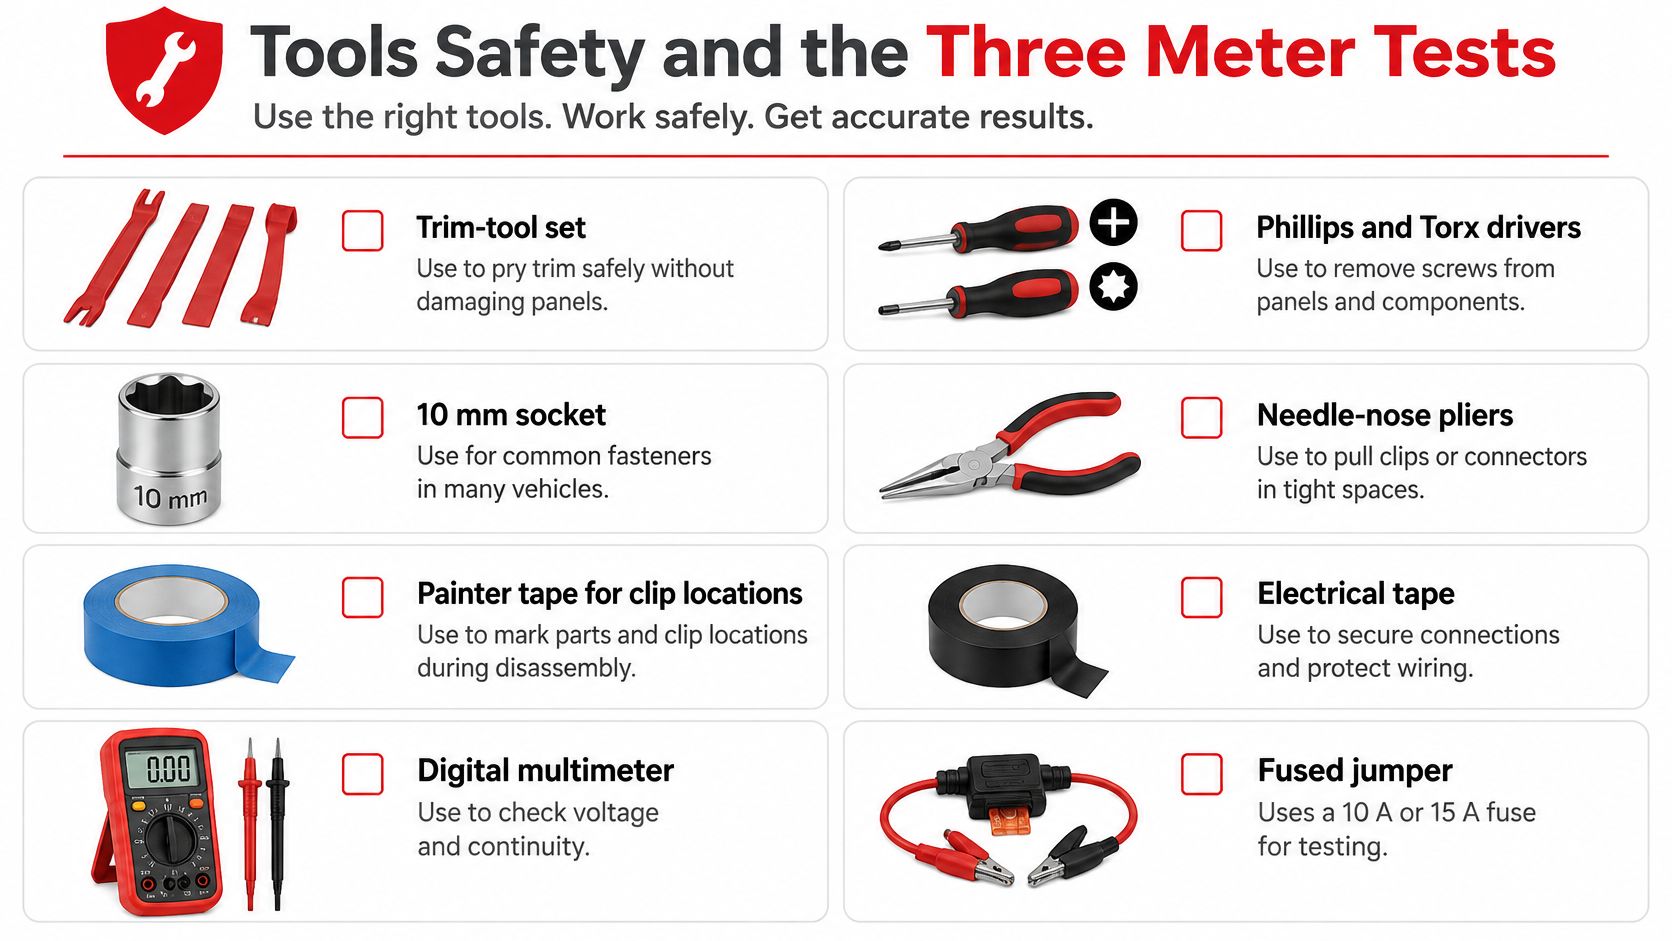
Isolate the battery, then meter the connector
If the glass still moves, run it fully up so it cannot drop. Key off. Then disconnect and isolate the battery negative before any trim comes off. Door-mounted airbags make that isolation non-optional. Two free checks come before the meter. Confirm the window lockout is off, and put the ignition in the run or accessory state that car uses for the windows. A lockout left on has sold a lot of unnecessary switches.
A sound job starts with tests, not a parts swap. As the iFixit power-window procedure lays out, release the switch, unplug the harness, and work the circuit in this order:
- Ground continuity. With the battery still isolated, check continuity from the switch connector's ground cavity to clean chassis metal. An open ground will make a good switch look dead.
- Feed voltage. Reconnect the battery, ignition on, and look for battery voltage on the fused ignition-run pin. No voltage means a fuse, a relay, or that feed, not the rocker.
- Commanded output. If power and ground are present, command up and down and compare the output pins with that car's diagram. Both directions should change state the way the diagram says.
Loaded voltage drop is the pass-fail line, and you take it while the motor is commanded, not with the circuit open. A reading above approximately 0.1 V across a connection or conductor means excessive resistance. Repair the terminal, splice, or ground instead of buying a switch.
A fused jumper can feed the motor for a second or two and separate a bad switch from a dead motor. Use the 10 A or 15 A fuse in the jumper lead. Never jump battery straight to ground, and never guess pins. If you are still building the habit of reading a door circuit, the walkthrough on how to diagnose car electrical problems covers power, ground, and drop the same way. Find the window fuse on the owner's manual chart before you probe. Skip spray cleaners and any grease the factory did not specify. The wrong film on the contacts creates the next failure.
Vehicle Variations and Matching the Switch
A dead window button does not prove the switch failed. One window acting up points to a different problem than every window being dead, and the part must match the vehicle's wiring and controls. Slow glass, grinding, or a crooked pane can indicate a motor or regulator fault, even when the switch looks worn.
What has to match before you order
Position. The driver master may control several windows, the lockout, and sometimes the mirrors. Passenger and rear switches may have a single rocker or a pair. Match the door position and side; a similar-looking switch can have the wrong connector or control layout.
Close action. Vehicles with power windows have been required to use switches designed to prevent inadvertent actuation since October 1, 2008. The NHTSA safer-switch rulemaking specifies a “pull-to-close” design. Keep the close action the vehicle was built to use.
Functions and shared buttons. Lockout, one-touch, express-up, anti-pinch, and illumination may be built into the switch or handled by a door module. If mirror or lock buttons share the bezel, match those functions too. The wrong switch can leave them inoperative.
Connector and identity. Match the connector gender, pin count, lock tab, and keying. Never force a plug. Confirm the year, body, trim, and housing OEM number; one model name can cover multiple switch generations. Use VIN-based parts search to narrow fitment, then check the VIN for open recalls. A NHTSA recall record describes power windows that could pinch and fail FMVSS 118. Older vehicles and rising shop labor make driveway repairs common, so recall status and the anti-pinch layout belong in the order, not in a footnote.
On some trucks, a fatigued wire in the door's rubber boot can interrupt the circuit. The switch may be sound while the door is open, then lose connection as the door moves. On LIN-bus vehicles, the switch sends a request to a module that controls the motor; jumping switch pins will not operate the glass. Use the vehicle's wiring diagram to identify cavities. Pin numbers and wire colors are not universal.
| Check | Must match | Wrong part risk |
|---|---|---|
| Position | Driver master, passenger, or rear, left or right | Plug may fit the wrong door |
| Connector | Gender, pin count, lock tab, and keying | Forced plug bends terminals |
| Close action | Pull-to-close where the vehicle was built that way | Inadvertent window actuation |
| Functions | Lockout, one-touch, express-up, illumination | Glass moves but safety logic is missing |
| Shared controls | Mirror or door-lock buttons on the same bezel | Those controls may stop working |
| Identity | Year, body, trim, and housing OEM number | Same model name, different switch generation |
How to Remove and Install the Switch
Photograph the switch and the connector before anything else, with the diagnosis already written down. Raise the glass and support it, then isolate the battery negative again. The photo below is the moment you are working toward, the module out of the panel with the harness still treated carefully.
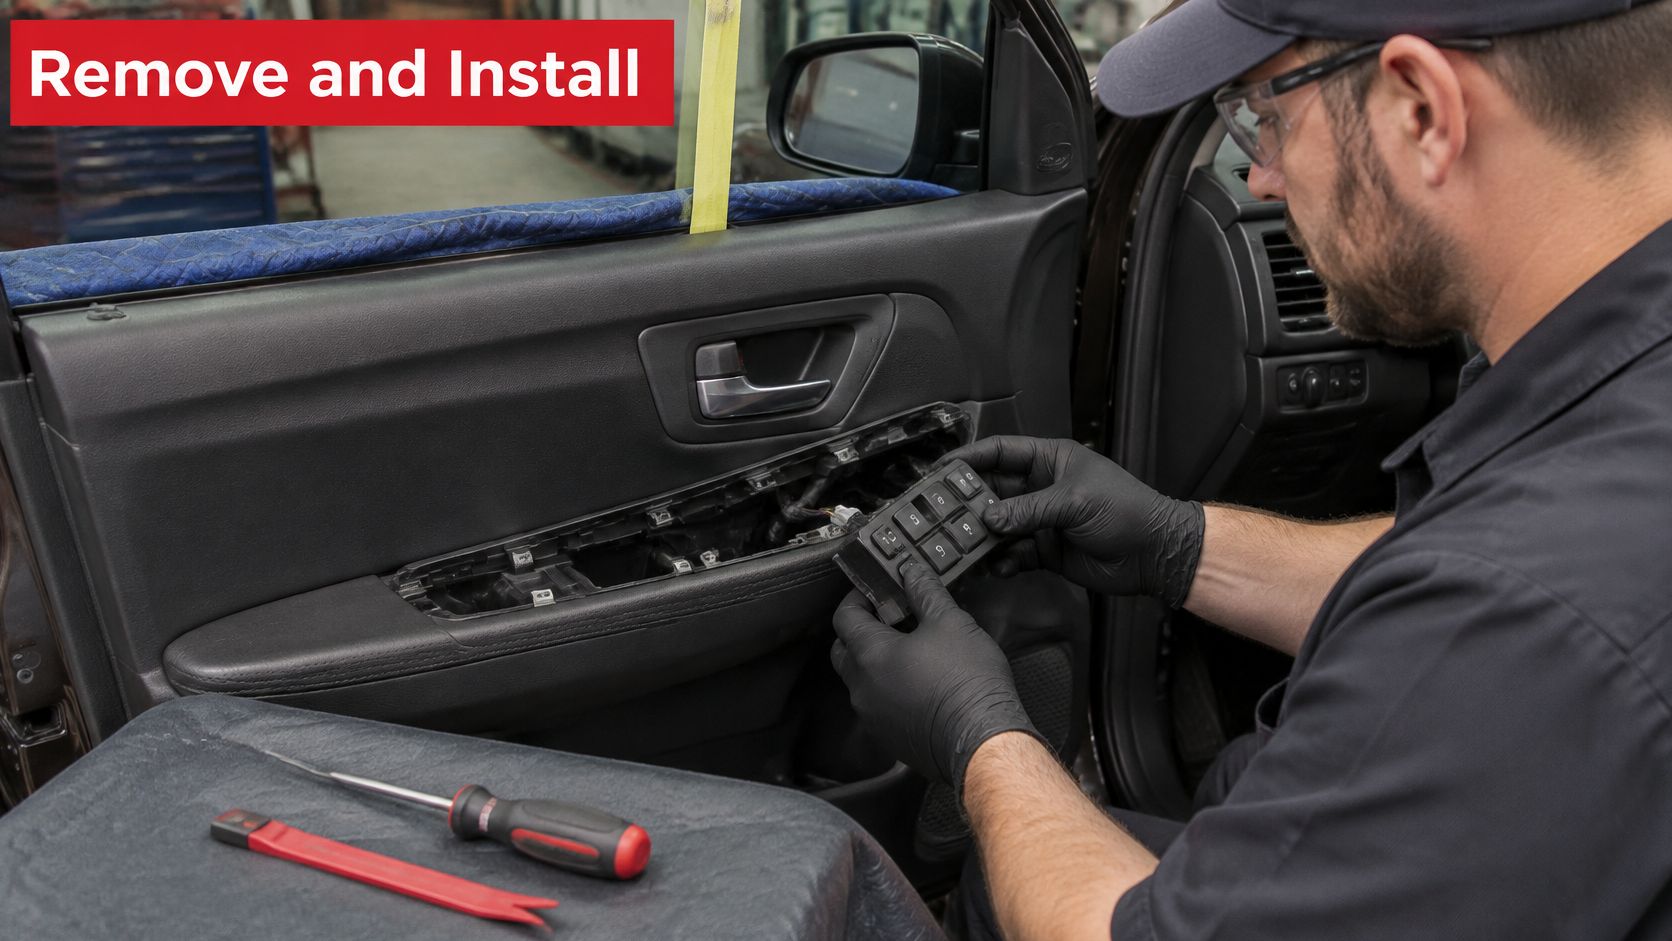
Take the door apart in the order it was built
- Sail panel or mirror trim. Pop it only if it overlaps the door panel. Pry at the clip, not at the painted edge, or the sail cracks and the clip stays in the door.
- Hidden screws. Pull the armrest cup, the inside-handle bezel, and the lower edge. A Torx or Phillips left behind is what snaps the panel when you pull.
- Clips from the bottom corners. Start there with a trim tool and work upward. Painter's tape on each clip hole tells you which fastener goes back where. The fuller sequence for stubborn panels is in how to remove a car door panel.
- Lift, don't yank. The panel usually hooks over the lock rod or the inner handle. Unplug the courtesy lamp and the speaker before the panel is fully free. A forgotten lamp plug is the wire people rip.
- Moisture barrier. Peel it only as far as the switch harness requires, and keep the butyl usable. Wrinkles become a water path onto the new contacts.
- Switch bezel. Some cars release from the front of the panel, others from the back once the panel is off. On many trucks the master pack unbolts from the armrest before the full panel comes off. Don't pry the rocker itself.
- Connector. Depress the lock tab and pull straight off the housing. Do not tug the wires. A bent lock tab is why the new switch falls out on the first drive.
If you want the motion of the panel coming off before you commit a clip, this clip follows the same bottom-up order.
Match button count, illumination, and connector gender to the new switch, then plug it until the lock clicks. You should feel that click, not hope for it. Seat the switch in the bezel without trapping a wire under the housing.
Leave the panel loose until the first function test if you can reconnect the battery safely, away from any yellow airbag connectors. Smooth the barrier so water cannot pool, then press clips by hand. Hammering them mushrooms the plastic and the panel rattles a week later. Torque the armrest screws until snug, not until the plastic creaks.
Testing and Fixes After the Install
Reconnect the harness fully, confirm no wire is trapped under the switch, refit the moisture barrier and the trim, then test under real load. A single sweep of the glass is not a pass.
Run the checks in this order. First the new switch, both directions, through a full stroke. Then the driver master for that same window. Then the lockout, off and on, so the local switch dies when it should and lives when it should. Confirm direction, smooth travel, and one-touch if the car had it. Cycle the key and confirm the windows still behave the way that car's accessory mode intends.
Express-up is a procedure, not a hope
Cars with express-up or anti-pinch often need a relearn after the battery was off. A common pattern is to hold the switch at full close for several seconds after the glass seats, then open it fully and hold again. The service procedure for that VIN wins over any generic count. Check pinch reversal with the resistance the maker specifies. A finger is not a test tool.
Do not treat glass movement as a safety sign-off. The closing edge is what injures people, and a switch that only goes up and down has not proven reversal or lockout.
NHTSA's rulemaking analysis estimated roughly 6 fatalities and 1,955 injuries annually from vehicle power-window operation, with most injuries involving fingers, hands, or arms caught by closing glass. The same analysis notes there is no universal published success-rate benchmark for switch replacement. Documented isolation and a full function check are the quality control, not a guessed percentage. Common misses are a loose connector, an untested passenger switch, a skipped lockout, and a skipped anti-pinch relearn.
| What you see | Likely miss | What to do |
|---|---|---|
| No movement at all | Blown fuse, loose connector, or battery still isolated | Reseat the plug and check the window fuse |
| Works only from the master | Passenger switch unplugged or lockout on | Cycle lockout and retest the local switch |
| Direction reversed | Wrong switch or mispinned connector | Compare the diagram and stop using it |
| Dies when the door closes | Broken wire in the door boot | Repair the jamb loom |
| One-touch or auto-up missing | Index lost during battery disconnect | Run the maker relearn |
| Clunks or moves slowly | Regulator or motor, switch was fine | Stop at the regulator diagnosis |
| Water in the switch later | Barrier left off or wrinkled | Reseal the vapor barrier |
If nothing moves, inspect the fuse a jumper may have opened. If direction is backward, stop using that switch and compare the diagram. If it works until the door latches, the jamb loom is the fault. If auto-up is missing only after the battery work, repeat the index procedure before you start a return.
Confirm the Repair or Start the Return
Pass or fail is a short list. The local switch, the master, the lockout, the direction, and any required pinch reversal all have to work. If they do, the repair is complete. Keep the old switch and the receipt until the return window closes, in case a later intermittent shows up on the same connector.
If the new switch still fails and the meter already showed power and ground at the connector, do not order a second switch. Feed the motor briefly with the fused jumper and inspect the wire in the door boot. A motor that will not run, or glass that clunks, moves you to the regulator. We carry window regulators in the same catalog families as door handles, sensors, mirrors, cables, hinges, and latches, and you can search by vehicle for Toyota, Ford, Chevrolet, GMC, and others. Use that path only after the switch is ruled out. On a 2005-2011 Tacoma, a tired driver mirror often comes off the same door while the panel is already loose, and a Driver Side Mirror Replacement for 2005-2011 Toyota Tacoma with power adjustment, manual folding, and flat glass uses OEM references 87940-04180 and TO1320256.
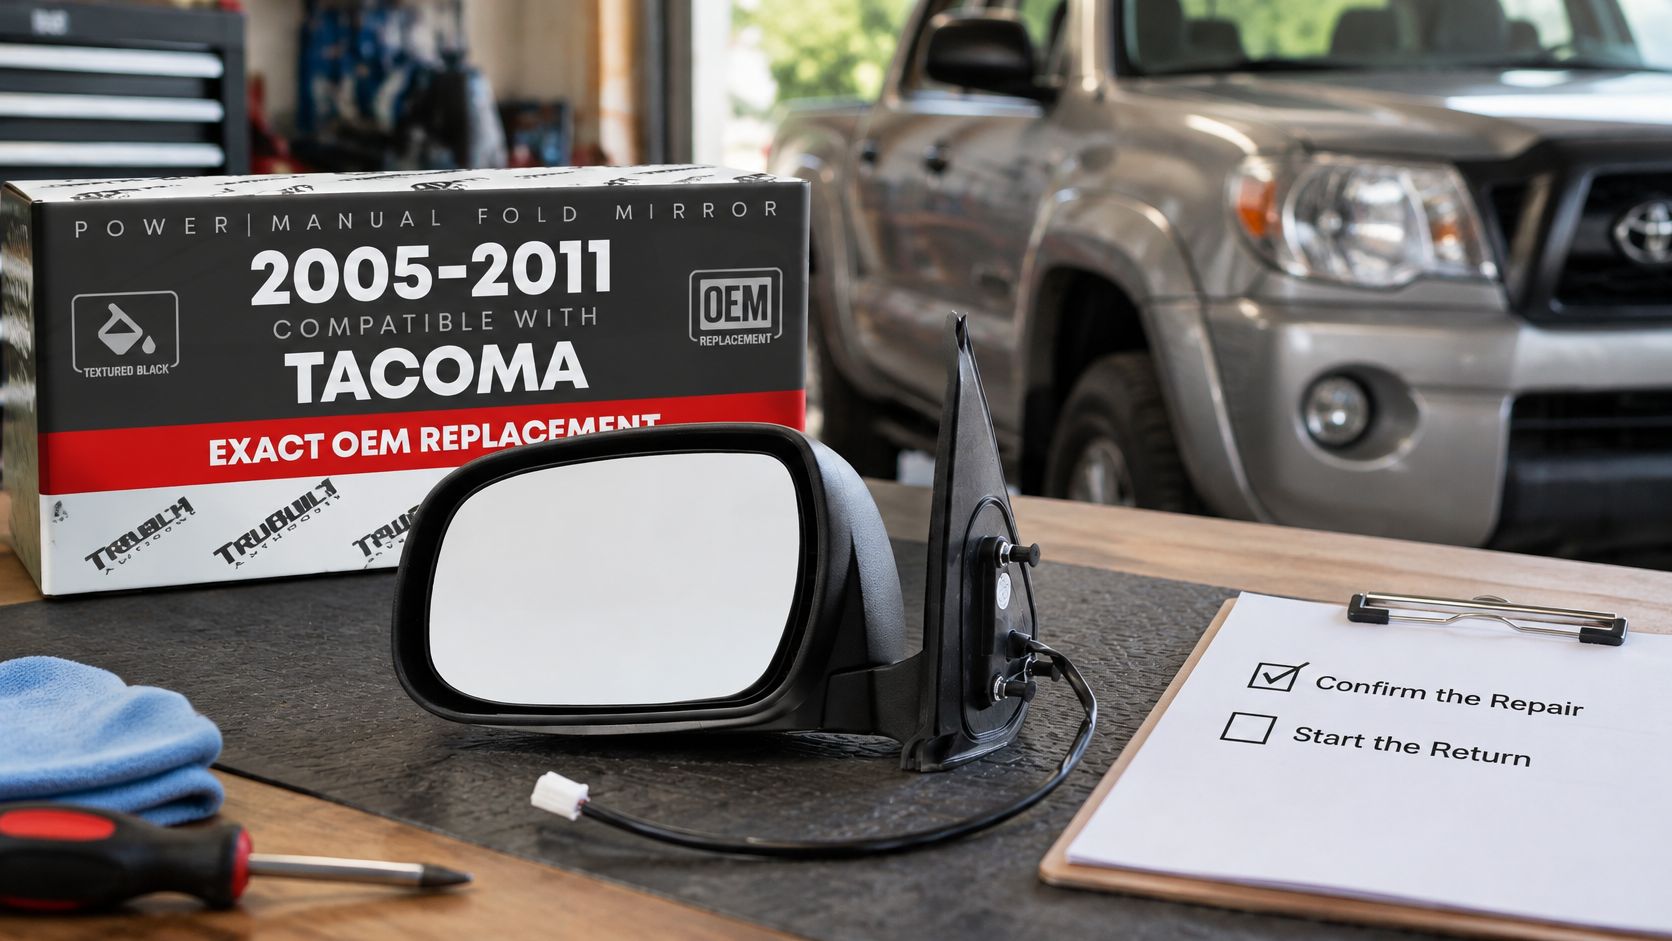
Read the listing's warranty and return terms before you buy any of those parts. When a warranty claim requires the defective part back, we send return instructions. If a replacement is unavailable, a refund may be issued at our discretion under the extended warranty. Photograph the connector and the failed meter reading so the claim matches the test, not a guess.
If power and ground were good and the motor still will not run, the next part is the regulator or the jamb wire. Another switch will not change that result.
T1A Auto carries the high-wear door parts this job often uncovers next, including window regulators, door handles, sensors, side mirrors, cables, and latch hardware, with vehicle search for Toyota, Ford, Chevrolet, GMC, and more. Match the switch with the meter first, then look up the regulator or mirror only after that switch is cleared. Visit T1A Auto to search your vehicle and read the fitment before you order.
