


If you're staring at a broken door handle on your Tacoma, take a breath. You're not the first, and you definitely won't be the last. The good news is that this is one of the most common and satisfying DIY fixes you can do. Most people can swap out an exterior handle in 60-90 minutes, and an interior one is even quicker—usually under 30 minutes with just a few basic tools.
This guide will break down exactly why those handles fail and show you how a simple upgrade to a metal replacement part can solve the problem for good.
Why Tacoma Door Handles Fail and How to Fix Them
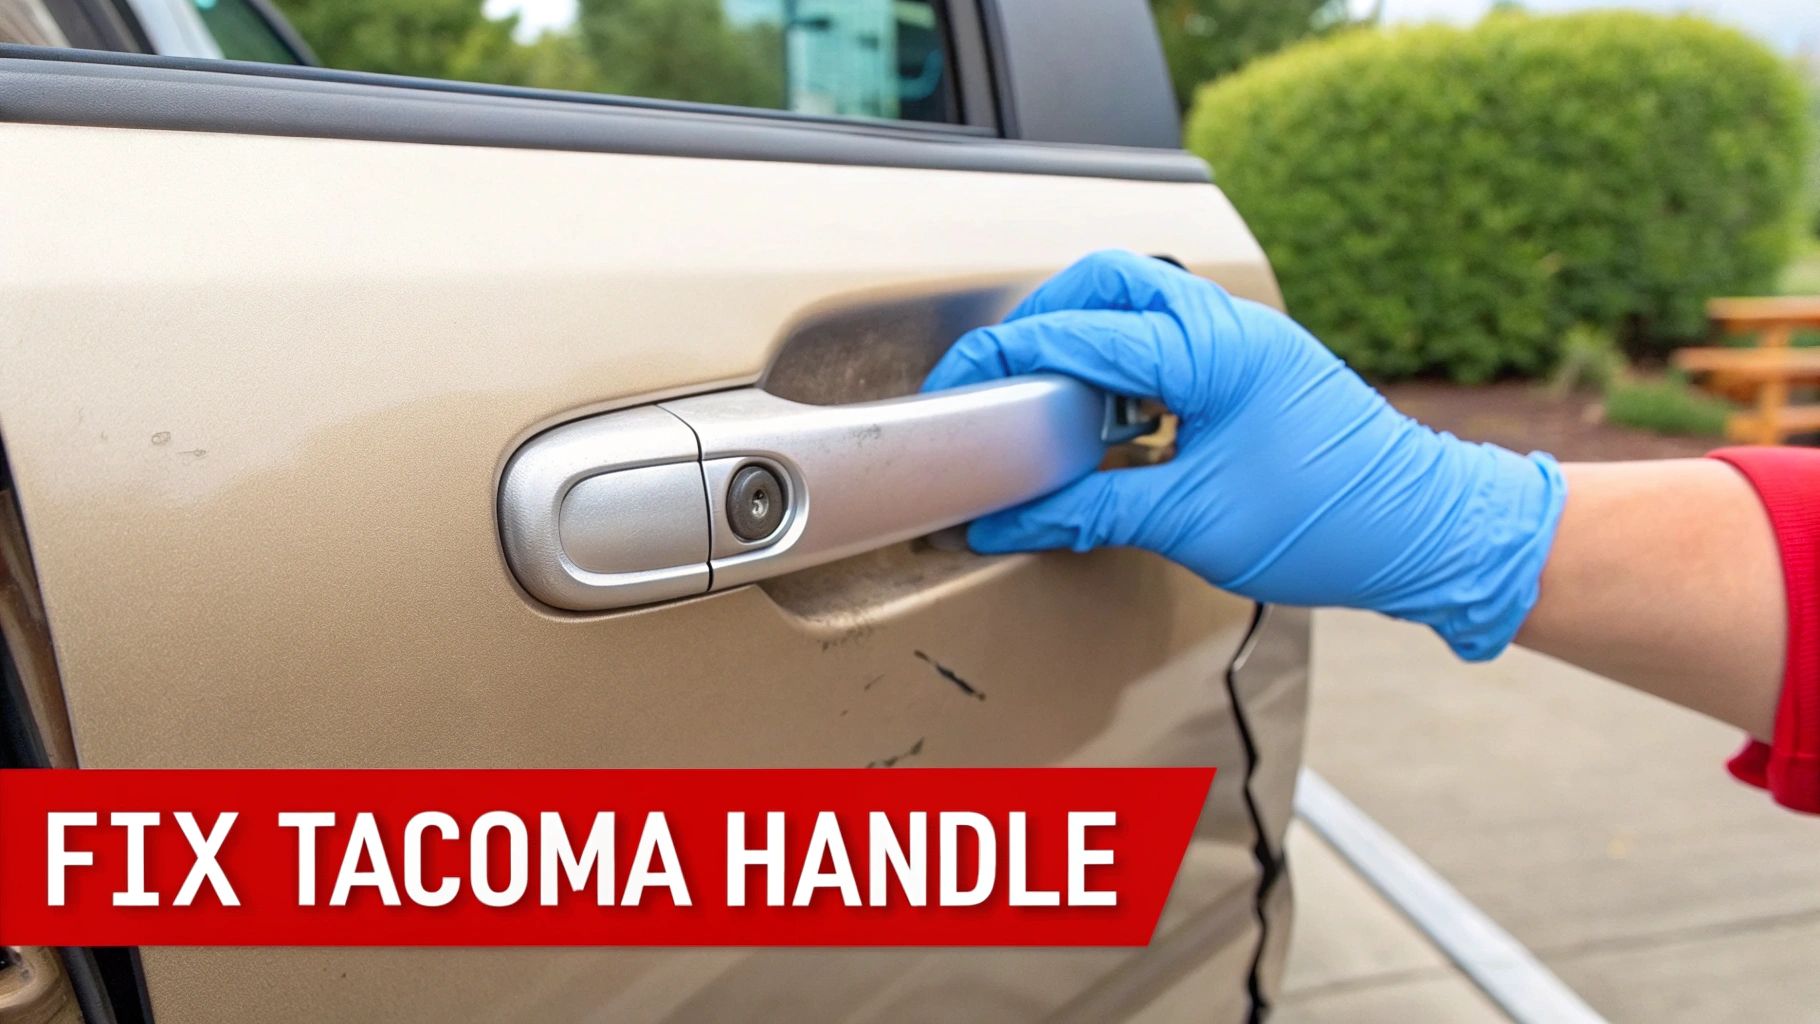
We’ve all been there. You pull the handle, hear that awful snap, and are left holding a piece of plastic. It’s a frustratingly common experience for Tacoma owners, almost a rite of passage, especially for those with first-generation trucks (1995-2004).
The real culprit here is the original factory handle itself. It’s made of plastic, and over the years, that plastic just gets tired.
Constant exposure to the elements is the main enemy. The sun’s UV rays bake the plastic day in and day out, making it brittle. Then you have the temperature swings—freezing winters and scorching summers—causing the material to expand and contract over and over again. Eventually, tiny stress fractures form, and one day, it all gives way. It’s not a matter of if that plastic handle will fail, but when.
The Problem With OEM Plastic Parts
Look, it’s not a major design flaw in the truck itself; it’s simply a limitation of the material Toyota chose. Plastic is cheap to manufacture, but it was never going to last forever on a high-use part like a door handle. This is exactly why grabbing another factory replacement is often just kicking the can down the road. You’re putting the same material back in, which is destined to break again in a few years.
This issue is so widespread it’s become a well-known quirk of the otherwise legendary Tacoma. Since its debut in 1995, over 2.6 million of these trucks have been sold in the U.S. alone, and a huge chunk of them will eventually need a new handle.
If you take a 2009 Tacoma to a shop, a professional replacement can run you an average of $287. The crazy part? The plastic handle itself only costs about $34. The rest is pure labor, which shows you how much you can save by doing it yourself. You can see more details on what shops charge over at YourMechanic.
The real fix isn't just replacing the broken part—it's upgrading it. By swapping in an aftermarket metal door handle, you eliminate the root cause of the problem permanently.
The Superiority of a Metal Upgrade
This is where a smart upgrade makes all the difference. Companies like T1A Auto saw this common failure and engineered a permanent solution: replacement handles made from durable metal alloys. These are designed as direct-fit replacements, so they install just like the original but bring a whole new level of strength and longevity to the table.
This table quickly compares the key differences between standard OEM plastic door handles and T1A Auto's upgraded metal replacements, helping you understand the value at a glance.
OEM Plastic vs T1A Auto Metal Door Handles
| Feature | OEM Plastic Handle | T1A Auto Metal Upgrade |
|---|---|---|
| Material | Standard Plastic | High-Strength Metal Alloy |
| Durability | Prone to cracking from UV/temp changes | Resists brittleness and snapping |
| Lifespan | Temporary; will likely fail again | A permanent, one-time fix |
| Feel | Lightweight, can feel flimsy | Solid, premium, and reassuring |
| Long-Term Cost | Lower initial cost, but high potential for repeat replacements | Higher initial cost, but saves money by eliminating future repairs |
The bottom line is that a metal handle is simply a better, more permanent solution built to match the toughness of the truck itself.
Making the switch offers some clear advantages:
- Lifetime Durability: Metal doesn’t care about UV rays or temperature swings. It’s not going to get brittle and snap off in your hand.
- Improved Feel: There's a solid, reassuring feeling you get from a metal handle. It immediately makes your truck feel a bit more premium every time you open the door.
- Cost-Effective Solution: Yes, the part might cost a little more upfront than another plastic one, but you’ll never have to do this job again. Fix it once, and you’re done.
When you choose to replace your Toyota Tacoma door handle with a metal version from T1A Auto, you’re not just fixing a broken part. You're turning a recurring annoyance into a one-time, empowering upgrade that adds real value and reliability to your truck.
Getting Your Tools and the Right Replacement Part Together
There's nothing worse than getting halfway through a project only to realize you're missing a crucial tool. It turns a quick fix into a frustrating, day-long ordeal with extra trips to the auto parts store. When it comes to a Toyota Tacoma door handle replacement, taking a few minutes to get organized beforehand is the secret to a smooth, headache-free repair.
Think of it as setting up your workspace. Having everything you need within arm's reach makes the job faster and, frankly, a lot more satisfying. This isn't just about grabbing a random screwdriver; it's about having the right one ready to go.
The Tools You'll Actually Need
The good news is you probably have most of what you need already sitting in your toolbox. This job doesn't require a lot of expensive, specialized equipment, but a few items are absolutely essential for getting the door panel off without breaking anything.
Here's your go-to checklist:
- A trusty socket set: You'll definitely need a 10mm socket, as it’s the standard for the bolts holding the handle assembly. I'd also recommend grabbing an extension—it makes reaching those bolts inside the door frame so much easier.
- Screwdrivers: Keep both a Phillips head and a flathead handy. You'll run into different screws holding the interior trim and panel in place.
- Plastic trim removal tools: If you don't own a set, buy one. They're cheap, and I can't stress this enough: using them is the difference between a clean job and a door panel full of scratches and broken clips. Prying with a metal screwdriver is just asking for trouble.
- Needle-nose pliers: These are your best friend for dealing with the tiny, finicky clips on the lock and latch rods inside the door. Trying to manhandle those clips with your fingers is a recipe for frustration.
Got an older, first-generation Tacoma (1995-2004) with roll-up windows? You’ll need one more thing: a window crank removal tool. It’s a special little tool designed to pop off the C-clip behind the crank without launching it into a dark corner of your garage, never to be seen again.
Finding the Perfect Replacement Handle
Okay, let's talk about the most important piece of the puzzle: the new handle. Getting the wrong one is a common mistake, so you have to make sure it matches your truck’s year, model, and specific door—a front driver-side handle is not the same as a rear passenger-side one.
Here's a pro tip: A successful repair comes down to part quality. You could go with an OEM part, but you're often just buying the same plastic design that already failed. I always recommend upgrading to a durable aftermarket part from a trusted supplier like T1A Auto. You’ll be installing a permanent solution, not just another temporary fix.
When you're picking out your T1A Auto replacement handle, double-check these things:
- Vehicle Year & Generation: Tacomas have gone through some major redesigns. Make sure the part description specifically lists your truck's year range.
- Finish & Color: Our handles come in textured black, smooth black (which is ready to be painted-to-match), and chrome. Pick the one that matches your truck's existing trim for that factory-fresh look.
- Keyhole or No Keyhole: This one's easy to forget but critical. The driver-side handle has a keyhole; the passenger-side ones don't.
Getting familiar with the pros and cons of factory versus aftermarket parts is a smart move for any DIYer. To learn more, take a look at our detailed guide comparing OEM vs. aftermarket parts. This mindset of choosing the right part applies to all sorts of simple maintenance, just like a detailed guide for changing your car's air filters shows how matching the part to your specific vehicle is key.
Replacing Your Exterior Tacoma Door Handle
Alright, let's get our hands dirty. This is where we move from planning to actually turning wrenches. Swapping out an exterior Toyota Tacoma door handle might seem like a big job, but trust me, it’s one you can definitely handle in your own garage. The trick is to be methodical and, most importantly, patient—especially with all the plastic bits you're about to meet.
We’re going to walk through this step-by-step, from carefully prying off the interior door panel to bolting on the new hardware. Take your time, follow the process, and you'll have a new, solid handle installed in no time.
This diagram breaks down the a-ha moment for most people: getting the prep work right is more than half the battle.
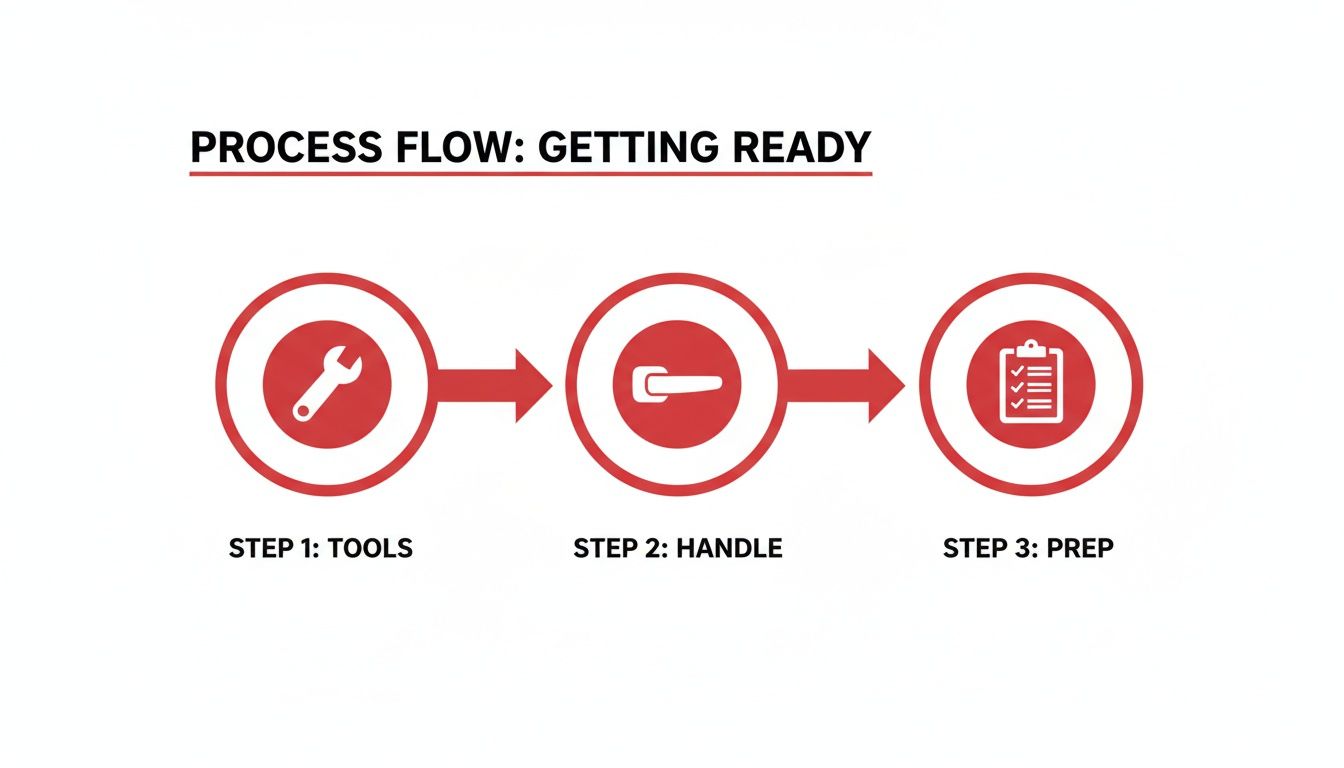
Get your tools and the right part lined up before you even think about touching the truck. It makes everything that follows go so much smoother.
Gaining Access By Removing the Door Panel
The first real challenge is getting that interior door panel off without breaking anything. It's secured by a few screws and a bunch of hidden plastic clips. Remember, finesse over force.
Start by hunting down all the screws. They're usually tucked away in a few key spots:
- Inside the door handle recess: You'll almost always find a Phillips head screw in there.
- In the armrest: Pop off the small plastic cover with a trim tool to find one or two more screws.
- Around the speaker or map pocket: On some Tacoma models, you might find a screw or two along the bottom edge.
With the screws out, grab your trim removal tool. Start at a bottom corner and slide it between the panel and the metal door frame. Pry gently until you hear that first satisfying pop of a clip releasing. From there, just work your way around the edge of the panel, freeing one clip at a time. Whatever you do, don't just rip the panel off—you’ll be left with a handful of broken clips.
Once the clips are loose, lift the panel straight up to unhook it from the window sill. But hold on! Don't pull it away yet; it’s still tethered by wires and rods.
Navigating the Wires and Rods
Look behind the panel and you'll see what I mean. First, disconnect the wiring harnesses for your power windows and locks. They have little tabs you need to press to release them.
Next up are the two thin metal rods that connect your interior handle to the latch. They're held by small, colored plastic clips that can be a real pain if you don't know the trick.
Pro Tip: Those little plastic clips get brittle over time, especially on older trucks. Don't try to pry them open. Instead, use needle-nose pliers to gently rotate the clip away from the rod. The rod will then slip right out. This one tip can save you a world of frustration (and a broken clip).
After freeing the rods and wires, you can finally set the door panel aside somewhere safe. You should now see a plastic sheet—the vapor barrier. Carefully peel it back from a corner, just enough to get your hands and tools inside the door where the handle is mounted.
Unbolting the Old Handle and Installing the New One
Peek inside the door opening, and you’ll spot the back of the exterior handle assembly. It's held in by two 10mm nuts. A socket wrench with an extension is your best friend here; it’ll save your knuckles from getting scraped up in those tight quarters.
Before taking the nuts all the way off, look at how the lock rod connects to the mechanism. It's got another one of those plastic clips. Release it, then remove the two nuts. The old, broken handle should now pull right out from the outside of the door. Simple as that.
Before you go any further, take a rag and clean the paint around the handle opening. A clean surface ensures the new handle sits flush and looks right.
Time for the new T1A Auto handle. Installation is just doing everything you just did, but in reverse.
- Slide the new handle into the opening from the outside.
- From inside, thread the two 10mm nuts on by hand to get it seated.
- Reconnect the lock rod to the new handle's clip and snap it shut.
- Now, tighten down the two nuts with your socket wrench until they're snug. Don't go crazy here—you don't want to strip the threads.
First-gen Tacomas (1995-2004) are practically legendary, but their brittle door handles are a known weak point. The good news is that many owners have found they can replace both sides in about 90 minutes for less than $100. Upgraded T1A Auto replacements, often 40% cheaper than OEM, offer a lifetime warranty and earn praise for their 'OEM-quality fit,' which is critical. You can see how other DIYers have knocked this job out on YouTube.
Final Checks and Reassembly
Before you button everything up, give it a quick test. Use your key to lock and unlock the door. Pull the new handle—does it feel smooth and operate the latch correctly? Perfect.
Now you're in the home stretch. Carefully press the vapor barrier back into place, making sure it seals well. Reconnect the wiring harnesses and the two metal rods to the door panel.
To put the panel back on, hang the top lip over the window sill first. Then, line up the plastic clips with their corresponding holes. A firm bump with the heel of your hand over each clip location will pop them securely back into place. Finally, put all the screws back in, and you’re done. Job well done.
Swapping Out an Interior Tacoma Door Handle
While exterior handles are out there battling the elements, the interior ones are fighting a different kind of war—a war of attrition. Every single pull, every tug, and every slam of the door puts stress on the plastic bits and cables tucked away inside. Over time, that repetitive motion leads to the inevitable snap, a problem I see all the time, particularly on second-generation Tacomas from 2005-2015.
But here's the good news: this is one of the most satisfyingly quick fixes you can do yourself. Forget the complexity of the exterior handles; for this job, you often don't even need to pull the whole door panel off. With a couple of basic tools and about 30 minutes, you can get that door working perfectly again and banish that flimsy, broken handle for good.
Gaining Access to the Handle
First things first, you need to get to the screws holding the handle in place, and they're hiding behind a couple of trim pieces. Don't worry, this is way easier than a full-blown door panel removal.
Your main target is the power window and lock switch panel nestled in the armrest. That's the first piece that needs to come out.
- Pry with Care: Grab a plastic trim tool or wrap a flathead screwdriver in some tape to prevent scratches. Gently pry up the switch panel, starting from the front edge.
- Disconnect the Harness: Once it pops loose, you'll see the wiring harness connected underneath. Just press the release tab, unplug it, and set the whole switch panel safely aside.
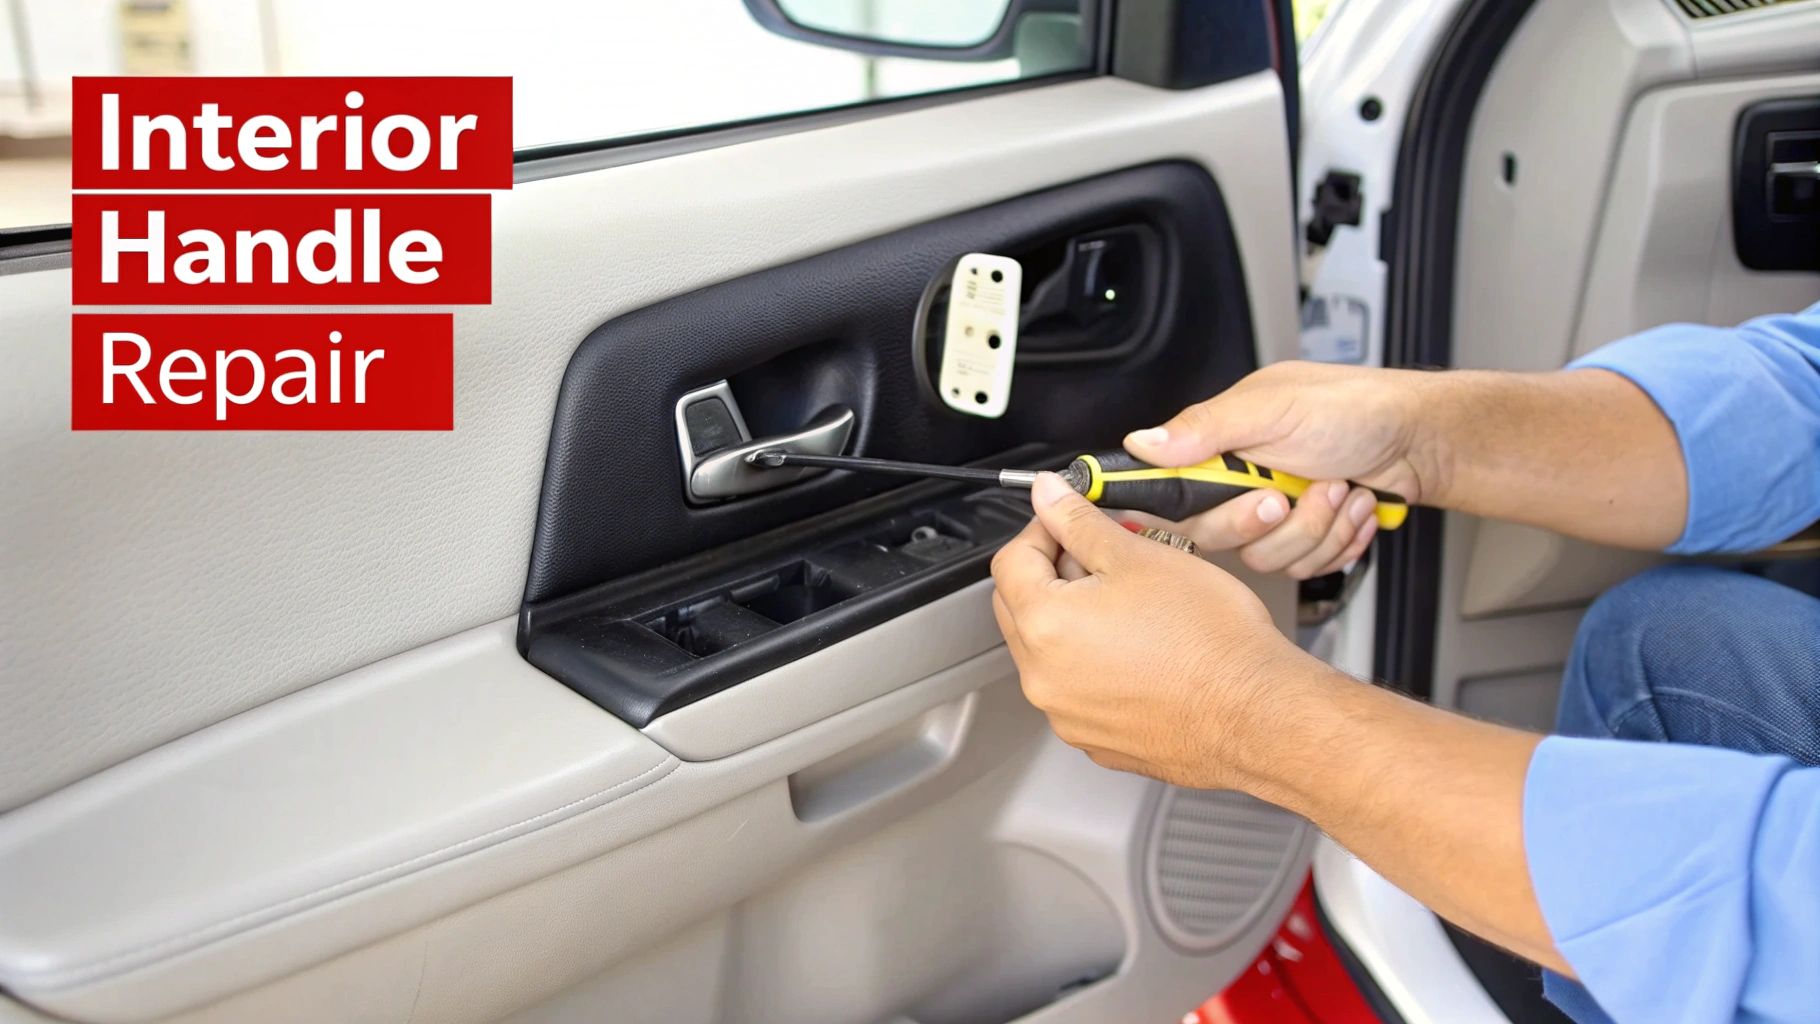
Next, peer into the little recess right behind the interior door handle itself. You'll likely see a small plastic cover. Pop that little guy off with your trim tool or a small screwdriver to reveal a Phillips head screw. Remove that screw, and the entire plastic housing around the handle should now come free.
Disconnecting the Old Handle Mechanism
With the trim out of the way, you’ve got a clear view of the handle assembly and the two critical cables that control the door's latch and lock. This part requires a bit of finesse. Those little plastic clips holding the cables can get brittle with age, so a gentle touch is key.
You'll notice the cables are usually color-coded (typically one green and one white), which helps keep things straight. Each cable has a small ball on the end that sits in a slot on the handle, while the cable housing is held fast by a plastic clip.
Here’s how to release them:
- Unclip the Cable Housing: Use a small pick or a flathead screwdriver to gently pop the plastic clip off the cable housing. Think of it like opening a tiny gate.
- Slide the Cable Out: With the housing free, you can now wiggle the cable to slide the metal ball end out of its slot in the handle.
- Repeat for the Second Cable: Just do the same thing for the other cable. Go slow and never force it.
From my experience, the most common failure point is the plastic pivot where the handle connects to these cables. A quality T1A Auto replacement handle reinforces this weak spot, ensuring it will last much longer than another stock part.
After both cables are disconnected, the only things left are two Phillips head screws holding the old handle in place. Back those out, and the broken assembly will pull right out of the door. It's really that simple.
Interior handle failures are a classic Tacoma issue, especially on those 2005-2015 models where the plastic clips and rods just give up after years of use. A quick look at DIY videos shows just how straightforward this is. A repair shop might quote you $250-$400, but you can grab a durable T1A Auto replacement handle for just $40-$60. That's a massive saving for a quick job.
Installing the New Handle and Final Checks
Now for the best part—installing the new, solid handle. You're basically just going to reverse the steps you just took, but paying attention to a few small details will make sure it works perfectly.
Start by setting the new handle assembly into the door and securing it with the two Phillips head screws you removed earlier. Get them snug, but don’t go crazy and overtighten them.
Next, reconnect the lock and latch cables. This is the most crucial part. Slide the ball end of each cable back into its designated slot on the new handle. Then, swing the plastic clip back over the cable housing and press it down firmly until you hear and feel it snap securely into place.
Before you start putting the trim back on, it's testing time. Close the door and give the new handle a pull. Try the manual lock switch. Does everything feel smooth and operate correctly? If not, pop it back open and double-check that your cables are fully seated and the clips are locked down tight.
To finish up:
- Place the handle's plastic trim surround back into position.
- Reinstall the Phillips head screw inside the handle recess and pop its little cover back on.
- Plug the wiring harness back into your power window switch panel.
- Snap the switch panel back down into the armrest, making sure all the clips engage properly.
And that’s it! You just tackled a replace door handle Toyota Tacoma project that makes a huge difference in how your truck feels every day. For a deeper dive into related jobs, take a look at our guide on how to remove a car door panel.
Troubleshooting and Pro Tips for a Flawless Finish
So you've buttoned everything up, but something's still not quite right with your new Tacoma door handle. Don't sweat it. Even experienced mechanics run into little hiccups. Most of the time, post-install problems are just minor adjustments that are easy to sort out.
Let's walk through the common issues that can pop up and get your handle working perfectly, not just "fixed."
The New Handle Feels Loose or Rattles
You're sure you tightened everything, but the handle still has a bit of jiggle to it. This is a classic issue, and it usually comes down to one of two things.
First, go back and double-check the two 10mm nuts on the inside of the door. Get them nice and snug, but don't go full gorilla on them—over-tightening can strip the threads or, even worse, crack the plastic on your brand-new handle.
If those nuts are definitely tight, take a look at the gasket. That little foam or rubber piece between the handle and the door's sheet metal is critical. If it got pinched or didn't sit flat during installation, it'll cause that annoying rattle.
The Door Won't Open From the Outside
This one is almost always a problem with that little connecting rod. If you pull the handle and get nothing, the link between the handle and the actual door latch has come loose.
- Check the Clip: The number one culprit is usually the small plastic clip that holds the rod in place. It's easy to think it's closed when it's not. Make sure you've rotated it all the way until it snaps securely shut over the rod.
- Rod Adjustment: Some models have a little play in the rod. You want it to be taut, with no major slack. If there's too much looseness, the handle won't have enough leverage to fully engage the latch mechanism.
The Lock Feels Stiff or Won't Engage
If your key suddenly feels stiff in the lock or it won't work at all, the issue is probably with the lock cylinder rod. It's very easy to knock it out of alignment when you're working inside the door panel.
Here's a tip from the trenches: While you have the door panel off, grab a can of white lithium grease and give the entire latch assembly a good spray. Hitting all those moving parts will make your lock and latch feel factory-fresh and can prevent problems down the road.
Also, take a peek inside the door and make sure the rod isn't bent or rubbing against anything. Even a slight bend can create enough friction to make the lock feel sticky. Of course, a stiff lock can also be a sign of a failing door lock actuator. If you think that might be the case, you can learn more about how to diagnose a bad door lock actuator in our detailed article.
Building up your general car knowledge is key to tackling any DIY project with confidence. For instance, understanding what does check engine light mean can help you figure out what your car is trying to tell you and what to do next.
Common Questions We Hear About Tacoma Door Handle Repairs
Even with a step-by-step guide in hand, you probably still have a few questions rolling around in your head before you grab your tools. That's completely normal. Let's run through some of the most common ones we get asked, so you can tackle this job without any second-guessing.
Think of this as that final bit of shop talk before you get started. Clearing up these last few details will make the whole process go that much smoother.
How Long Does This Job Actually Take?
Time is always the big question, isn't it? The good news is that you're not signing away your entire weekend for this one.
- Exterior Handle: For an outside handle, I'd block out about 60-90 minutes. If it's your first time pulling a door panel and fiddling with those little linkage rods, you’ll probably be closer to that 90-minute mark. Don't rush it.
- Interior Handle: Swapping an inside handle is a much quicker affair. Most people can get this done in 20-40 minutes. You often don't even need to take the whole door panel off, which saves a ton of time.
Of course, these are just estimates for a first-timer. Once you’ve done one door, you could probably knock out the other side in half the time.
Should I Use OEM or Aftermarket Handles?
This is a big one, and it really comes down to whether you want to fix the problem or solve it. Going back to the dealership for an Original Equipment Manufacturer (OEM) part might seem like the safest route, but you're often just buying the same plastic design that already broke on you.
Honestly, an upgraded aftermarket part, like one of the T1A Auto metal handles, is the smarter play here. These are engineered to eliminate the original weak points. You're getting a permanent solution, not just another plastic part that's doomed to fail down the road.
By choosing a reinforced metal handle, you’re not just fixing what's broken—you’re upgrading your truck and making sure you don't have to deal with this same headache again.
Can I Just Replace the Broken Lever Part?
I wish it were that simple, but unfortunately, no. It’s a common misconception that you can just buy the little lever or the plastic housing. Door handles are only sold as a single, complete assembly.
This is actually by design. It guarantees that all the moving parts fit and function together perfectly right out of the box, so you don’t have to worry about alignment or sloppy operation. Your new handle will have everything you need for a clean swap.
Will the New Handle Match My Truck's Paint?
Making sure the new part doesn't stick out like a sore thumb is crucial for a clean-looking repair. Aftermarket handles are typically available in a few standard finishes that cover the vast majority of Tacomas on the road.
You'll usually see these options:
- Textured Black: This is the workhorse finish. It’s the most common and matches the standard, unpainted trim on many Tacomas perfectly.
- Chrome: If your truck came with the chrome package, a matching handle will bring back that factory shine.
- Paint-to-Match: These come in a smooth, pre-primed finish (usually black or gray) that's ready for paint. This is your best bet if you want a perfect color match from a local body shop or if you're comfortable with a rattle can.
Just double-check the product description before you buy, and you'll get the exact finish you need to make it look like it was never broken.
Ready to put broken handles behind you for good? T1A Auto builds premium, reinforced metal door handles for the Toyota Tacoma, and we back them with a lifetime warranty. Get the tough, direct-fit replacement your truck deserves by heading over to T1A Auto's website to find the perfect part today.