


You pull the handle, lift the tailgate, and one side catches while the other stays loose. Or the power lock clicks, but the gate still won't open. With tools already on the bench, ordering a tailgate latch assembly feels like the obvious next move.
It might be the right repair, but a bent linkage, loose connector, worn hinge, or displaced striker can produce the same symptoms. Start by deciding whether the truck is safe, identify what failed, and buy the part only after those checks point to the latch.
Table of Contents
- Recognize a Safety Recall Before You Replace
- Diagnose the Surrounding System Before Replacing the Latch
- Check Fitment, Parts and Tools Before You Buy
- How to Remove and Install a Tailgate Latch Assembly
- Align the Striker and Test the Latch
- Power-Lock Actuator Checks After Replacement
Recognize a Safety Recall Before You Replace
A tailgate that opens unexpectedly can drop onto a person or spill cargo onto the road. If the gate will not stay retained, park the truck, keep hands and feet clear of its travel, and don't drive it until you've established a safe repair or received manufacturer guidance.
Cable failure needs the same triage. A Ford safety-recall report filed with NHTSA describes a left-side cable eyelet that may separate under heavy loading, allowing the tailgate to drop onto the bumper and potentially contact a person. That is a different failure from a latch that will not release, and replacing the latch will not correct it.
Sort the symptom before touching the hardware
Classify the problem while people stay clear of the gate:
- Unlatched or sagging gate: Check whether both sides are retained and whether the gate has shifted at its hinges.
- Failed or separated cable: Stop loading the open gate. Support it independently before inspecting the attachment points.
- Misaligned striker: Look for uneven gaps and witness marks where the striker contacts the latch opening.
- Electrical fault: Separate a missing lock command from a mechanical failure to hold the gate closed.
Check the VIN for an open safety recall before buying anything. Use NHTSA's recall lookup and ask the manufacturer or dealer about applicable interim instructions. Ask the dealer whether the recall remedy is covered at no charge. An aftermarket assembly is not a substitute for that remedy.
A gate that looks closed is not necessarily retained. Appearance alone does not decide whether the truck is safe to drive.
Keep the vehicle's history in view
For a truck purchased across the border, Sunmax Motors' guide to importing a US car into Canada provides useful ownership context. Keep the vehicle's identity and import paperwork together when discussing outstanding campaigns with a dealer.
For Chevrolet owners, our Chevy truck parts guide can help organize related component checks. I recommend making the repair decision from the failed component, not from the fact that the tailgate stopped working.
Diagnose the Surrounding System Before Replacing the Latch
The latch isn't always the first part to replace. Start with the cheapest checks that can establish a cause, rather than spraying lubricant everywhere or ordering an assembly on suspicion.
With the gate supported, inspect its gaps and flushness against the bed. Gently lift its outer edge while watching the hinges for movement. If the gate changes position substantially, correct the support problem before trying to compensate with striker adjustment.
Work from visible faults to electrical tests
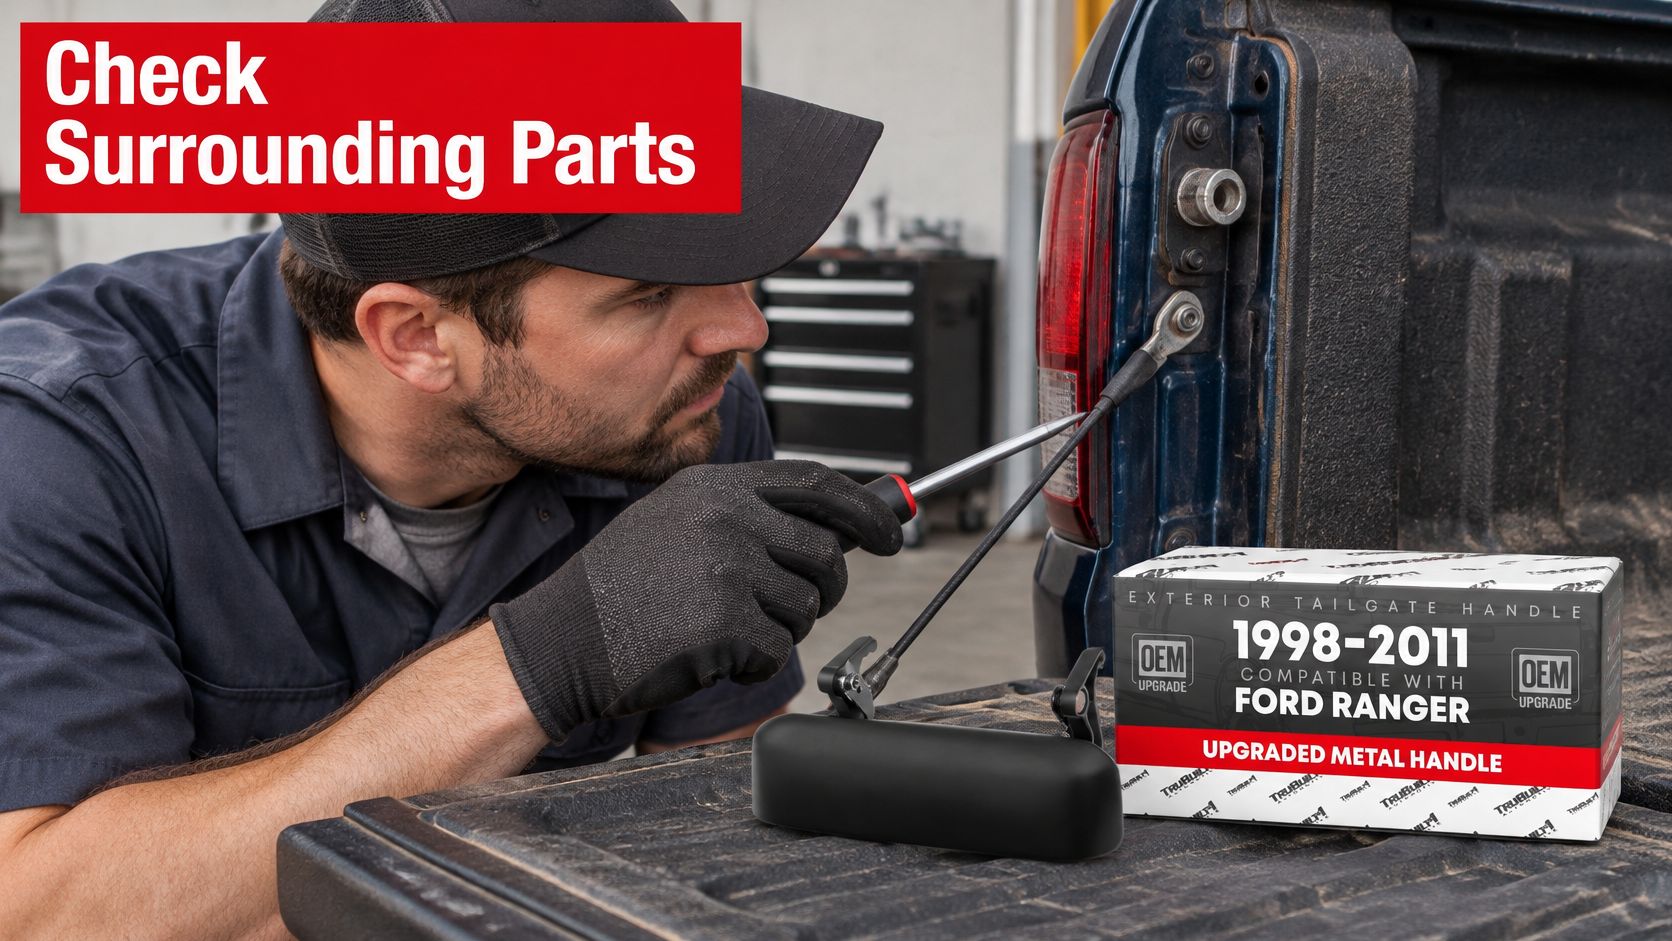
Inspect the release cable, rod clips, connector locks, and harness where it flexes. Look for green or white deposits, trapped moisture, damaged insulation, and a cable sheath that's pulled out of its bracket. A handle that moves without moving the release linkage points toward a disconnected or broken connection, not necessarily an internal latch fault.
Manufacturer guidance supports checking these surrounding parts. A BMW service bulletin attributes difficult opening or closing to oxidation at the latch connector or mechanical cable after prolonged, close-range pressure washing, and recommends inspection, corrosion removal, and protection.
Command the lock while watching the linkage from a safe position. Listen for actuator movement, but don't treat a click as proof of full travel. With power isolated when required, check mechanical release separately, keeping fingers out of the pawl.
Tailgate latch symptoms, likely causes and first fixes
| Symptom | Likely Cause | First Fix |
|---|---|---|
| Gate hard to open or close | Corrosion on latch connector or cable after close-range pressure washing | Clean and protect the connector and cable, then retest |
| Fault code after a latch change | Connector not fully seated | Reseat and click the connector before replacing anything |
| Gate sits low or rattles | Striker out of line or worn hinge | Re-align the striker and check gate flushness |
| Lock responds electrically but gate will not latch | Cable binding or linkage not engaging | Inspect and lubricate the serviceable cable, then check latch engagement by hand |
| Lock works intermittently after rain or washing | Water intrusion at connector or motor | Dry the area, check seals and drainage, then retest |
Clean carefully, then prove the repair
Use plastic-safe electrical contact cleaner on suitable disconnected terminals and let them dry before reconnecting. Don't pack the connector with grease to hide corrosion. Apply compatible connector protection sparingly where the service procedure permits, and replace terminals that have lost plating or grip.
Lubricate only serviceable mechanical points with the specified product. A sealed cable that remains stiff or has a split sheath needs replacement rather than repeated soaking.
Diagnostic rule: If correcting a connector, cable, or alignment fault restores repeatable operation, don't replace a working latch to finish the job.
Order the assembly when you can identify broken internal hardware, persistent binding within the latch, or a failure that remains after its inputs and mounting conditions check out.
Check Fitment, Parts and Tools Before You Buy
Confirm vehicle identity, assembly configuration, and tool coverage before placing an order. A familiar-looking handle doesn't establish compatibility, and a handle assembly isn't necessarily the side latch that captures the striker.
Read the VIN at the windshield base or door-jamb label, then use vehicle records and a parts lookup to establish the exact application. The build label supplies manufacturing information; the VIN alone doesn't spell out every installed option. Our guide to searching for parts by VIN number helps organize that process.
Match the complete configuration
Fitment identifiers to verify before buying
| Identifier | Where to Find It | Why It Matters |
|---|---|---|
| VIN | Driver door jamb sticker or windshield base | Supports vehicle identification, build and trim verification, and recall lookup |
| OEM part number | Old latch label or dealer parts lookup | Helps match the exact assembly for your cab and bed |
| Model year range | Vehicle records or VIN decoder | Latch design can change within a generation |
| Lock type (power or manual) | Lock controls and wiring connector at the latch | Determines whether actuator and wiring provisions must match or transfer |
| Striker count and position | Latch openings and strikers on the body | A mismatch prevents correct closure and retention |
Photograph the old assembly, connector face, rod attachment, and mounting pattern. Check whether the replacement includes clips, an actuator, or only the mechanical latch. Don't assume the photograph shows everything supplied.
Fitment is a safety issue, not a cosmetic preference. The NHTSA evaluation of FMVSS No. 206 describes fully latched strength requirements of 2,500 pounds longitudinally and 2,000 pounds transversely, with secondary-position requirements of 1,000 pounds in each direction for the latch requirements discussed. Those aren't a pickup tailgate payload rating or proof that any particular aftermarket part complies.
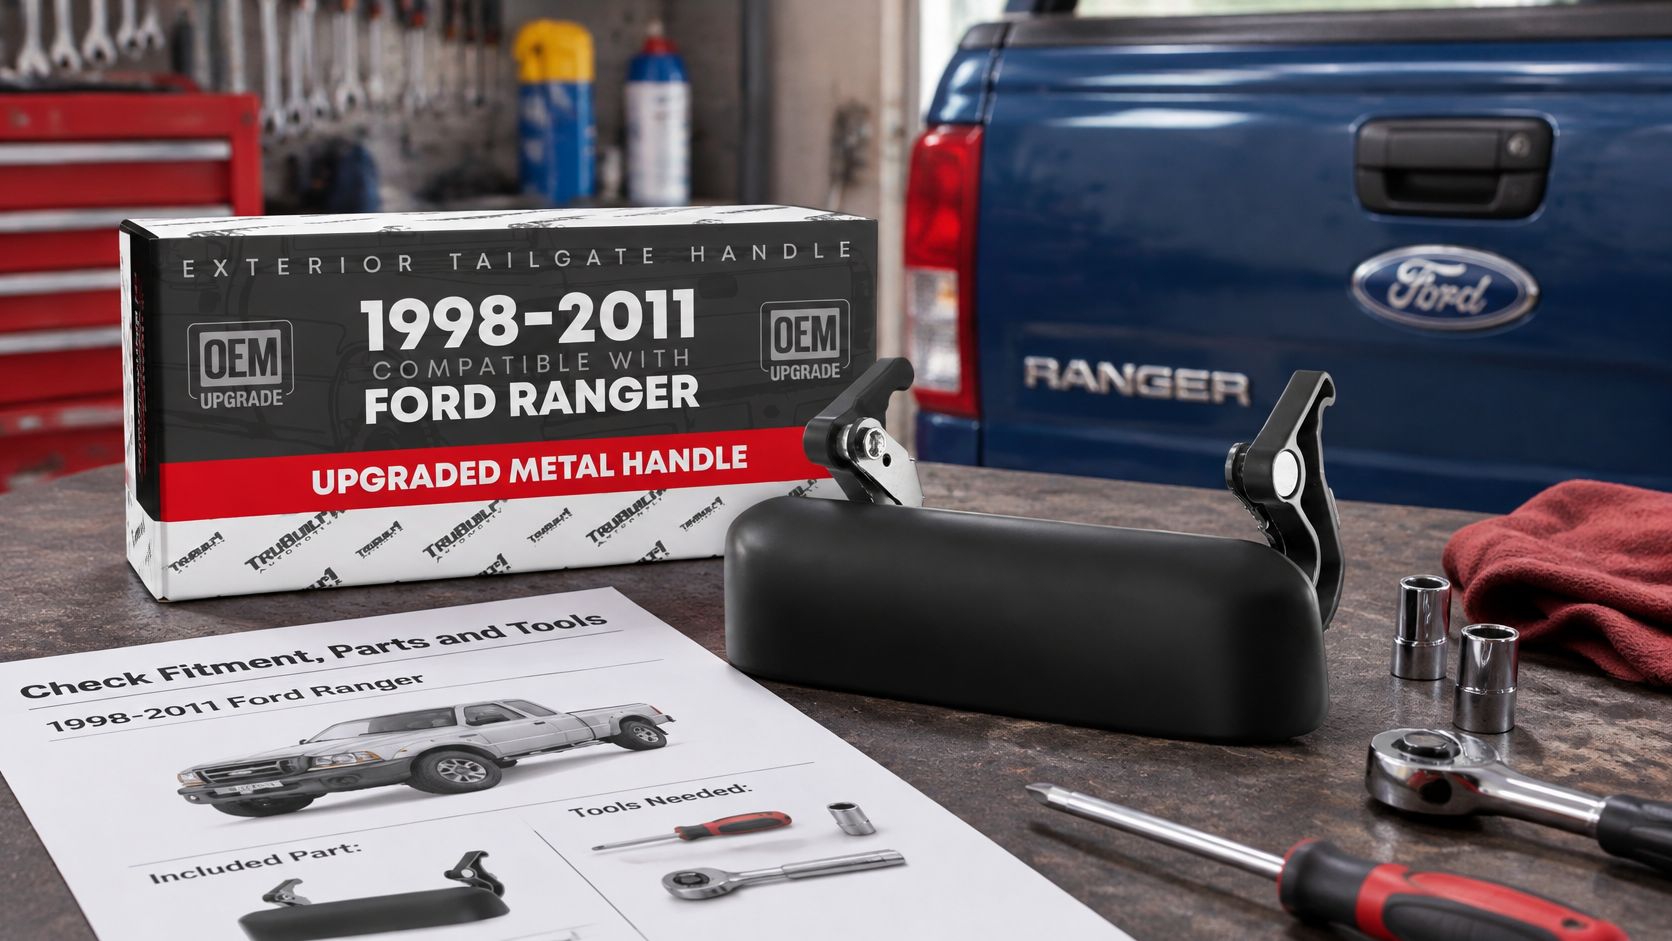
Our Ford Ranger upgraded-metal tailgate handle assembly illustrates the distinction: it's a handle replacement, not automatically a replacement for the gate's side retention latches. Compare the actual failed part with the listing before choosing metal or plastic.
Set out the tools and protect the finish
Have these ready:
- Hand tools: Metric sockets, the correct Torx bits, plastic trim tools, a pick, and a small screwdriver.
- Controlled tightening: A torque wrench covering the service-manual range, including an inch-pound tool if required.
- Preparation supplies: Penetrating oil, approved lubricant, electrical contact cleaner, compatible dielectric protection, painter's tape, and a marker.
- Stable support: A padded stand or suitable support for the gate, plus a helper when needed.
Protect existing graphics with a clean cover and test tape on an inconspicuous area. If you're planning a weathered flag tailgate stripe decal from Custom Sticker Shop, finish mechanical work before applying it.
Read the product's warranty wording and keep the receipt and old part until testing is complete. Most T1A Auto parts come with installation instructions, but use vehicle-specific service information for torque and adjustment. Any mismatch in part identification, lock type, or striker arrangement is a stop condition.
How to Remove and Install a Tailgate Latch Assembly
Use the vehicle's service procedure to establish access order, battery-disconnection requirements, and fastener torque before starting. Some gates let you reach the latch through an inner cover; others require handle or liner removal first. Don't pry off a bezel until you've checked for concealed screws.
Park on level ground, switch off the ignition, and keep the key or remote away from the work area. Lay out a tray for clips and fasteners so nothing drops into the tailgate cavity.
Remove the old assembly without damaging the linkage
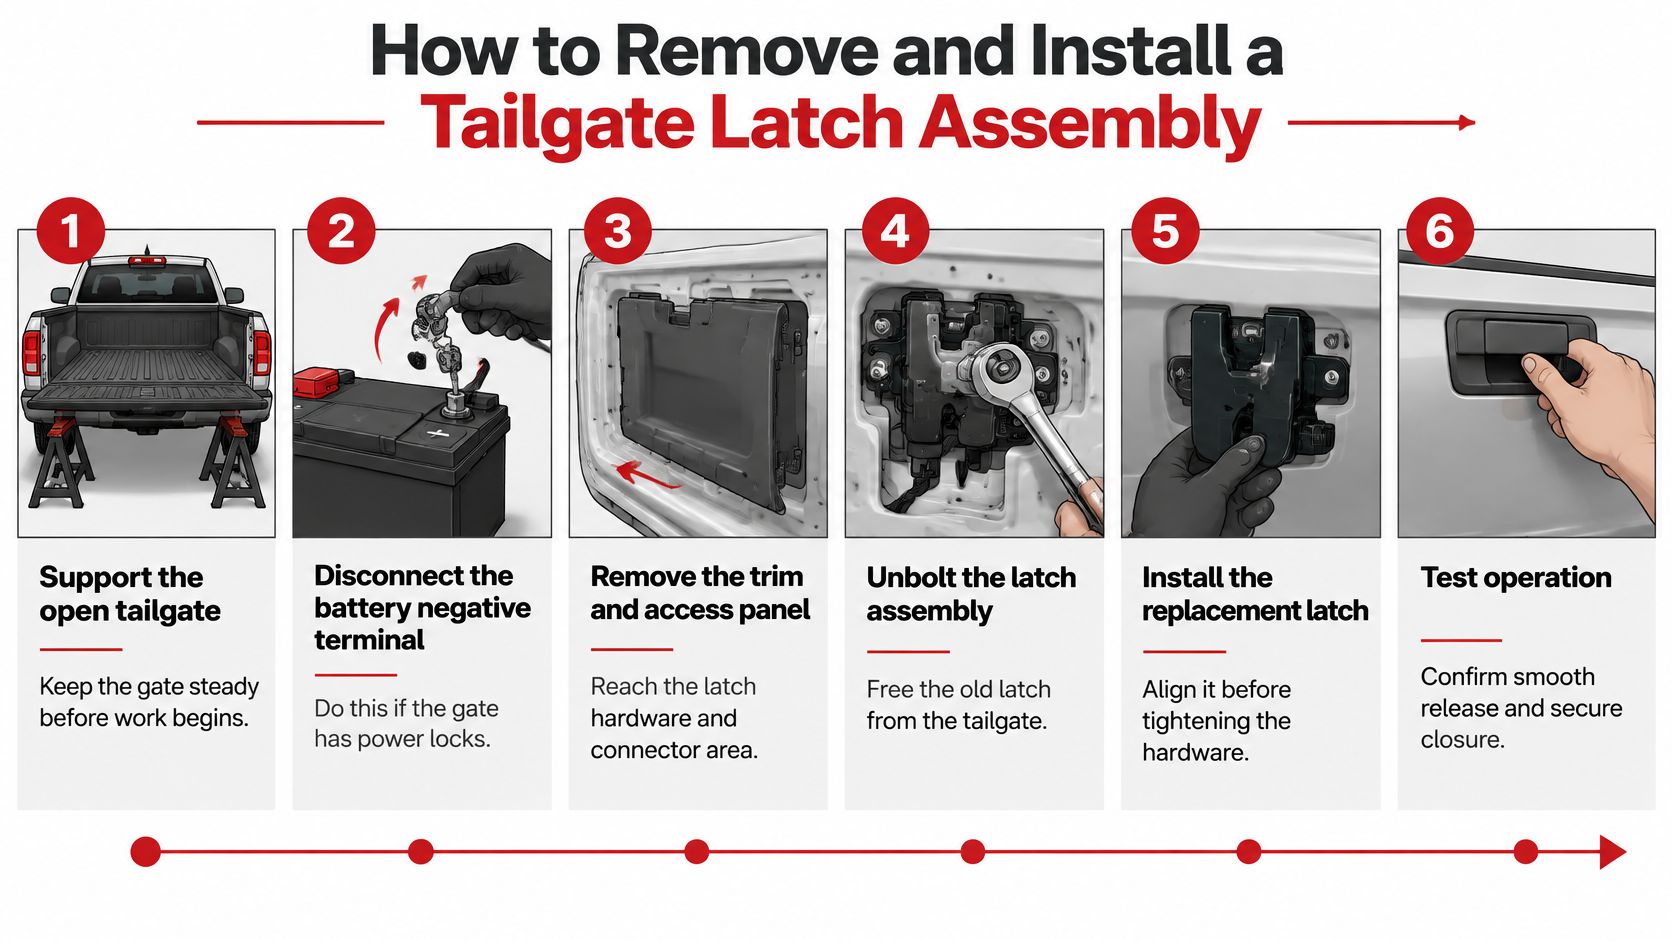
- Support the open tailgate and isolate power. Use a padded support that won't slip or interfere with access, especially if a support cable is questionable. For powered systems, follow the prescribed shutdown procedure, disconnect the battery negative terminal when required, and prevent accidental reconnection.
- Remove the trim and access panel. Use plastic trim tools at the clip locations rather than levering against unsupported sheet metal. Photograph the wiring, rod routing, and clip orientation before disturbing them, then label similar connectors if there's room for confusion.
- Disconnect the wiring and release linkage. Depress the connector lock and pull on the housing, never the wires; release any secondary lock first. Rotate or open the rod clip as designed before lifting the rod out, because forcing a cold or brittle clip can break its retaining arm.
- Unbolt and withdraw the latch. Support the assembly while removing its fasteners, keeping spacers and washers in their original order. If a screw resists, clean the drive recess and use the correct bit before applying more force, then inspect the mounting area for cracks, rust, or distorted metal.
Don't discard a damaged clip because it looks unimportant. A rod can sit in its hole without being positively retained, then detach when the handle is operated. Replace broken retainers with the correct type rather than bending wire around the connection.
Install without introducing tension or loose hardware
- Position the replacement and start every fastener by hand. Compare its mounting surfaces and release-lever orientation with the old part before seating it. Use any prescribed adjustment allowance, but tighten the latch mounting fasteners to the vehicle specification before closing the gate for testing; don't test with loose hardware.
- Reconnect the electrical connector. Check that seals are in place, terminals aren't bent, and the connector reaches its fully locked position. A gentle pull on the housing should confirm retention without stressing the harness.
- Attach the cable or lock rod without preload. Seat the cable sheath in its bracket and close each retaining clip completely. At rest, the linkage mustn't hold the release lever partly operated, so don't bend a rod merely to make it reach.
- Check accessible operation and reinstall the trim. Once the moving parts are clear, restore power according to the service procedure and operate the handle and lock. Inspect the mechanism before covering it, then reinstall the panel with the specified fasteners and tightening sequence.
Leave the access cover off only for controlled inspection. Keep hands, loose clothing, and tools clear whenever someone operates the powered release.
At this stage, you want smooth handle travel, a positive return, and clean electrical response. Grinding, delayed return, or a rod that bows during operation means the installation still needs attention. Don't try to settle a badly seated assembly by slamming the gate.
Align the Striker and Test the Latch
Open both latch mouths and look at where each striker sits before you touch a bolt. Raise the gate slowly and watch each striker enter its opening. Keep fingers clear of the closing gap.
The striker belongs in the center of the opening without scraping the upper or lower edge. Mark the starting position, then correct height for centering and fore-aft position for flush panels and even closing effort. Check both sides together. Adjusting one side alone pulls the gate crooked and creates a new misalignment.
Tighten to the correct application
The Dodge/Ram tailgate safety-recall procedure specifies 34 N·m (25 lb-ft) for certain DJ/D2 vehicles and 49 N·m (36 lb-ft) for DT vehicles.
Those values cover only those applications. Pull the specification for your truck from its service information, torque the striker, then recheck position after the fastener seats. A striker that looked centered while loose often shifts during final tightening, so the check after torque sets the result.
Separate opening behavior from closing retention
Lower the released gate under control, then lift it closed with even effort. Support the gate through the release so the hinges and cables carry the weight in a controlled arc. A clean latch then catches with a normal lift, no slam, no shoulder push, no lift on one corner.
I recommend judging the adjustment on feel across three slow closes. Consistent effort left and right with flush panel edges points to correct fore-aft placement. Binding on one side or a gate that needs extra force has the striker too far inboard or out of height.
Striker and closing checks
| Test | Pass Condition | Fail Sign |
|---|---|---|
| Striker centering | Striker enters the center of the latch opening | Contact with upper or lower edge |
| Controlled lower and lift close | Released gate lowers freely under control, then latches when lifted closed normally | Gate binds while lowering or needs a slam to close |
| Closing effort side to side | Similar effort on both sides with flush fit | One side resists or closes unevenly |
| Secondary position | Where fitted, the gate holds at its designed secondary position during the prescribed check | Gate will not hold there or releases unexpectedly |
Do not treat an arbitrary half-closed position as a secondary-latch test. Follow the vehicle procedure, and keep weight off a partly latched gate. Fresh contact marks inside the latch mouth after cycling show where correction is still needed.
Record initial and final striker positions with photos, plus final torque and any remaining uneven effort. A gate that closes only with force fails. Stop, correct striker position or hinge alignment, and retest before returning the truck to service.
Power-Lock Actuator Checks After Replacement
A correctly aligned tailgate can still release unexpectedly if the actuator drives the linkage too far. Electrical response and mechanical retention are separate checks, and a click from the motor proves neither rod adjustment nor secure engagement.
A Ram safety-recall report filed with NHTSA describes an actuator-limiter failure mechanism that could permit lock-rod over-travel and inadvertent latch release. A working motor therefore doesn't clear the whole system.
Inspect the slider, boot, and rod travel
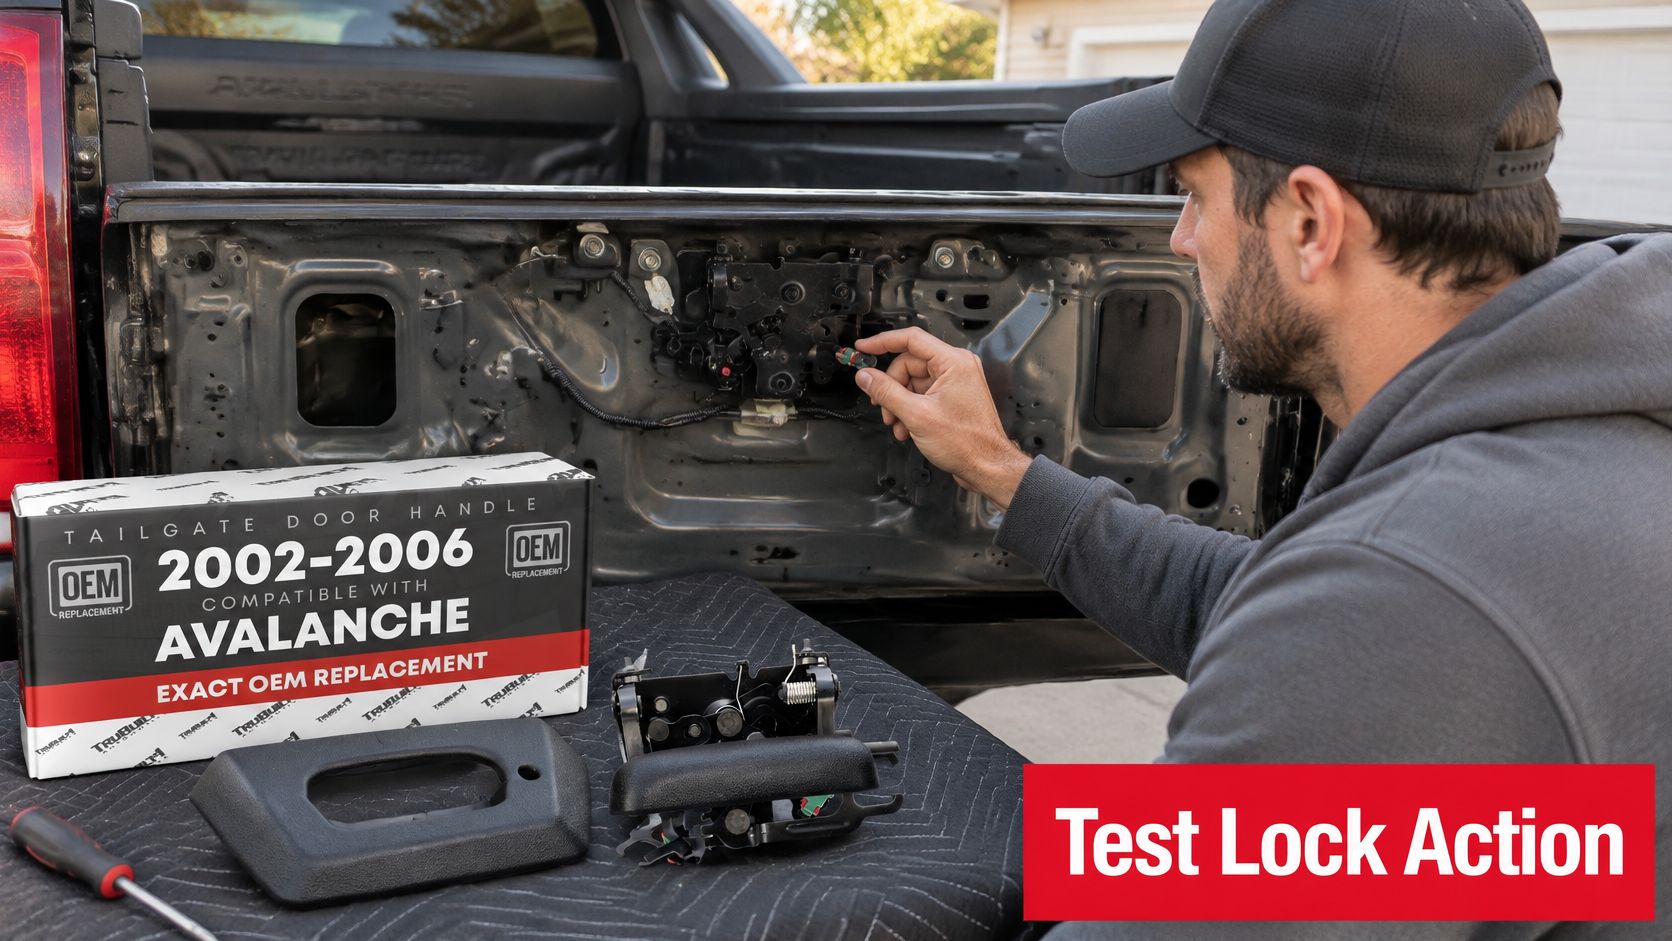
Open and support the gate, then remove the liner and inner cover as needed to inspect the actuator slider. Install a stop block only if the applicable service procedure or recall remedy calls for it. Don't fabricate a stop or adapt another model's repair.
Reseat the actuator boot fully and inspect its backside with a mirror if necessary. A boot can look installed from the front while remaining folded or displaced behind the actuator.
Reinstall the cover using the vehicle-specific sequence and torque. Treat recall-procedure torque values as instructions for the covered hardware, not as a general setting for every tailgate panel.
Verify the complete operating cycle
Run the acceptance checks in this order:
- Manual release: Confirm that the handle operates and returns without dragging the linkage.
- Powered lock and release: Watch for complete movement in both directions, not just motor noise.
- Independent latch confirmation: Verify that both sides disengage and re-engage rather than assuming one follows the other.
- Resting linkage position: Confirm that the rod returns without tension holding either release lever off its stop.
- Final assembled operation: Repeat the checks after the cover is installed so it can't conceal interference.
For a motor that remains weak, intermittent, or silent, use our guide on how to test a door lock actuator to separate an actuator problem from its power supply or command circuit.
Write down the results, including connector retention, boot seating, fastener completion, and both-side engagement. That's more useful than declaring the repair finished because the remote worked once.
We offer tailgate handles, cables, hinges, latches, and related fasteners for vehicle-specific repairs. Visit T1A Auto with your vehicle details and the failed component identified, then compare the listing's connections and mounting arrangement before ordering.
