


You're loaded up at a trailhead, cooler and tools in the bed, and the key turns in the tailgate but nothing releases. Ordering a new handle feels obvious. Don't do it yet. A tailgate handle lock can fail on its own, but so can the rods, clips, actuator, latch and wiring behind it, and each one sends you shopping for a different part.
Table of Contents
- Identify Your Tailgate Lock Type Before Buying Parts
- Parts, Tools and Upgraded Metal Options
- How to Remove a Tailgate Handle Lock
- How to Install and Test the New Lock
- Troubleshooting Symptoms That Look Like a Bad Lock
- Confirm Fitment and Warranty Before You Order
Identify Your Tailgate Lock Type Before Buying Parts
That stuck gate at the trailhead is a classic trap. The key rotates, the handle lifts, and the gate stays shut, so you assume the cylinder's dead. In practice, a disconnected rod or broken clip produces the same feel, and a new handle bolted onto bad linkage changes nothing. Identification comes first, before any parts order.
The Four Setups You'll Actually Meet
Look at what's in front of you. A keyed handle shows a cylinder right in the handle face, and the key physically blocks or frees the release. A central-locking tailgate has no cylinder at all. It follows the door fob or the lock switch in the cab, driven by a small actuator inside the gate.
A power tailgate goes further, with a multifunction handle, an electronic release button and a motorized latch that pulls the gate closed. The fourth type is a factory handle with an aftermarket add-on lock bolted over or through it, which adds a second cylinder or bar that the original linkage was never designed around.
Tailgate lock types and where they usually fail
| Lock type | How to recognize it | Common failure | Replacement scope |
|---|---|---|---|
| Keyed handle lock | Key cylinder visible in the handle, no power release | Worn or binding cylinder, cracked plastic handle | Handle and cylinder, sometimes the rod |
| Central-locking tailgate | No key cylinder, locks with fob or lock switch | Actuator over-travel, intermittent lock | Actuator, rods and connector check |
| Power tailgate with multifunction handle | Power release button, electronic latch | Latch stops short of second position, switch faults, water in wiring | Latch and wiring first, handle last |
| Handle with add-on lock | Aftermarket cylinder or bar fitted to factory handle | Loose mounting, linkage bypass | Remove add-on and inspect factory handle |
This matters across Silverado, Sierra, F-Series, Tacoma and Tundra trucks because the same nameplate changed hardware repeatedly. Model year, cab style, bed configuration, a backup camera in the handle and a power release function all change which assembly fits. A handle that looks identical in a listing photo can have a different camera bore, rod angle or connector.
Three Problems, Not One
Most owners shop for a lock to solve one problem and secretly hope it solves three. It doesn't, and owner discussions about adding a tailgate lock show people mixing up locks that stop opening with devices meant to stop the whole gate being lifted off.
- Casual cargo access: Someone pulls the handle and takes what's in the bed. A working handle lock that blocks latch release handles this.
- Handle or linkage manipulation: Someone pries, reaches the rods or defeats a weak cylinder. Here the weak point is often the plastic handle body, clips or brackets around the lock, not the cylinder itself.
- Full tailgate removal: Someone opens or unclips the gate and lifts it off its hinges. A handle lock alone doesn't secure hinge or retaining hardware, so this needs separate hinge-side protection.
A stronger cylinder inside a cracked plastic handle, driving worn rods on tired clips, buys you almost nothing. The attacker, and ordinary wear, always find the weakest component first.
The security need is real enough. The National Insurance Crime Bureau tailgate theft report counted 3,665 pickup-tailgate theft claims for losses from January 1, 2016 through December 31, 2017, with Texas accounting for 1,360 claims, or 37% of the two-year total. That's claims data, not every theft, but it shows the exposure clearly.
End the identification step with one hard rule. Close the gate and pull on it. If it doesn't positively latch on both sides, you have a latch or alignment problem first and a lock question second. No lock upgrade gets judged on a gate that won't close properly.
Parts, Tools and Upgraded Metal Options
Buy for the failure you found, not for the whole tailgate. The usual parts list is short: a handle assembly, a lock cylinder if yours is keyed, the pull-rod and its clips, plus seals and grommets. Add a striker or latch only when the latch itself is worn, bent or refusing full engagement. Clips are cheap. Order them anyway, because old ones snap during removal.
Tools to Have on the Bench
- Socket set and extensions: For handle and latch fasteners, often reached at an angle inside the gate.
- Torx or hex set: Trim and latch hardware varies by model, so check before you start.
- Flat trim tool: For the access cover. A screwdriver gouges paint and breaks panel clips.
- Torque wrench: Latch and striker fasteners get tightened to spec, not by feel.
- Fine-tip screwdriver: For easing rod clips open without snapping them.
- Masking tape and marker: Label every rod and connector as it comes off.
- Dielectric grease and zip ties: For connector seals and securing the harness away from moving rods.
- 10 mm wrench: For the battery terminal on powered gates.
If you're staging hardware before the job, a tailgate hardware kit guide helps you sort cables, hinges and fasteners from the handle parts you need.
Plastic Versus Metal, Honestly
Molded plastic handles crack at the pivot and around the cylinder bore. That's the most common failure point on keyed handles, especially on trucks that work daily in heat and cold. Upgraded metal handle assemblies replace that failure-prone plastic body and internal parts with metal, and they're listed with a lifetime warranty on metal components against a 3-year warranty on standard items. That warranty split tells you where the maker expects failures.
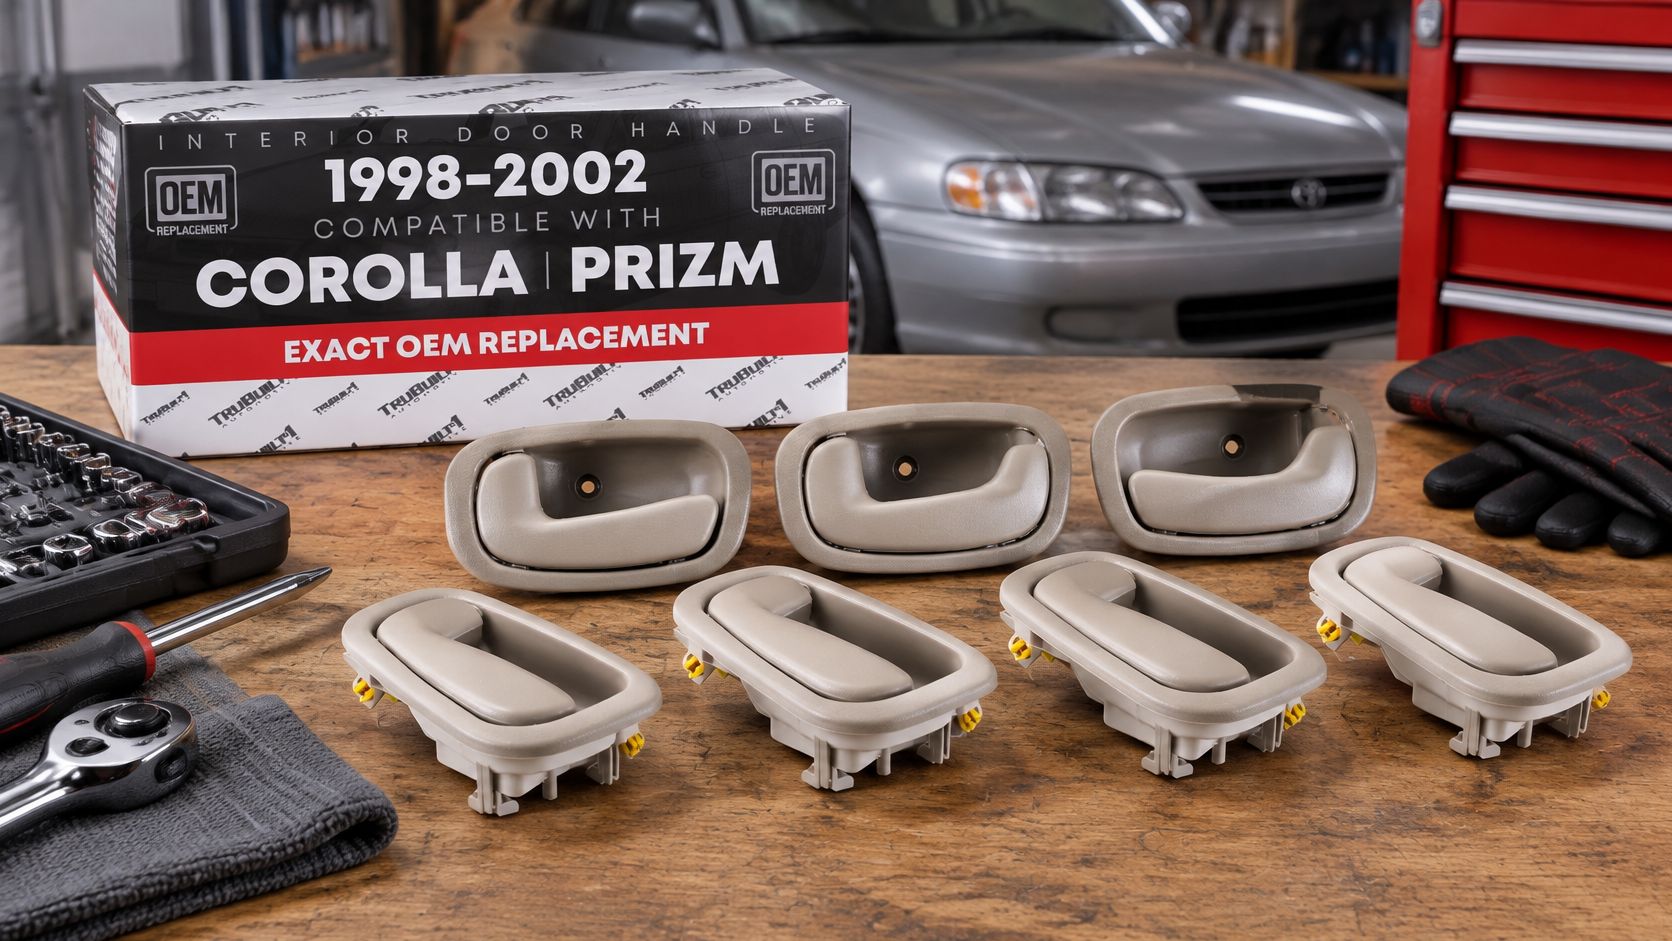
Material is still second to fitment. The 8-pc Interior & Exterior Front/Rear Driver & Passenger Door Handle - Compatible with 1998-2002 Toyota Corolla; 98-02 Chevrolet Prizm - OEM 94859666, 94859670, 94857480, 94857481, 94857484, 94857485 - 8-Piece Set - Beige is a useful reminder of how specific handle listings get, since it's a direct replacement for those listed OEM parts on 1998-2002 Corolla and Prizm models only. Tailgate parts demand the same discipline.
Replacement options by failure type
| Option | Material | What to check | Good fit when |
|---|---|---|---|
| OEM-style plastic handle assembly | Molded plastic | Matching part number and handle shape | Lock still works and only the handle is cracked |
| Upgraded metal handle assembly | Metal body and internal parts | Year range, cab style and tailgate type | Plastic keeps breaking or the truck works daily |
| Replacement rod and clip set | Metal rod, metal or plastic clips | Rod length and routing photos | Rod is bent or clips broke but the handle is sound |
| Complete latch assembly | Metal latch and pawl | Striker position and second-latch engagement | Gate will not latch or pulls tight poorly |
| Replacement cylinder only | Metal cylinder | Keying and handle bore size | Only the cylinder is worn or sticking |
I'd start with the cheapest part that matches the proven failure. A cylinder-only swap on a sound handle beats a full assembly. A full assembly on a cracked pivot beats a cylinder you'll be removing again in six months.
How to Remove a Tailgate Handle Lock
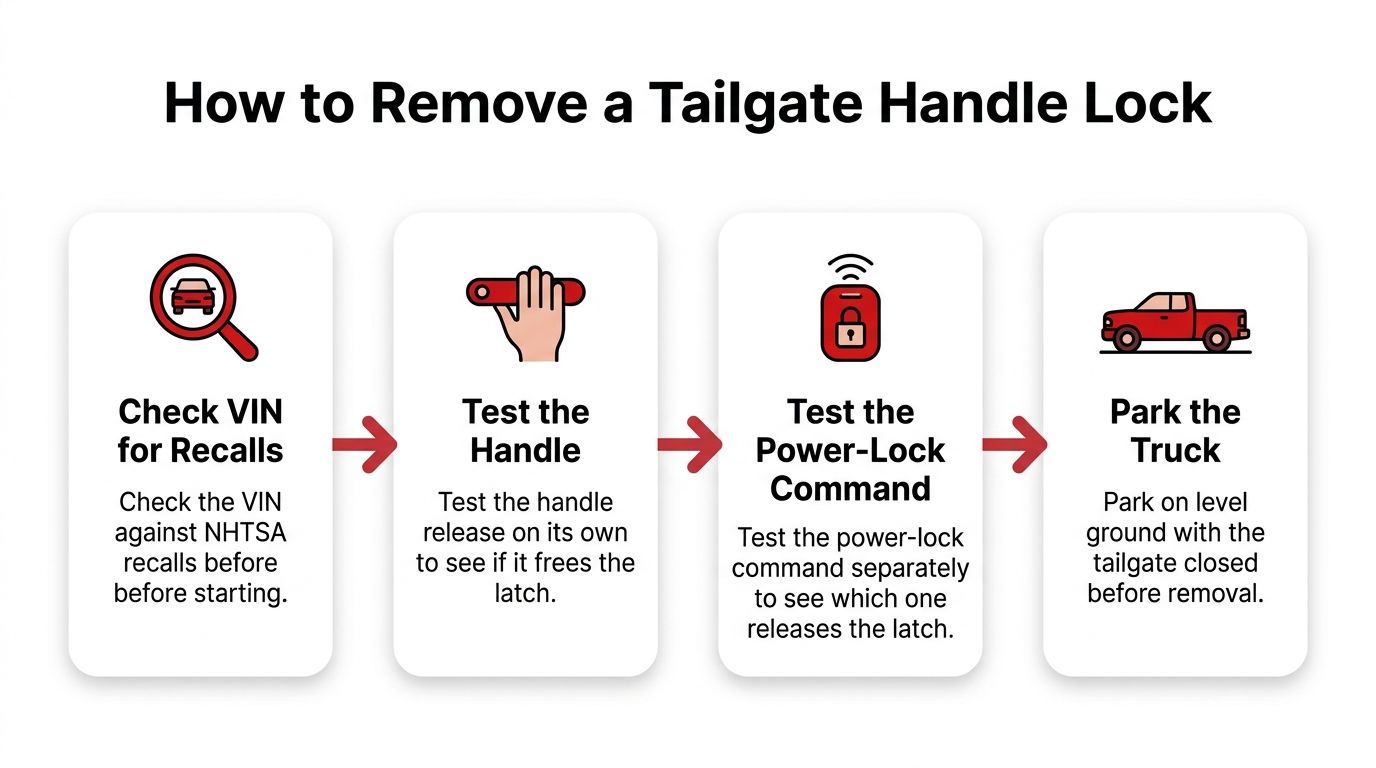
Start with diagnosis, not disassembly. Check the VIN against recalls, then operate the handle and the power-lock command separately while watching whether either one releases the latch. The NHTSA Ram tailgate recall report describes an actuator defect where limiter-tab fracture allowed rod over-travel, and NHTSA documented approximately 5,643 potentially related warranty claims and repair orders in that one Ram population. Those are field-case counts for that population, not a failure rate for your truck, but they show why a dead-feeling handle isn't automatically a dead handle.
Removal in Order
- Park on level ground and close the gate. Note whether the lock is powered before you touch anything, because that decides the next step.
- Disconnect the battery on powered gates. This stops accidental actuator operation while your hands are on the connectors and rods.
- Open the gate and support it. A gate resting on its cables at working height keeps rods and latches reachable without strain.
- Photograph everything first. Shoot rod routing, clip positions and connector orientation from several angles. Rods that cross or clip in a specific direction will not be obvious later.
- Remove the interior trim panel or access cover with a trim tool. Work the clips loose gradually. A screwdriver tears the panel edge and snaps clip towers.
- Disconnect electrical connectors and inspect the seals. Look for green corrosion, standing moisture and swollen seals. Water entering wiring has been linked to unintended latch activation on electric tailgates, so a wet connector is a finding, not a detail.
- Release the rod clips and label each rod. Ease clips open with the fine-tip screwdriver, swing them clear, then lift the rod out. Tape and mark left and right immediately.
- Remove mounting fasteners in the service manual sequence. Sequence matters on assemblies under spring tension, and it keeps the handle from cocking sideways in its bore.
- Lift the handle or lock assembly out and inspect what's left. Check latch pawls, strikers and the handle bore for wear, elongated holes and cracked mounting points.
If the gate won't open at all and you're stuck outside the truck, work through the steps to take when locked out before forcing anything, since a bent rod from prying turns a lock job into a linkage job.
What to Set Aside
Keep clips, seals and grommets in a tray only if they're undamaged, flexible and complete. A clip that survived removal but lost its snap will let a rod walk out under vibration. Bag the fasteners by location.
Shop rule: If you can't explain, from your isolation test, which component failed, you aren't ready to remove anything. Misalignment, wiring faults and actuator over-travel all impersonate a bad handle.
Any gate that doesn't positively latch stays out of service until it does. An unintended opening at speed releases cargo into traffic, and that's a road hazard you created.
How to Install and Test the New Lock
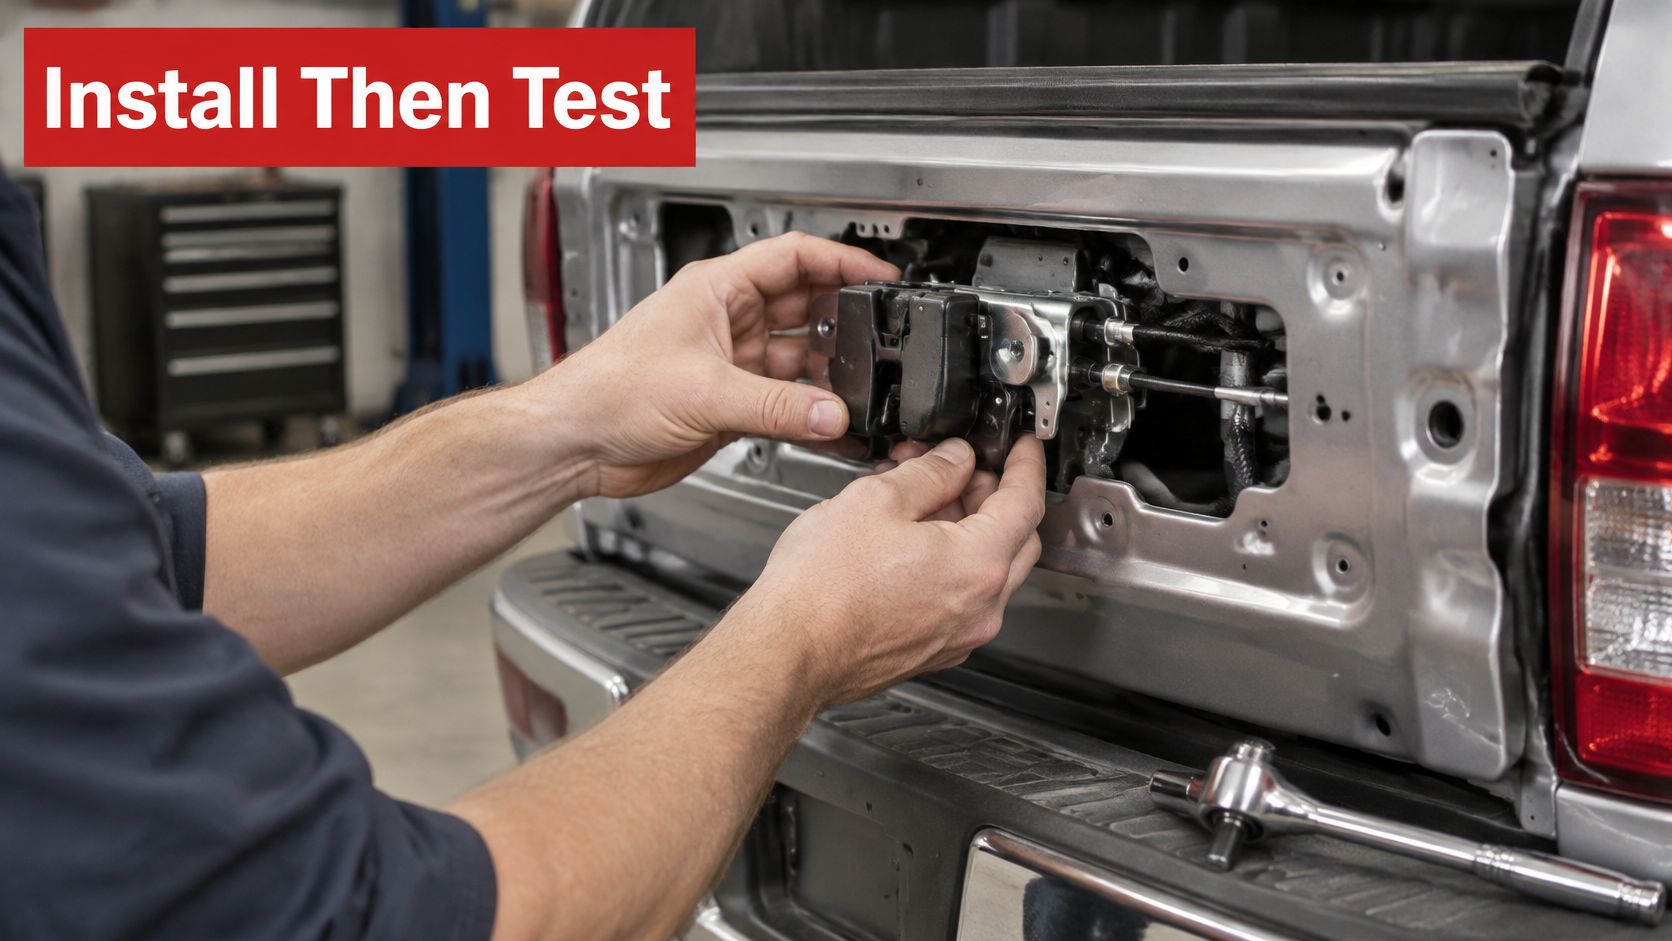
Installation is removal in reverse, with two differences. Alignment happens before final tightening, and testing happens before the trim panel goes back on. Skip either one and you'll reopen the gate.
The assembly going in should sit flush without force. If you're pulling it into place with the fasteners, something's misaligned.
Install Steps
- Transfer clips and seals only if undamaged. Fit new ones where the old parts are cracked, flattened or loose.
- Set the new assembly and start fasteners loosely. You need movement available for alignment.
- Reconnect the rods and seat every clip fully. Push each clip until it snaps over the rod groove, then tug the rod to confirm it can't pull free.
- Center the latch on the striker before tightening. The striker should enter the latch centrally, not drag on one side of the mouth.
- Tighten to the vehicle maker's specified torque. Use the service manual figure and the torque wrench. Overtightening distorts plastic housings, and undertightening lets the striker shift.
- Reconnect connectors with dielectric grease, then reconnect the battery. Route the harness away from rod travel and check seals seat completely.
Watch the sequence performed on a real gate before your first attempt, paying attention to clip orientation and hand position inside the access opening.
The Test Sequence
- Confirm the pawl rotates fully behind the catch and the release lever returns to its stop after every pull.
- Run at least 10 manual open and close cycles and 10 lock and release cycles. Every cycle should feel identical.
- Do a gentle pull test with the gate shut. Pull firmly at both corners and the center. Neither side should move or click.
- Check rod preload, handle return, panel gaps and warning lights. A rod holding the latch partially released, a lazy handle or a gate-ajar warning all mean you're not done.
The NHTSA Ram striker recall remedy instructions sit in a recall covering about 1,234,650 Ram vehicles with potentially misaligned tailgate strikers, which shows how much rides on step 4. NHTSA also identified a latch design where a pawl positioned perpendicular to the catch could experience "pawl walkout" and unlatch under certain loads.
That's why a stationary test isn't enough. Use 20 consecutive successful cycles, 10 released and 10 engaged, without sticking, partial release or rod noise as your shop benchmark. It's a quality-control screen, not a regulatory standard. Then take a short drive over rough road and repeat the pull test, because vibration exposes walkout and loose clips that a driveway test hides.
Troubleshooting Symptoms That Look Like a Bad Lock
The most common complaint after lock work is a gate that closes but won't pull tight. Tailgate latches engage in two positions. The first catches the gate so it looks shut. The second pulls it fully home against the seals. A GM-Trucks forum thread on power tailgates describes gates that latch closed but fail to reach that second position, and a misaligned striker causes exactly this while looking perfectly fine from above. Sight down the striker entry instead of trusting the closed appearance.
Post-install symptoms, likely causes and fixes
| Symptom | Likely cause | Fix |
|---|---|---|
| Key turns but gate stays shut | Rod disconnected or clip not seated | Reattach rod, seat clip, retest |
| Gate closes but will not pull tight | Striker misaligned or second latch not engaging | Adjust striker, check pawl travel, repeat pull test |
| Handle feels loose or returns slowly | Cracked plastic or worn pivot | Replace handle assembly |
| Gate opens on bumps | Pawl walkout, worn latch or misaligned striker | Stop using the truck, replace latch hardware, retest under load |
| Power release fails but lock still works | Switch fault, moisture in connector, actuator over-travel | Test switch, dry and reseal connector, check actuator |
Reading the Rest of the Table
A gate that opens on bumps is the one symptom you don't monitor. You park the truck. Walkout or a worn latch means the pawl isn't holding under load, and the next opening could happen at highway speed with cargo behind it.
When the lock works but power release doesn't, think switch, connector moisture or actuator over-travel before condemning the handle. For the electrical side of that split, Audio Jam's door lock troubleshooting guide covers actuator testing logic that transfers directly to tailgate actuators. If the lock only behaves with the battery connected and acts erratically otherwise, inspect the harness for chafing where it flexes at the gate hinge and verify the ground.
One test decides whether a powered setup is safe. Disconnect power and confirm the lock still releases mechanically. A lock that traps the gate shut when power is lost has failed a basic requirement, whatever its theft resistance. The deeper latch repairs behind several of these symptoms are covered in this guide to fixing a tailgate latch.
Never use a lock, a tighter rod adjustment or a stronger actuator to compensate for a tailgate that does not latch correctly. You're hiding a safety defect behind a security part.
Stop the DIY work and book a shop when latch failure repeats after correct realignment, when wiring is damaged inside the harness, or when the fault matches an open recall. Recall faults get the manufacturer's remedy, not your best approximation of it.
Confirm Fitment and Warranty Before You Order
Fitment errors waste more time on this job than the installation itself. Run the checklist before checkout, not when the box is open and the gate is apart.
- Year, make and model: Plus cab style and bed length, since handle and rod geometry follow the gate, not just the nameplate.
- Gate equipment: Power tailgate, multifunction handle and backup camera each change the assembly.
- Old part number: Read it off the removed handle or the service manual and match it against the listing.
- Connector and bore check: Count pins, confirm camera opening and cylinder bore before ordering.
Searching by vehicle on T1A Auto runs that compatibility check before checkout, and if you're weighing a factory part against a replacement, this breakdown of the difference between OEM and aftermarket parts clarifies what you're paying for. The stated warranty terms are a lifetime warranty on metal components, a 3-year warranty on standard items, free 90-day returns and free standard shipping on orders over $75.
Read those terms for what they cover. Warranties cover the part. They don't cover your labor, and they don't cover a latch problem you left uncorrected underneath a new lock. Installing a warranted handle on a gate that won't latch gives you a warranted handle on a gate that still won't latch.
The final rule is simple. If the gate latches cleanly on both sides after realignment and passes the cycle test and the pull test, the job's done. If it doesn't, stop and book a shop instead of ordering another part. Compare your old part number with the listing you've chosen, place the order, and run the full test sequence before the first road trip.
Match your old part number, pick the metal or standard assembly that fits your gate, and get it shipped with the warranty terms above by ordering through T1A Auto. Search by your truck's year, make and model so the fitment check runs before checkout, then prove the repair with the cycle and pull tests before you load the bed again.
